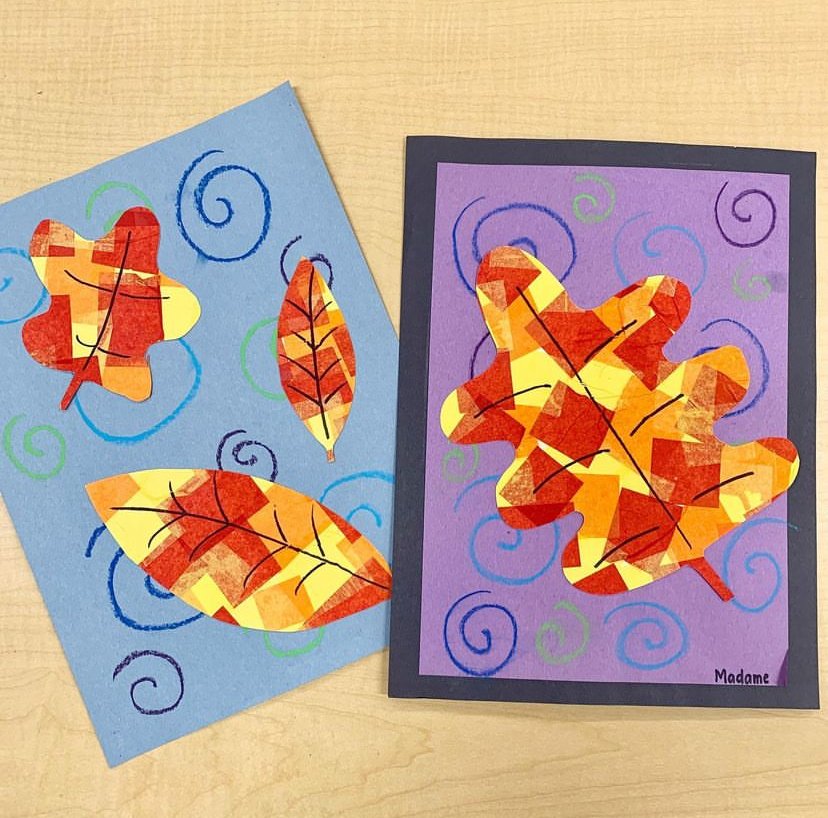
Floating Fall Leaves Kids Art Project
I love fall leaves art projects because the colours are just so stunning. This multi-step project allows for a lot of creativity. This is a great project to keep up all fall if you don’t want to change your bulletin boards too often!
Time required: 2 art blocks
Block one - 30-40 minutes
Block two - 30-45 minutes
Materials:
Card stock (I use a beige colour, it doesn’t need to be white since we will cover it up)
Alternatively use white paper (printer weight is fine)
Cool water colour construction paper (blue, purple)
Tissue paper squares (in a variety of warm colours)
Sharpie marker
Chalk pastels in cool colours (blue, green, purple)
Oil pastels will work too if that’s what you have!
Glue stick
Liquid glue
Water
Sponge brush
Scissors
Teacher prep:
Cut tissue paper into squares. I do this with the big paper cutter and it goes quickly. Make two bags of tissue paper, one for warm colours and one for cold colours.
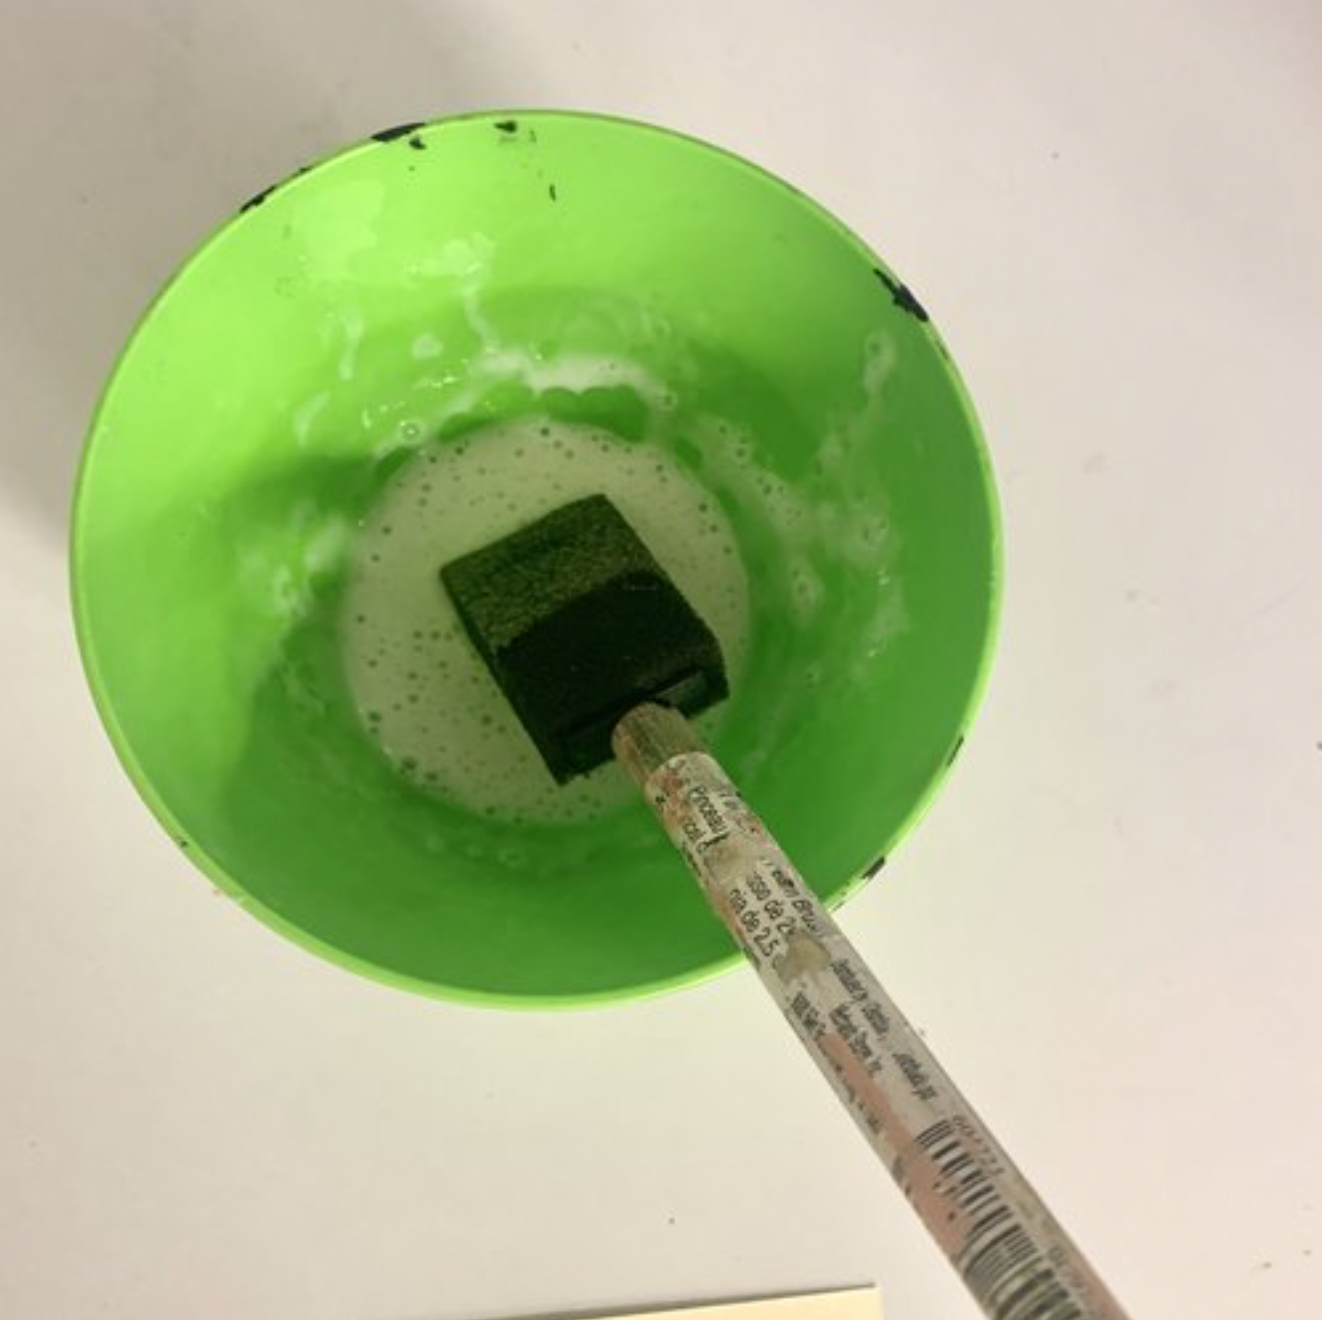
Right before starting, you’ll need to mix up a glue mixture. Mostly glue with just a tiny bit of water to thin it out.
Steps:
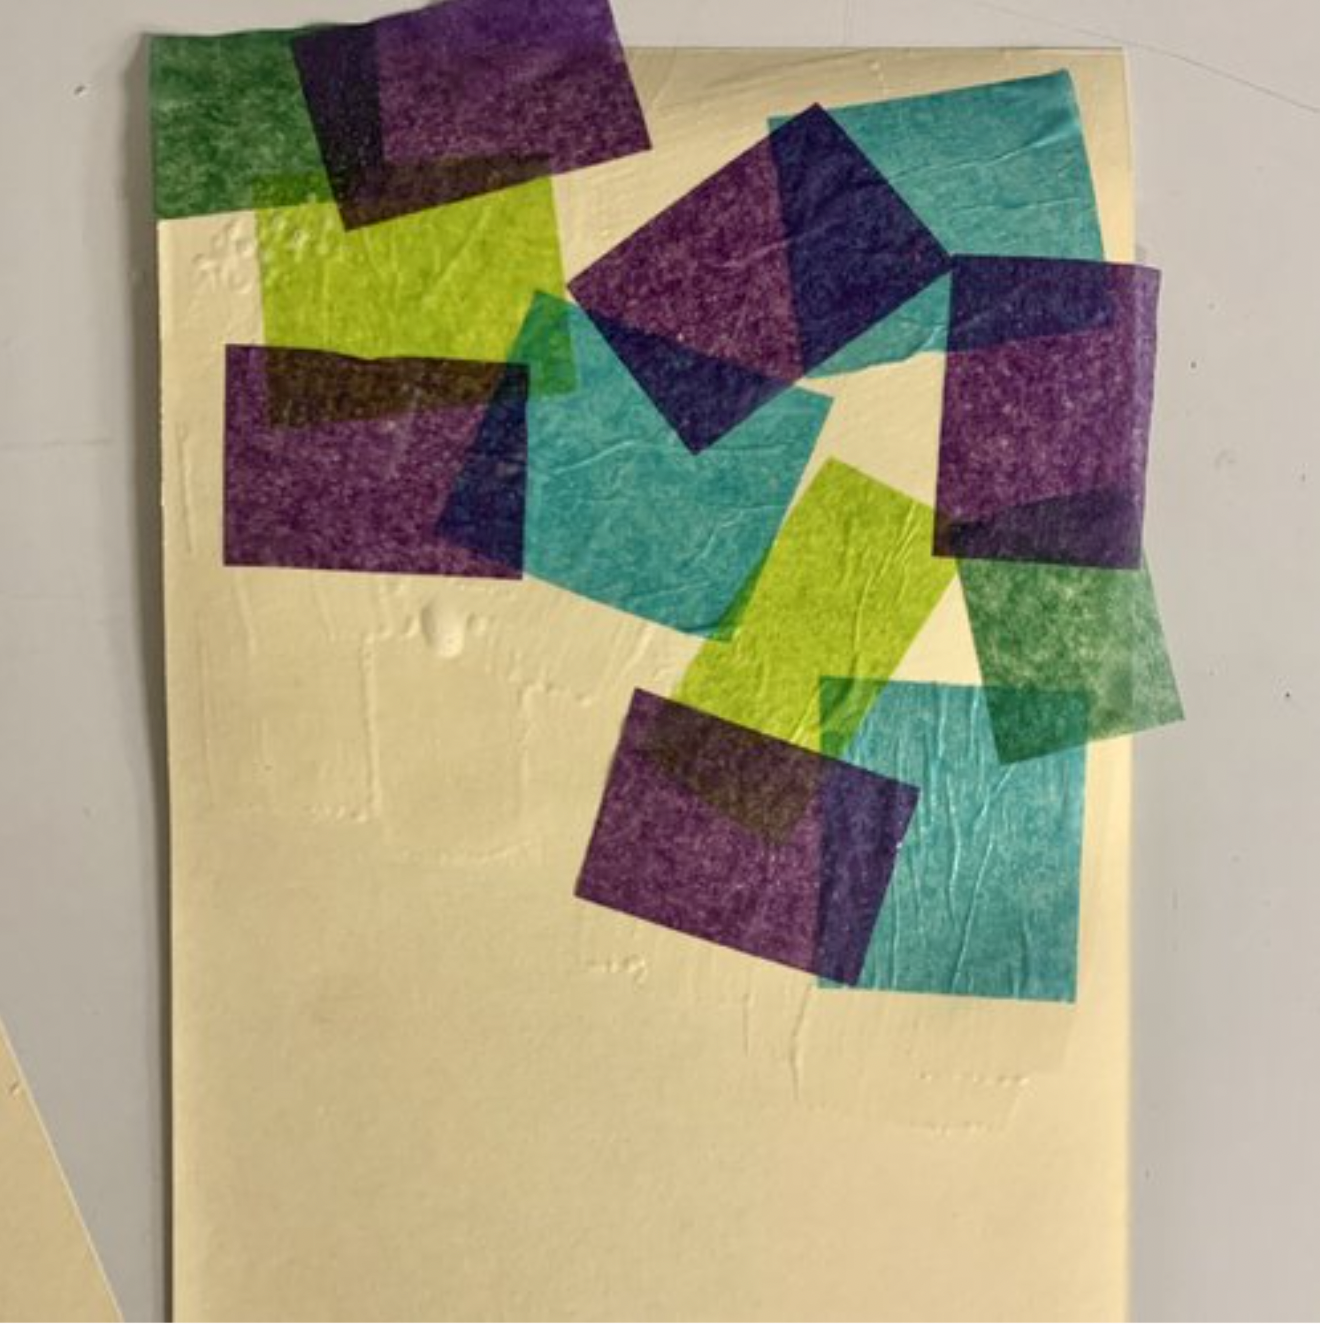
Day 1 (Background)
Using your sponge brush, apply a thin layer of the glue mixture onto a small section of your card stock.
Now lay pieces of tissue paper onto the card stock one at a time. They can overlap, but we don’t want thick sections. Go slow, if you go too fast you’ll end up ripping the paper.
Dip your sponge brush back into the glue mixture and seal your pieces down. The tissue paper should look shiny.
Now continue onto another section, glue mixture on card stock first, then apply tissue paper, then seal it.
Continue until the background is fully filled.
Set aside to dry. You’ll probably need to press these under heavy books once dry as they’ll curl up and we’ll want them flat for the next step.
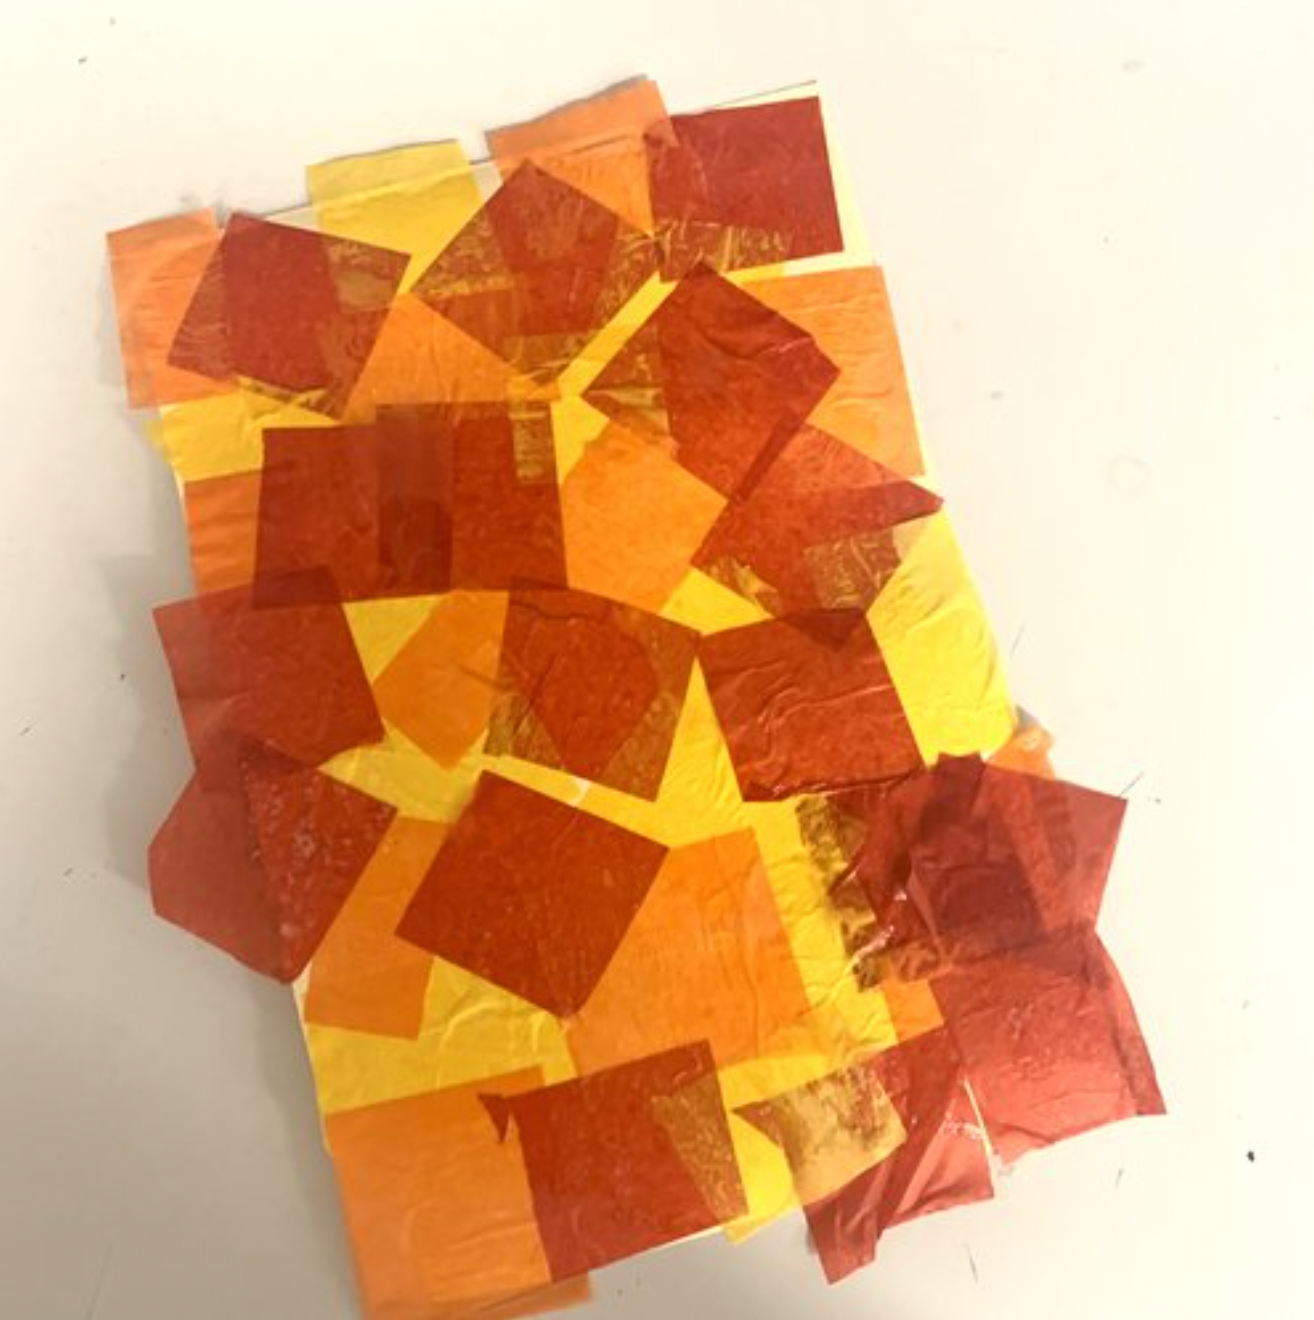
*Middle image to show process only. These aren’t the colours you’ll use!
Day 2 (leaves)
Get your warm colour tissue collage and flip it over. On the back side, draw leaf shapes. Before starting you can look at leaves outside, in images etc to get ideas. We draw it on the back so that we won’t have pencil marks on the good side.
Cut out your leaves.
You can draw the veins using a Sharpie marker on the front.
Day 2 (water)
Choose a piece of construction paper for the water.
Use cool coloured chalk pastels to make swirls in the “water” to look like ripples.
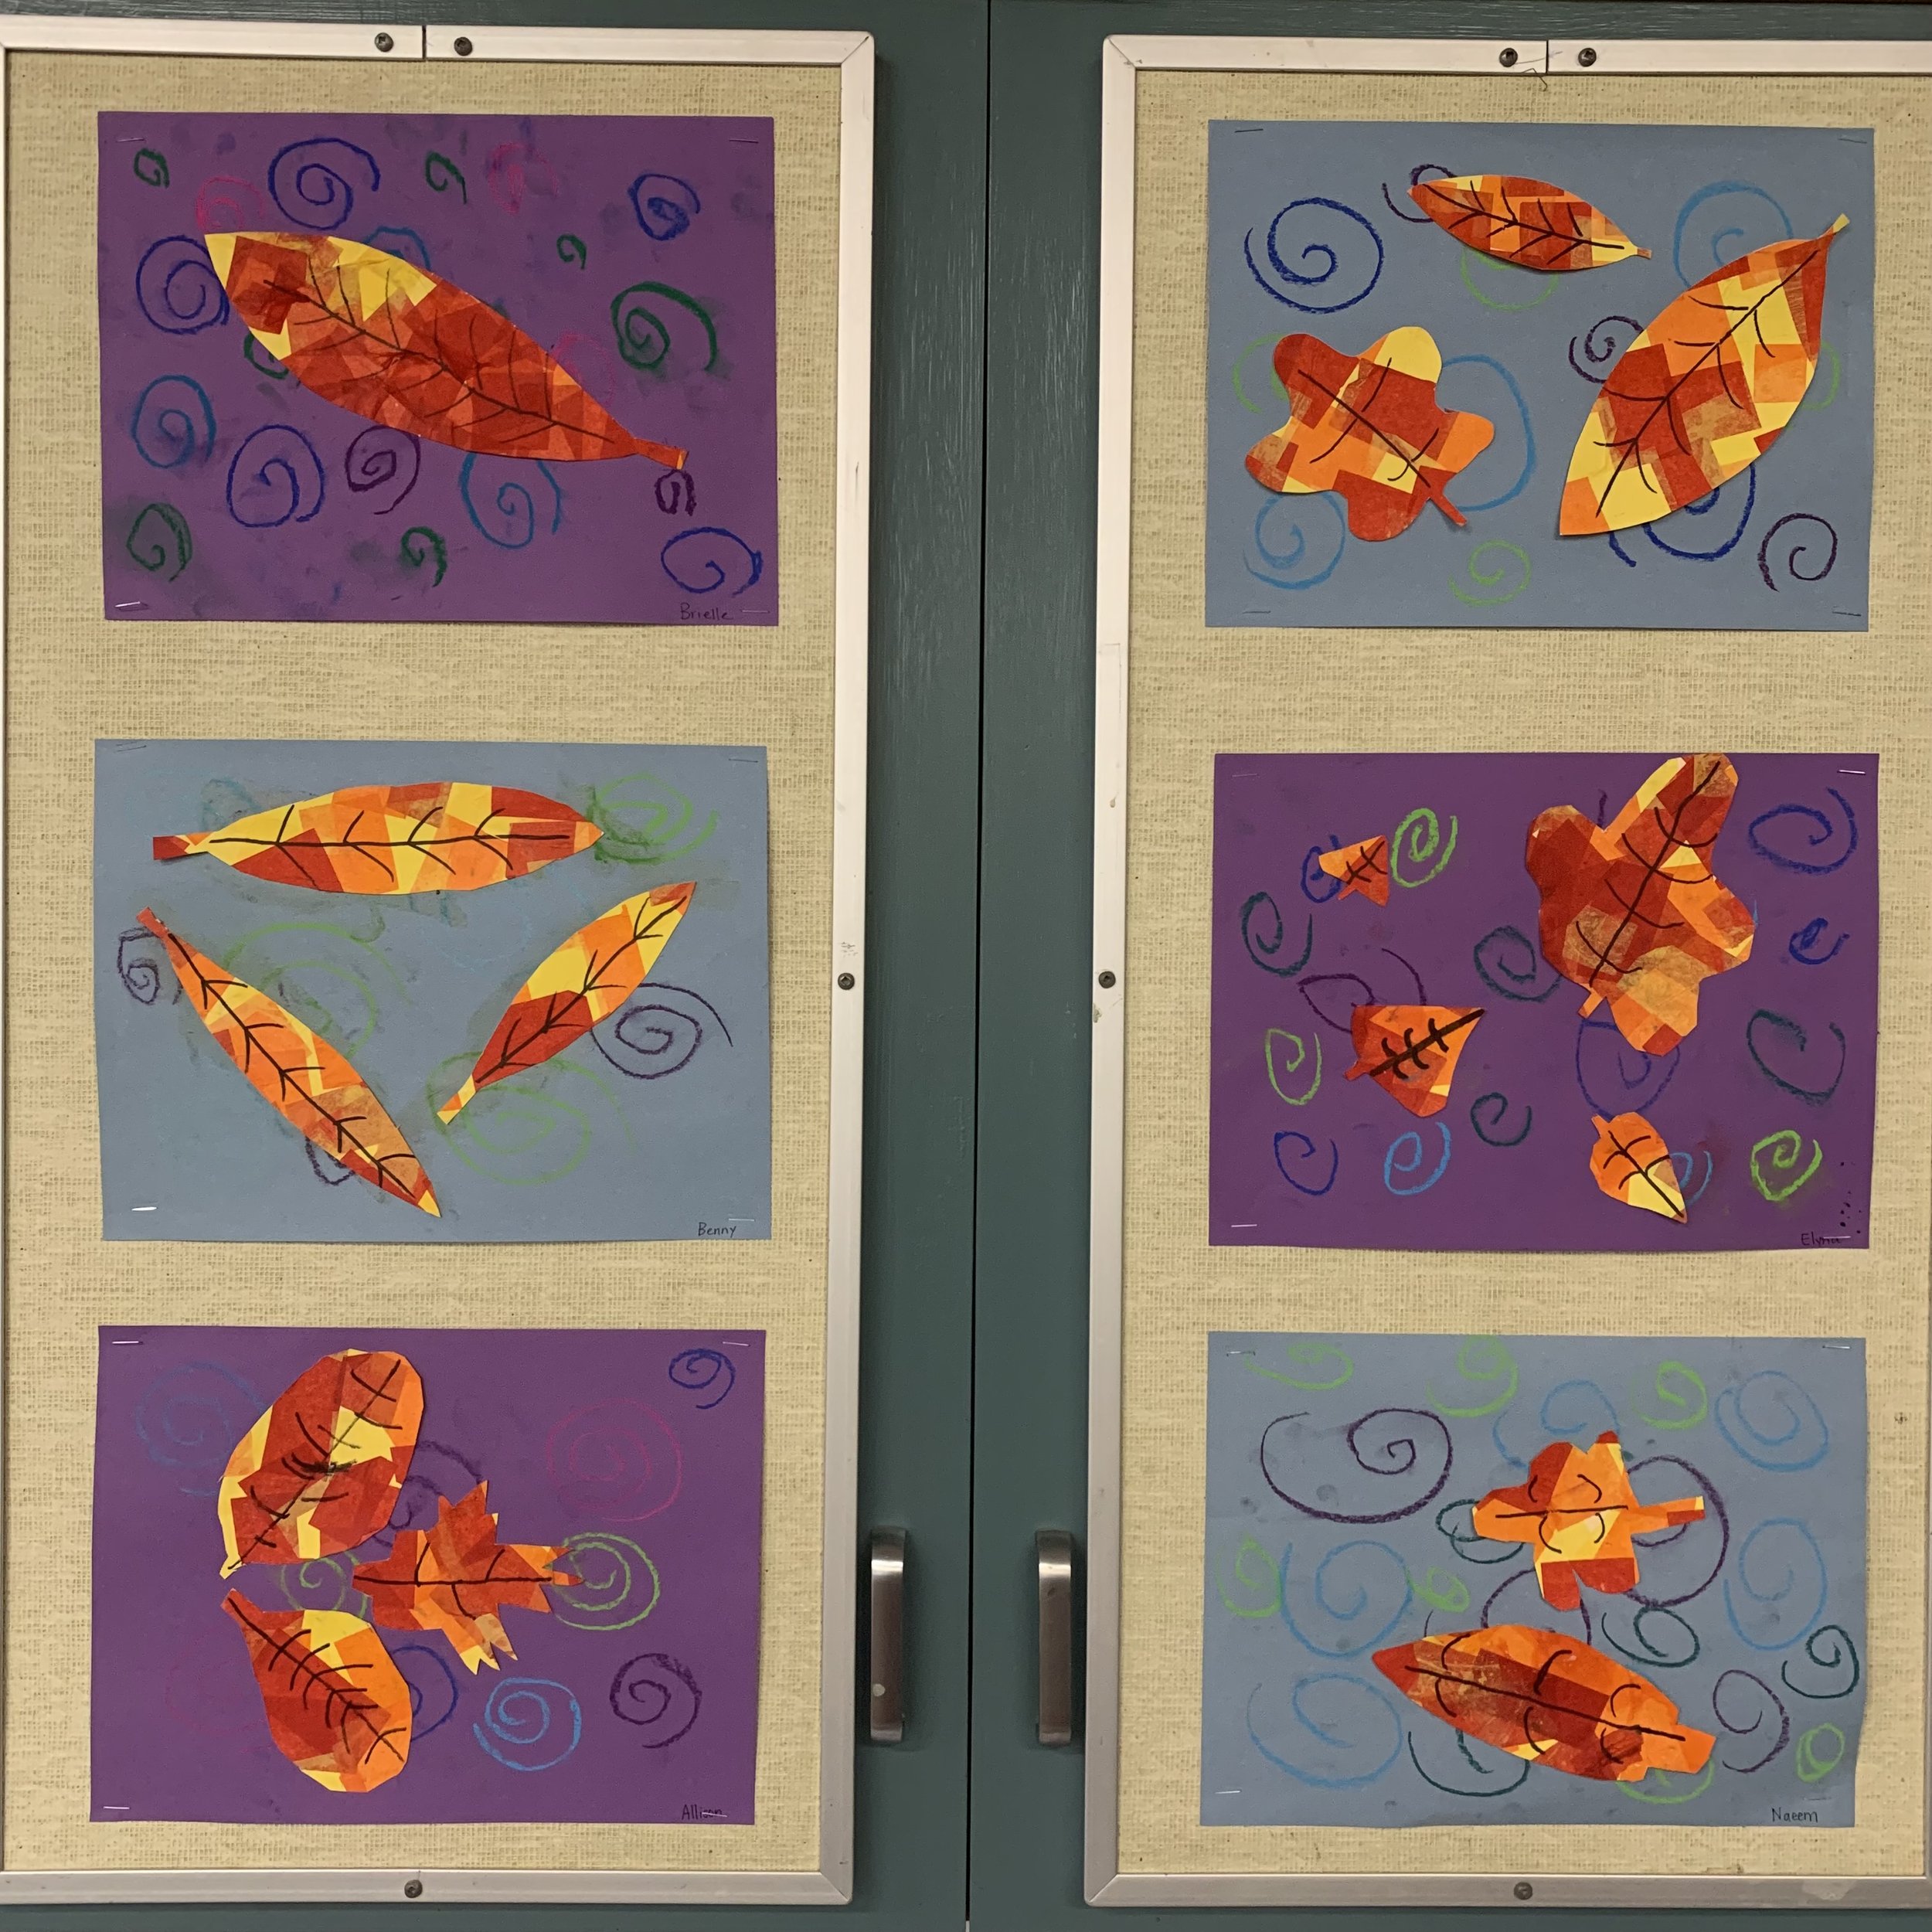
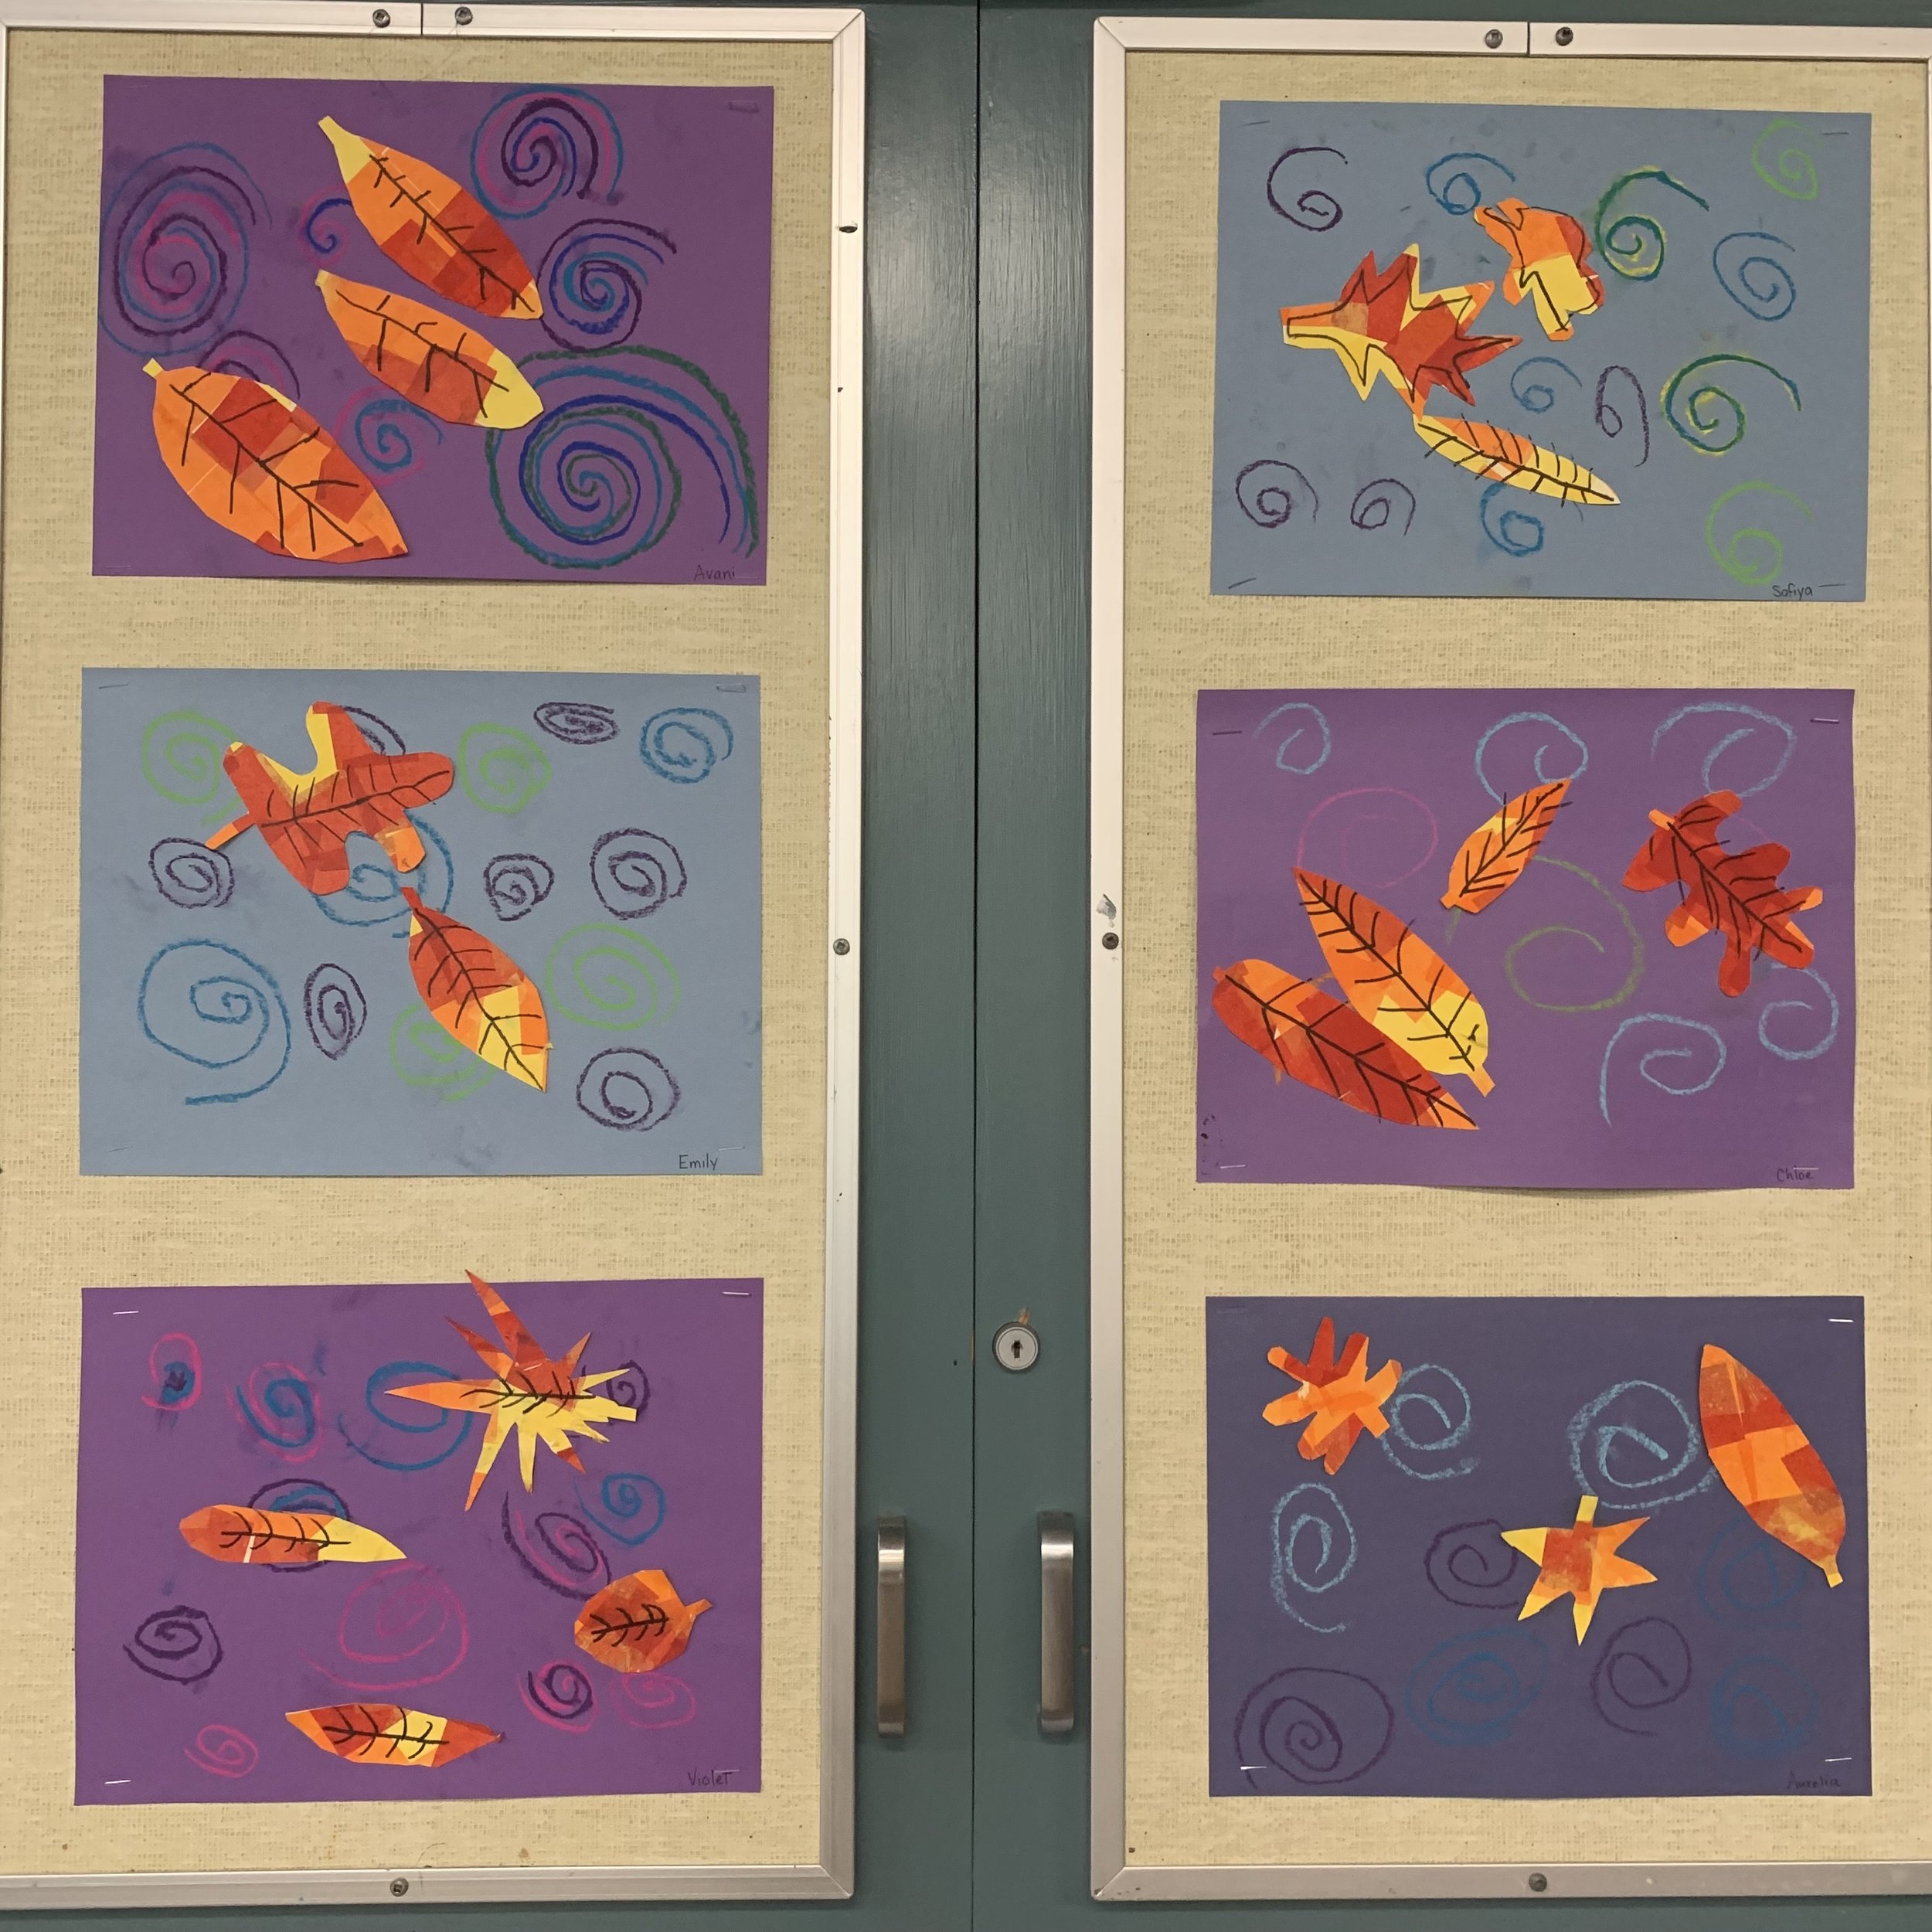
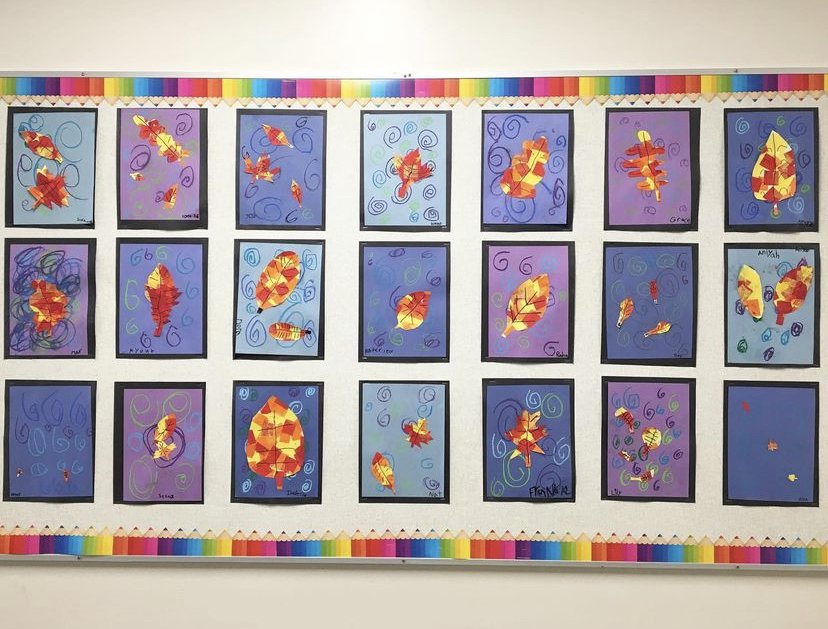
Day 2 (put it together)
Once your water is ready, glue your leaves onto the water.
Check out other fall art projects