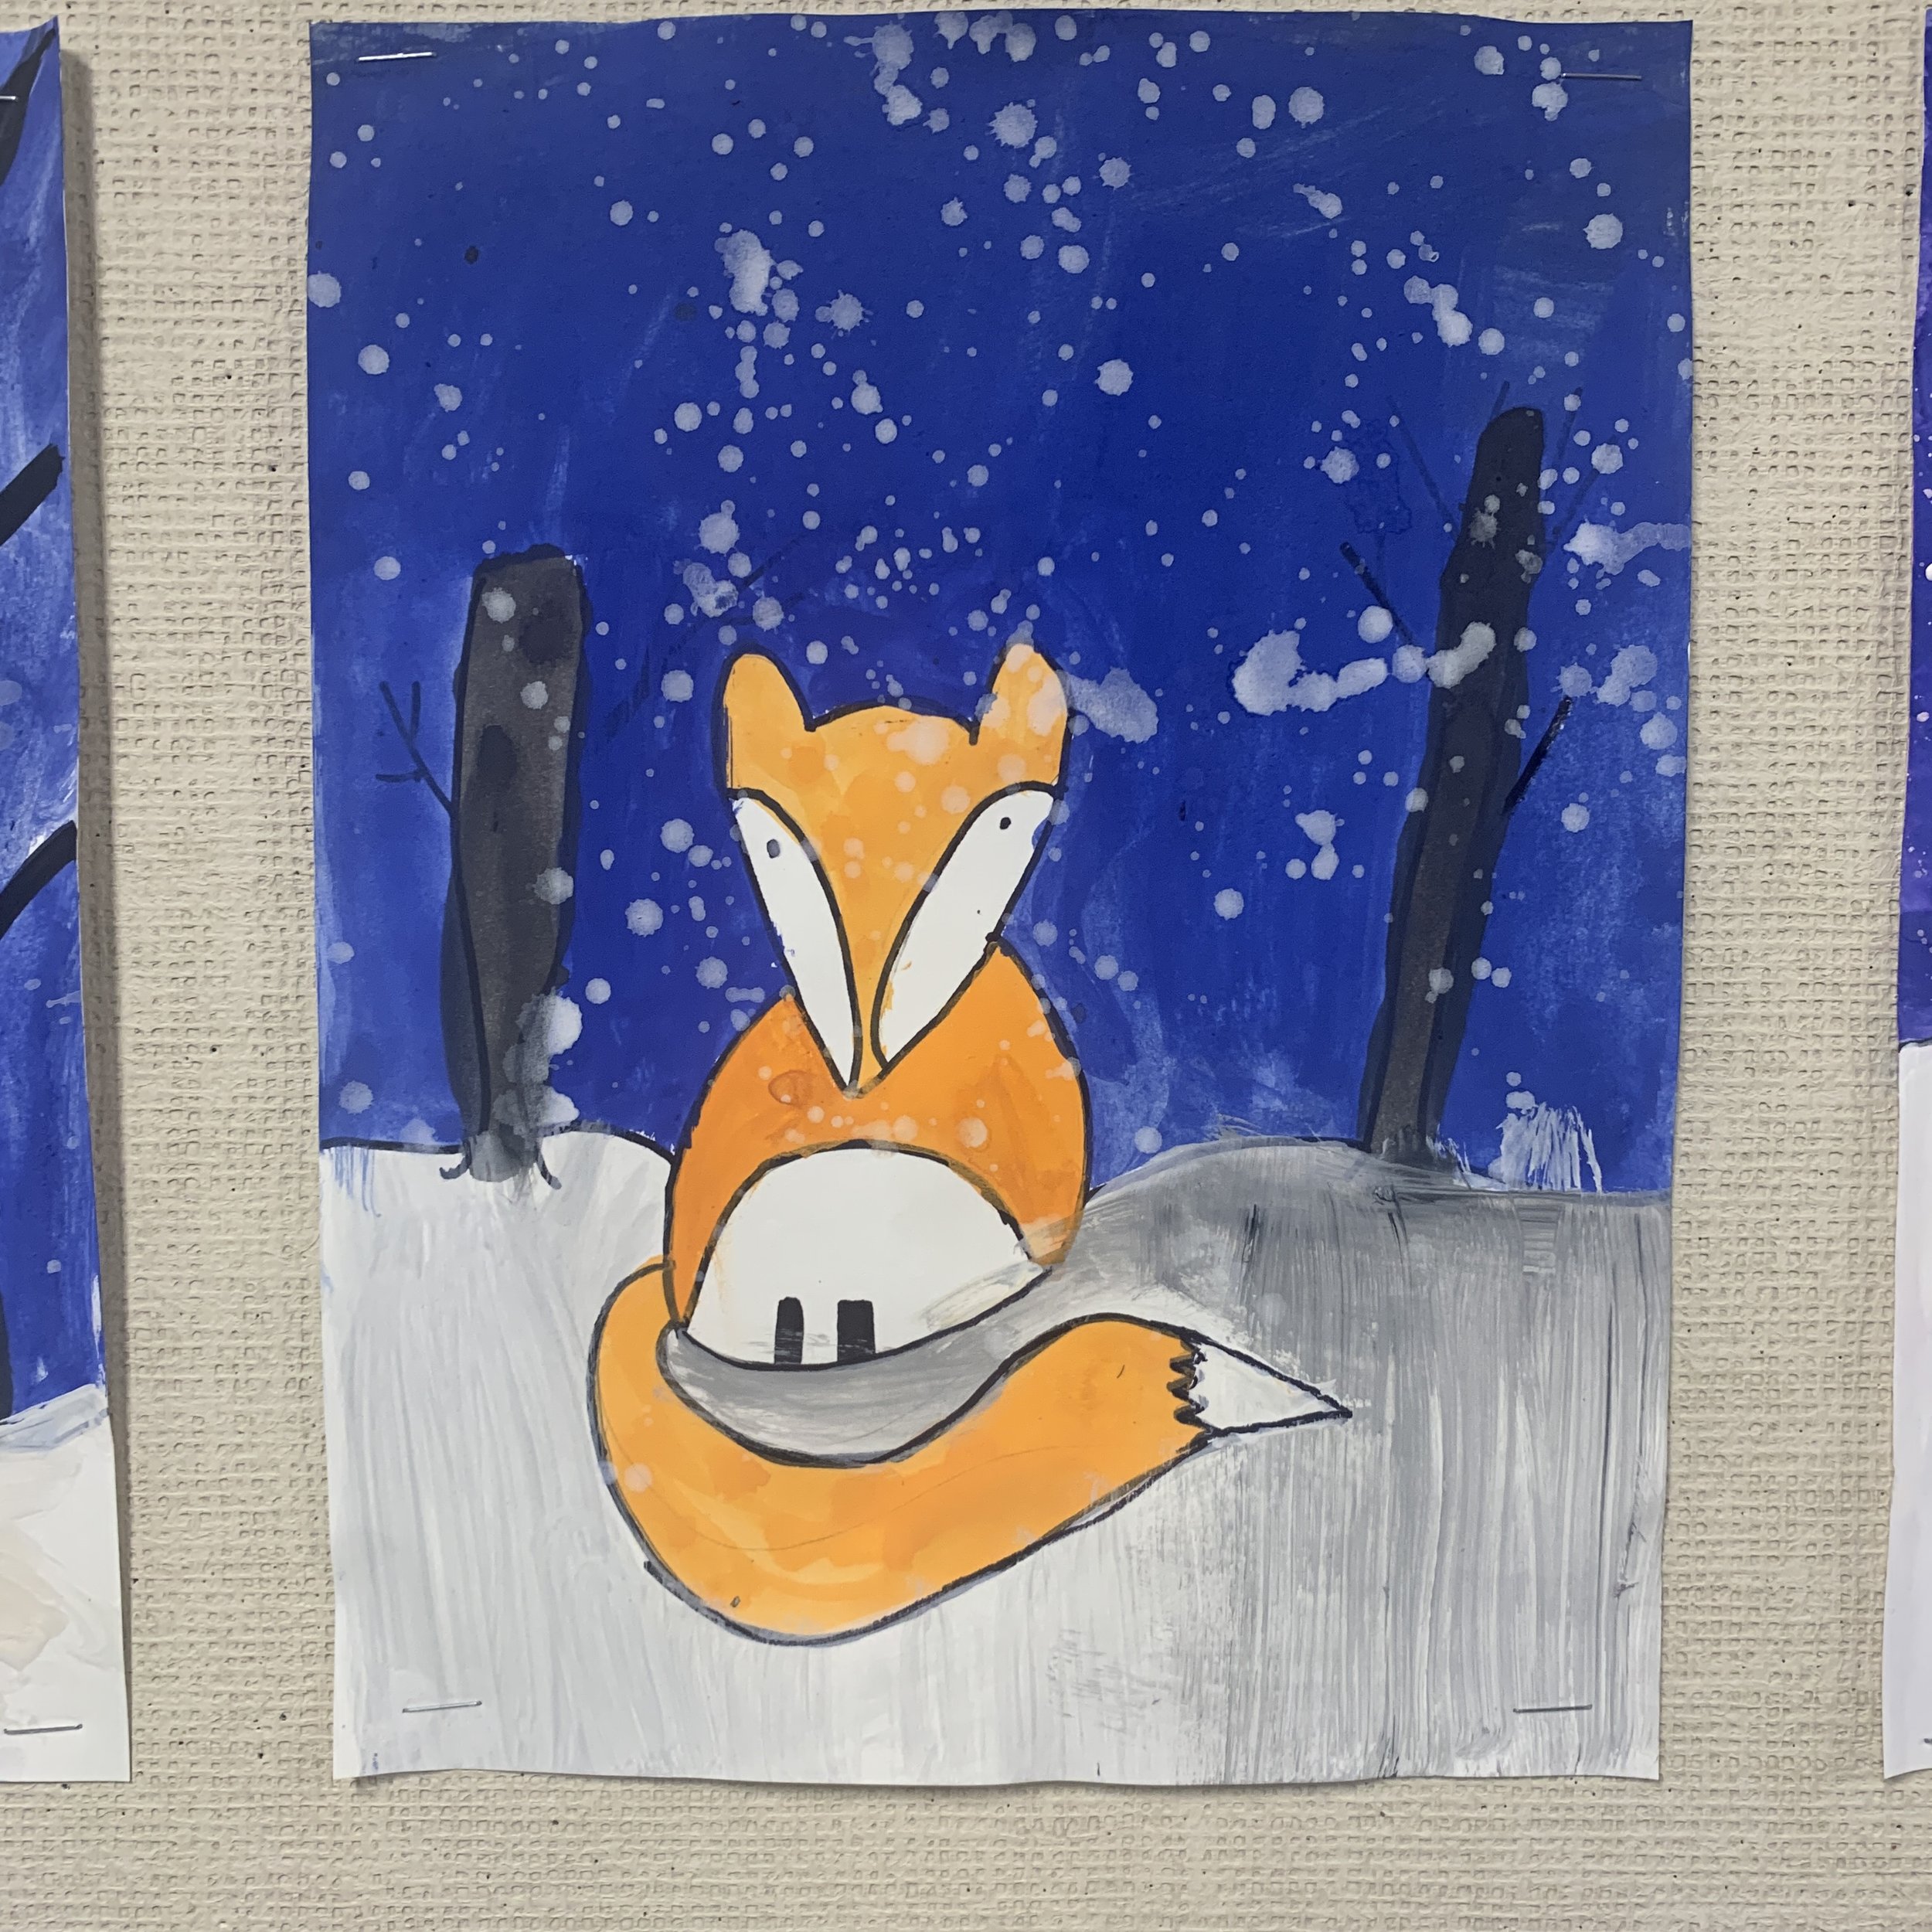
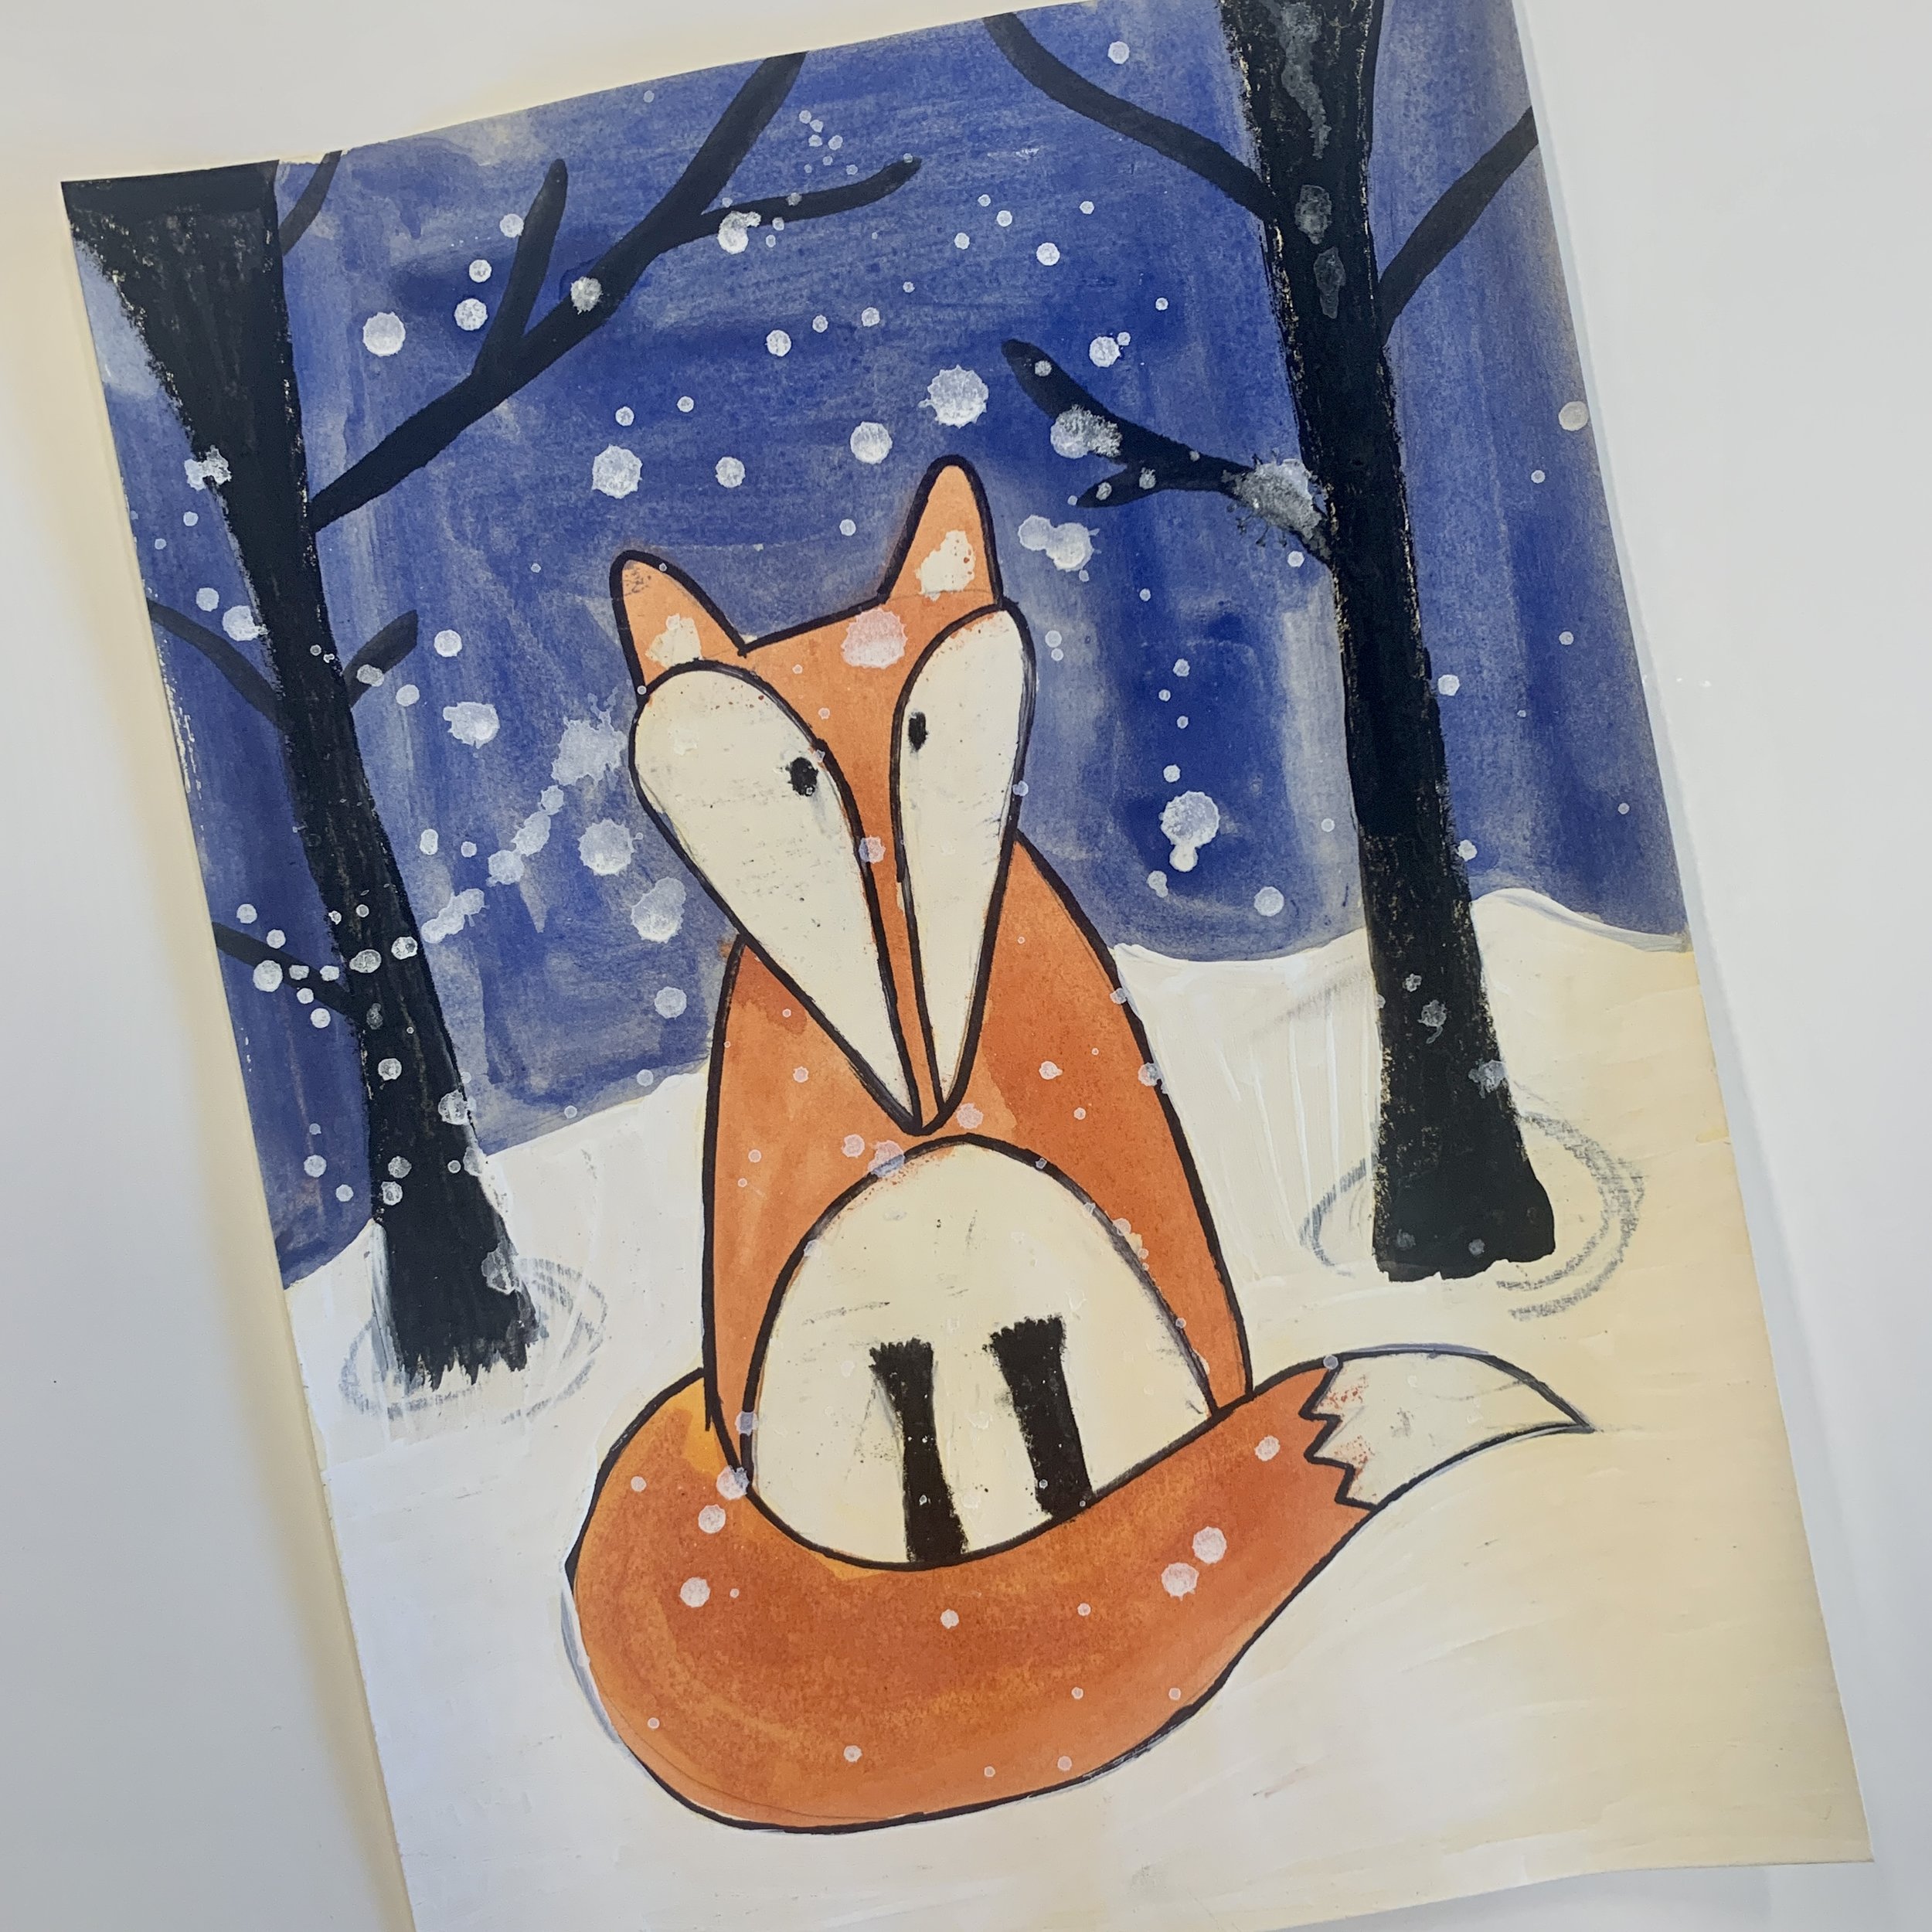
Winter Fox Art Project
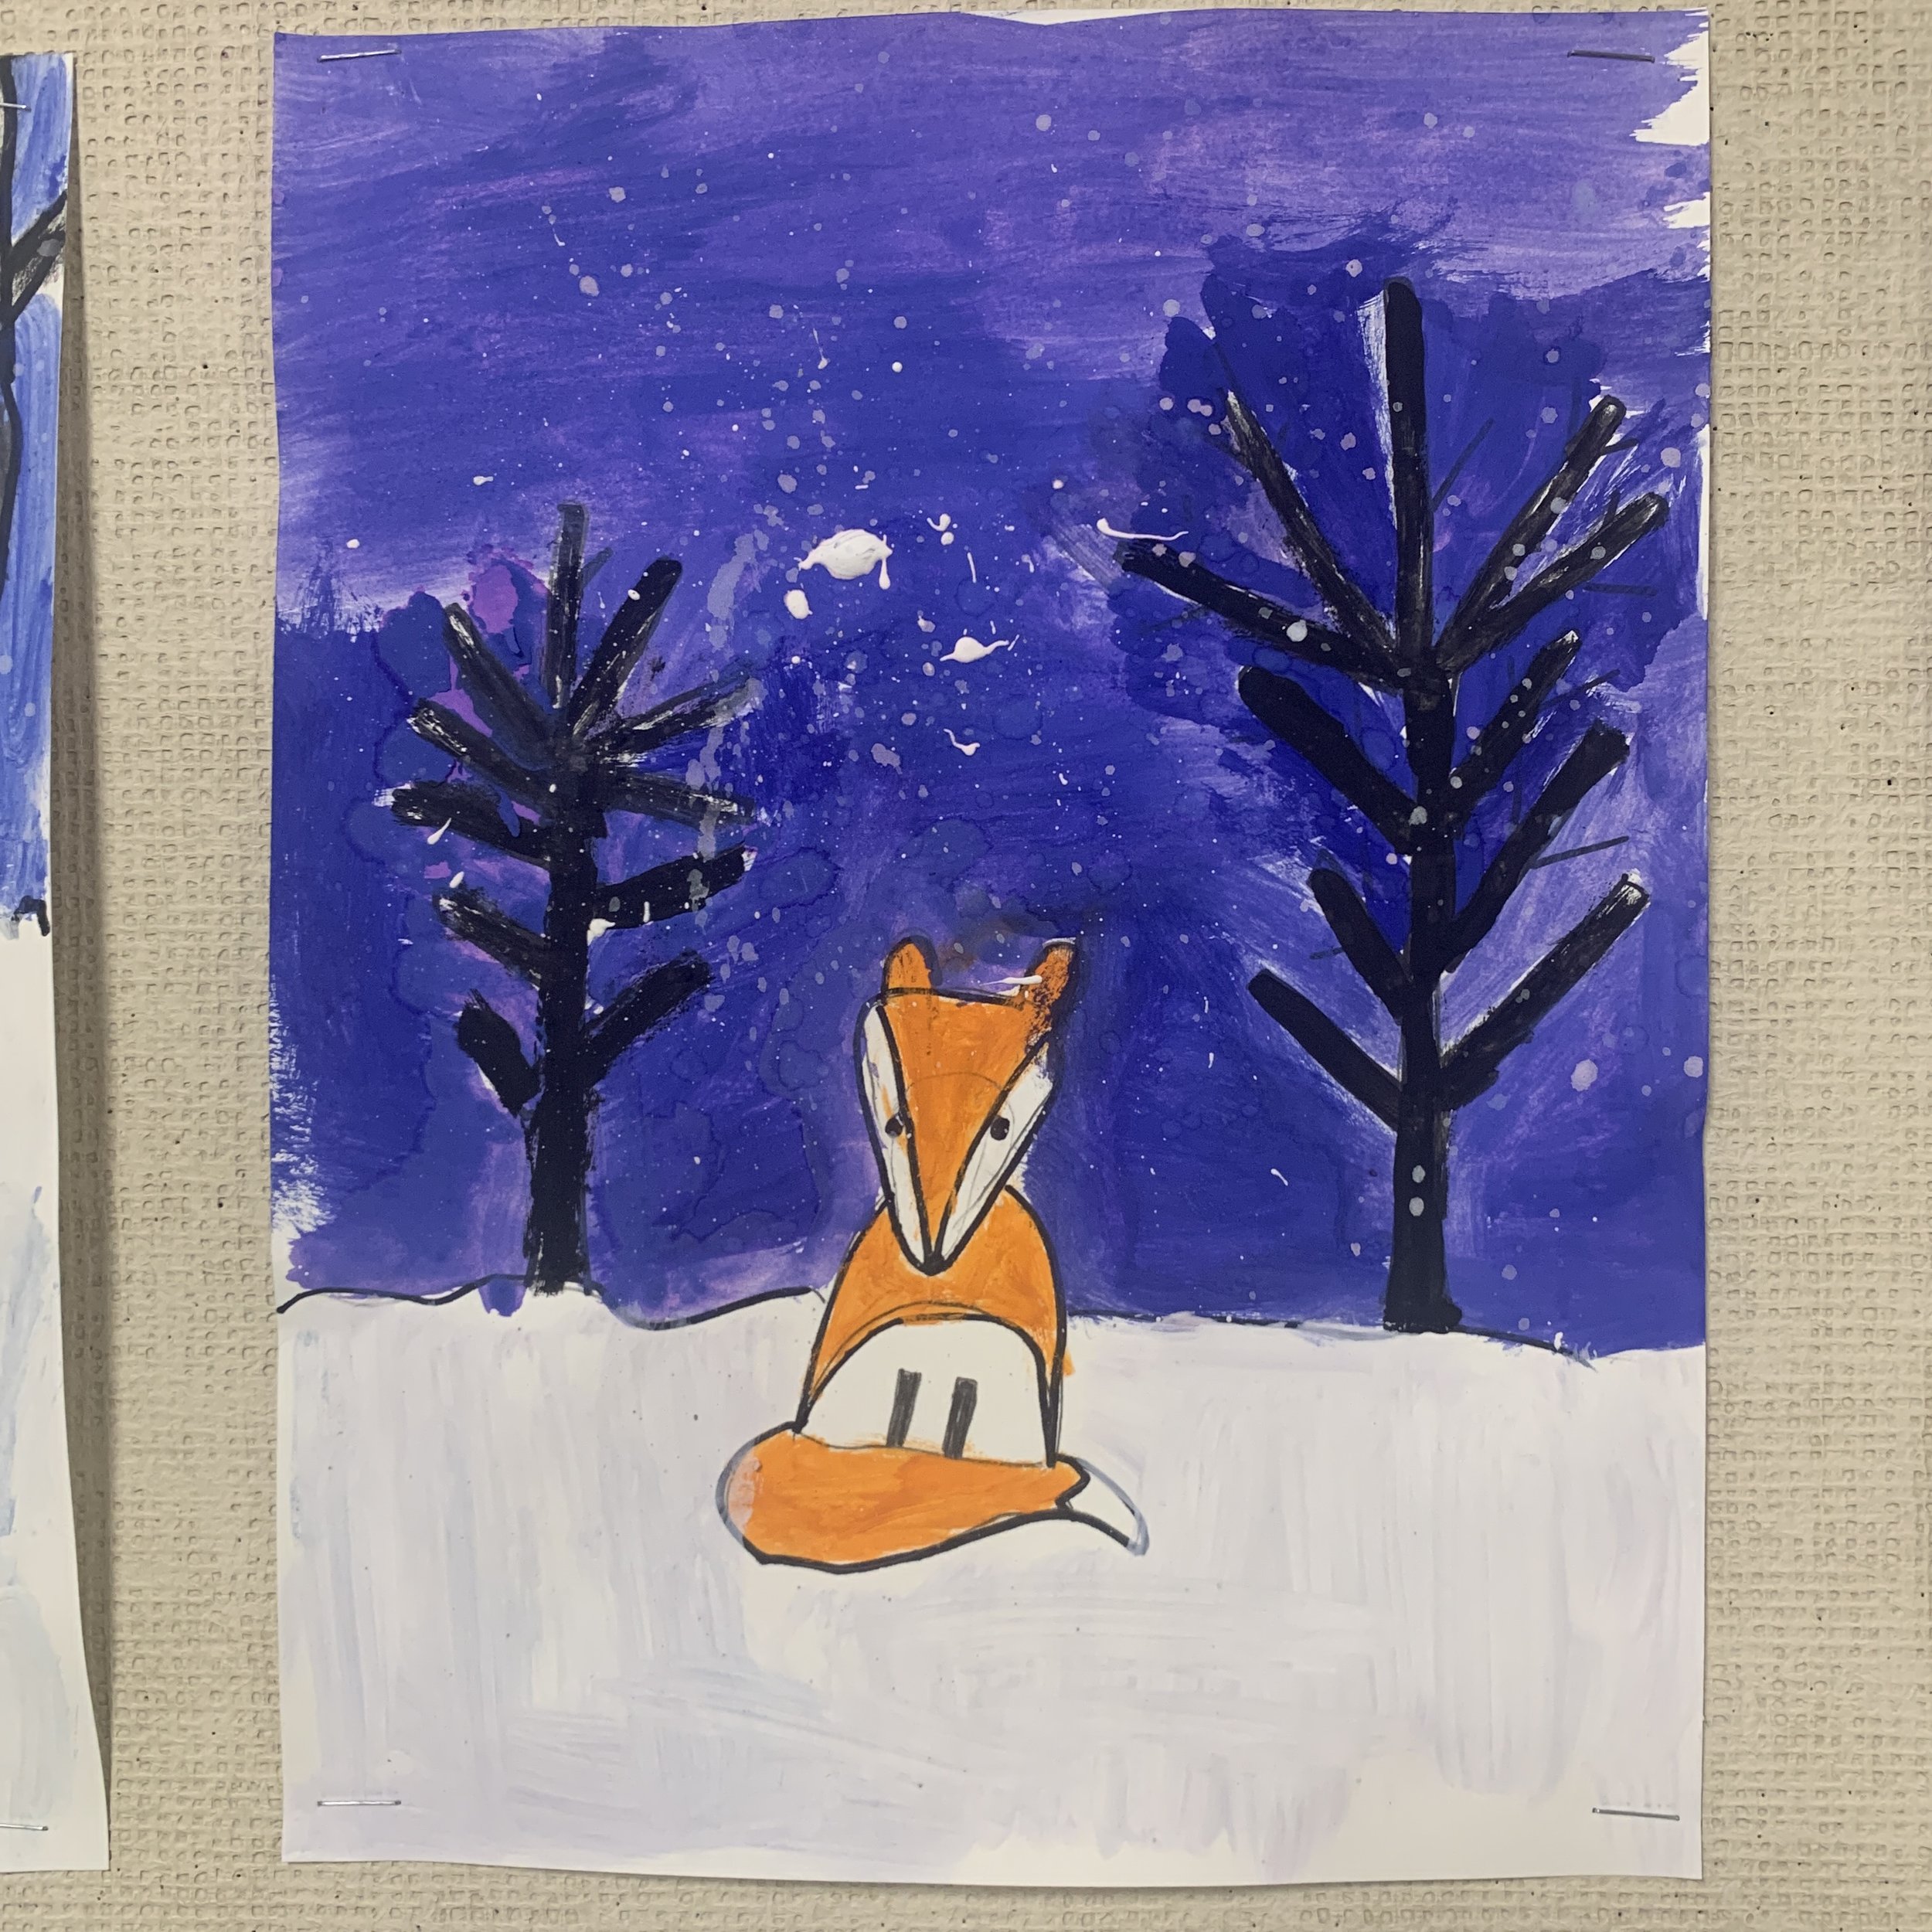
I love this project for it’s bright contrast! We love a directed drawing style project that always seems to come out differently for every student.
This is not my own project. I was inspired by Little Dog Art Blog. You can find the original blog post here.

Time required: 45-60 minutes
Materials:
White paper or card stock
Pencil
Sharpie
Thin and thick paint brushes
White acrylic paint
Blue, black and orange tempera paint (we use paint pucks)
*I suggest covering tables with table cloths or newspaper as they have to paint right to the edge.

Steps:
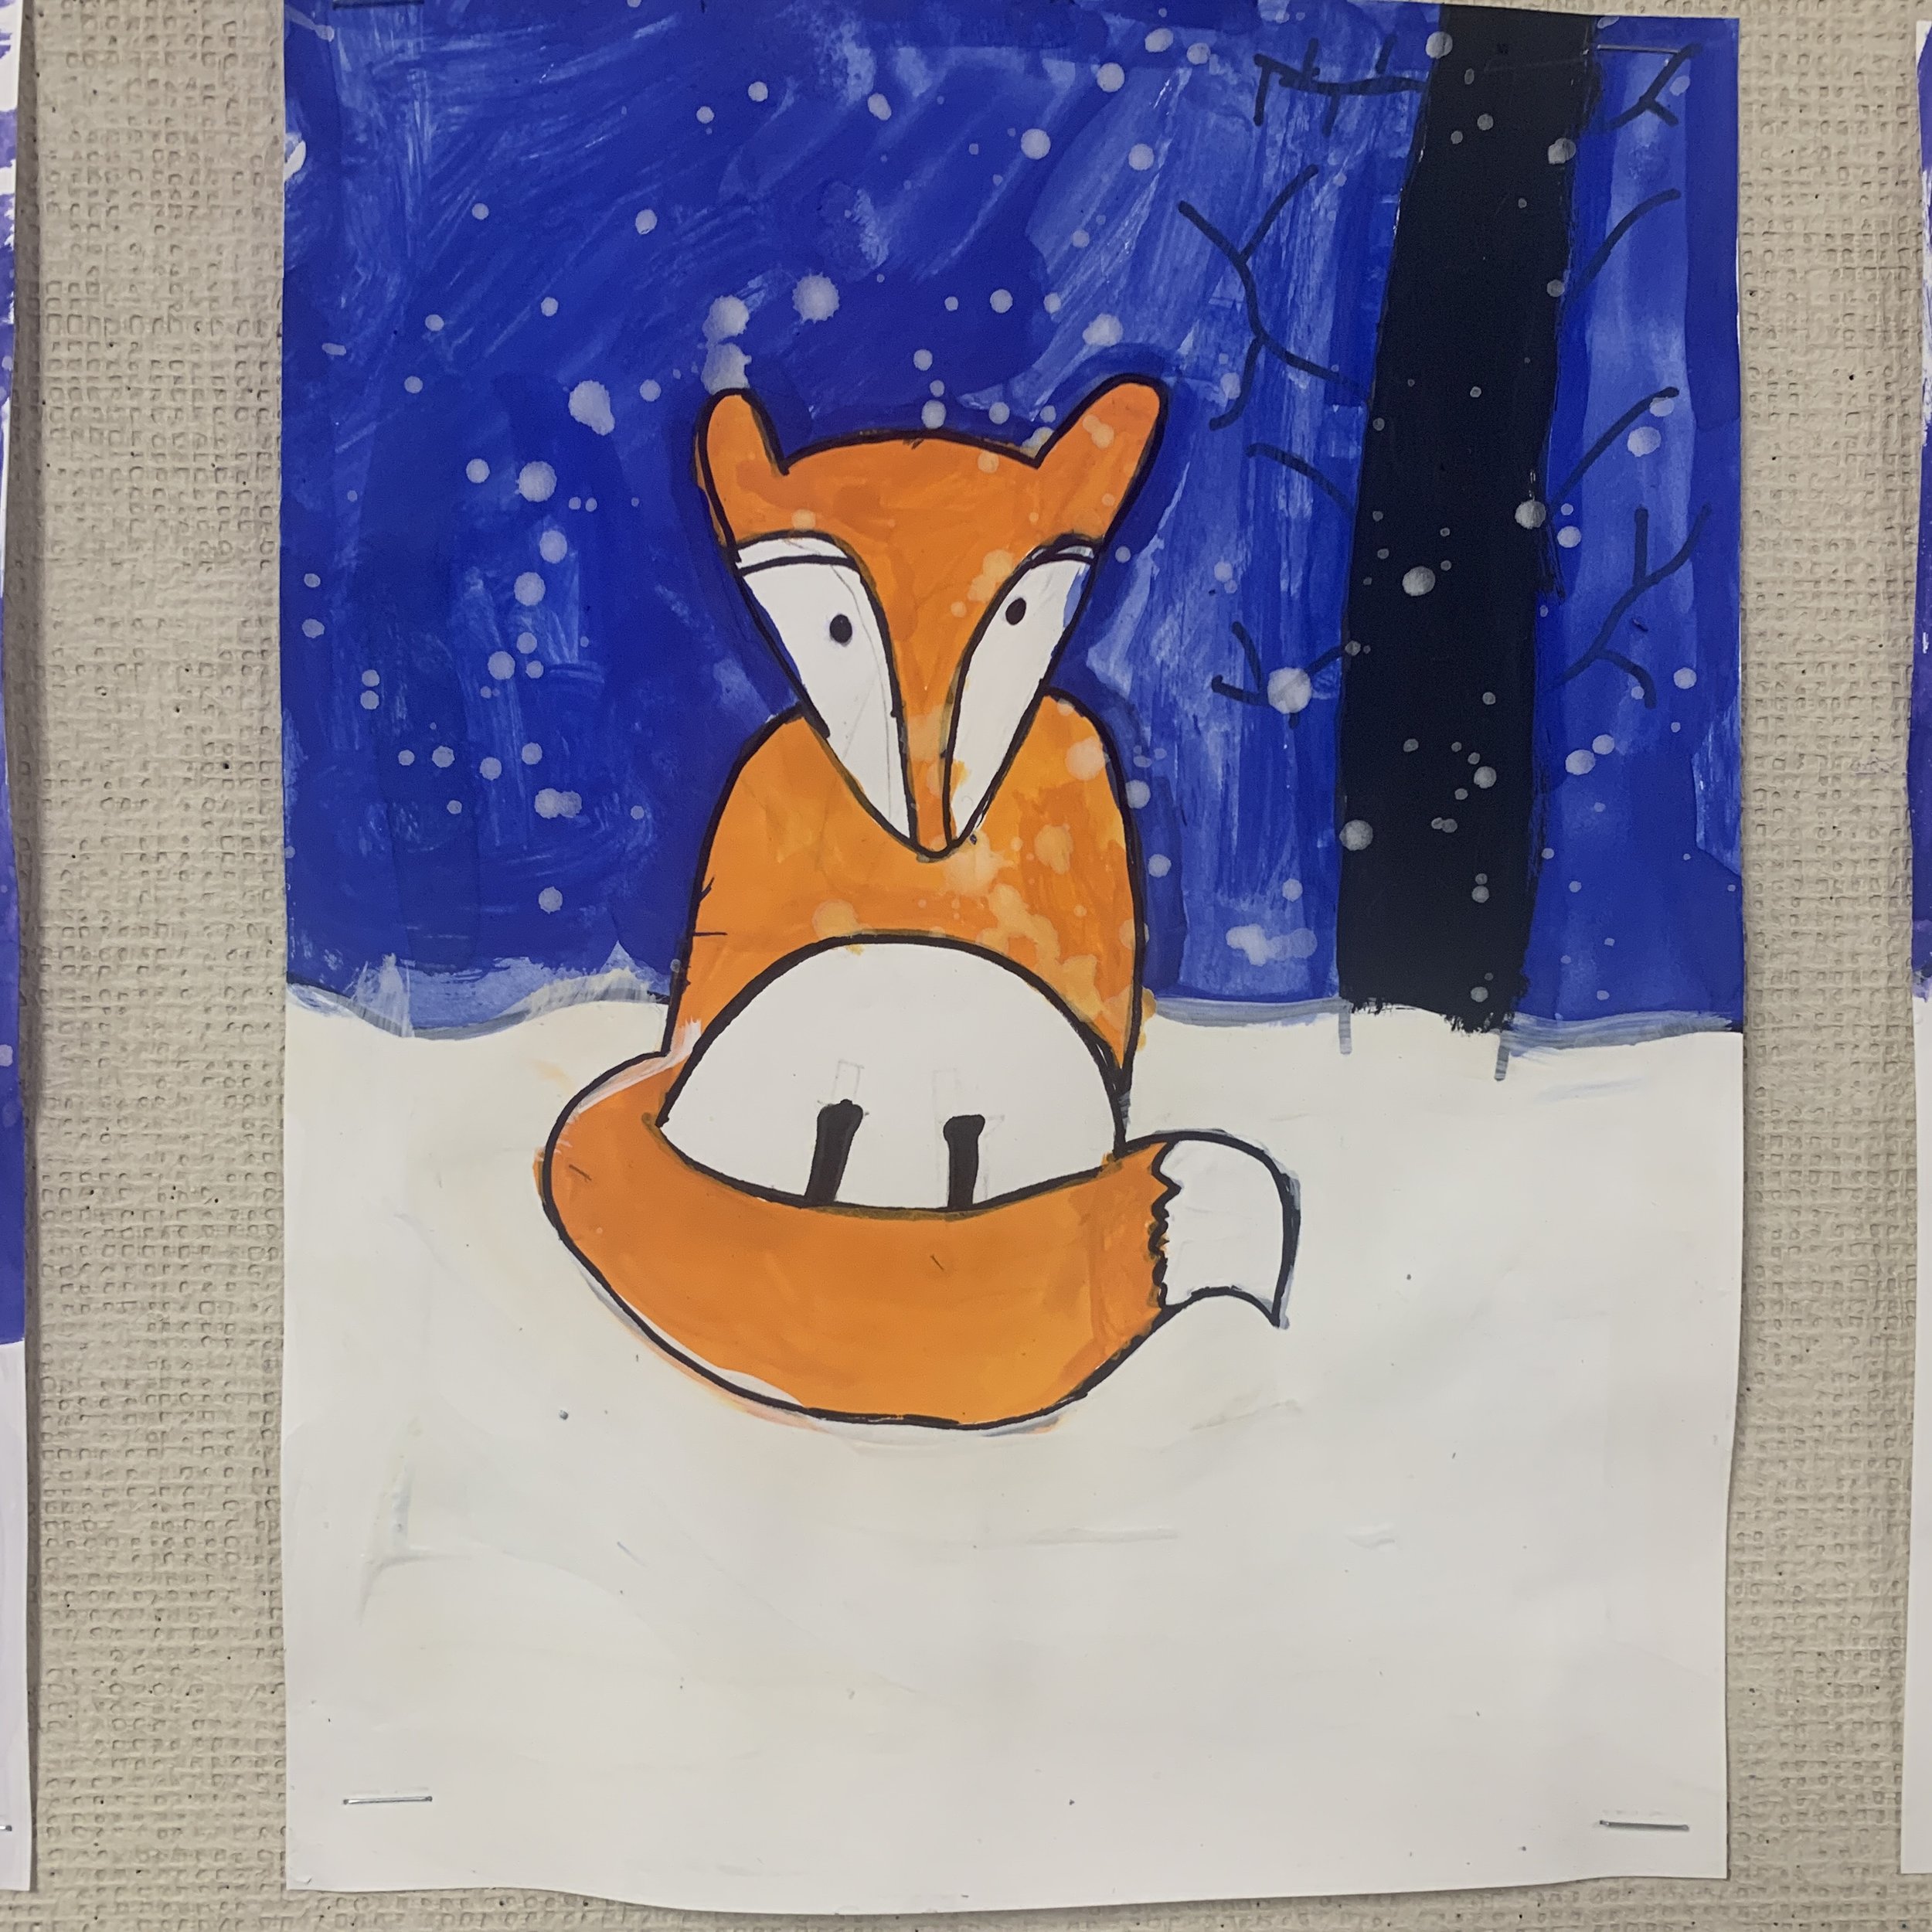
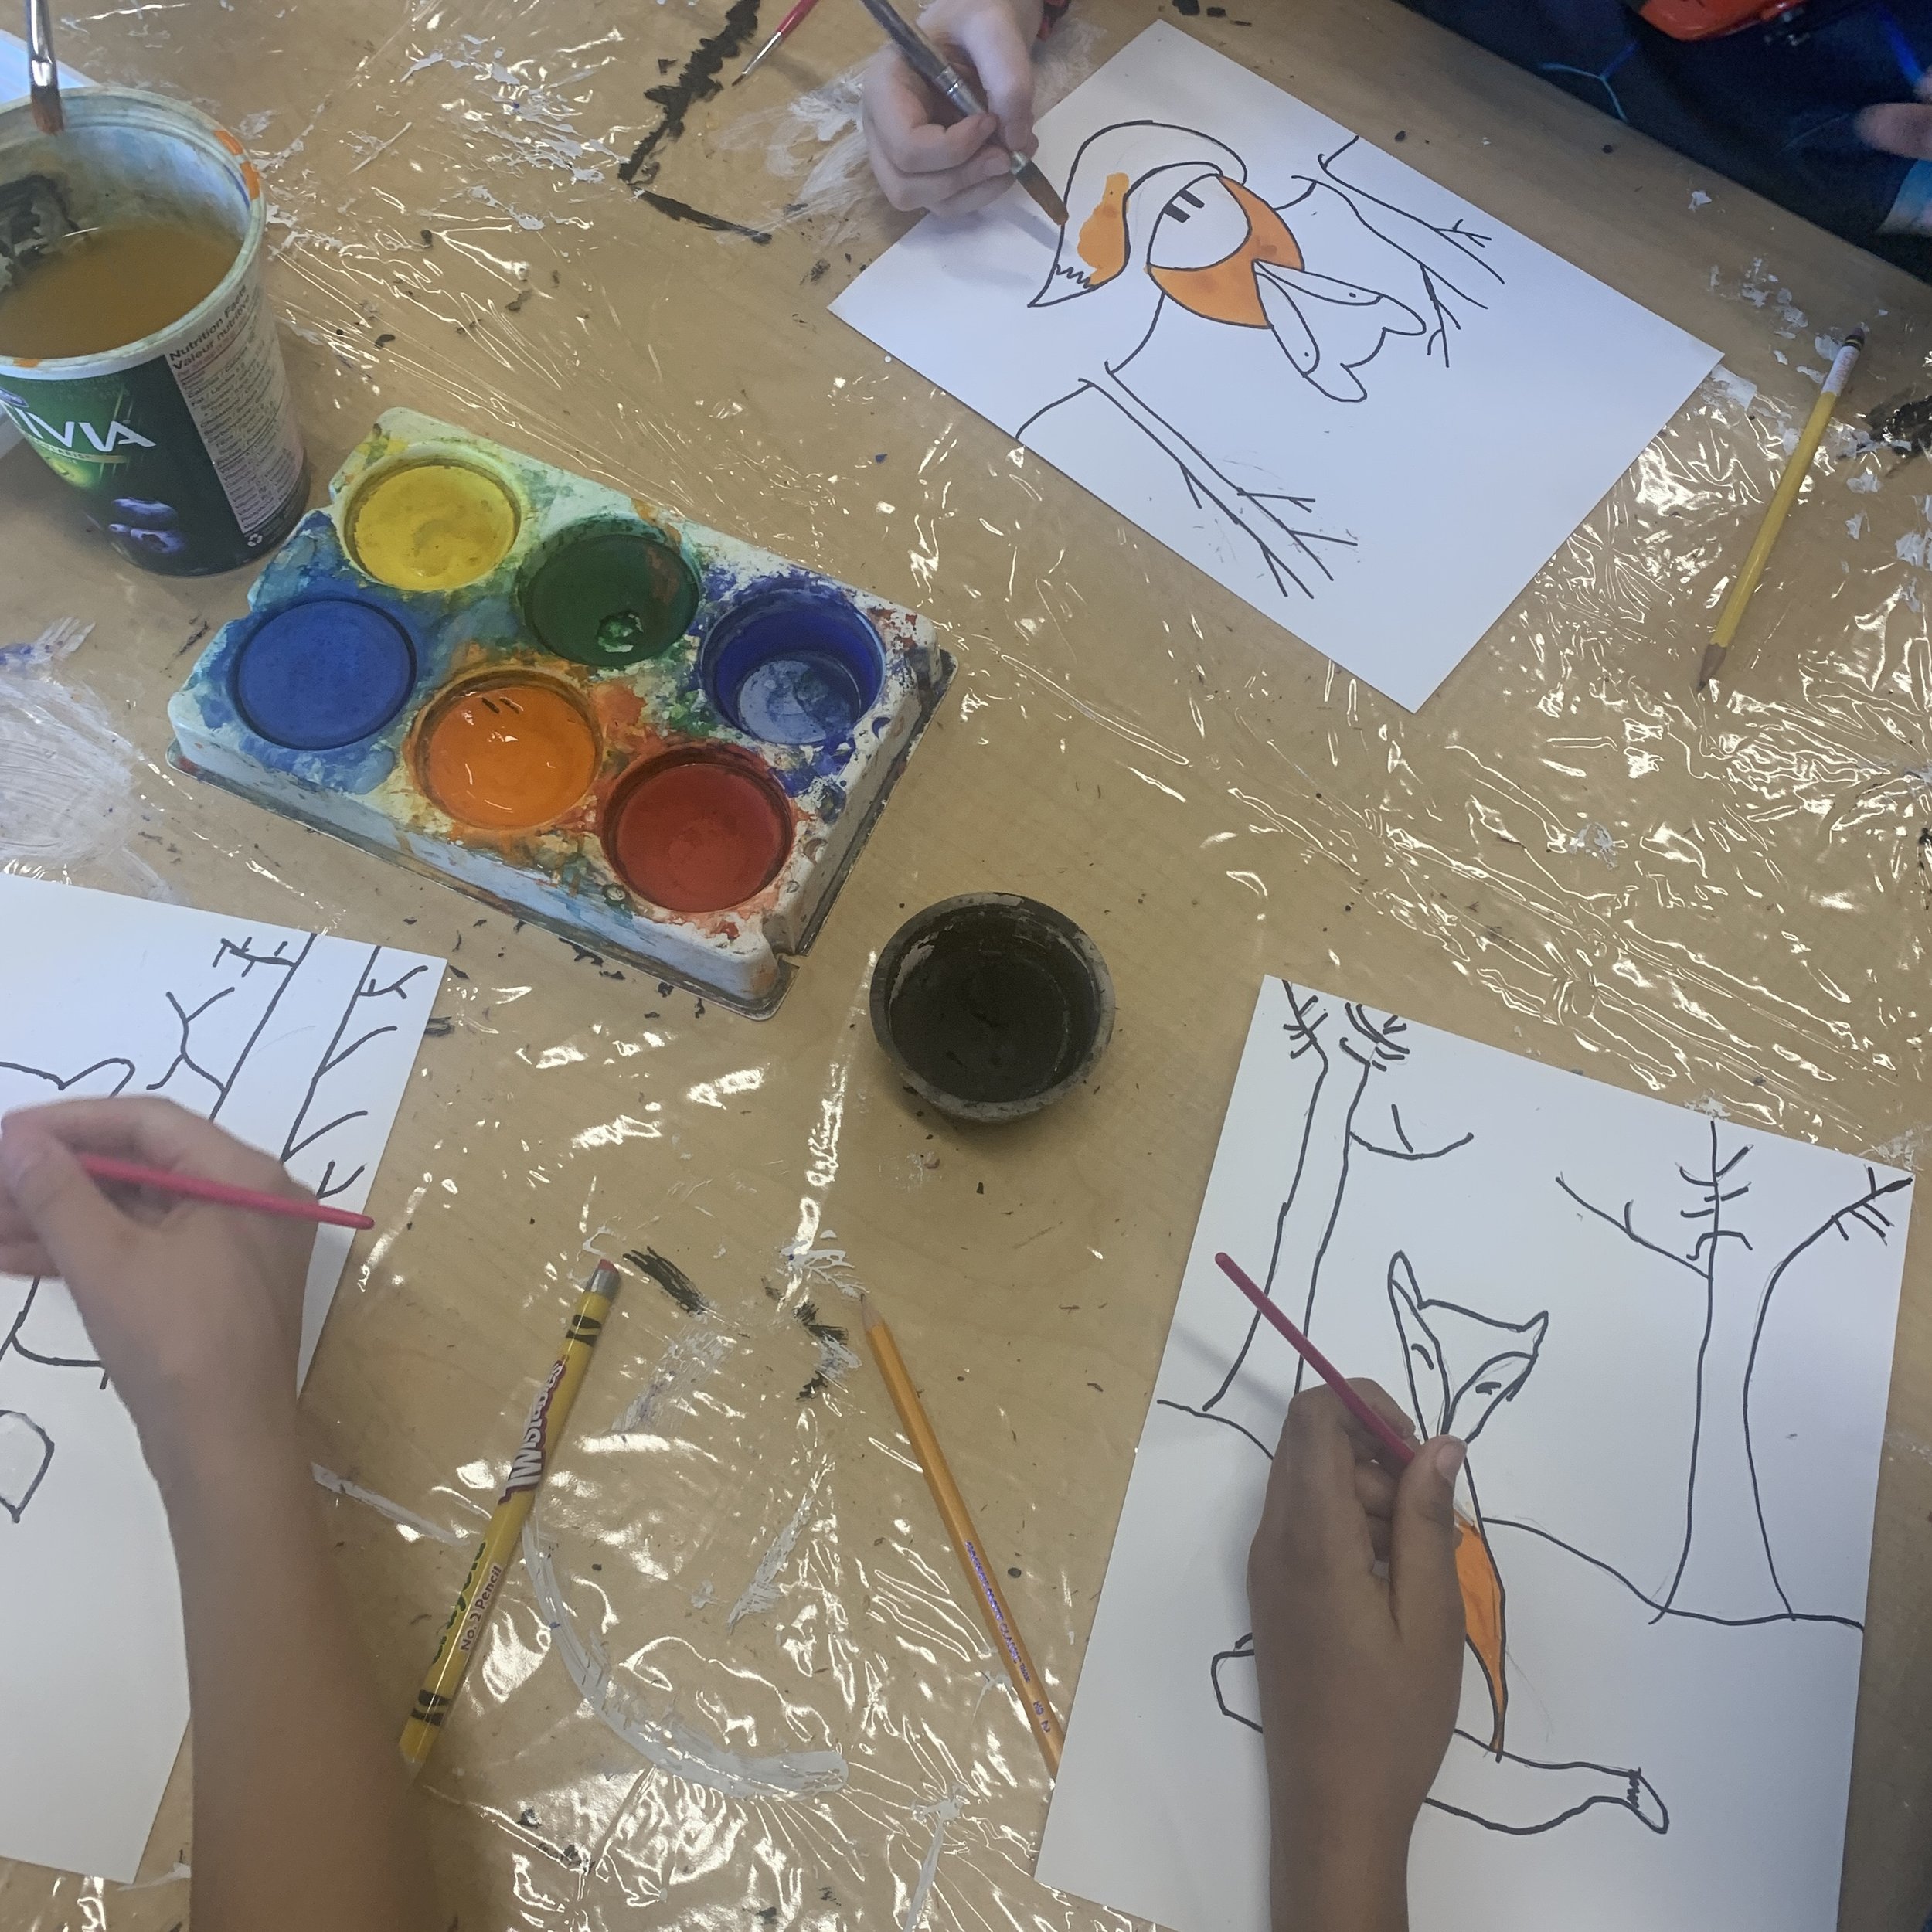
Start by drawing your fox in the middle of the page with pencil. We do this directed drawing style, starting with the face, then the body and tail.
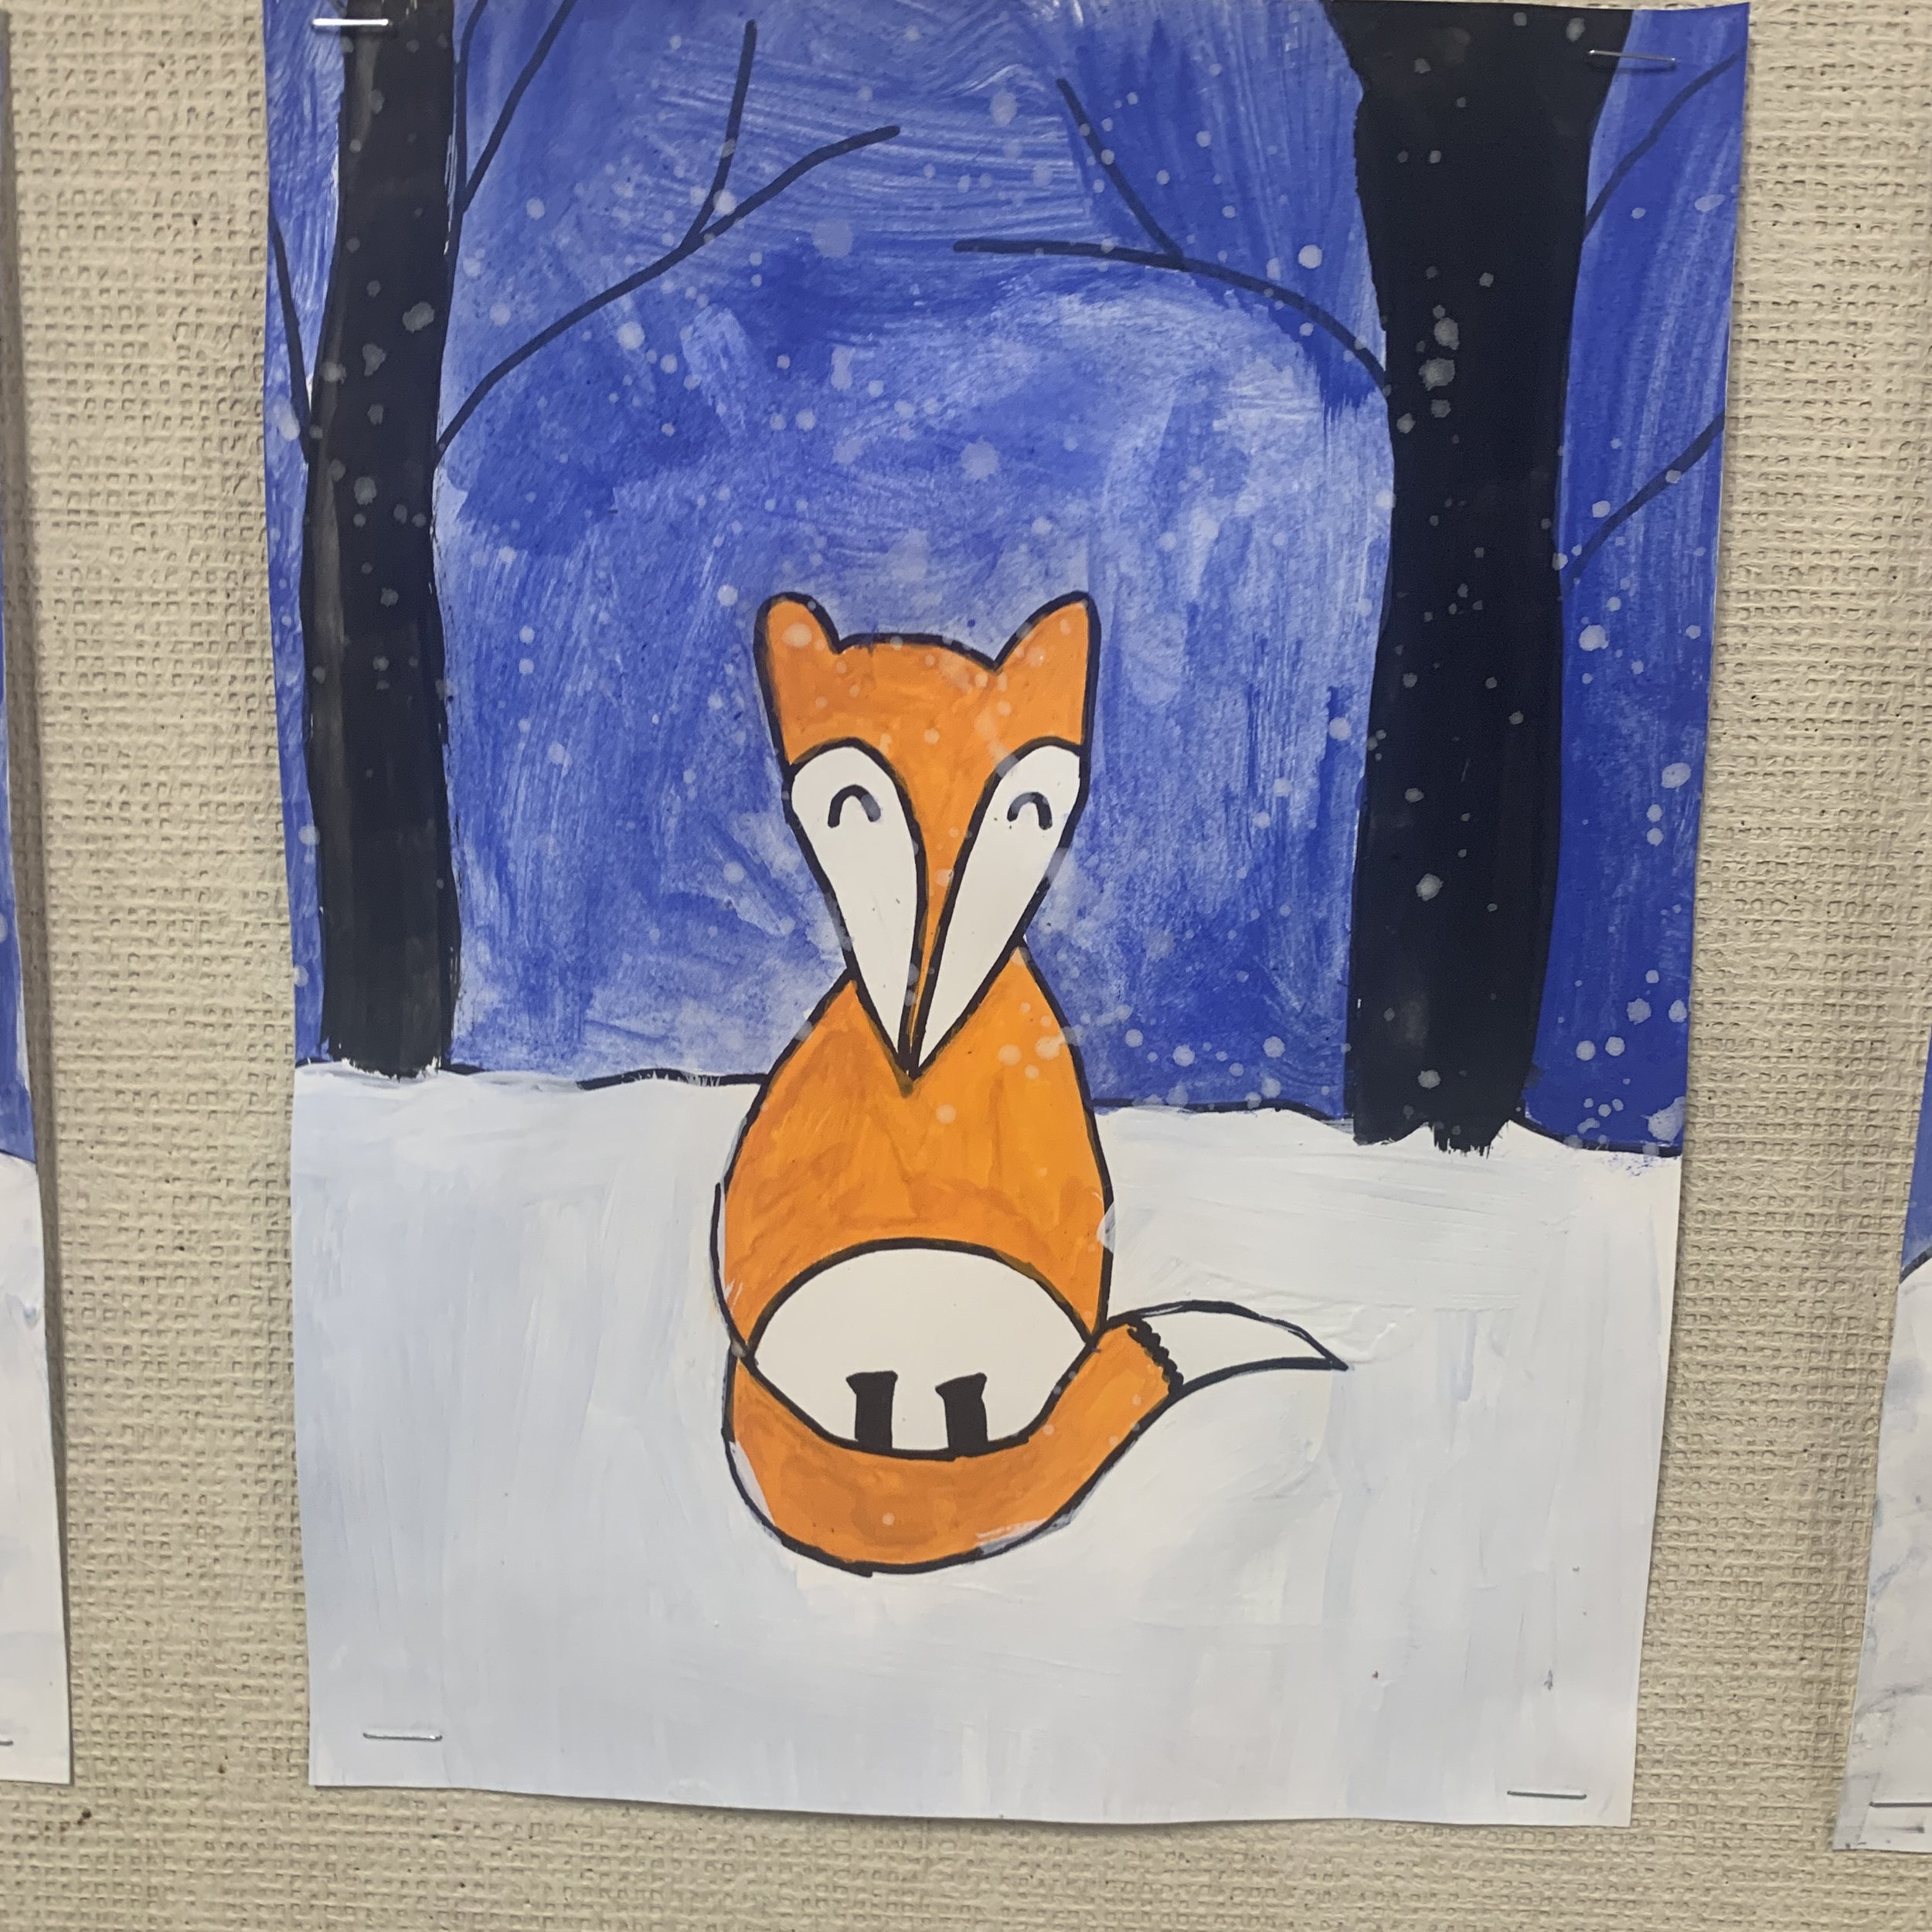
Next, add a wavy line for the snow and the outline of a few trees.
Once the pencil outlines are done, trace all pencil lines with the Sharpie.
It’s now time to paint. Here’s the order that I suggested for my students:
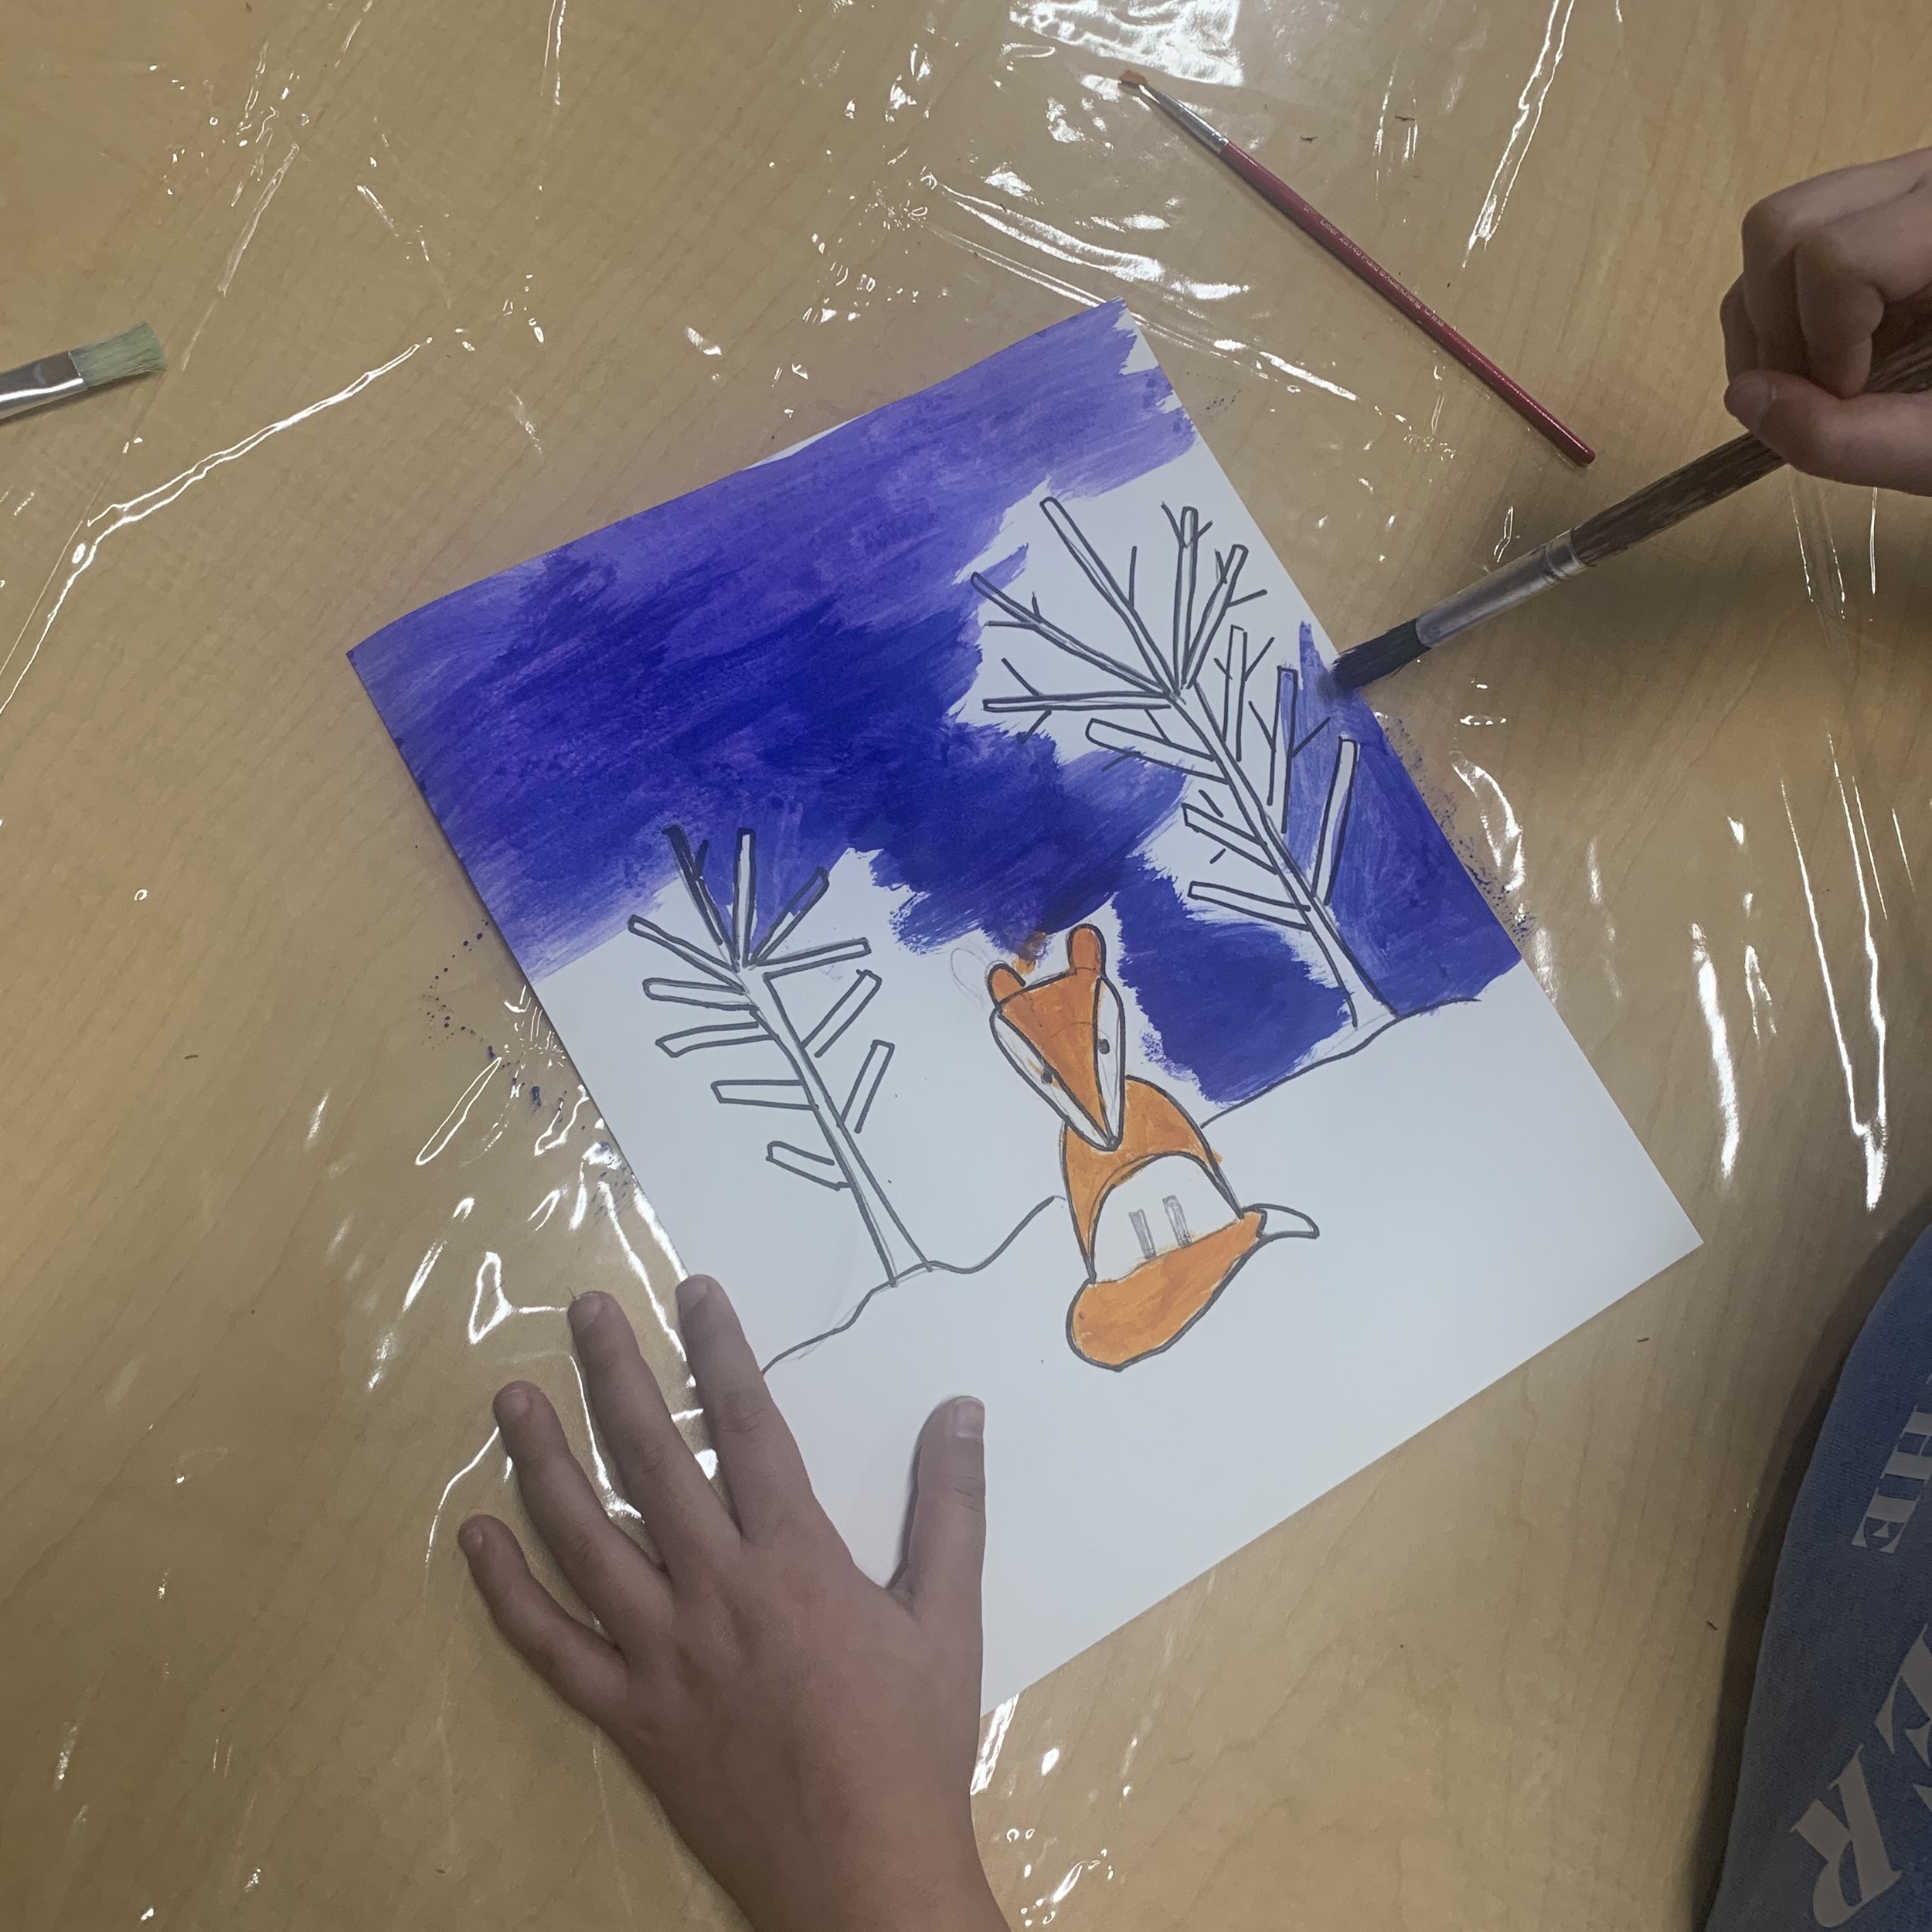
Orange
Blue
White
Black
*I didn’t have them paint the fox’s white bits since we had white paper. If you’re using manilla coloured paper, you could always use a white crayon or white pastel for this part.
When painting, you may find that you cover some of the lines, no problem! Just wait for it to dry completely and you can go over those lines with your Sharpie.
To make the snow, I mix a tiny bit of water with some white acrylic paint and then use a large brush to splatter. I usually do this outside. If you’re going to do it inside, put a table cloth down to protect your table or floor.