Zentangle Pattern Leaves Art Project
Leaves and patterns, perfect for back to school or fall art. This is a multi-step project so consider your pacing when choosing this project. I combined a few projects I’d seen online into this one.
Time required:
30 min (day one) background
30 minutes (day two) branch
These suggested times are for a full size piece.
If you’re doing a half size version like mine, they can usually get the background and most of their zentangle done in the first day with 40-45 min. They’ll only need a few minutes the next day to cut out their branch and glue.
Materials:
Card stock (I use a beige colour, it doesn’t need to be white since we will cover it up)
White paper (printer weight is fine)
Tissue paper squares (in a variety of warm and cold colours)
Sharpie marker
Glue stick
Liquid glue
Water
Sponge brush
Scissors
Teacher prep:
Cut tissue paper into squares. I do this with the big paper cutter and it goes quickly. Make two bags of tissue paper, one for warm colours and one for cold colours.
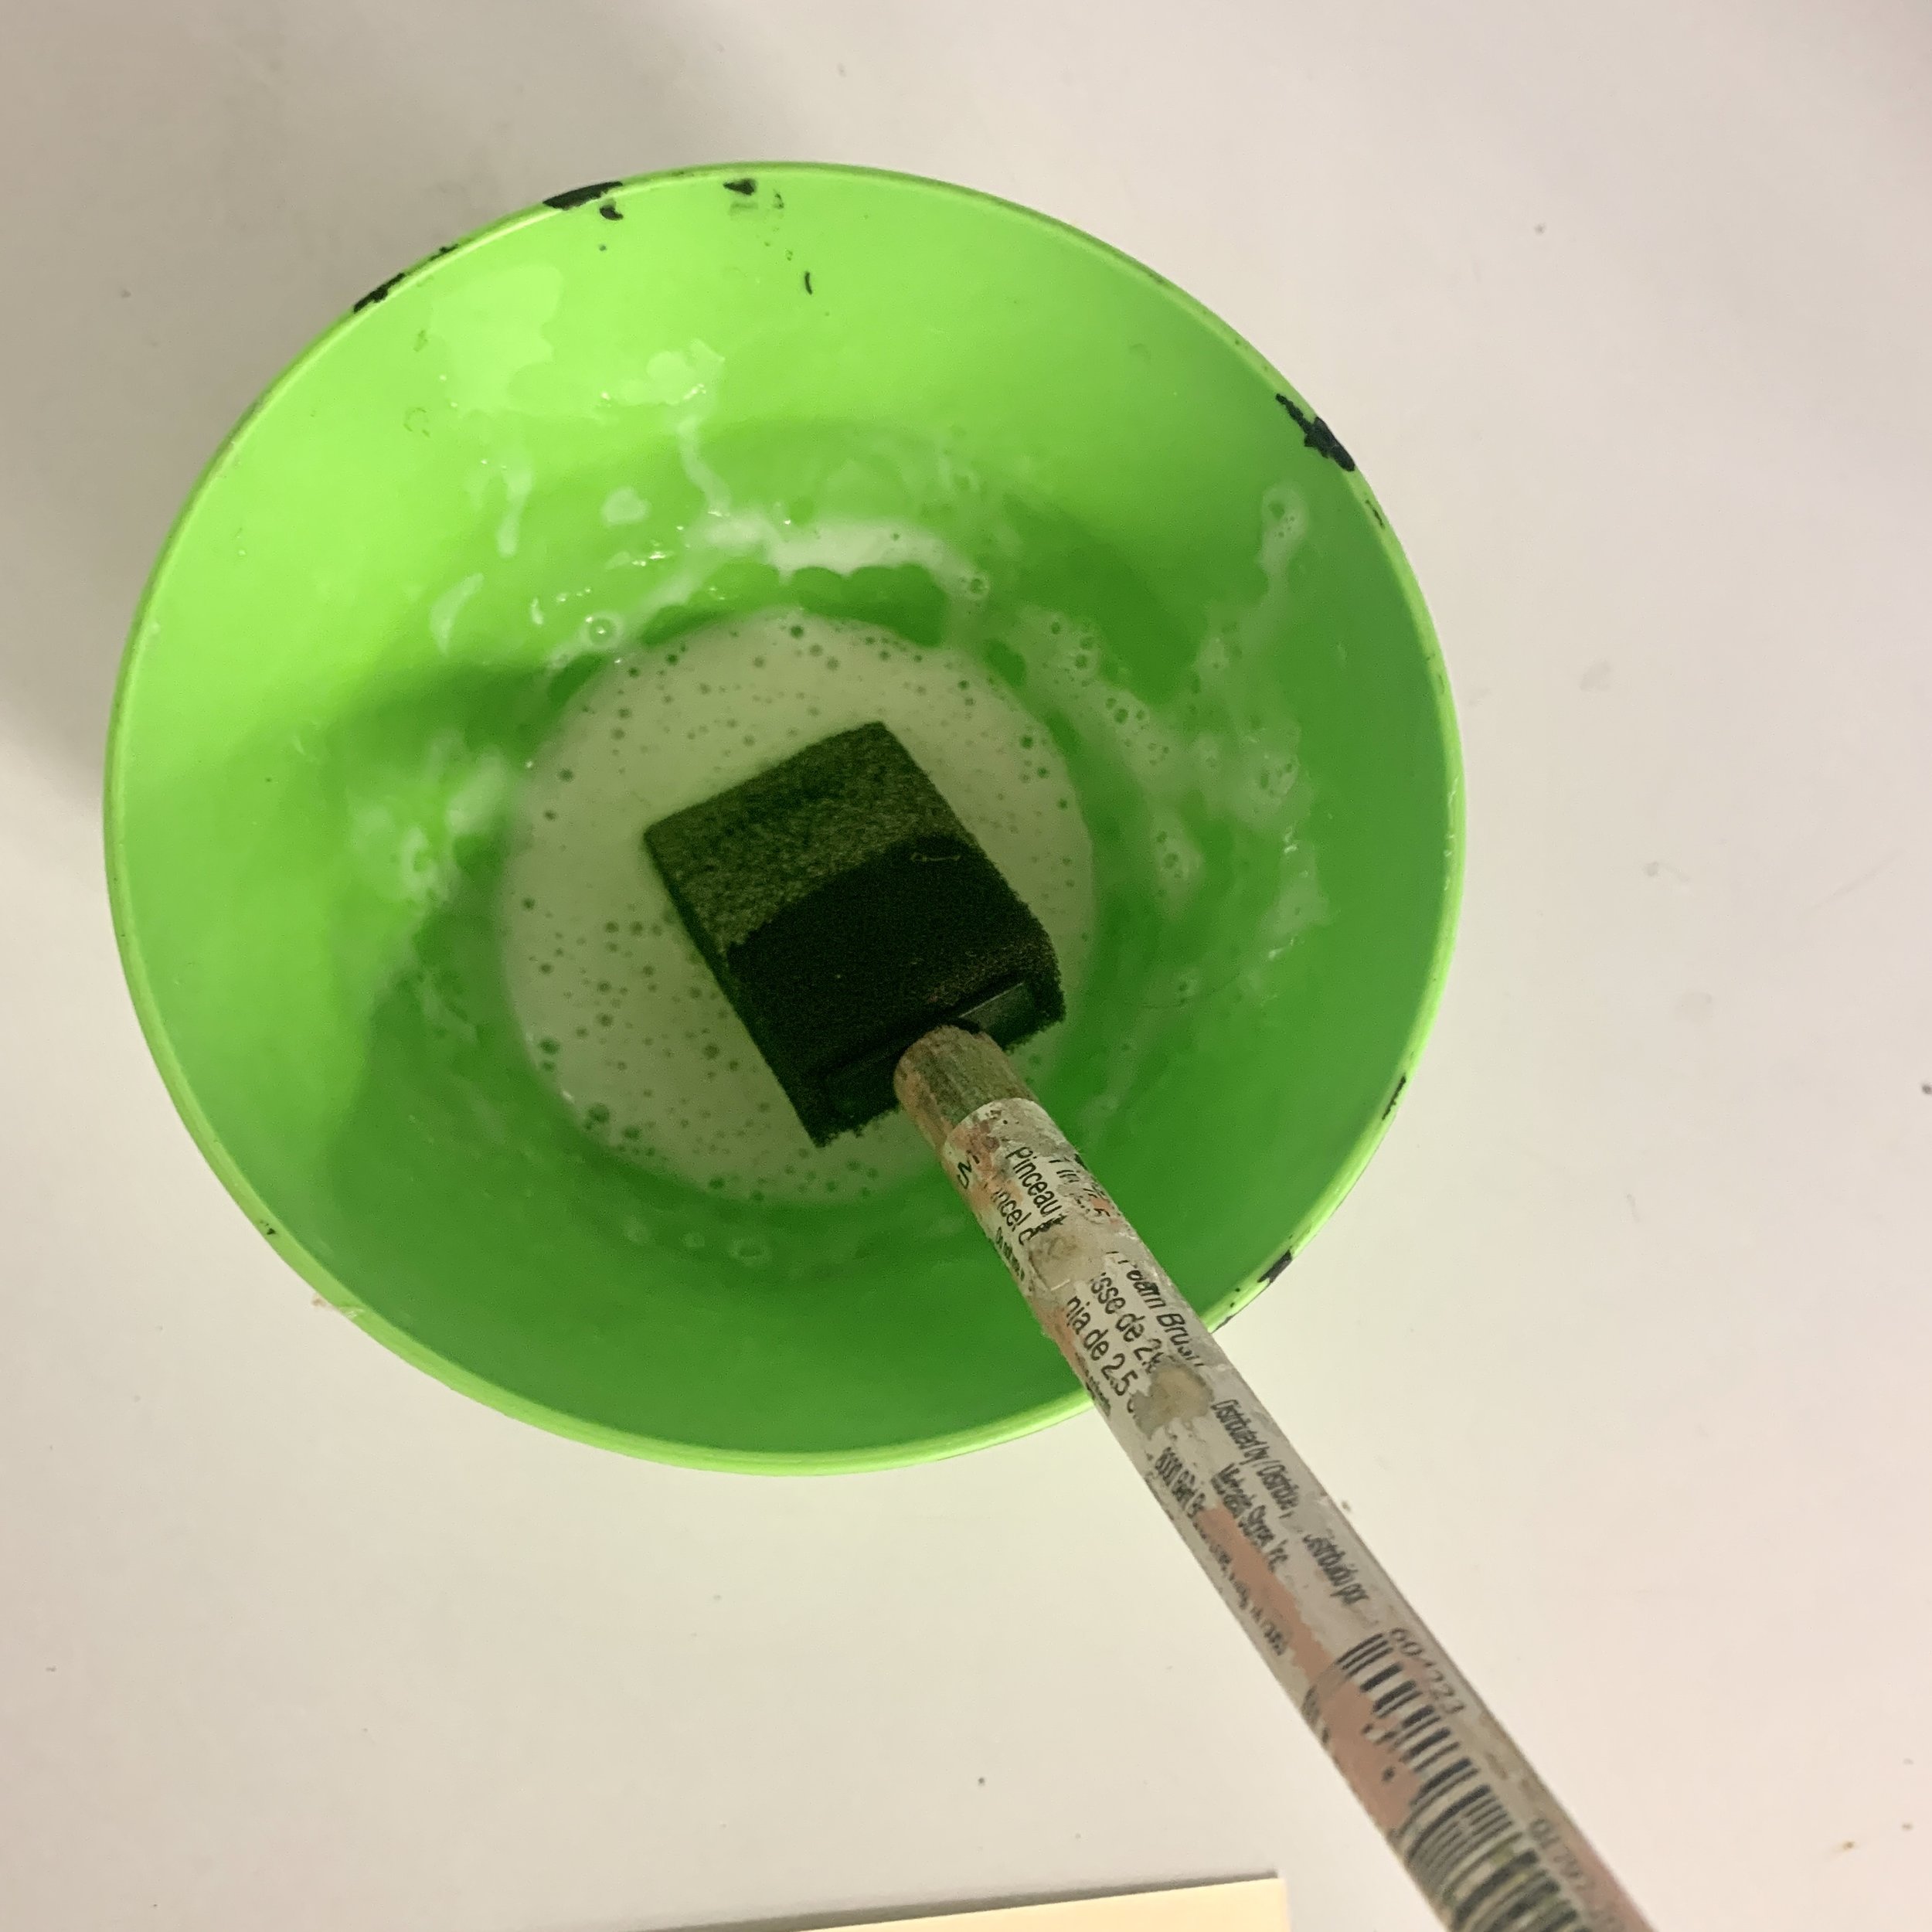
Right before starting, you’ll need to mix up a glue mixture. Mostly glue with just a tiny bit of water to thin it out.
Note: I made mine smaller, so I could fit them along the top of my whiteboards (an 8.5x11 cut in half per student) but you can absolutely make this full sized. If you choose to go smaller, pre-cut your card stock and white paper to size.
Steps:
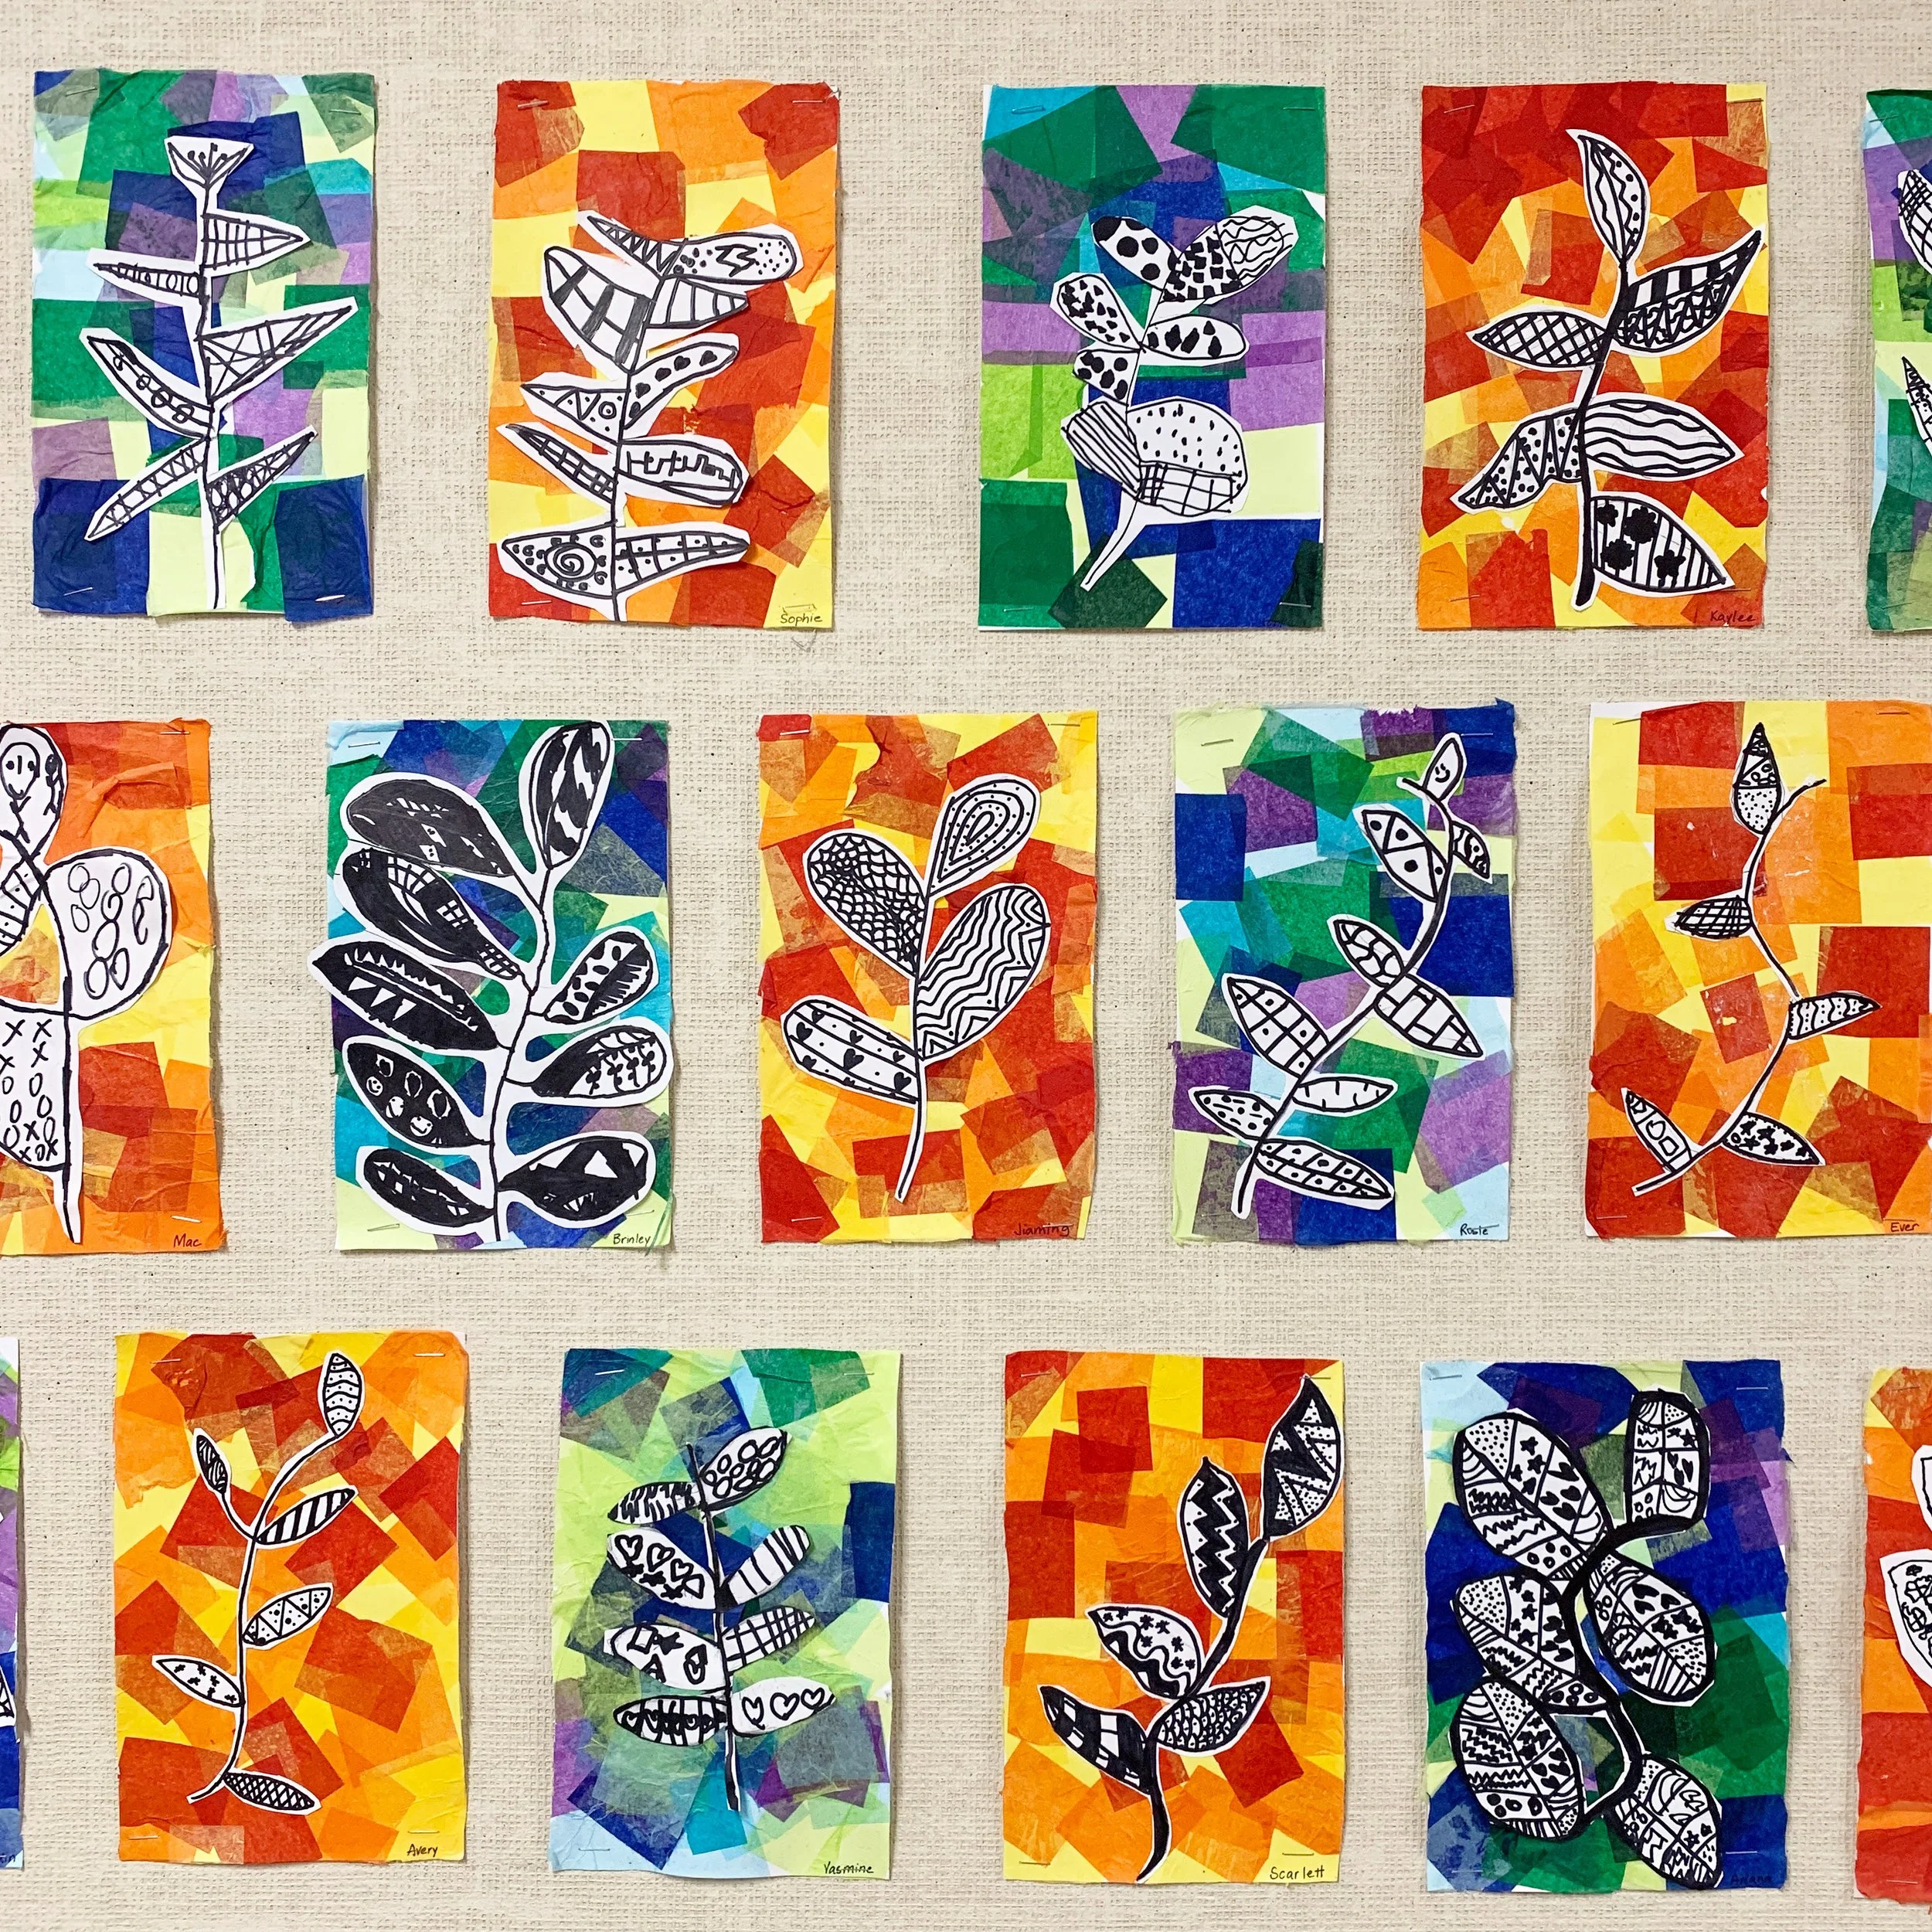
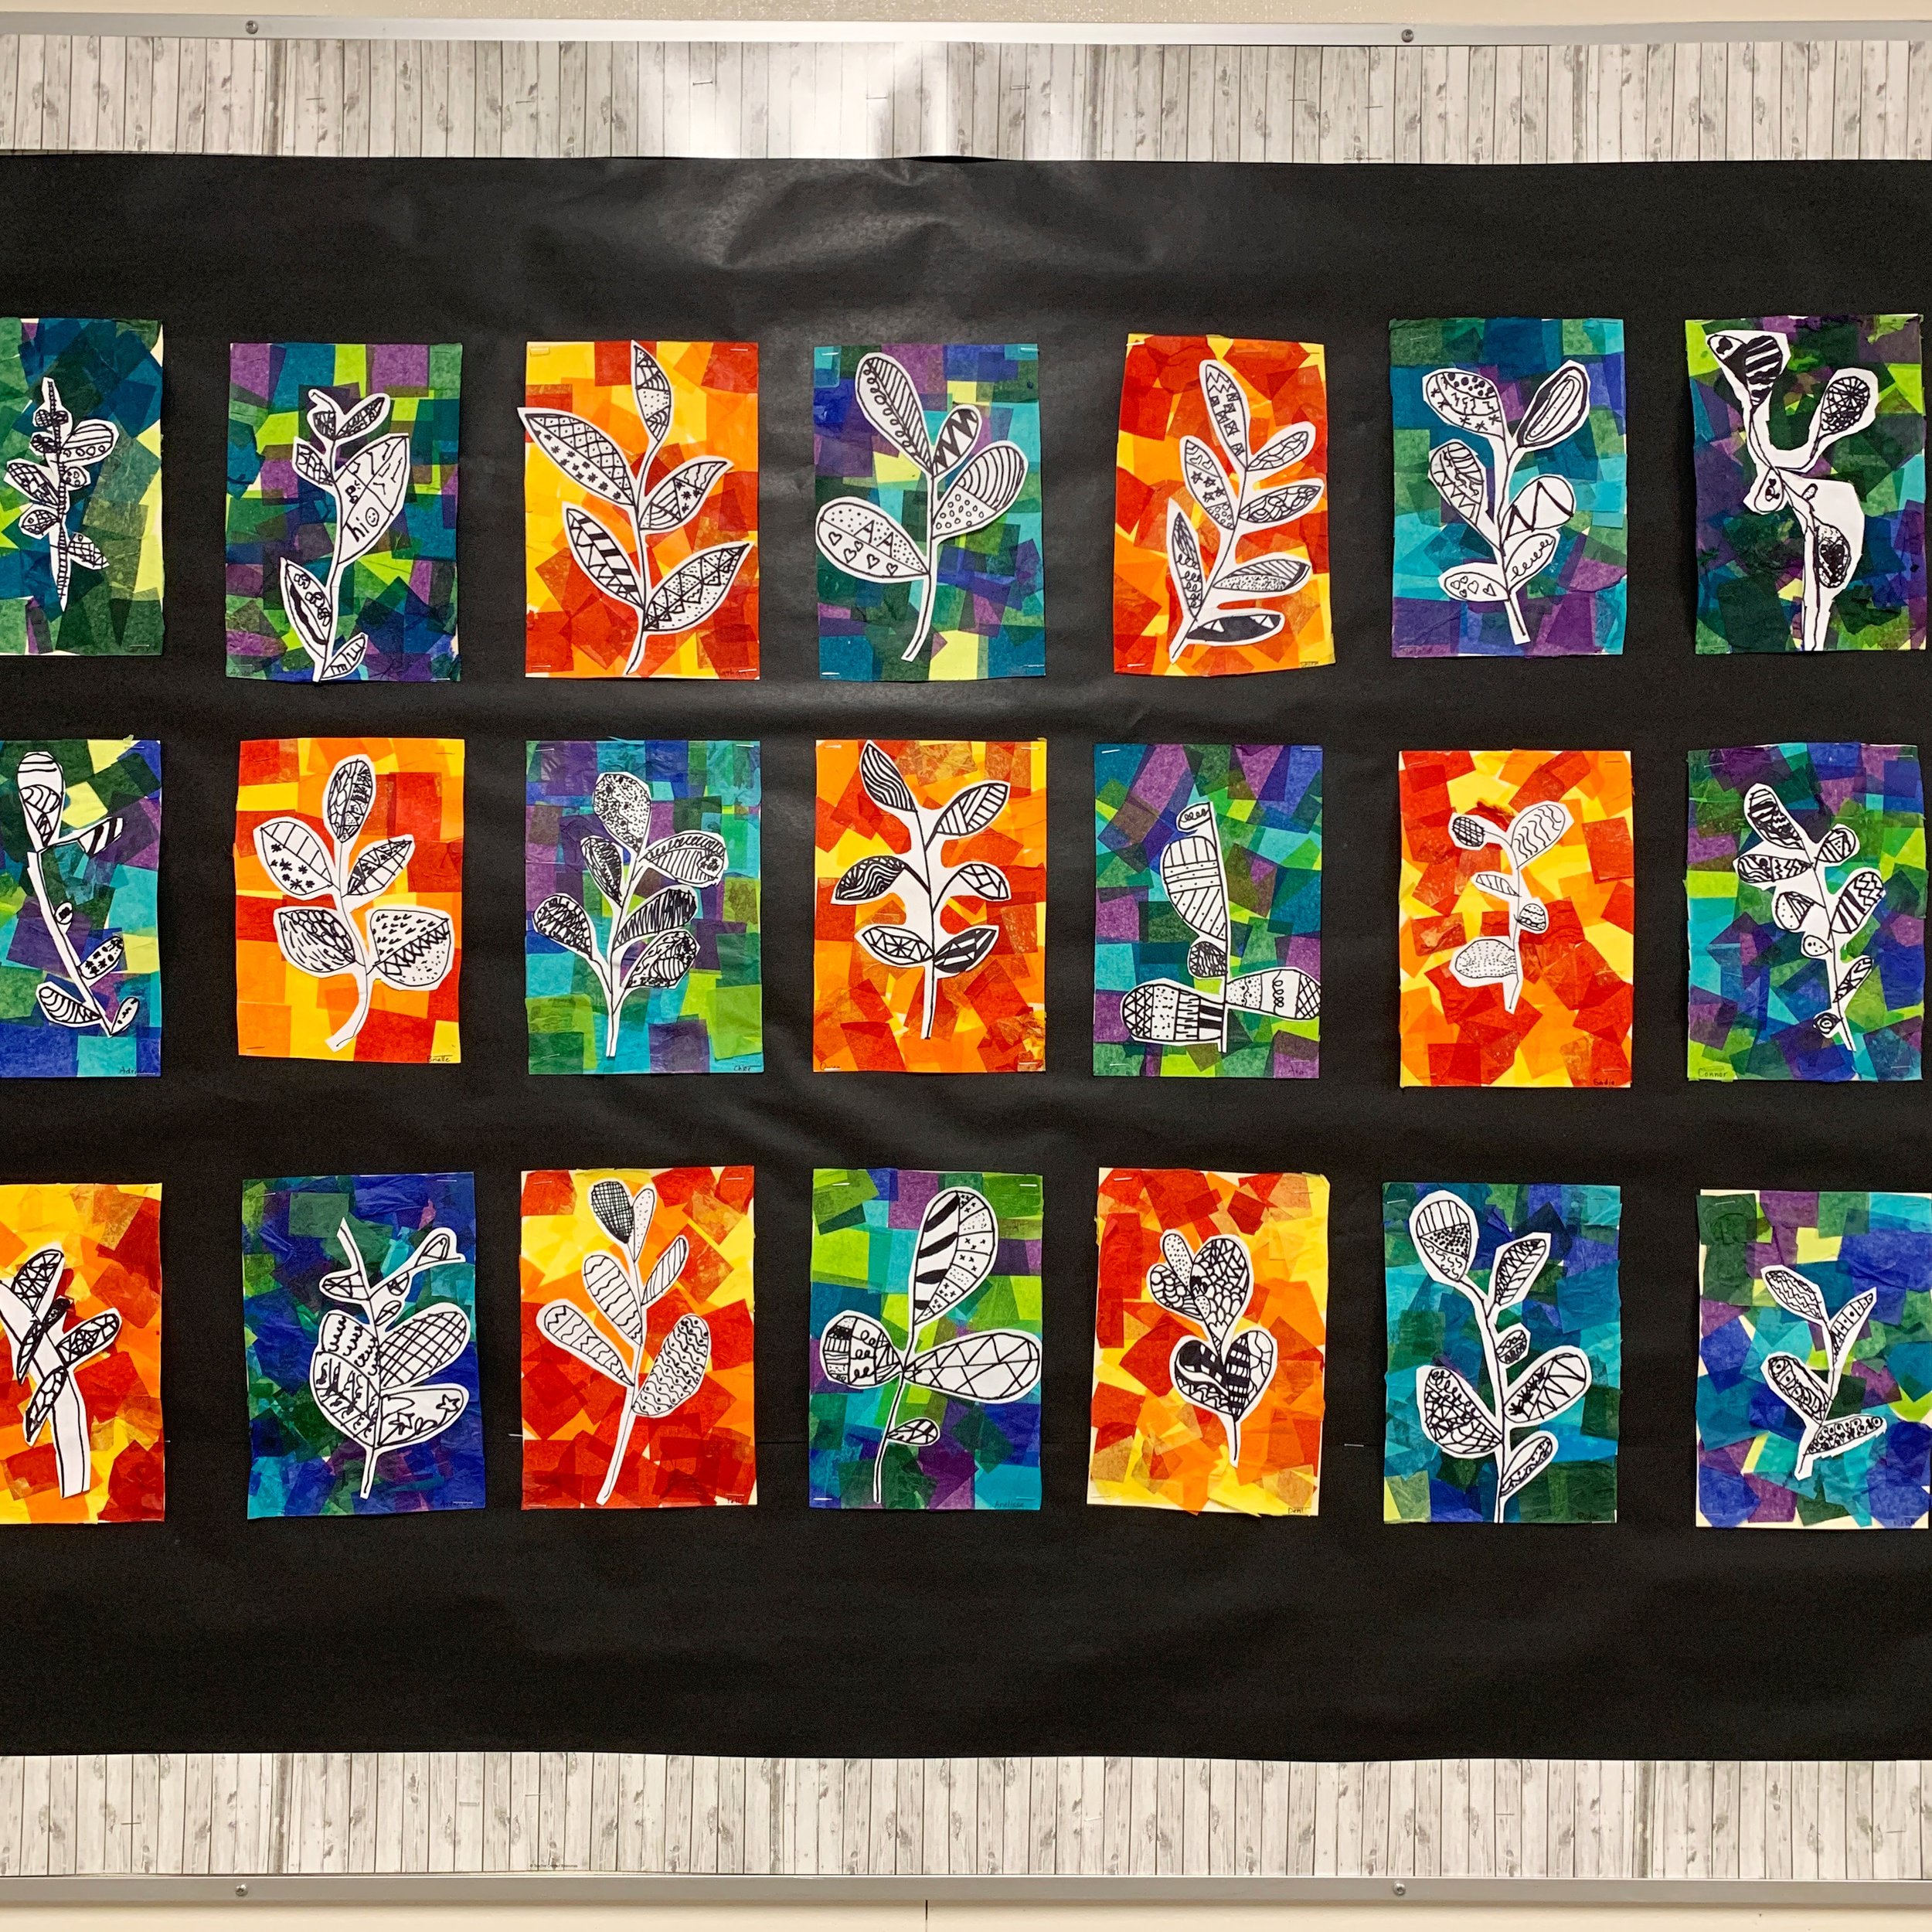
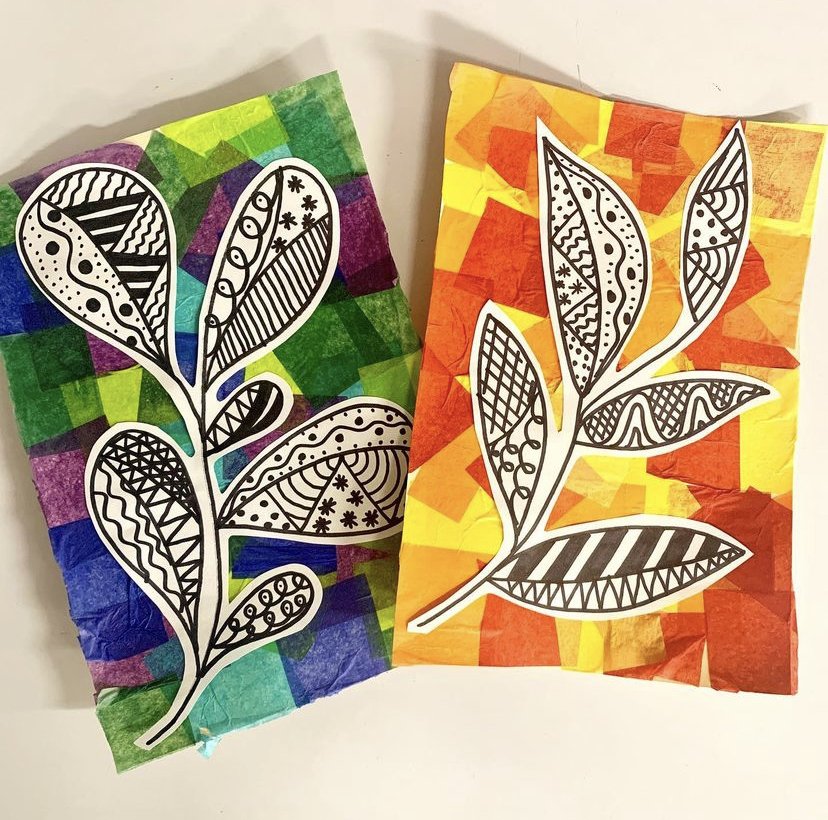
Background
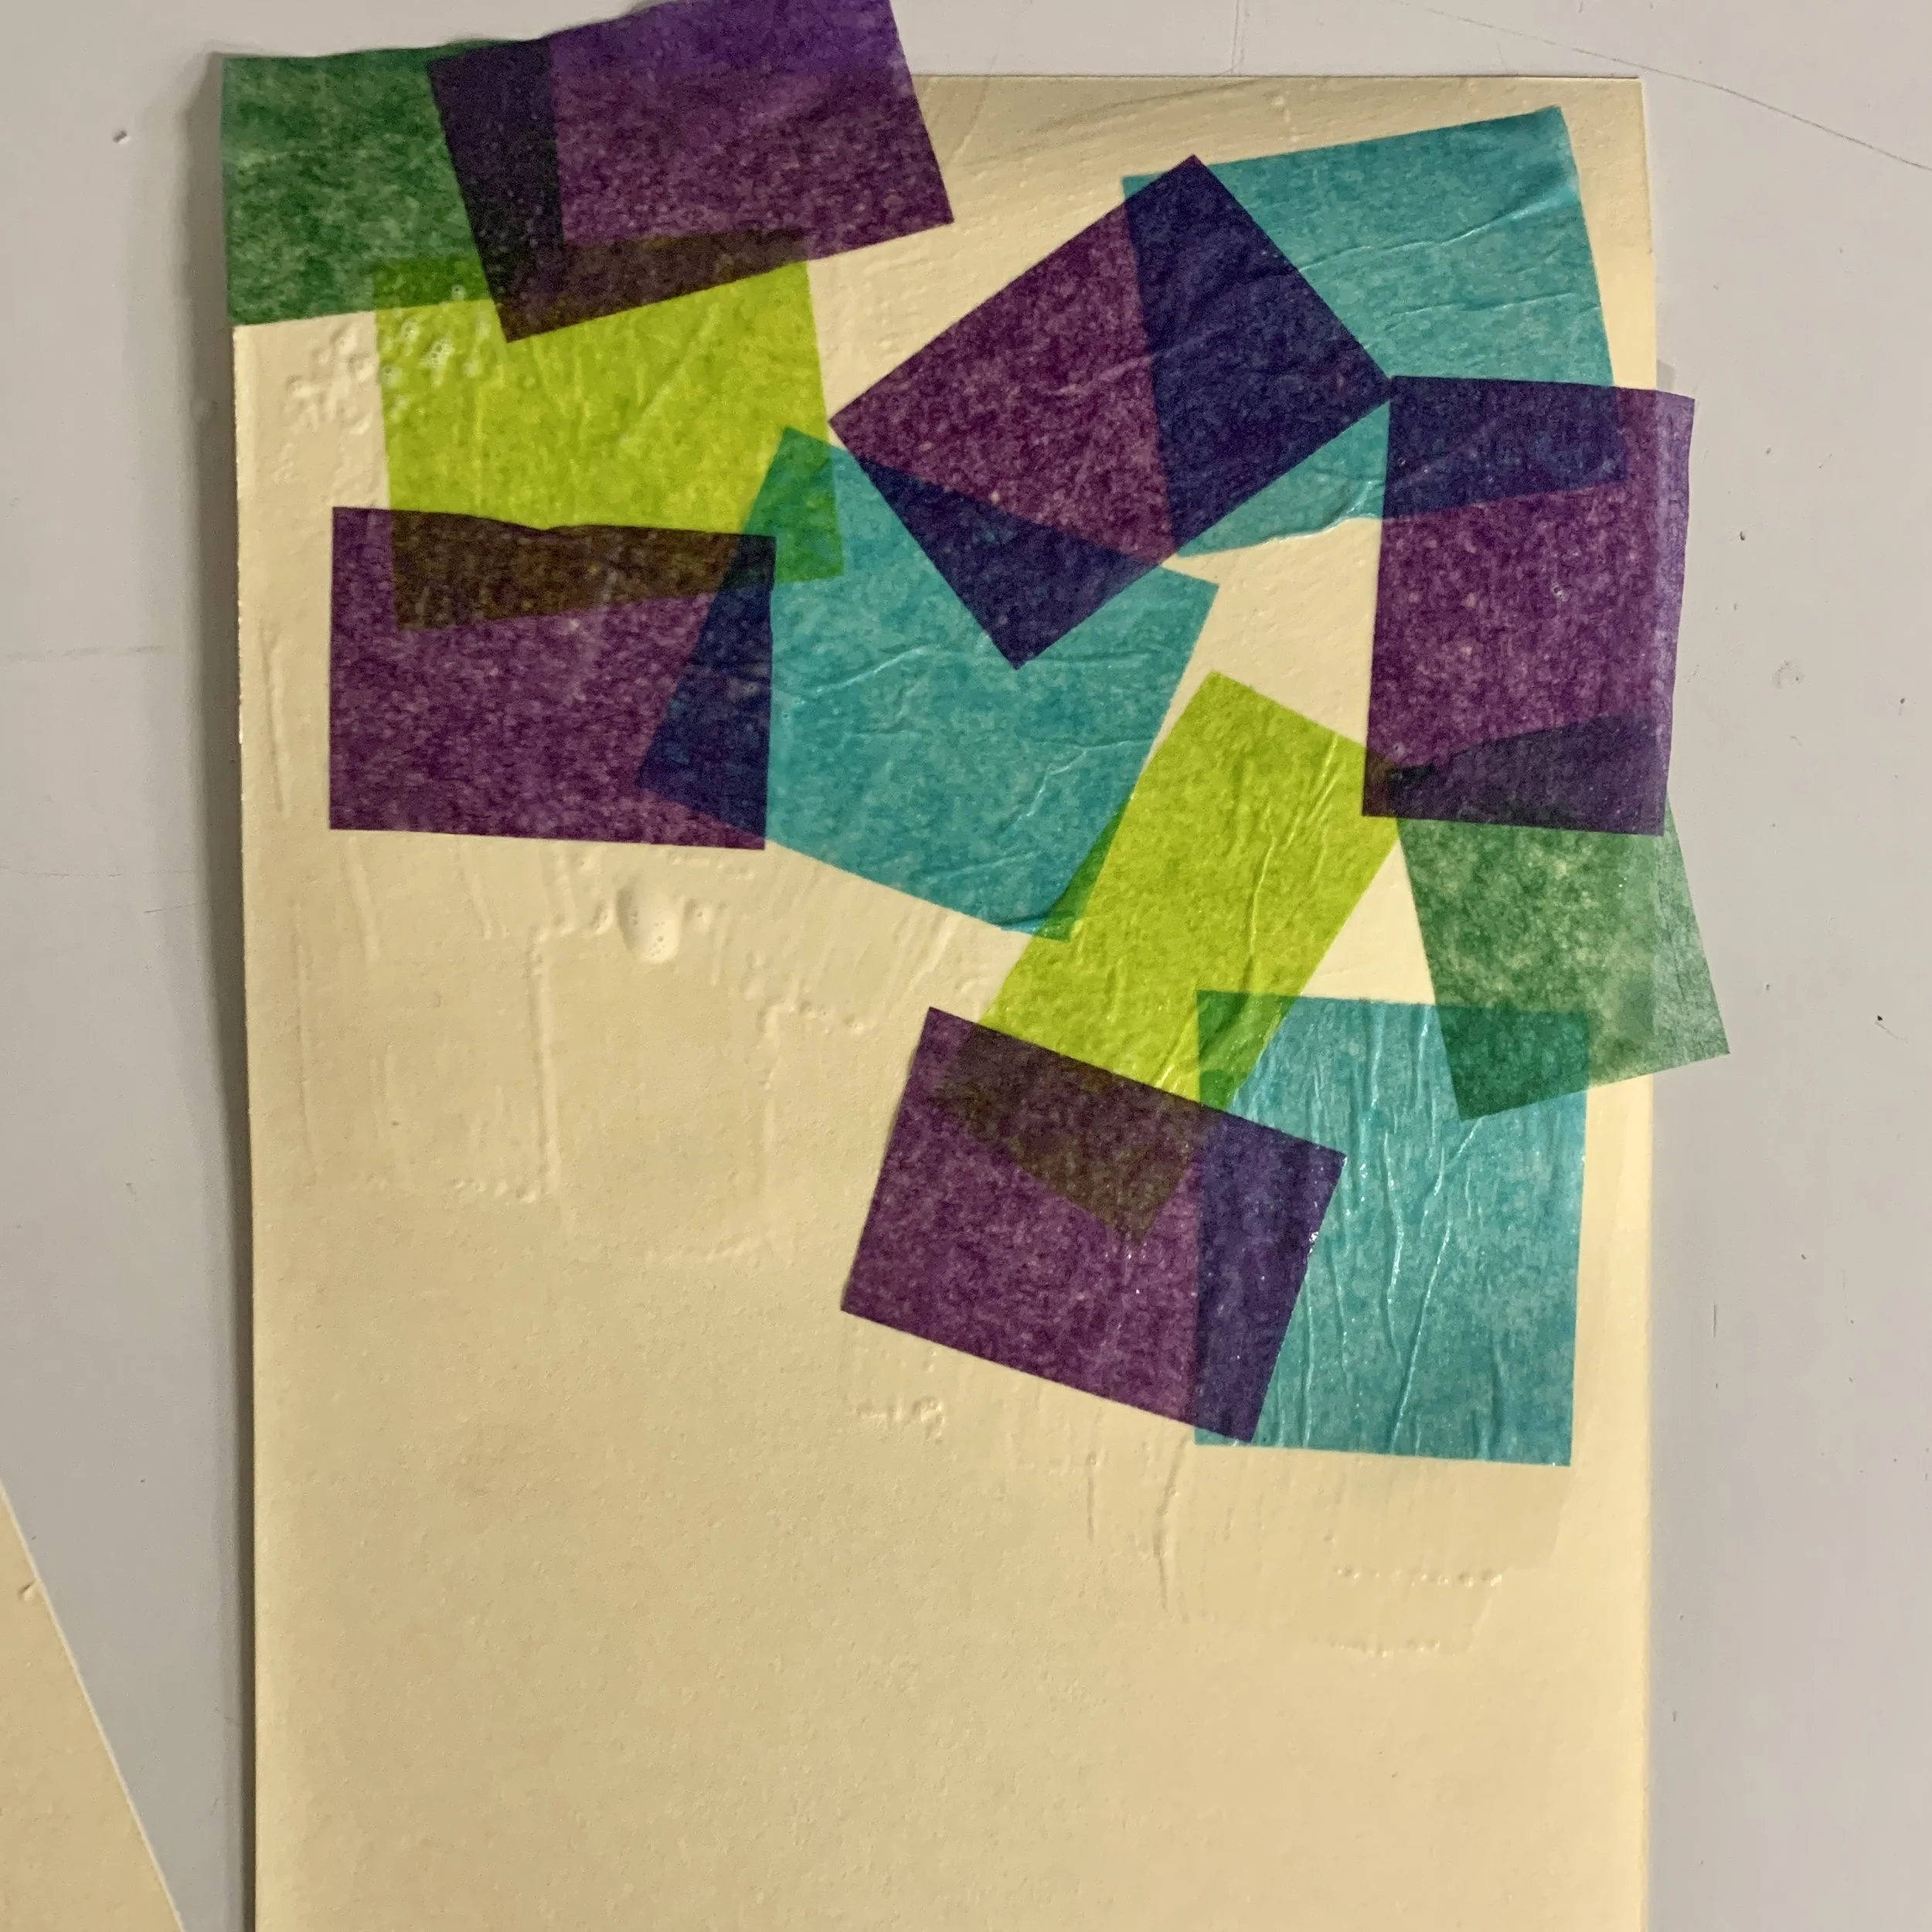
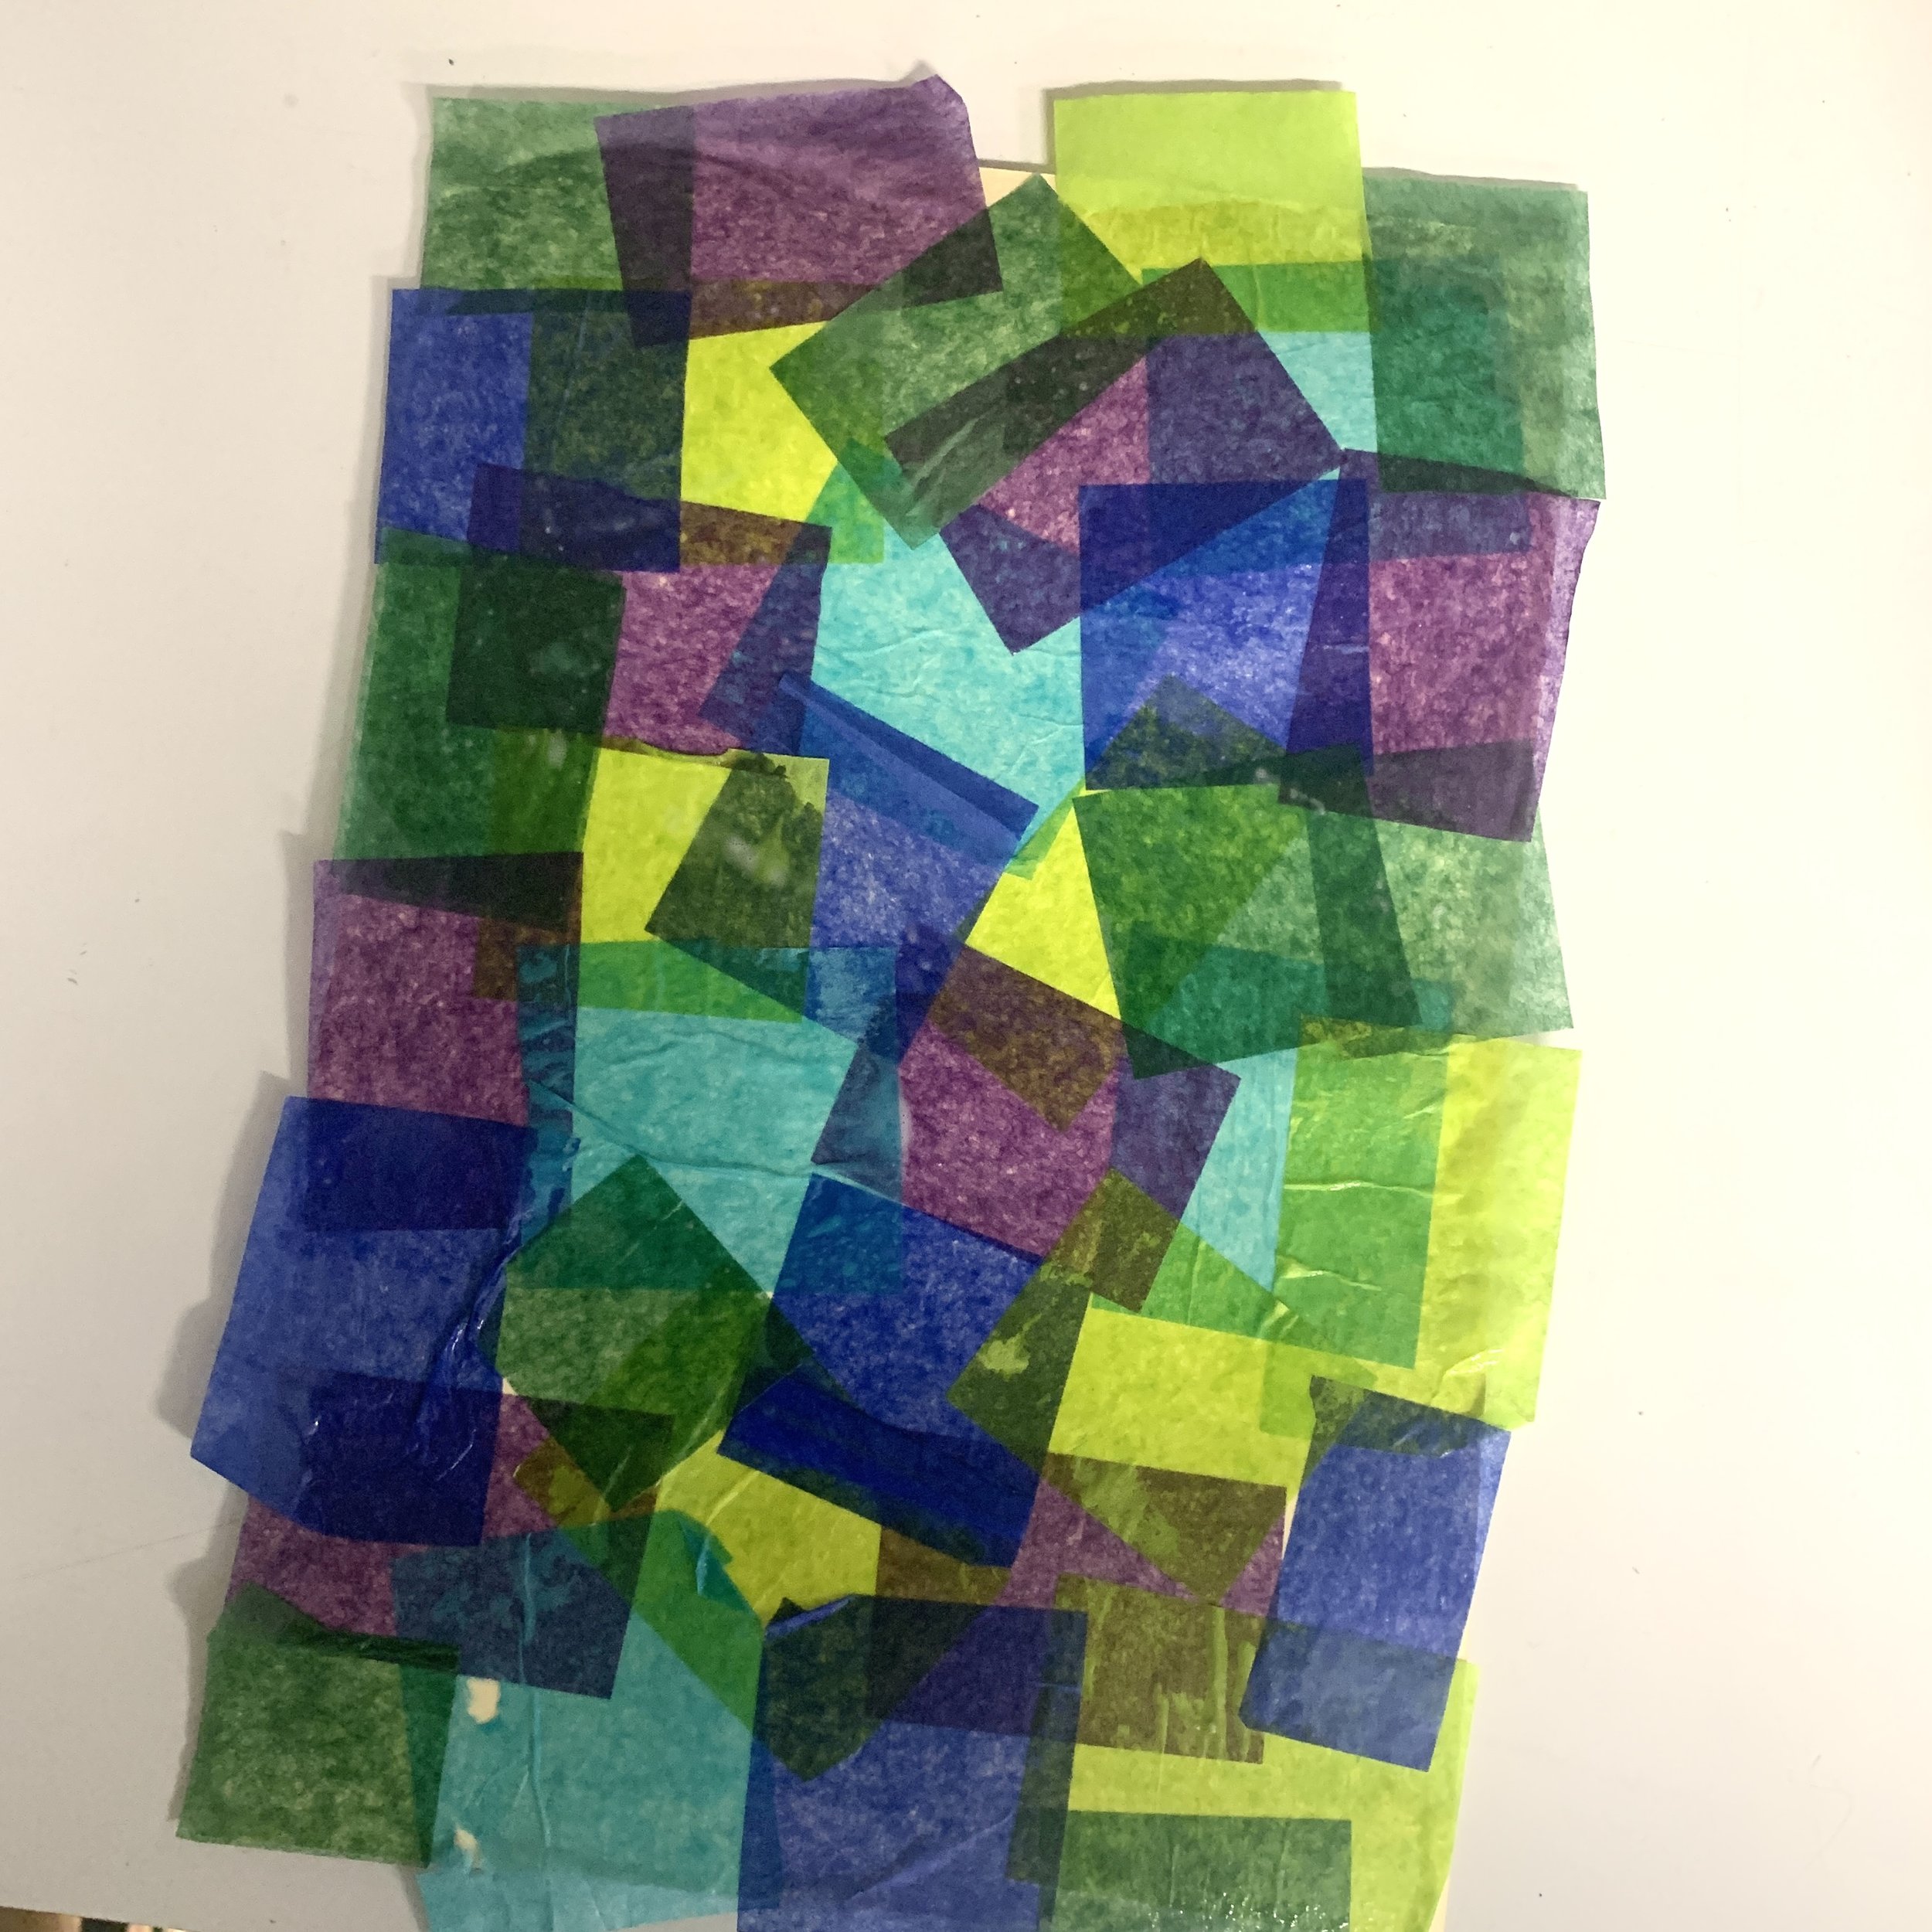
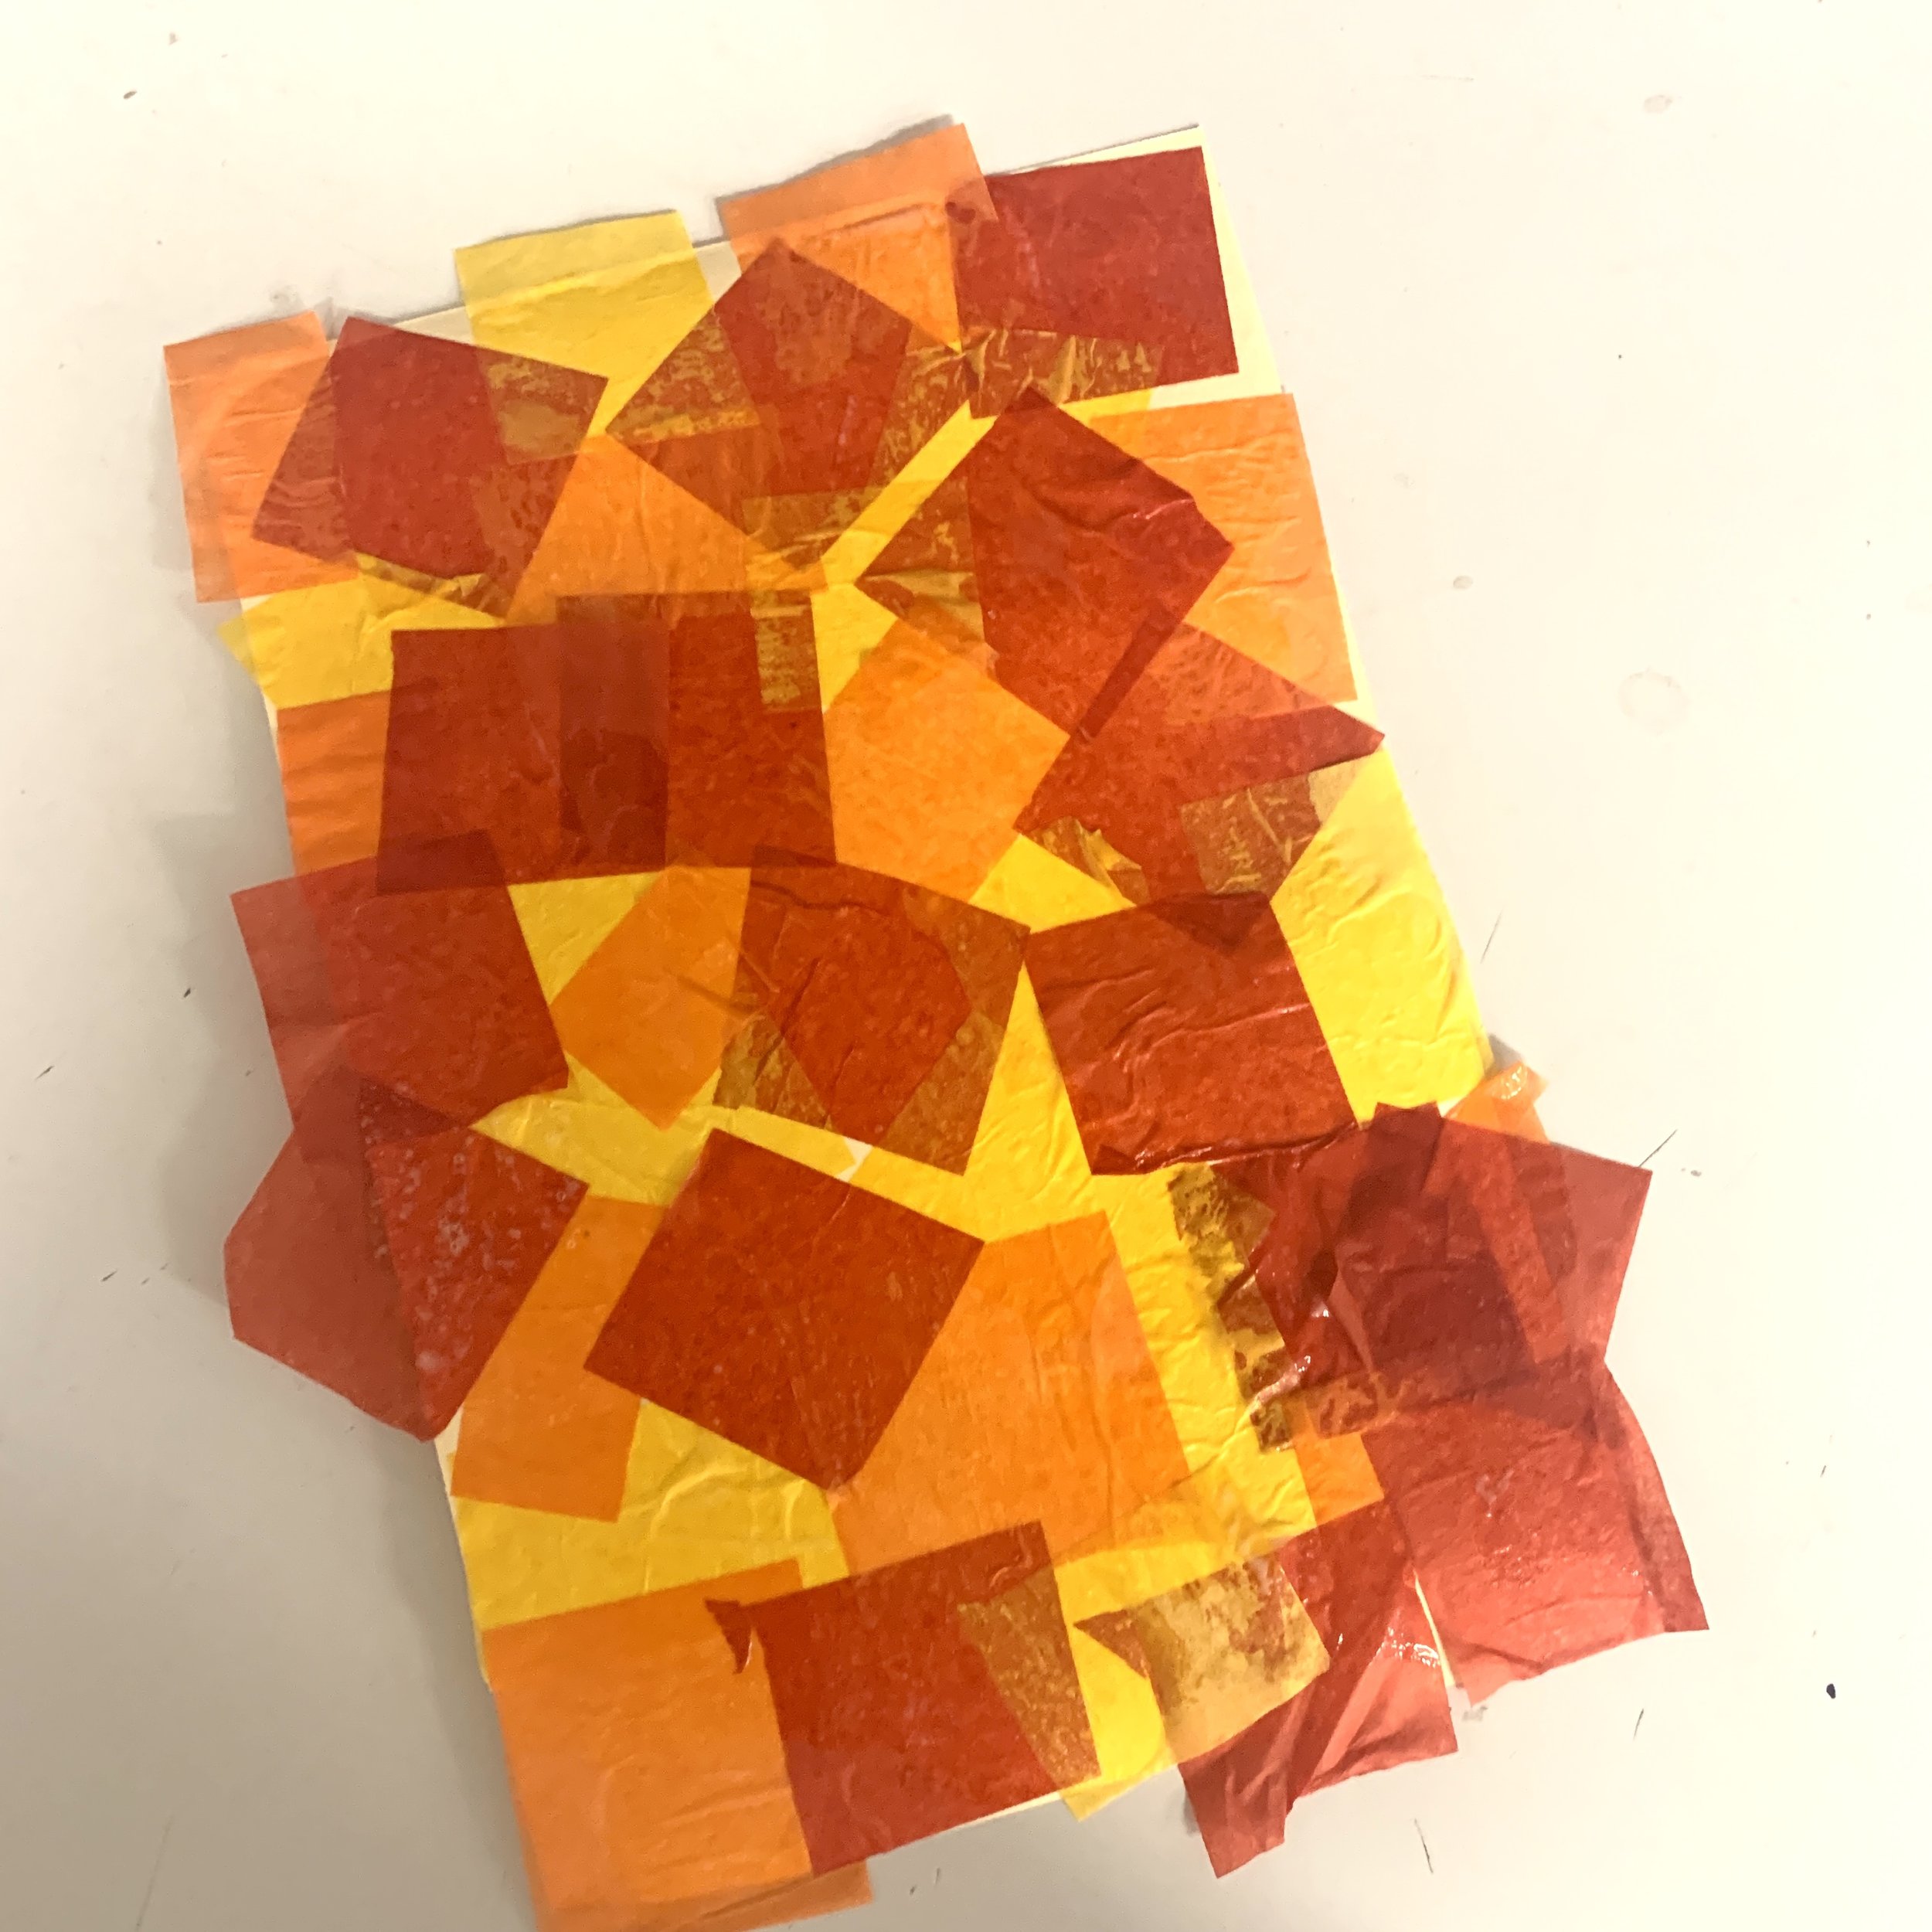
Choose between a warm colour palette or a cold colour palette.
Using your sponge brush, apply a thin layer of the glue mixture onto a small section of your card stock.
Now lay pieces of tissue paper onto the card stock one at a time. They can overlap, but we don’t want thick sections. Go slow, if you go too fast you’ll end up ripping the paper.
Dip your sponge brush back into the glue mixture and seal your pieces down. The tissue paper should look shiny.
Now continue onto another section, glue mixture on card stock first, then apply tissue paper, then seal it.
Continue until the background is fully filled.
Set aside to dry.
Once they’re dry, I recommend putting them under something heavy to flatten. I usually do this after school so that they’re flat the next morning for the day two part.
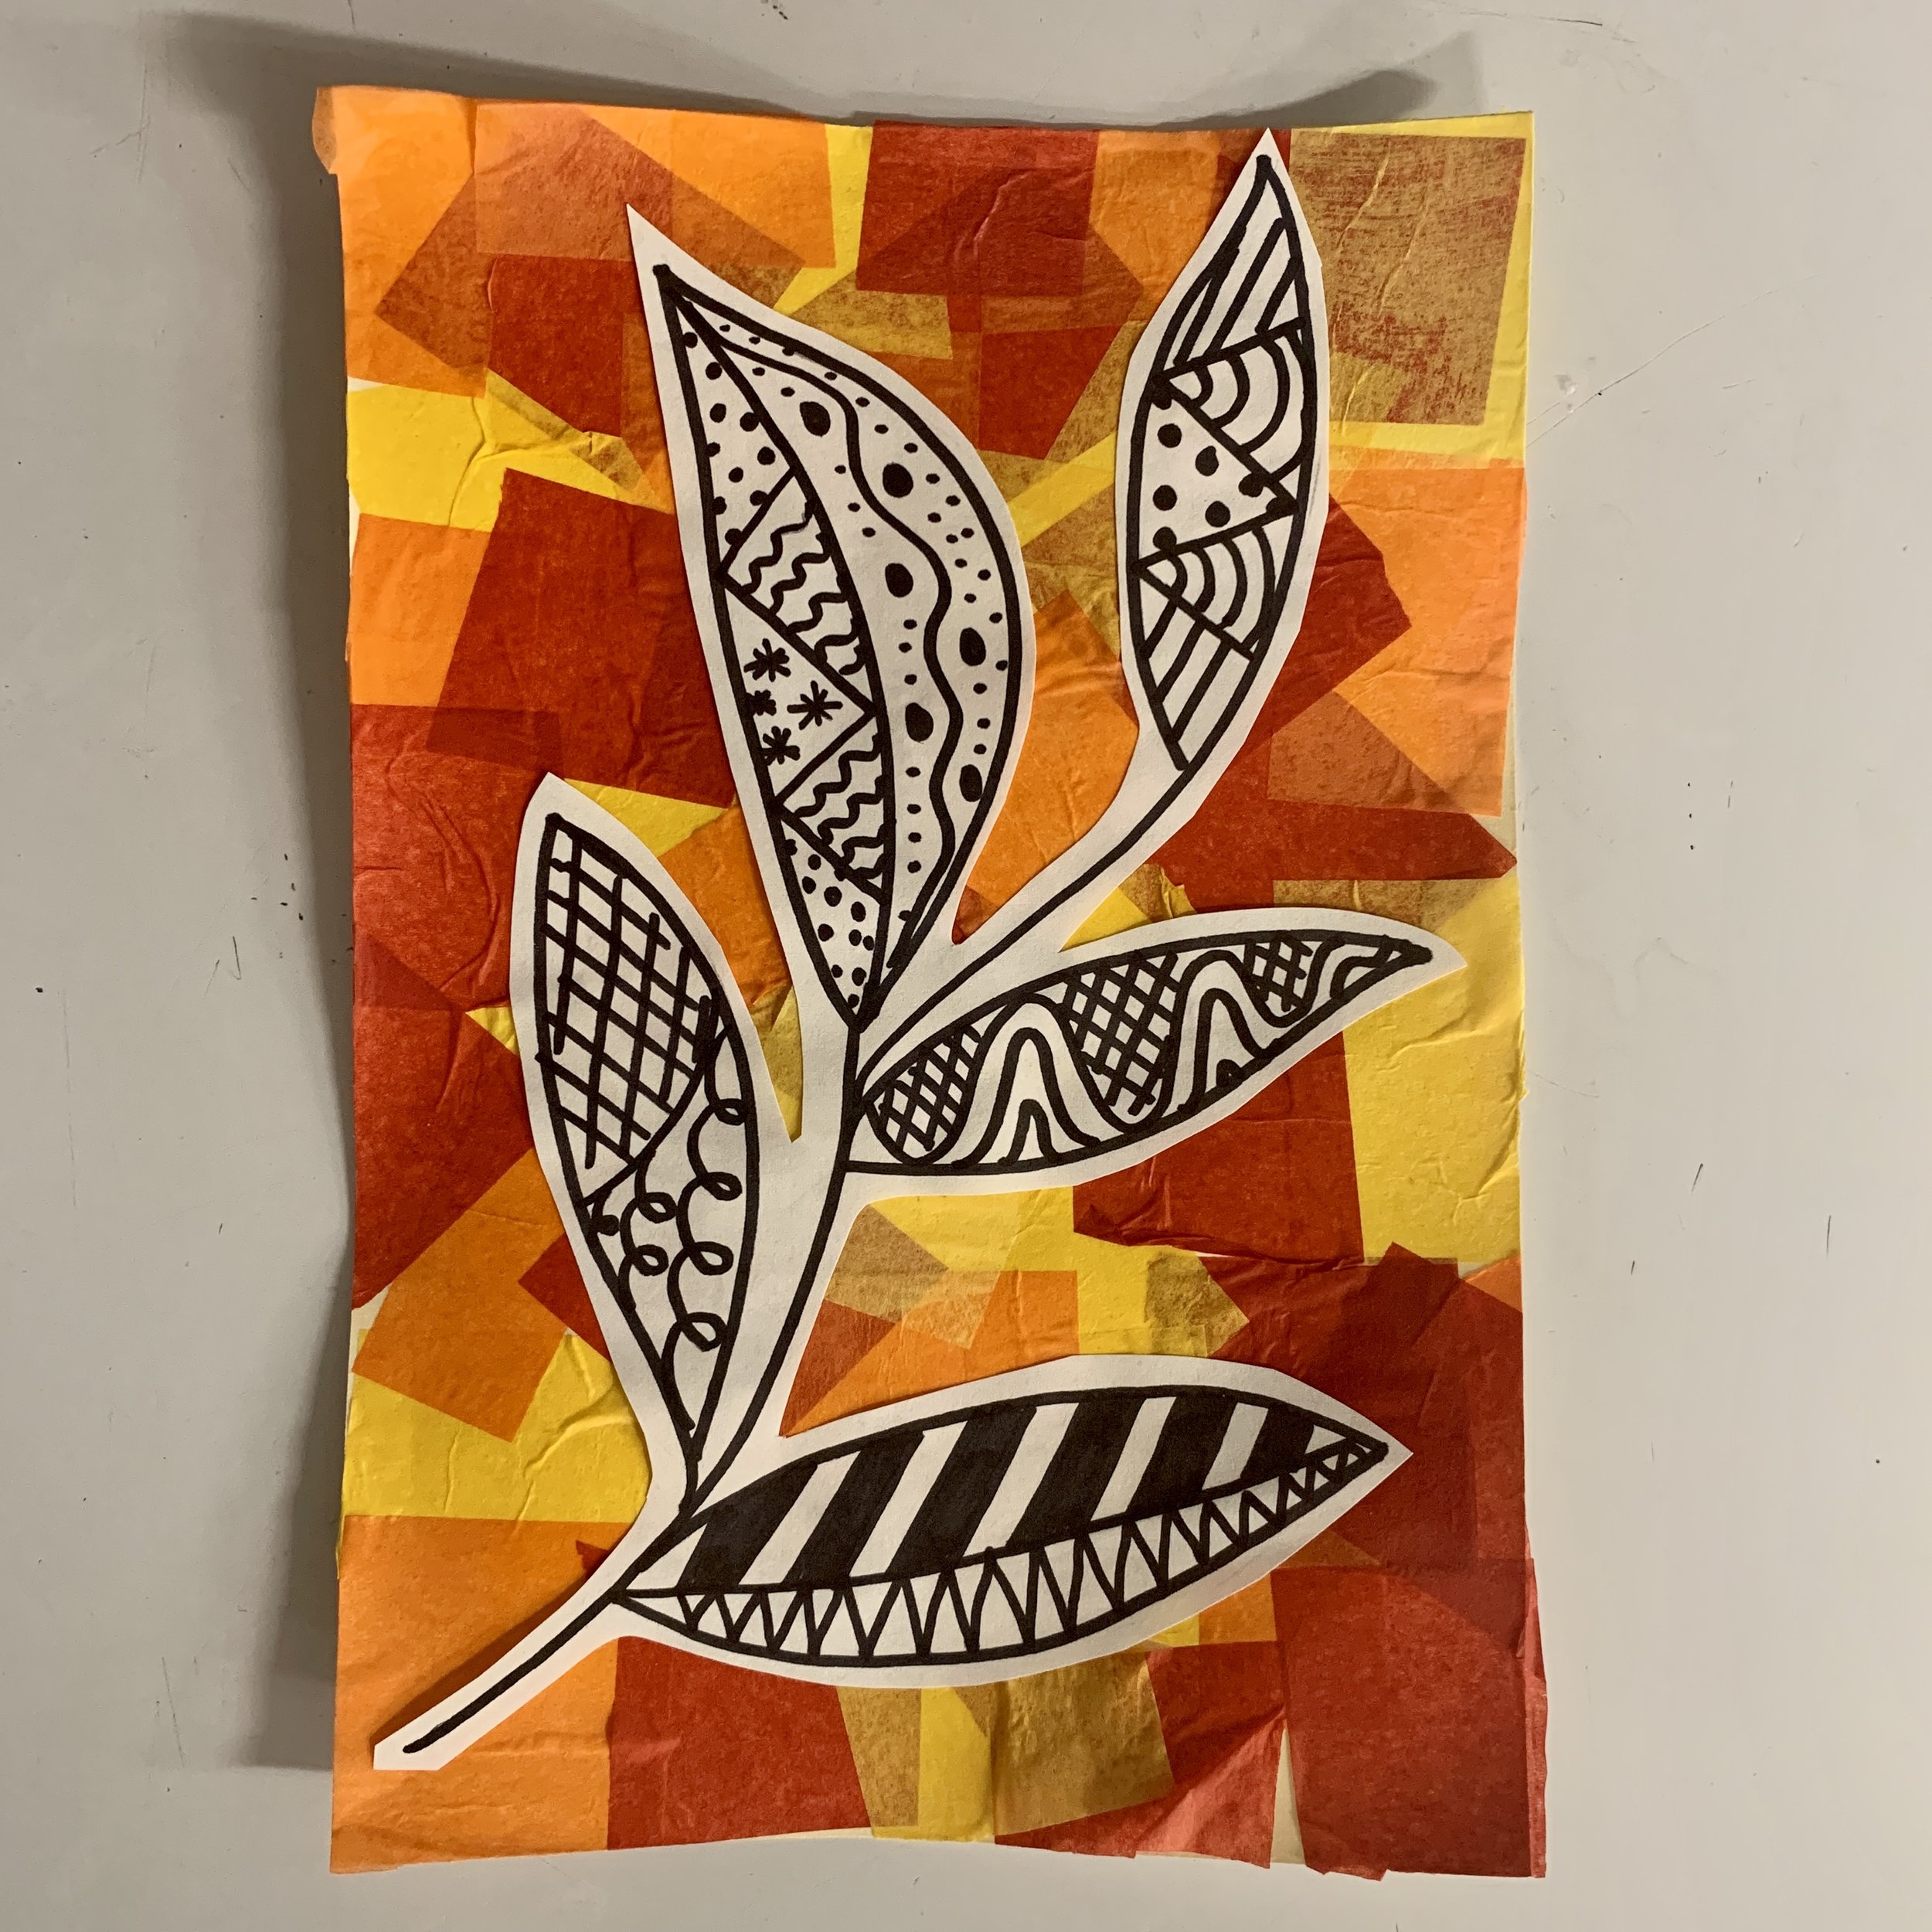
Branch
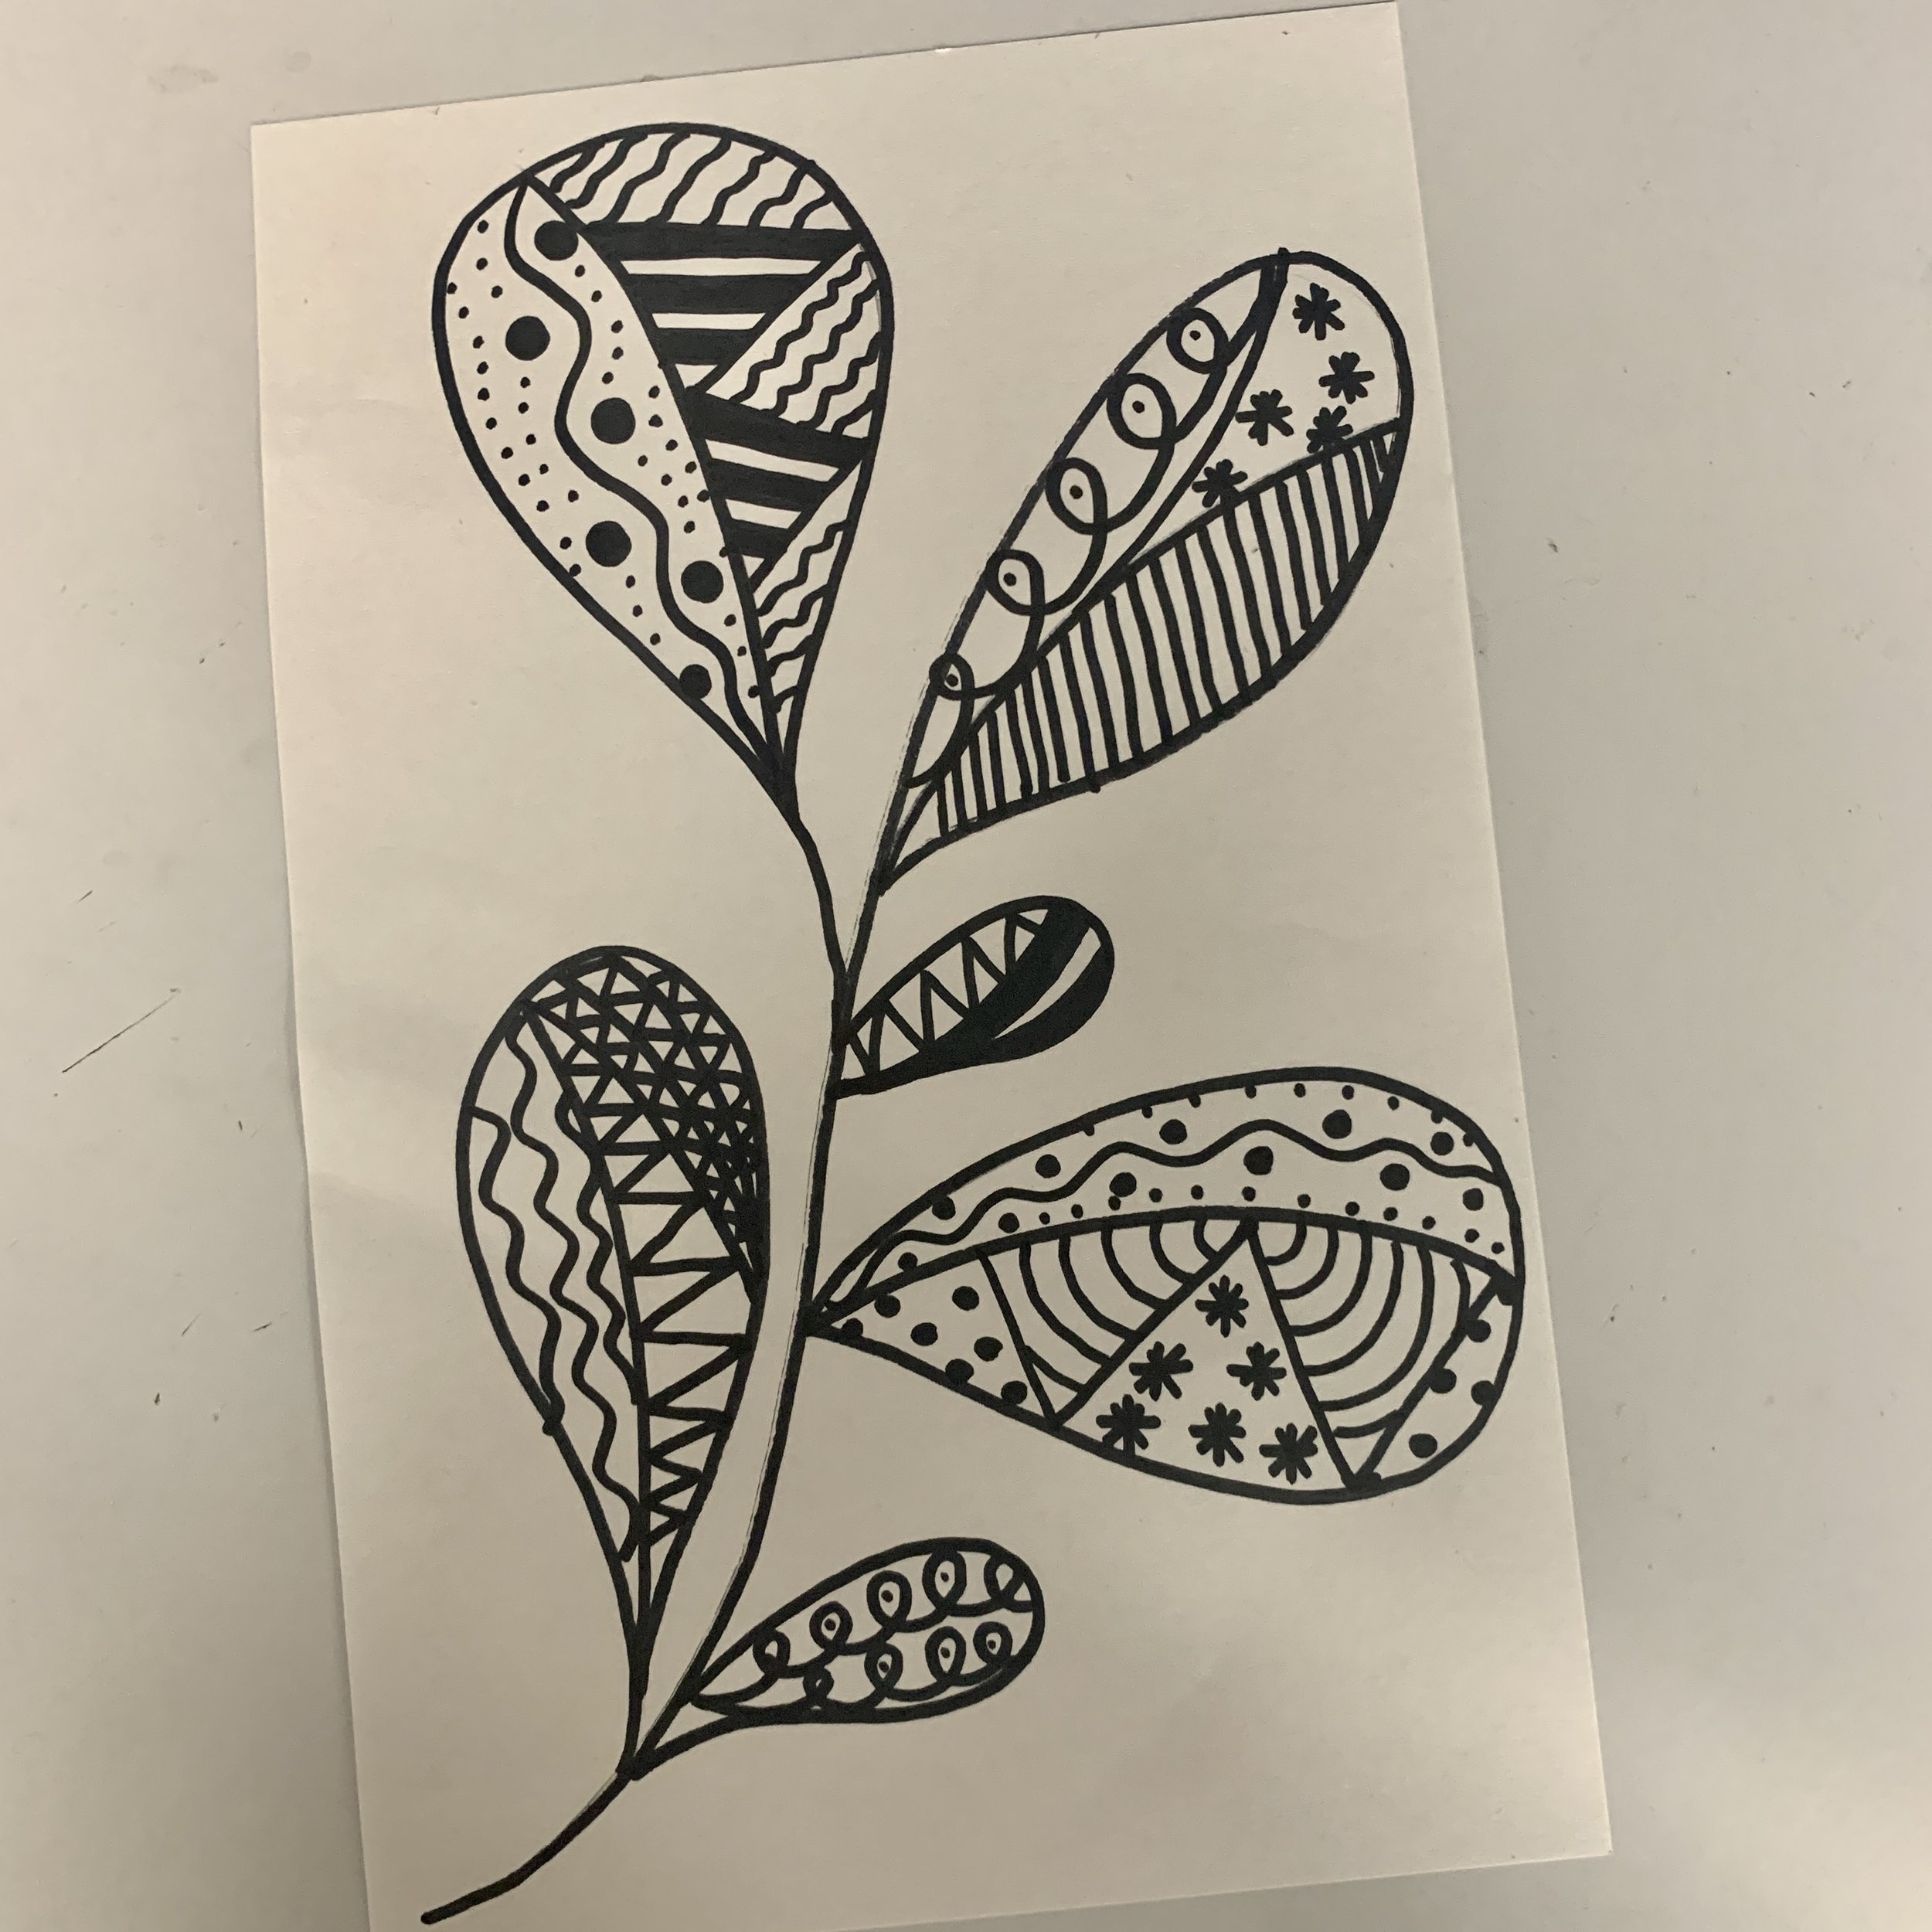
Start by drawing a branch with leaves with your pencil. I showed my students the option of round leaves or pointed leaves but they were welcome to draw any type of leaves on their branch.
Now trace the branch and leaves outline with your Sharpie.
Inside each leaf, add sections with patterns. These are called Zentangle patterns. Have a look online for more ideas of patterns. There is no right or wrong here! I didn’t have my students pre-draw this with pencil, they just went for it.
Once your leaves are fully filled with your Zentangle patterns, cut out the branch. When cutting out, leave a white space around the whole branch, we need to be able to glue it down so we need something to hang on to.
Once your background is completely dry, and your branch is cut out, glue your branch down. You may need to put your projects under some heavy books as your background may have curled while drying.