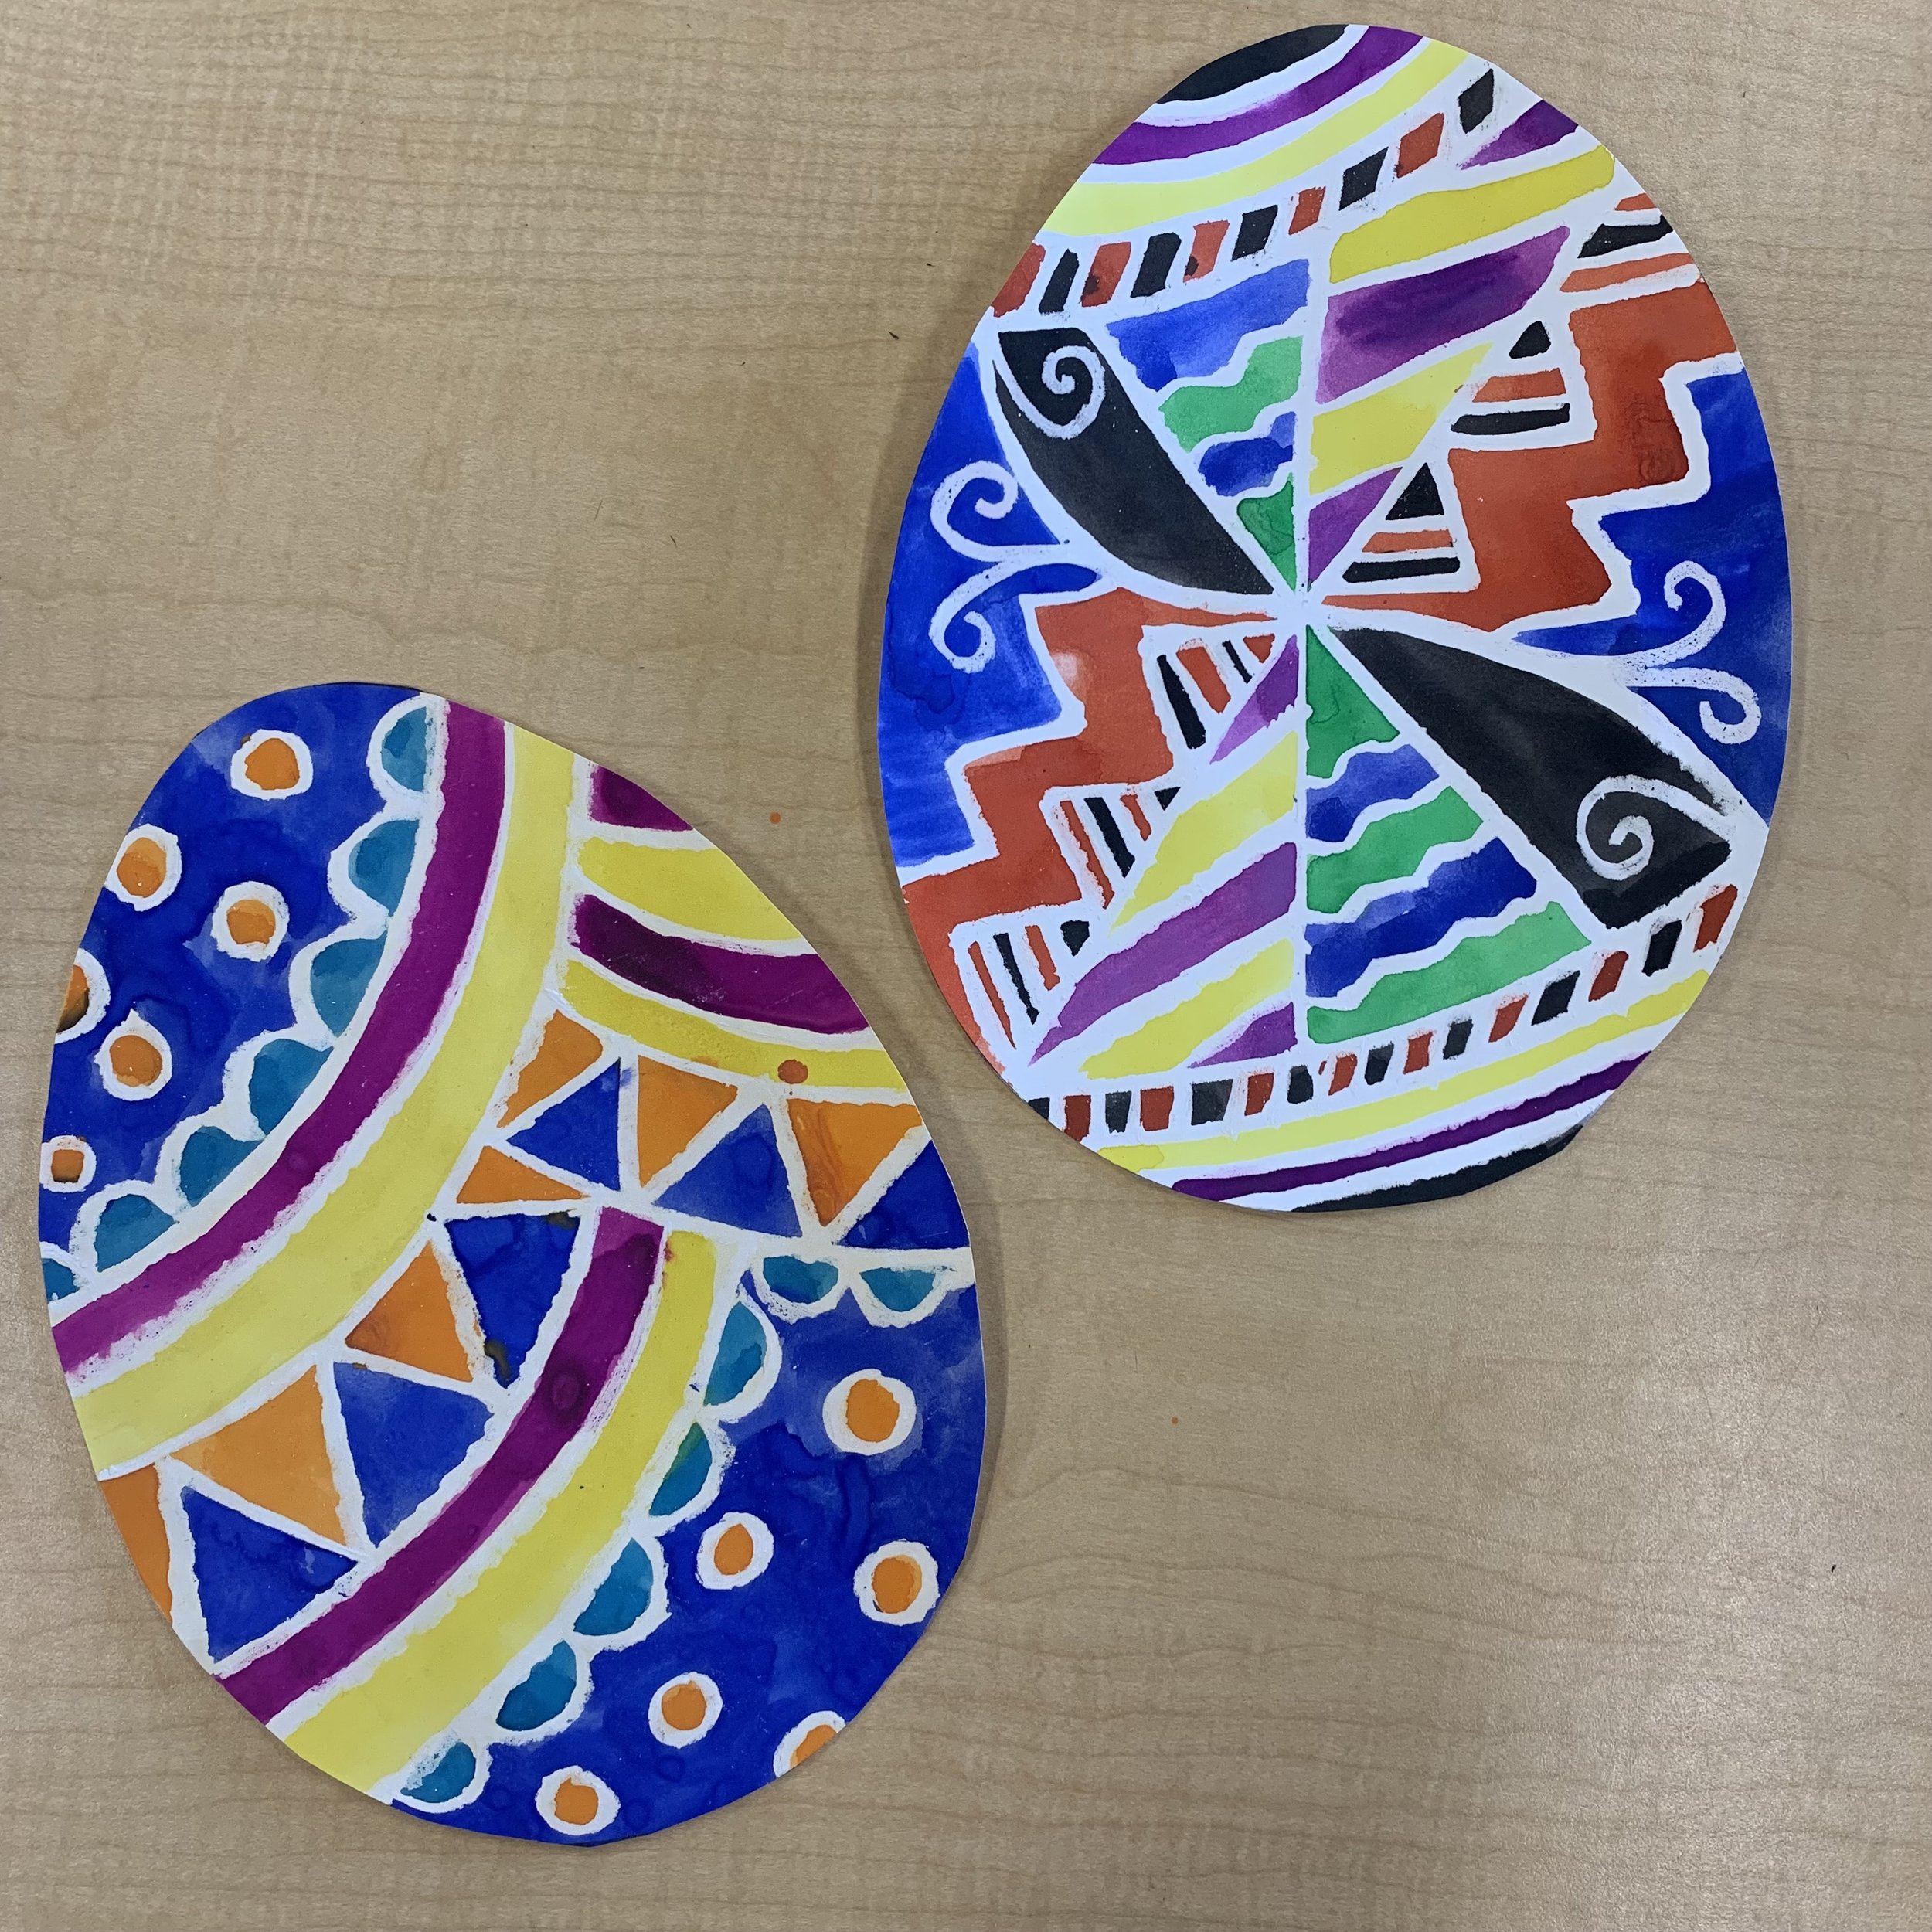
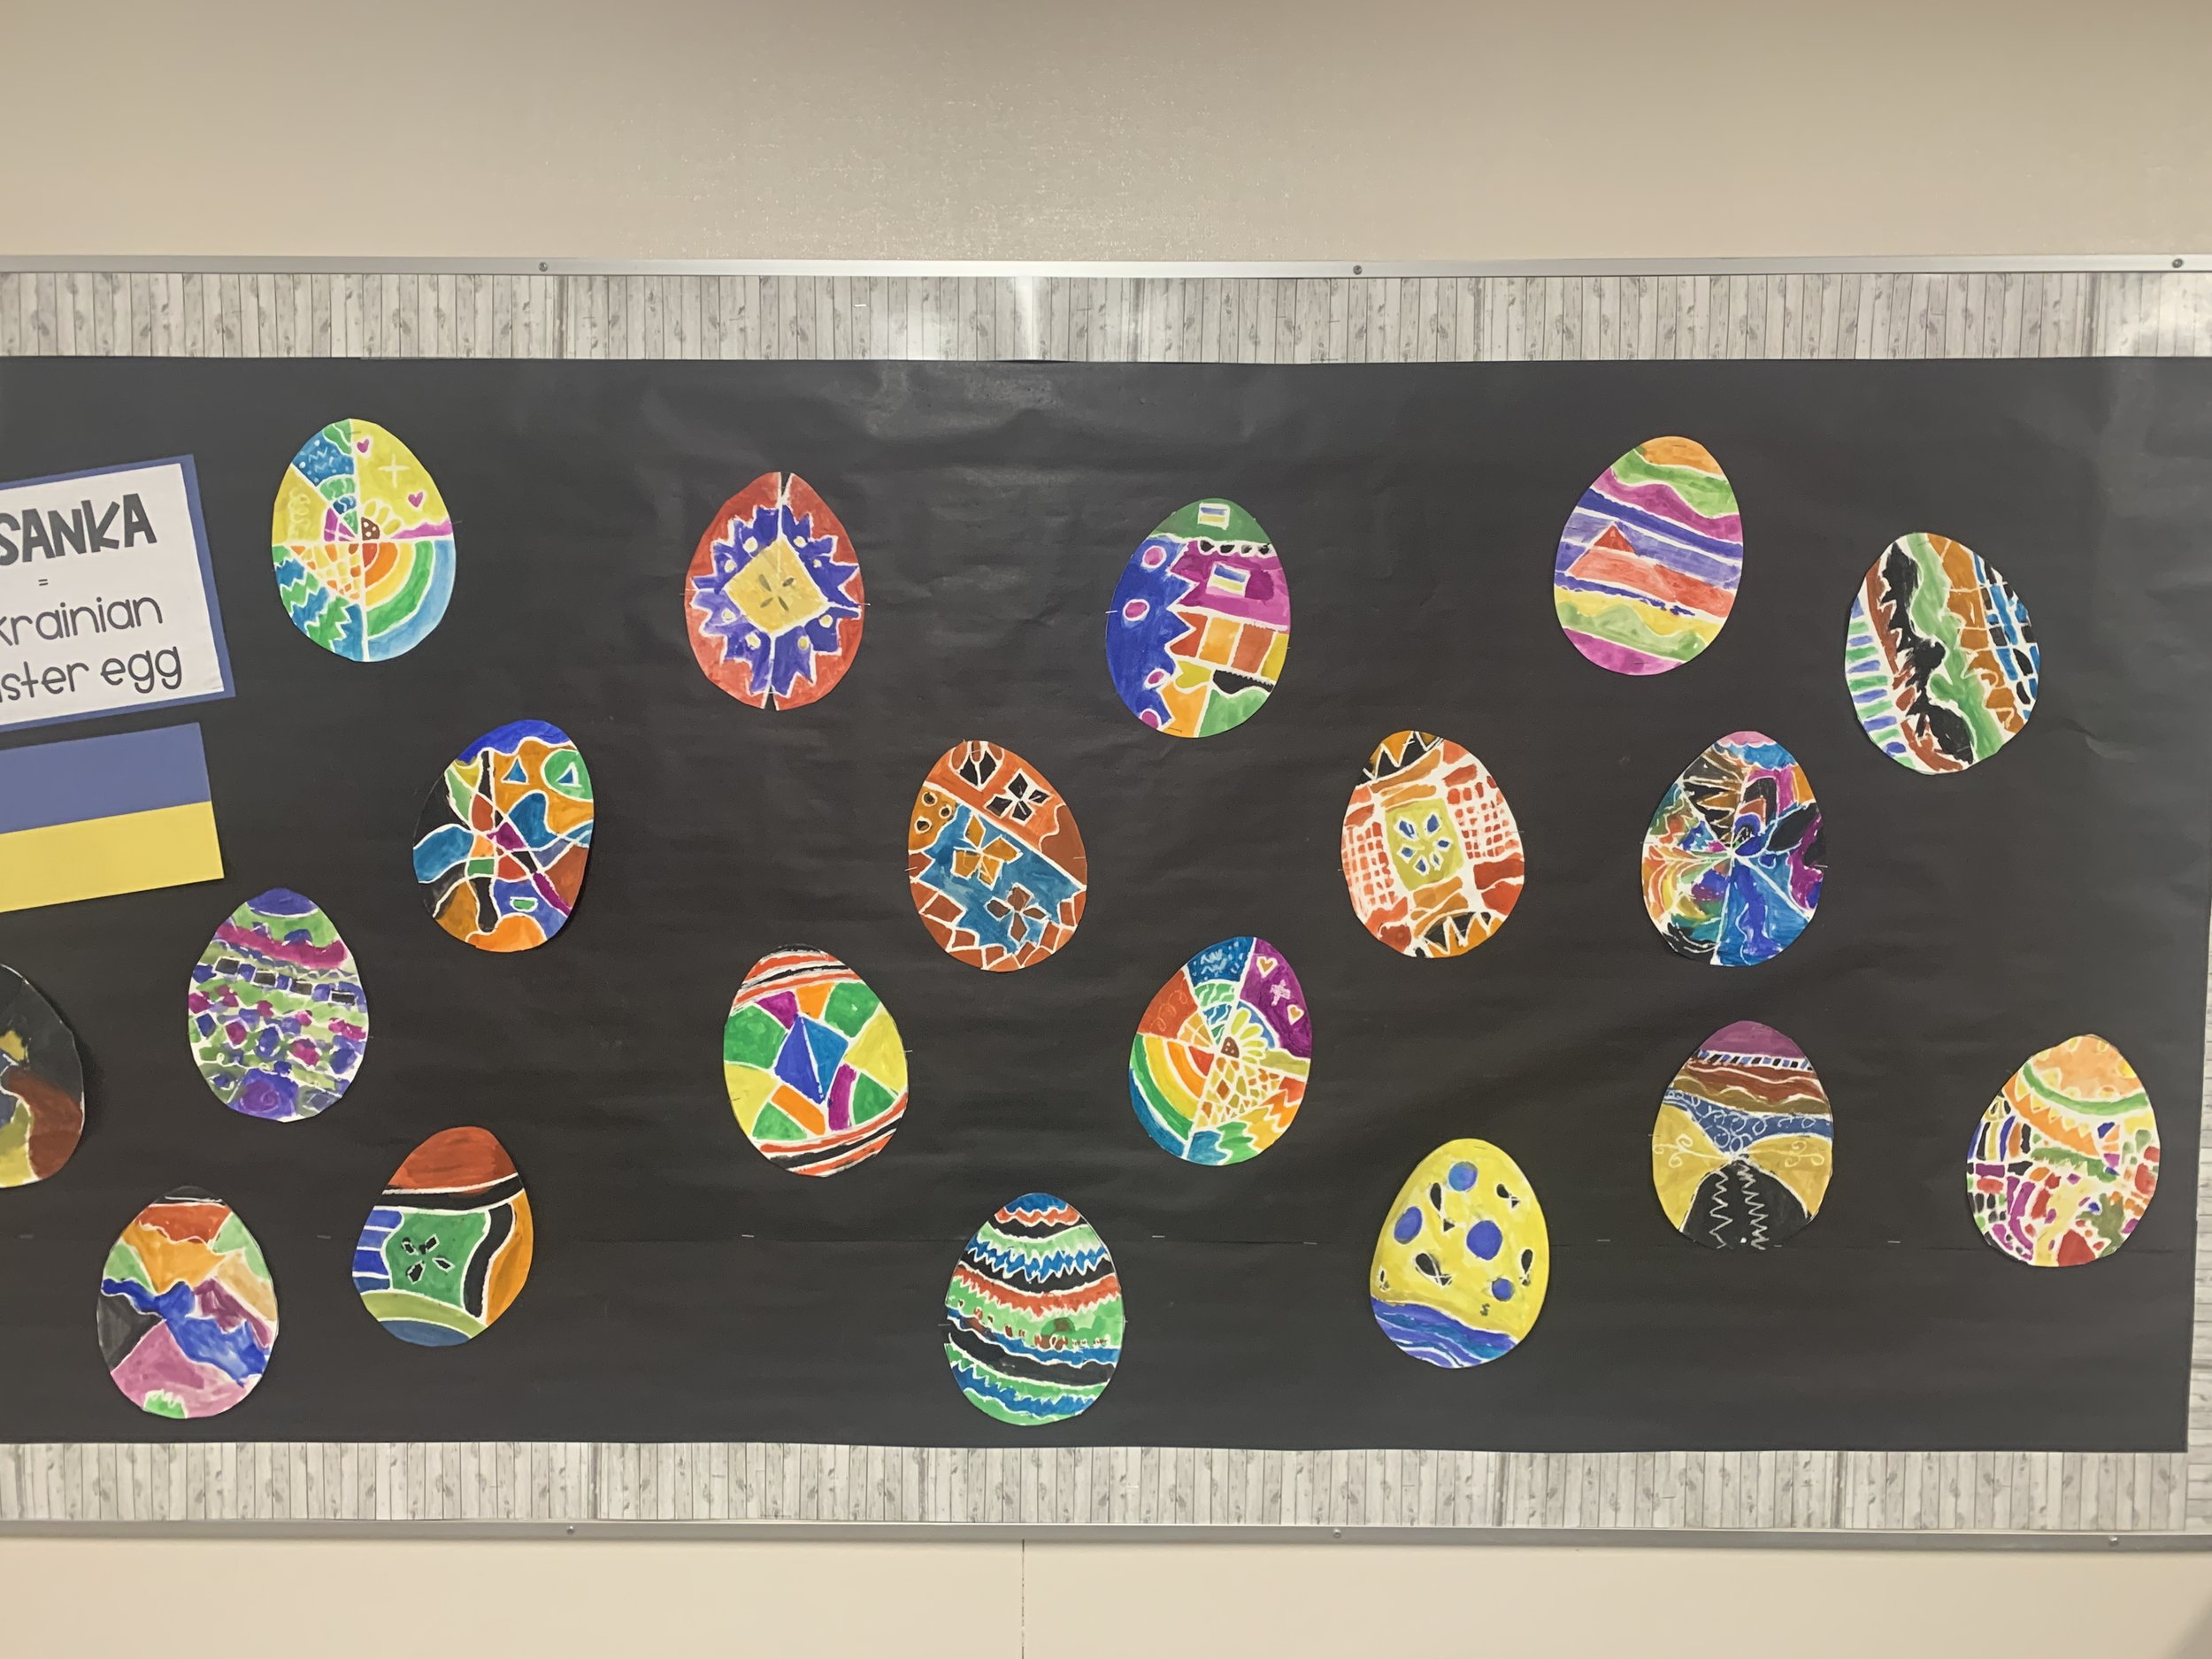
Ukrainian Easter Eggs Art Project
Ukrainian Easter eggs are BEAUTIFUL. They are stunning but they are a lot of work and take a very, very steady hand. In Ukraine they’re called Pysanka. I had the opportunity to make one in high school but it’s not really a process that’s ideal for young students. Instead, I’ve adapted it to a more student friendly art project.
Time needed: 30-45 minutes + a couple minutes to cut out once dry (either later that day or the next day)
Materials:
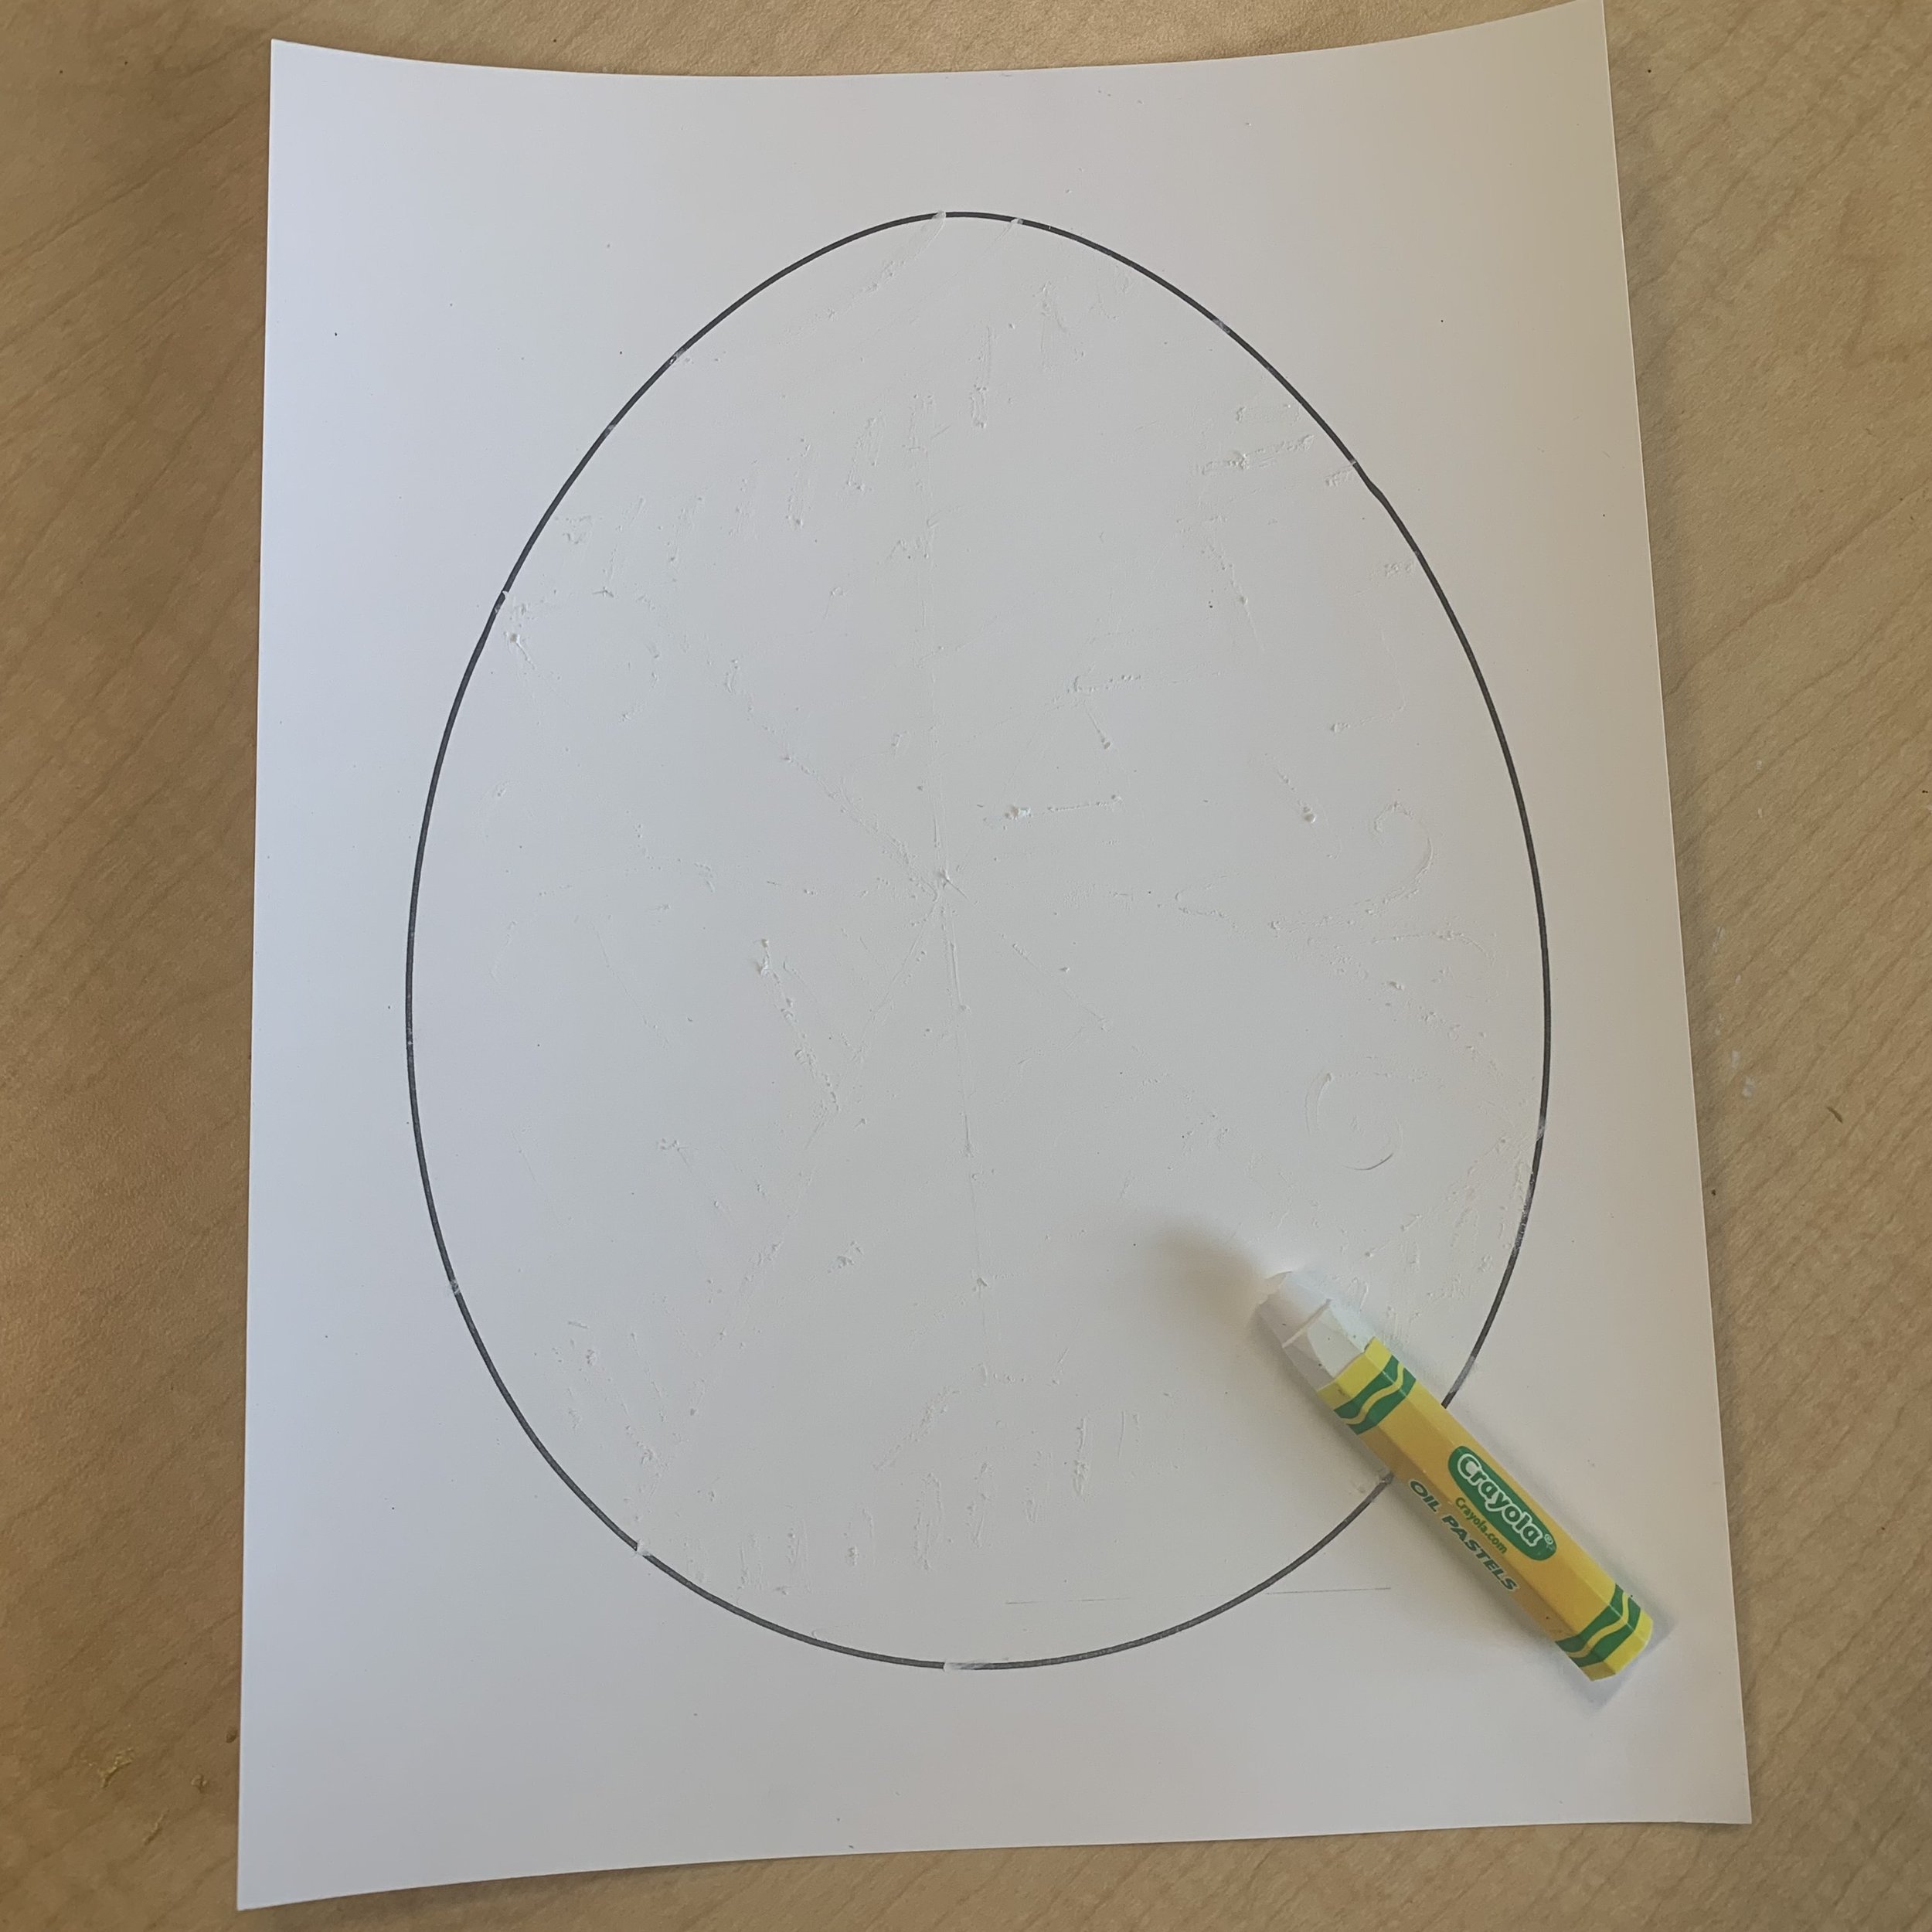
Card stock (I copy the egg shape onto the card stock but you could use a stencil instead)
White oil pastel
Tempera paint
Fine tipped paintbrush
Scissors

BEFORE STARTING:
If you are going to photocopy the egg shape onto the cards, I just printed out a large egg shape on a document and ran it through my photocopier. Here is the shape I used.
You could also make stencils out of card stock or thin cardboard
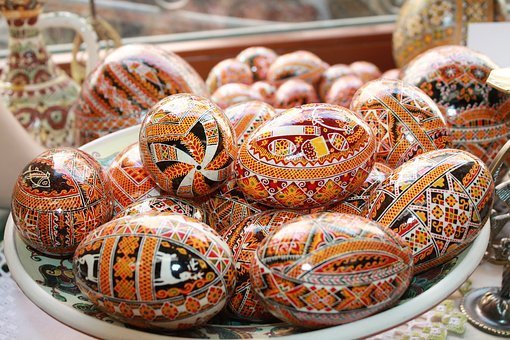
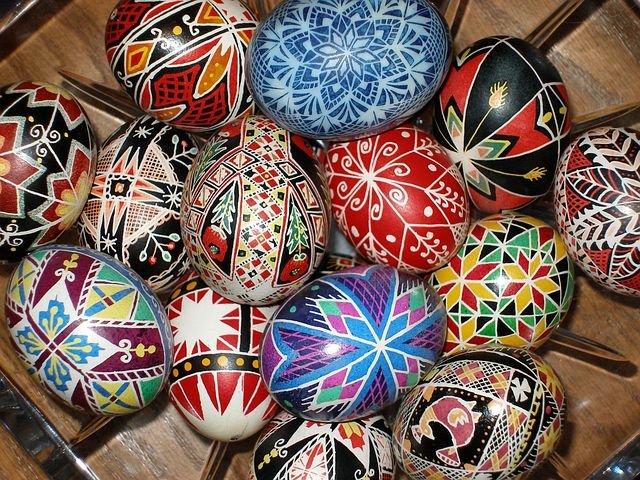
Find some images of real Ukrainian Easter eggs to serve as inspiration.
STEPS IN CLASS:
Show examples of Ukrainian Easter eggs and notice the patterns that are commonly used. You could draw some different types of lines on the board for inspiration.
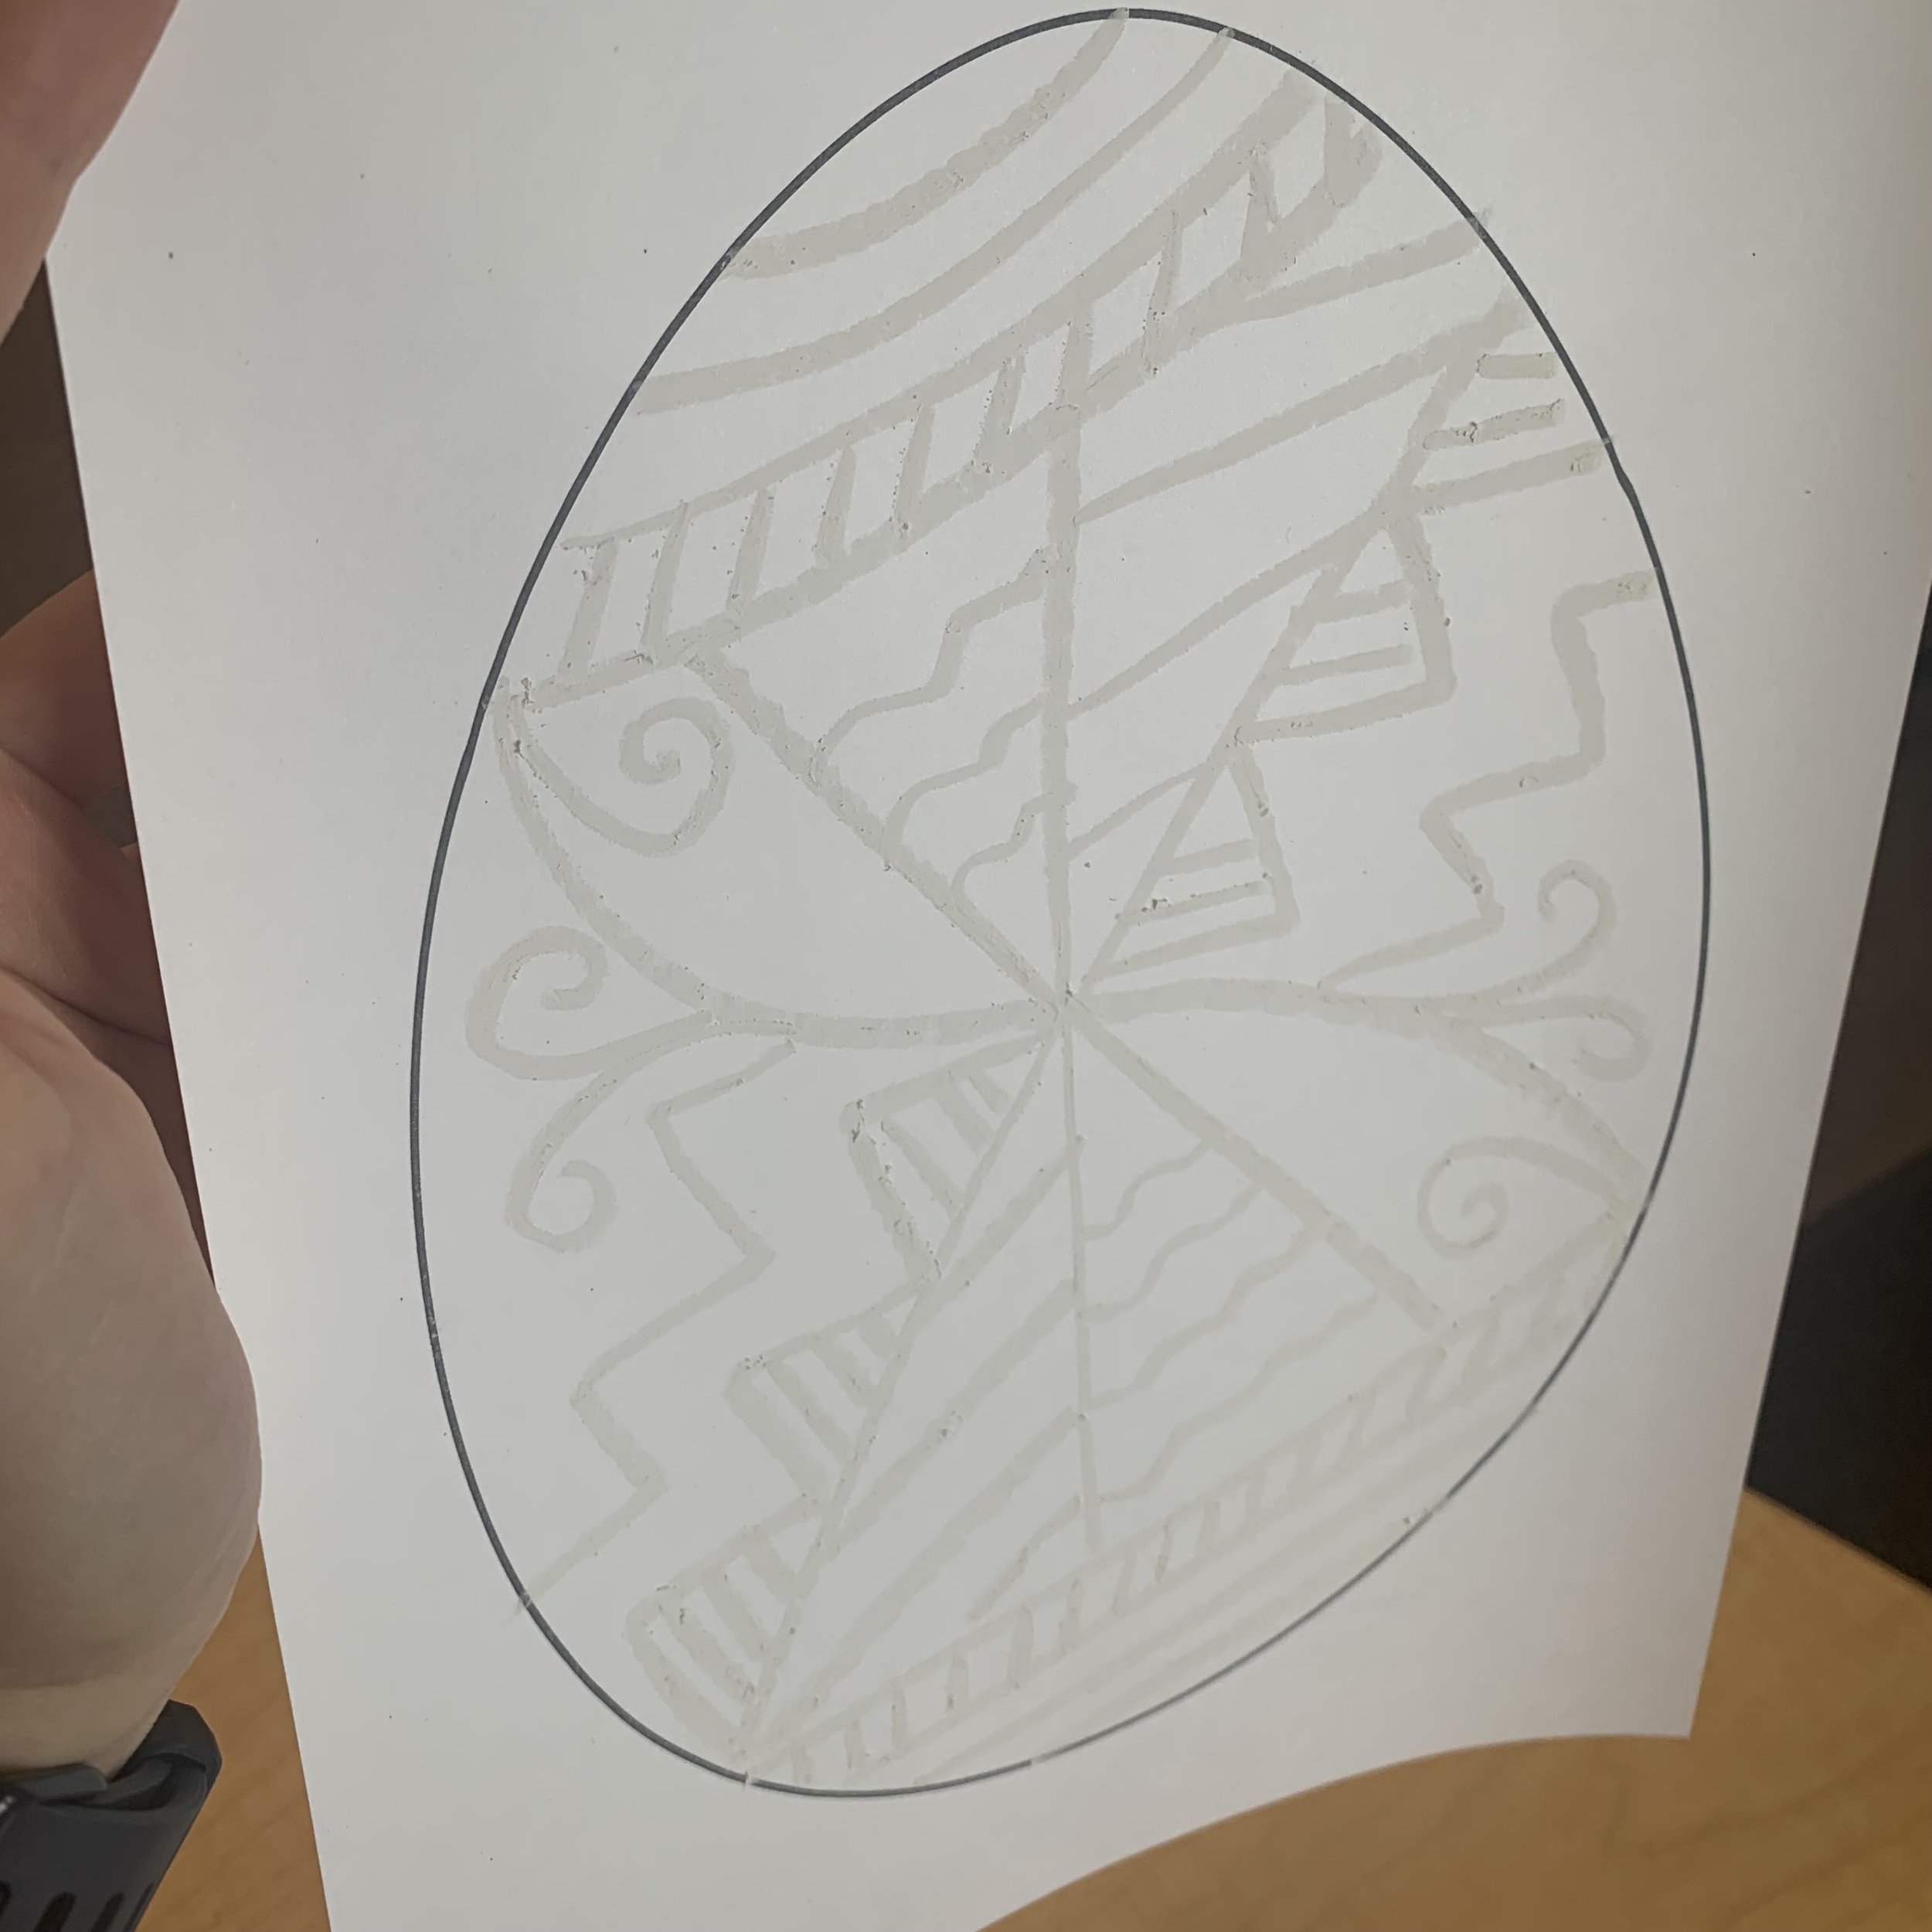
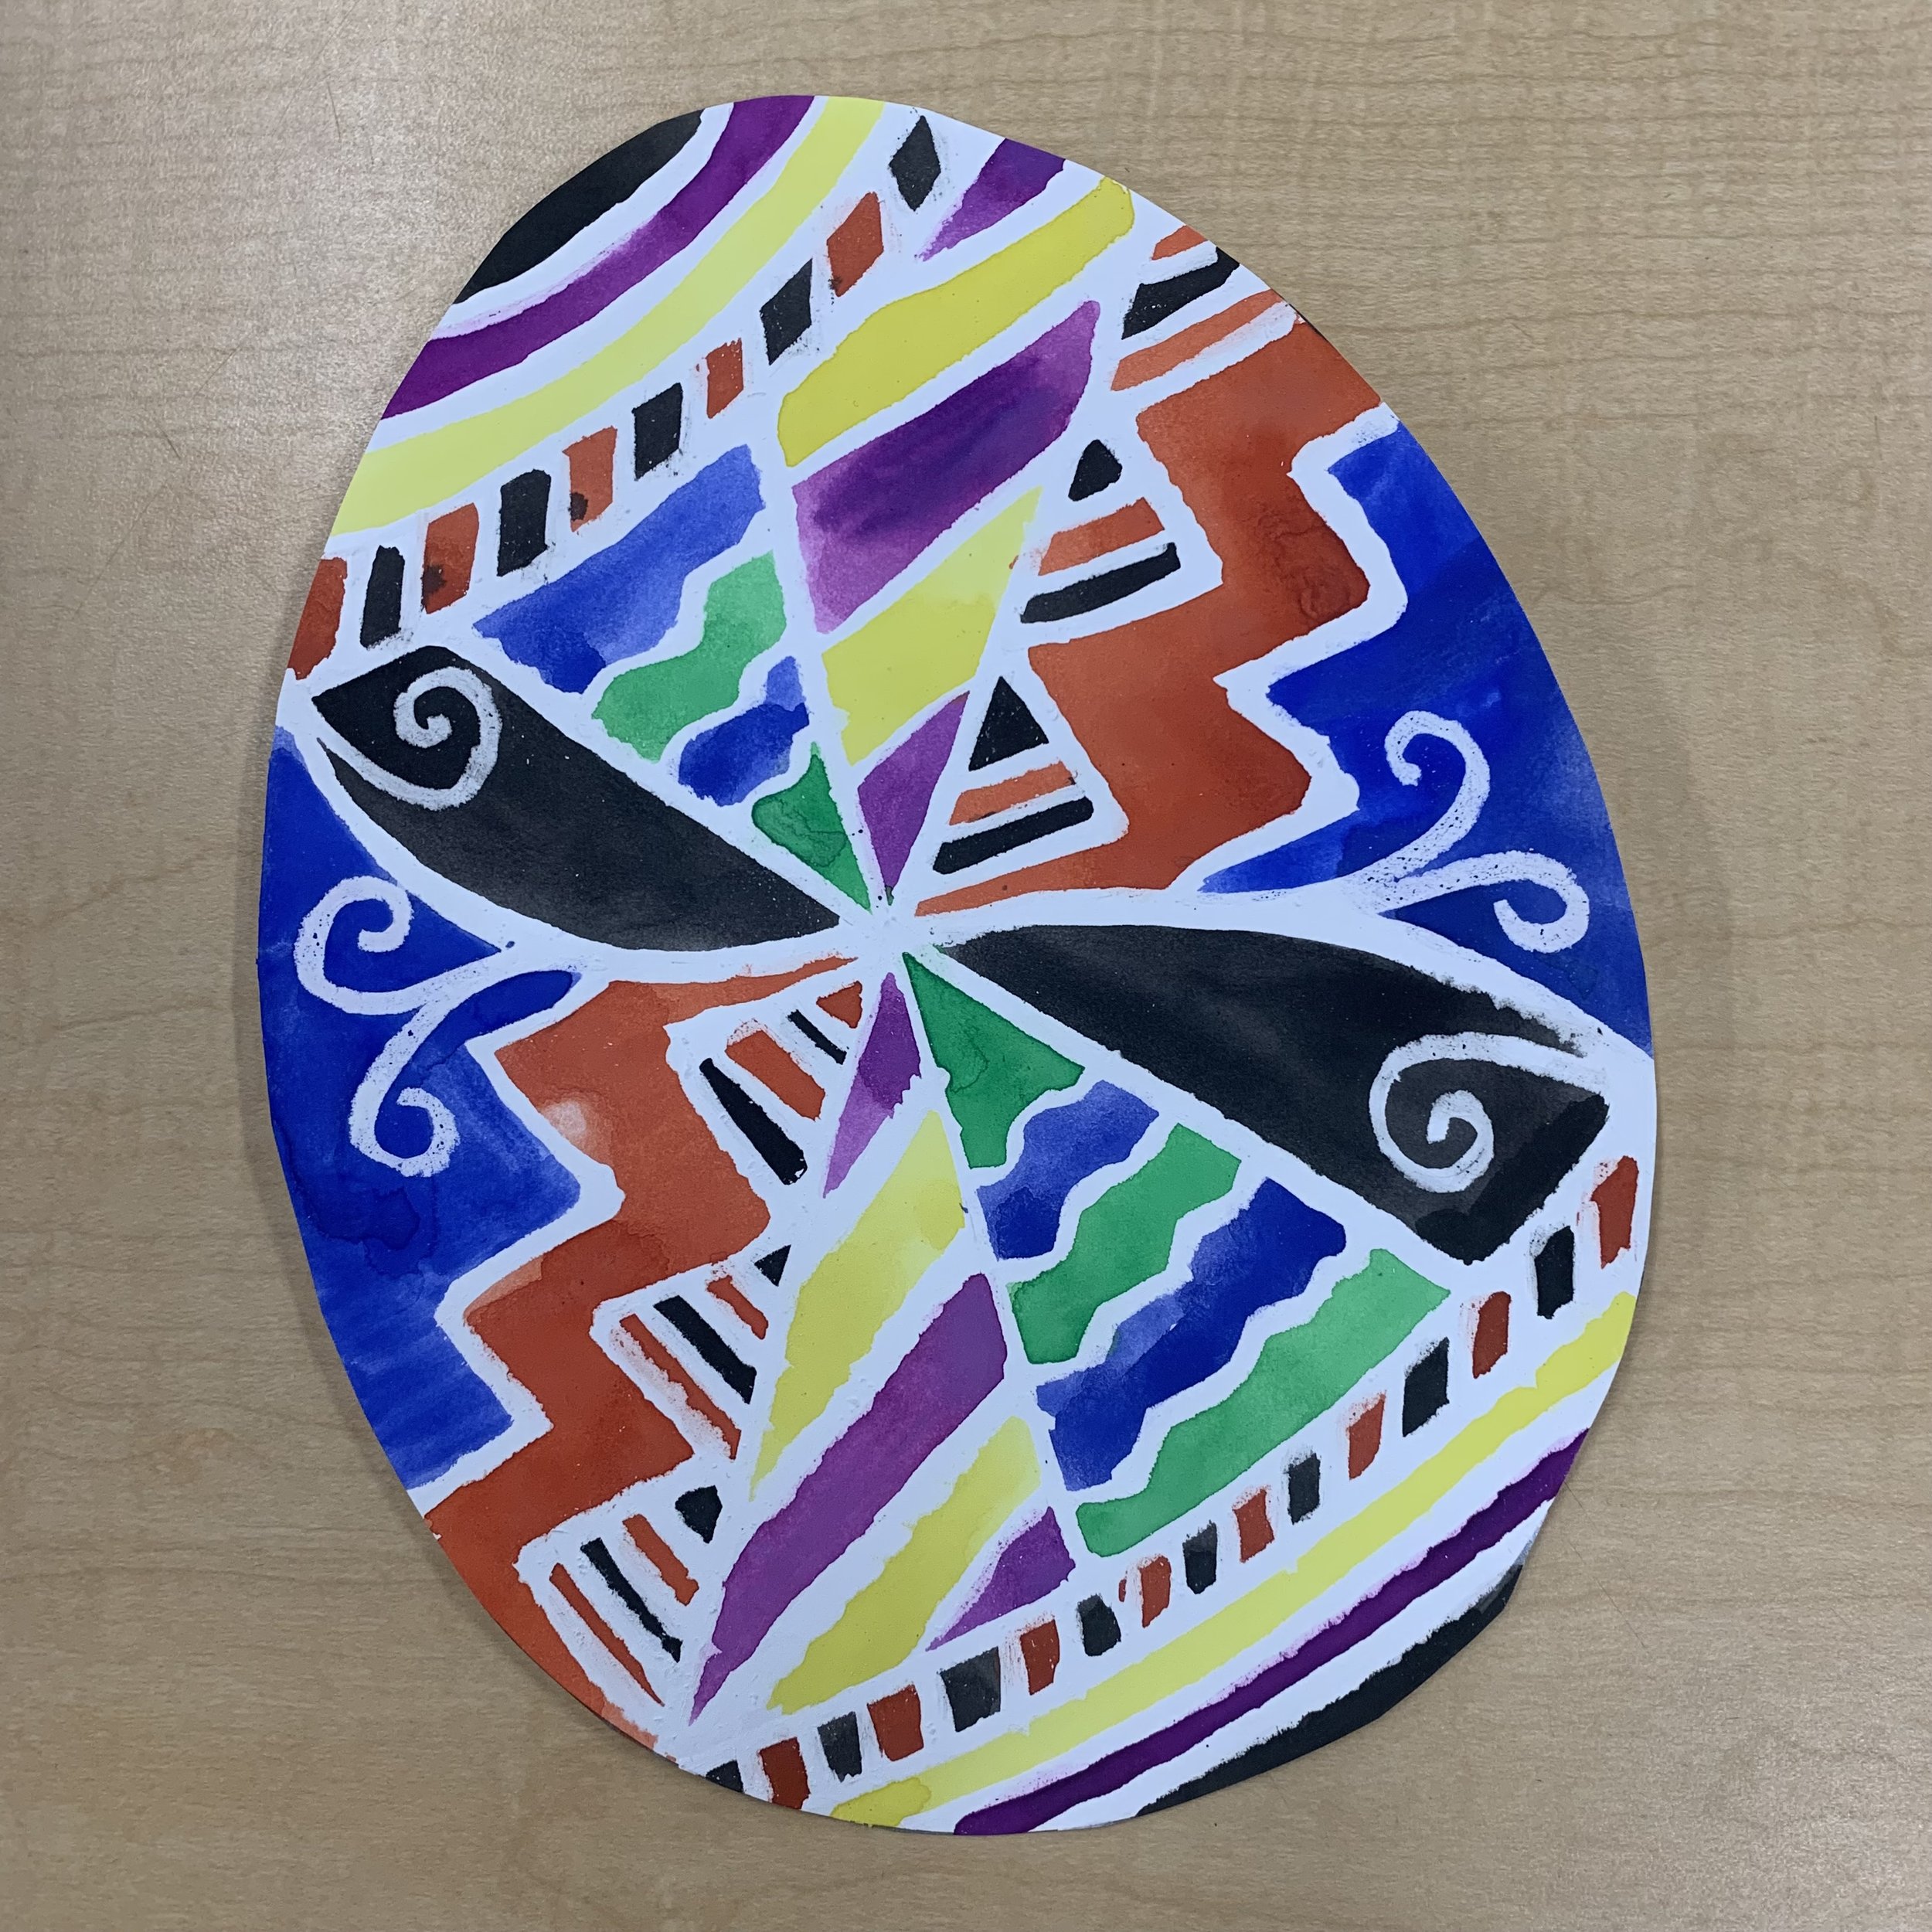
Using the white oil pastel, draw some shapes and lines on the card stock. You will need to paint inside the lines so don’t make the design so complicated that there is no room for paint. Don’t use pencil underneath as it will show through. Practice on a whiteboard or scrap paper before starting if necessary.
You want the pastel to be smooth and go all the way to connect to the next line. Because it’s oily, it will serve as a barrier for the paint, but not if there isn’t enough oil on the paper to push that watery paint away.

Now, using a fine tipped paintbrush, paint inside the pastel lines. There is no colour scheme that needs to be followed, but something to note is Ukrainian Easter eggs often have black which is unlike the pastel coloured eggs, so don’t be afraid to add a bit to your design.
It’s ok to go outside of the lines a bit, we’ll be cutting it out once it’s dry.
Set it aside to dry.
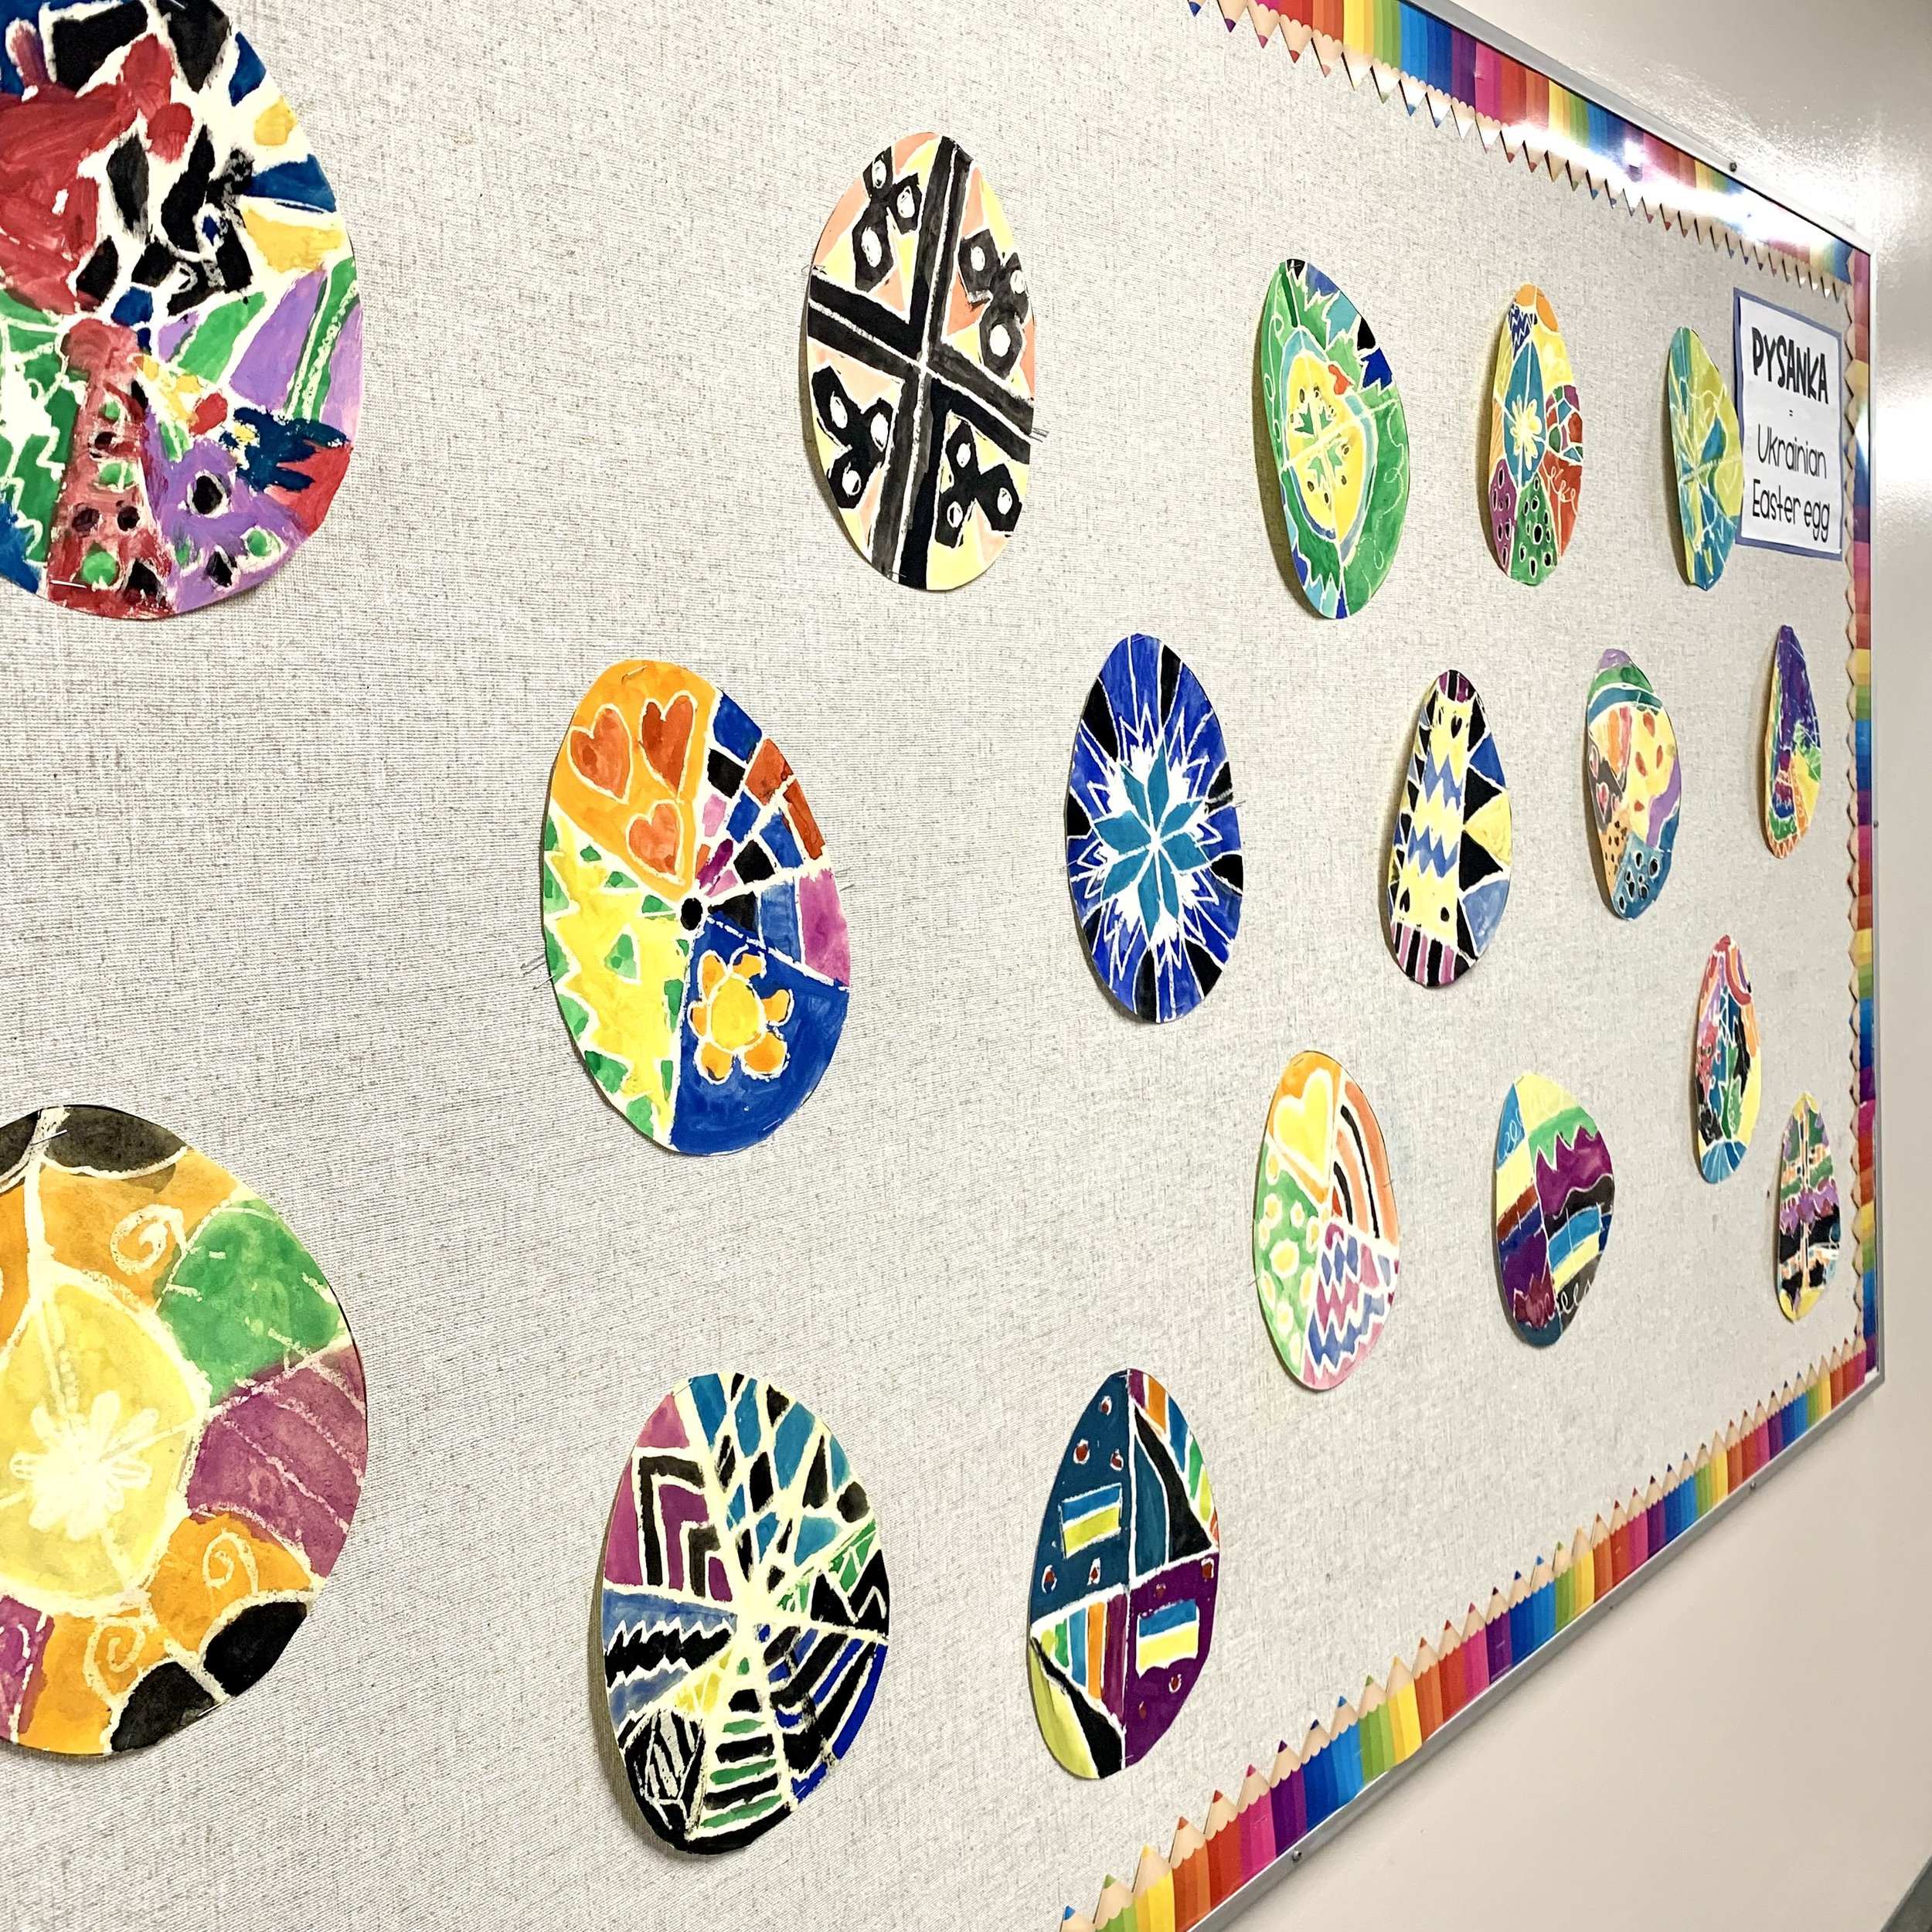
Once completely dry, cut it out.
Before displaying, you may need to “press” it by putting it under a stack of heavy books as the paint tends to cause curling in the paper.
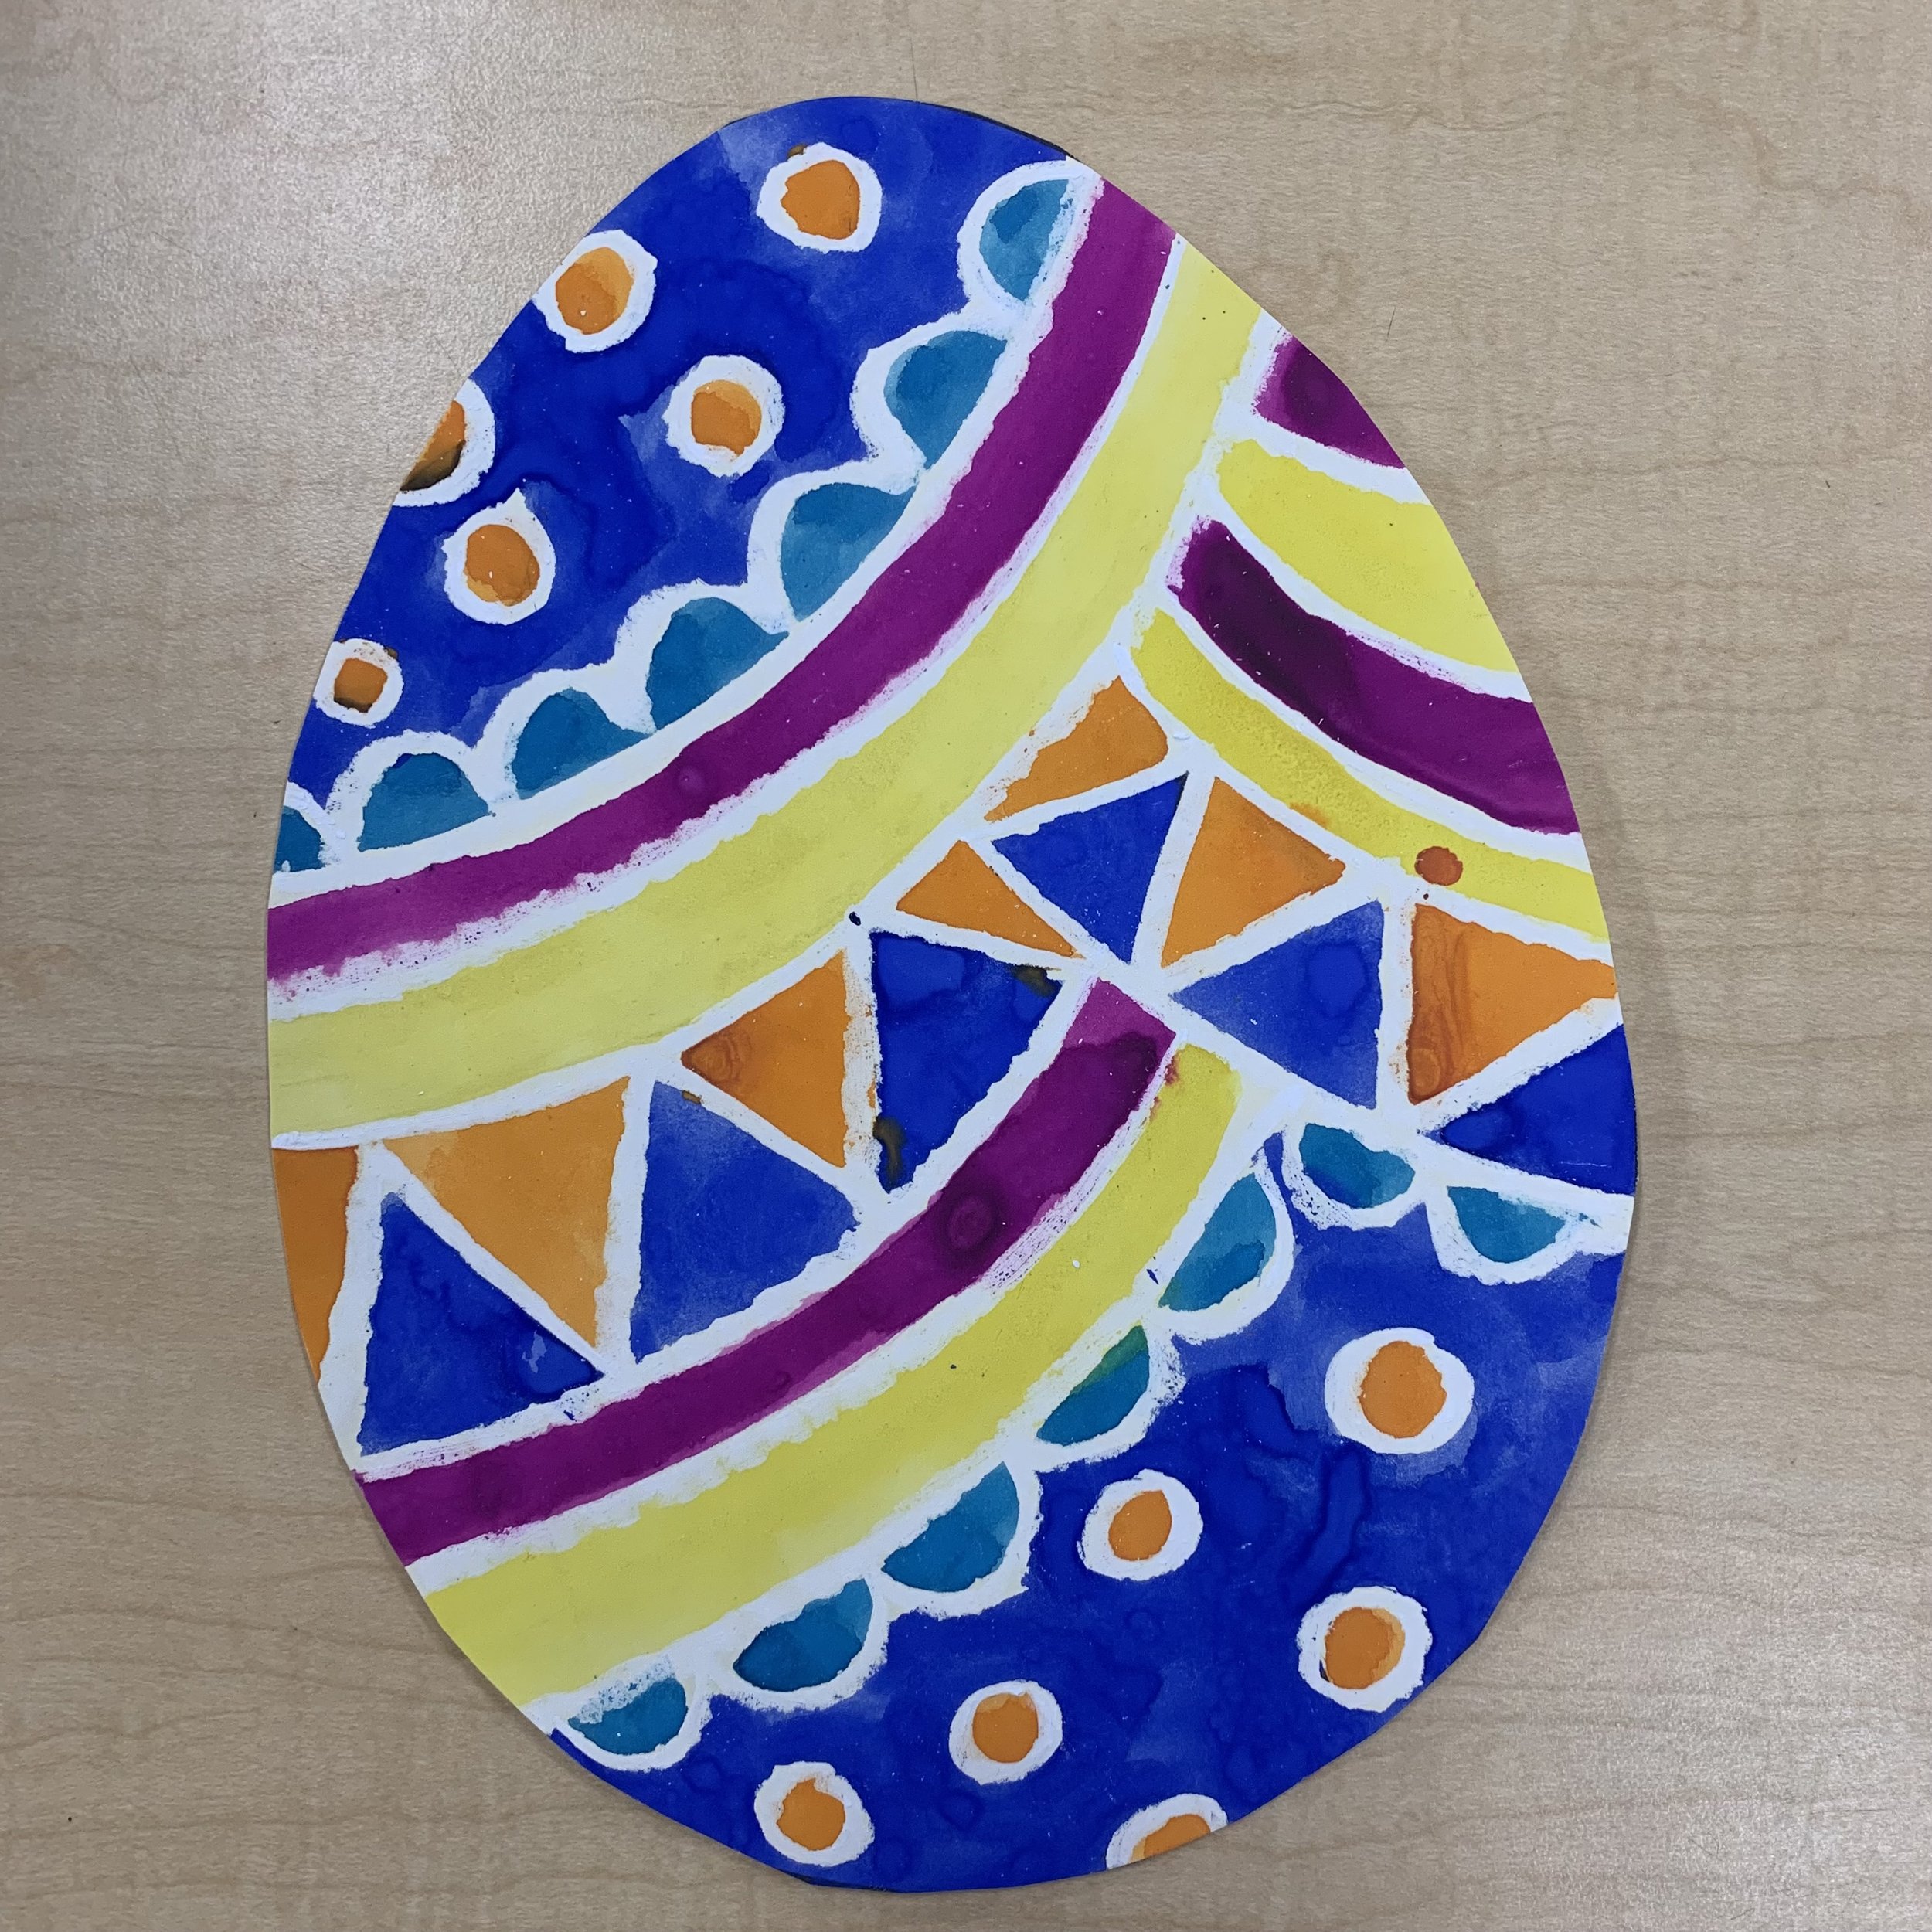
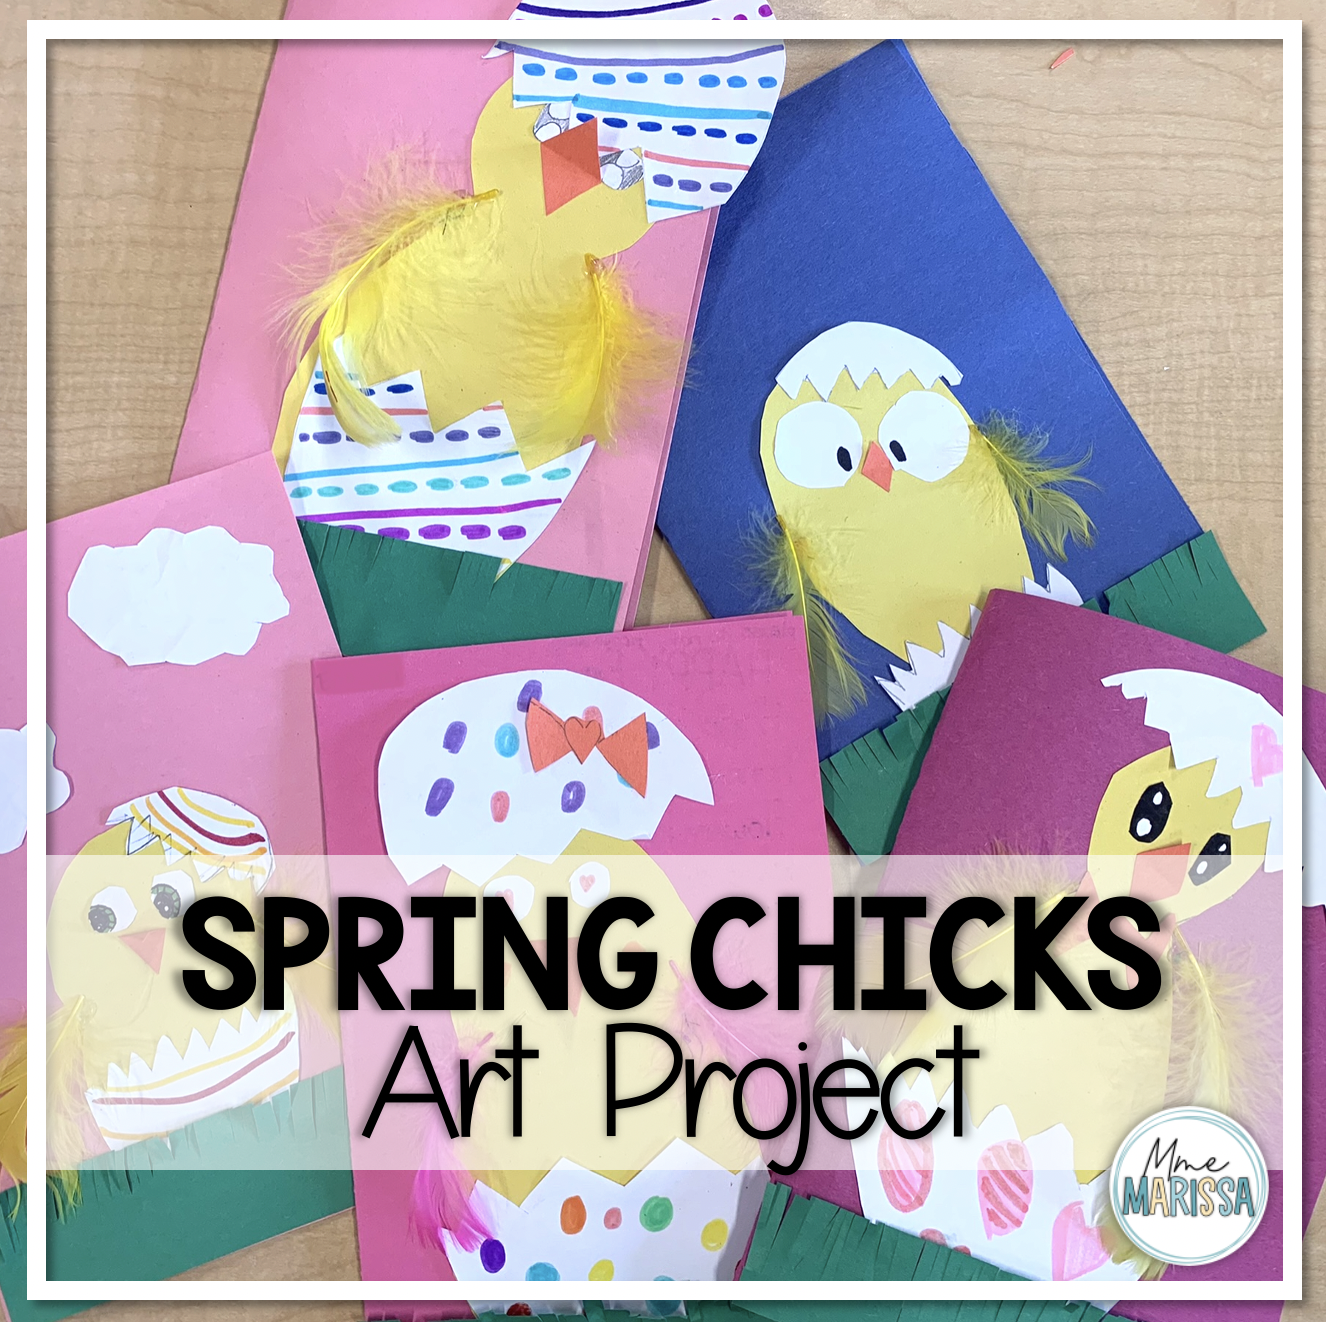
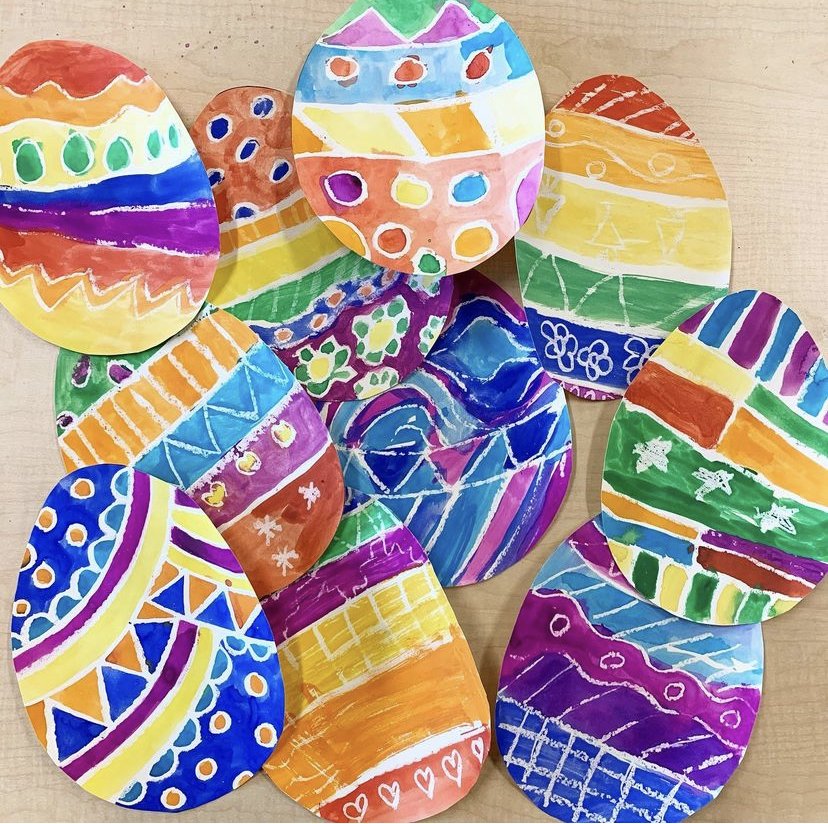
You can also do this project without Ukrainian influence over the the shapes and colours. Here’s an example of when we did bright eggs with horizontal lines. In each line was a different pattern. They still have a beautiful effect with their bright colours. Use the same process for the project.

Other Easter projects