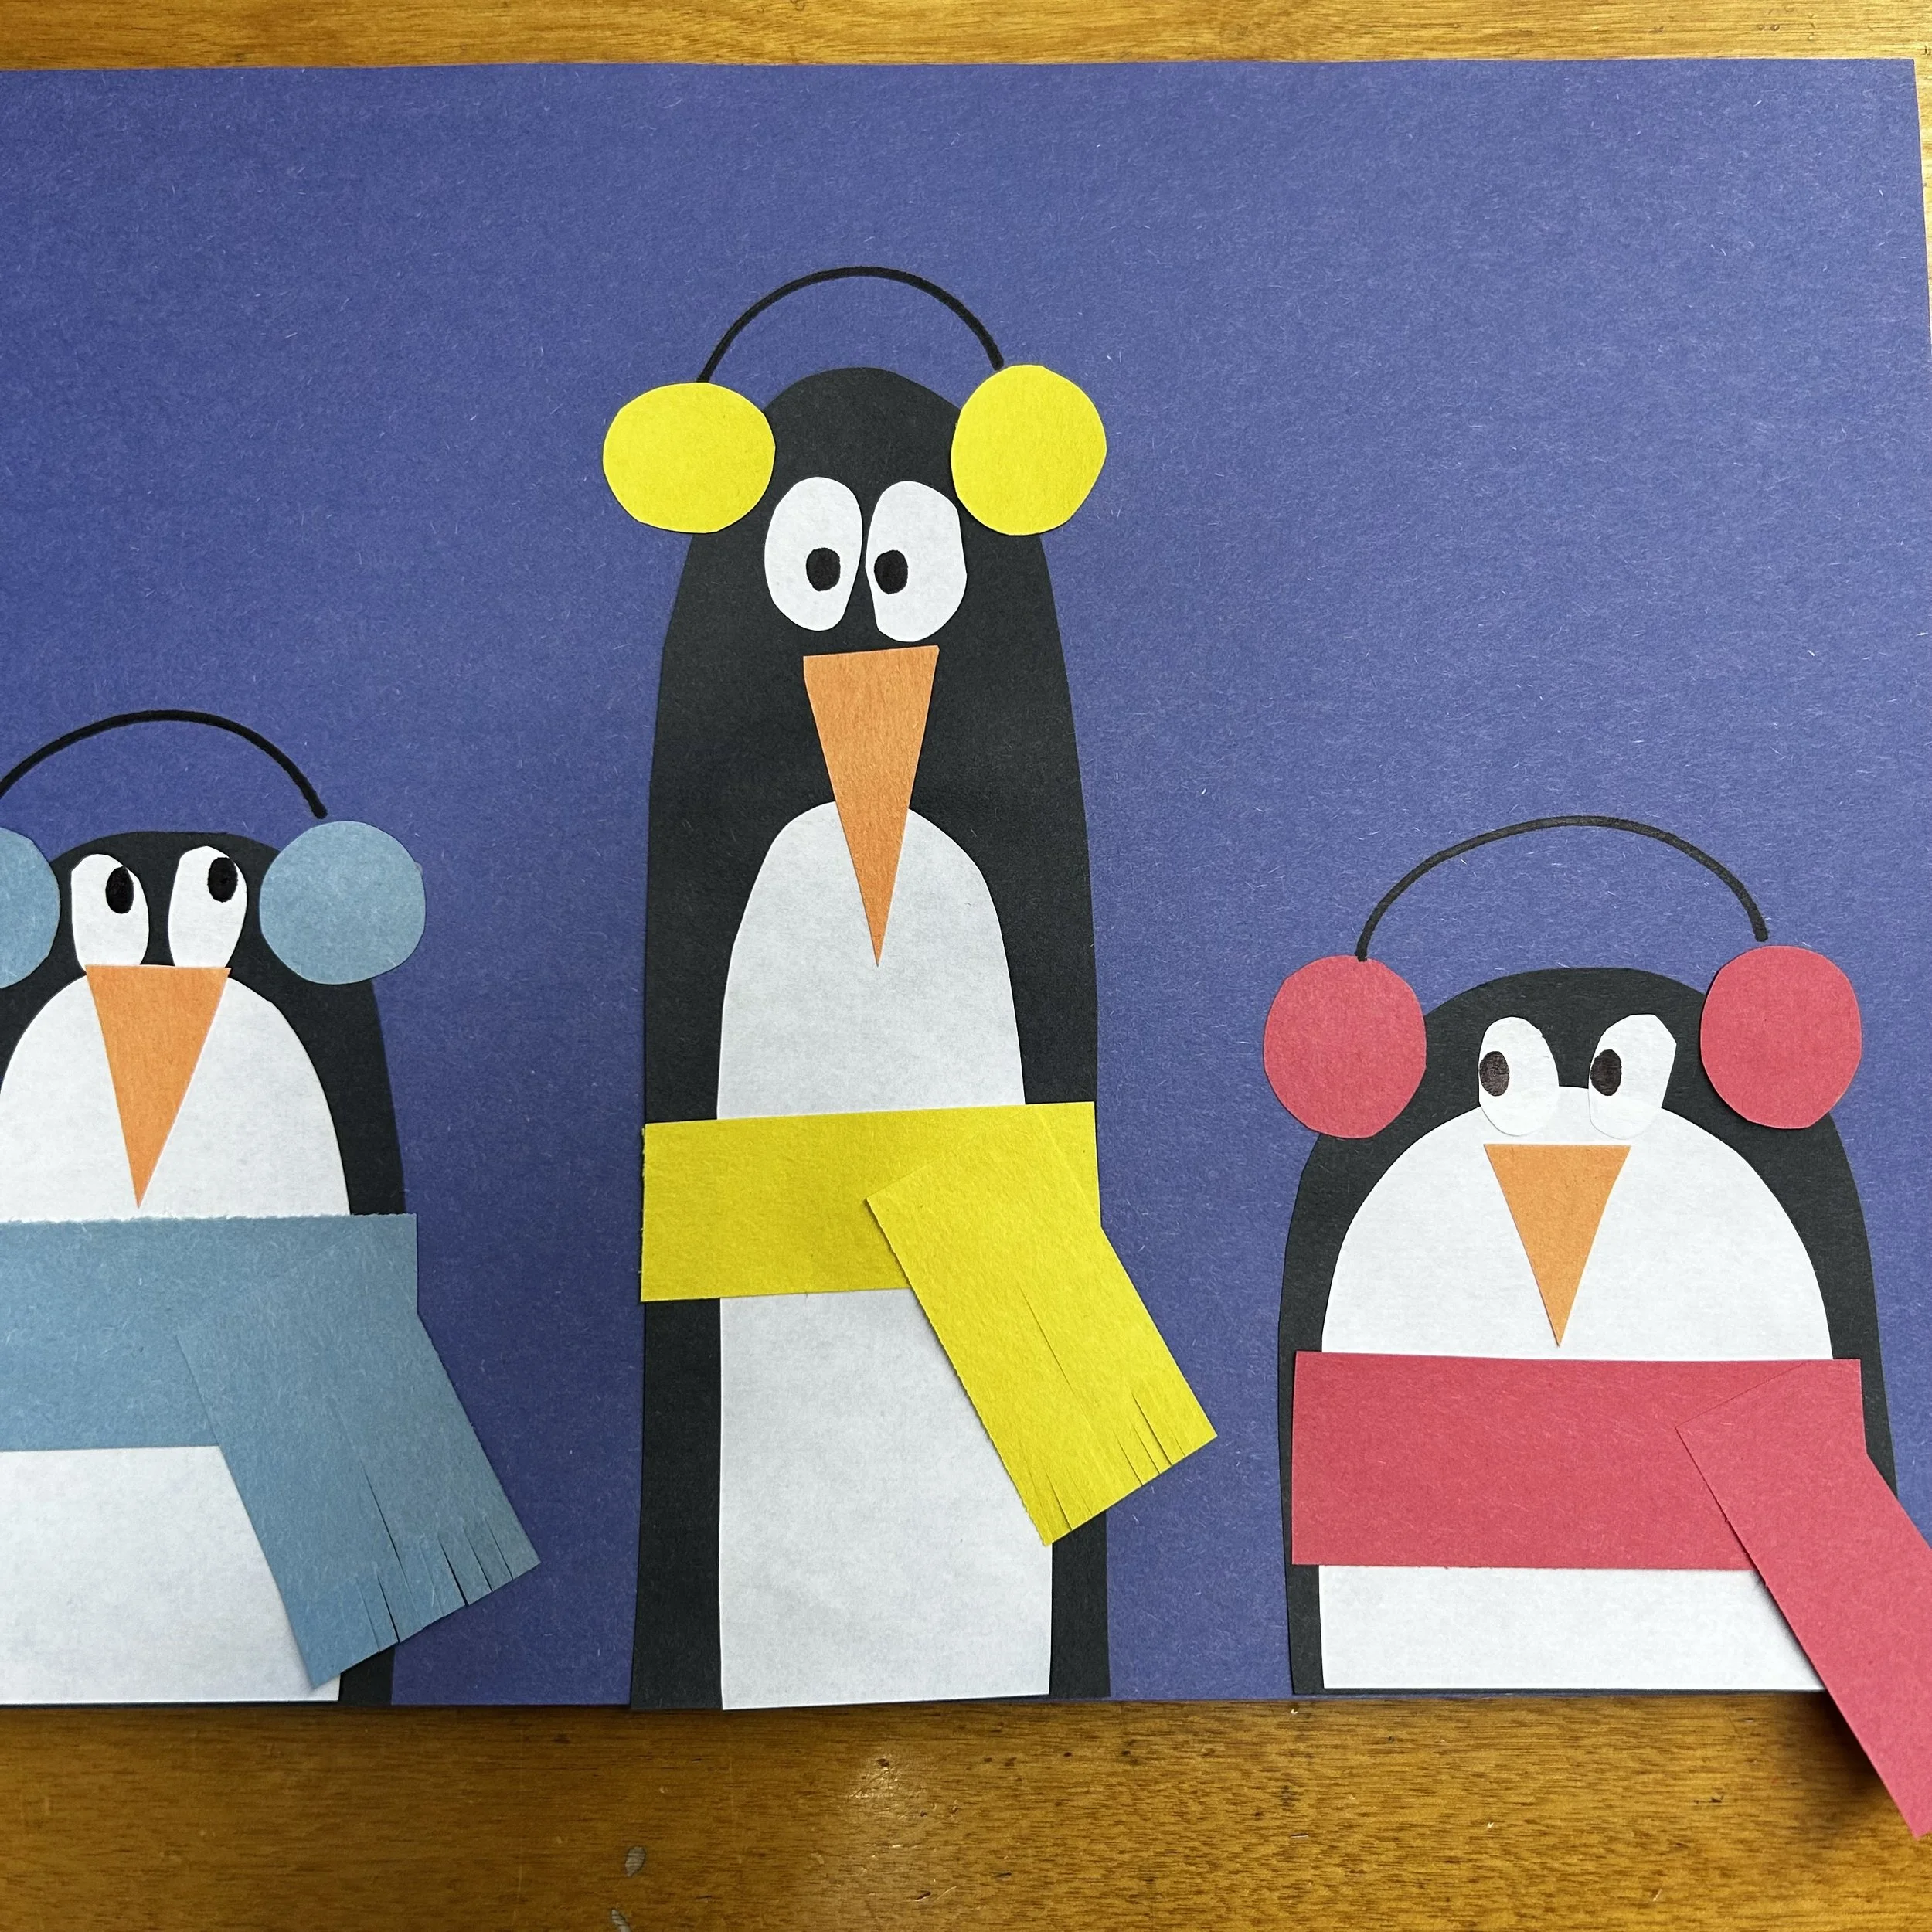
Penguin Family Winter Art Project
This is a more fine motor version of another penguin project I have. It has one large penguin instead of multiple smaller ones. You can check that one out HERE.
TIME REQUIRED: 45 min
TEACHER PREP:
You will need to pre-cut some paper. Each student needs 1/2 a sheet of black and 1/2 a sheet of white. Cut some orange squares for beaks. Each student will need 3 (or 4 if they make more penguins) coloured construction sheets. I ended up cutting sheets into 1/12 pieces.
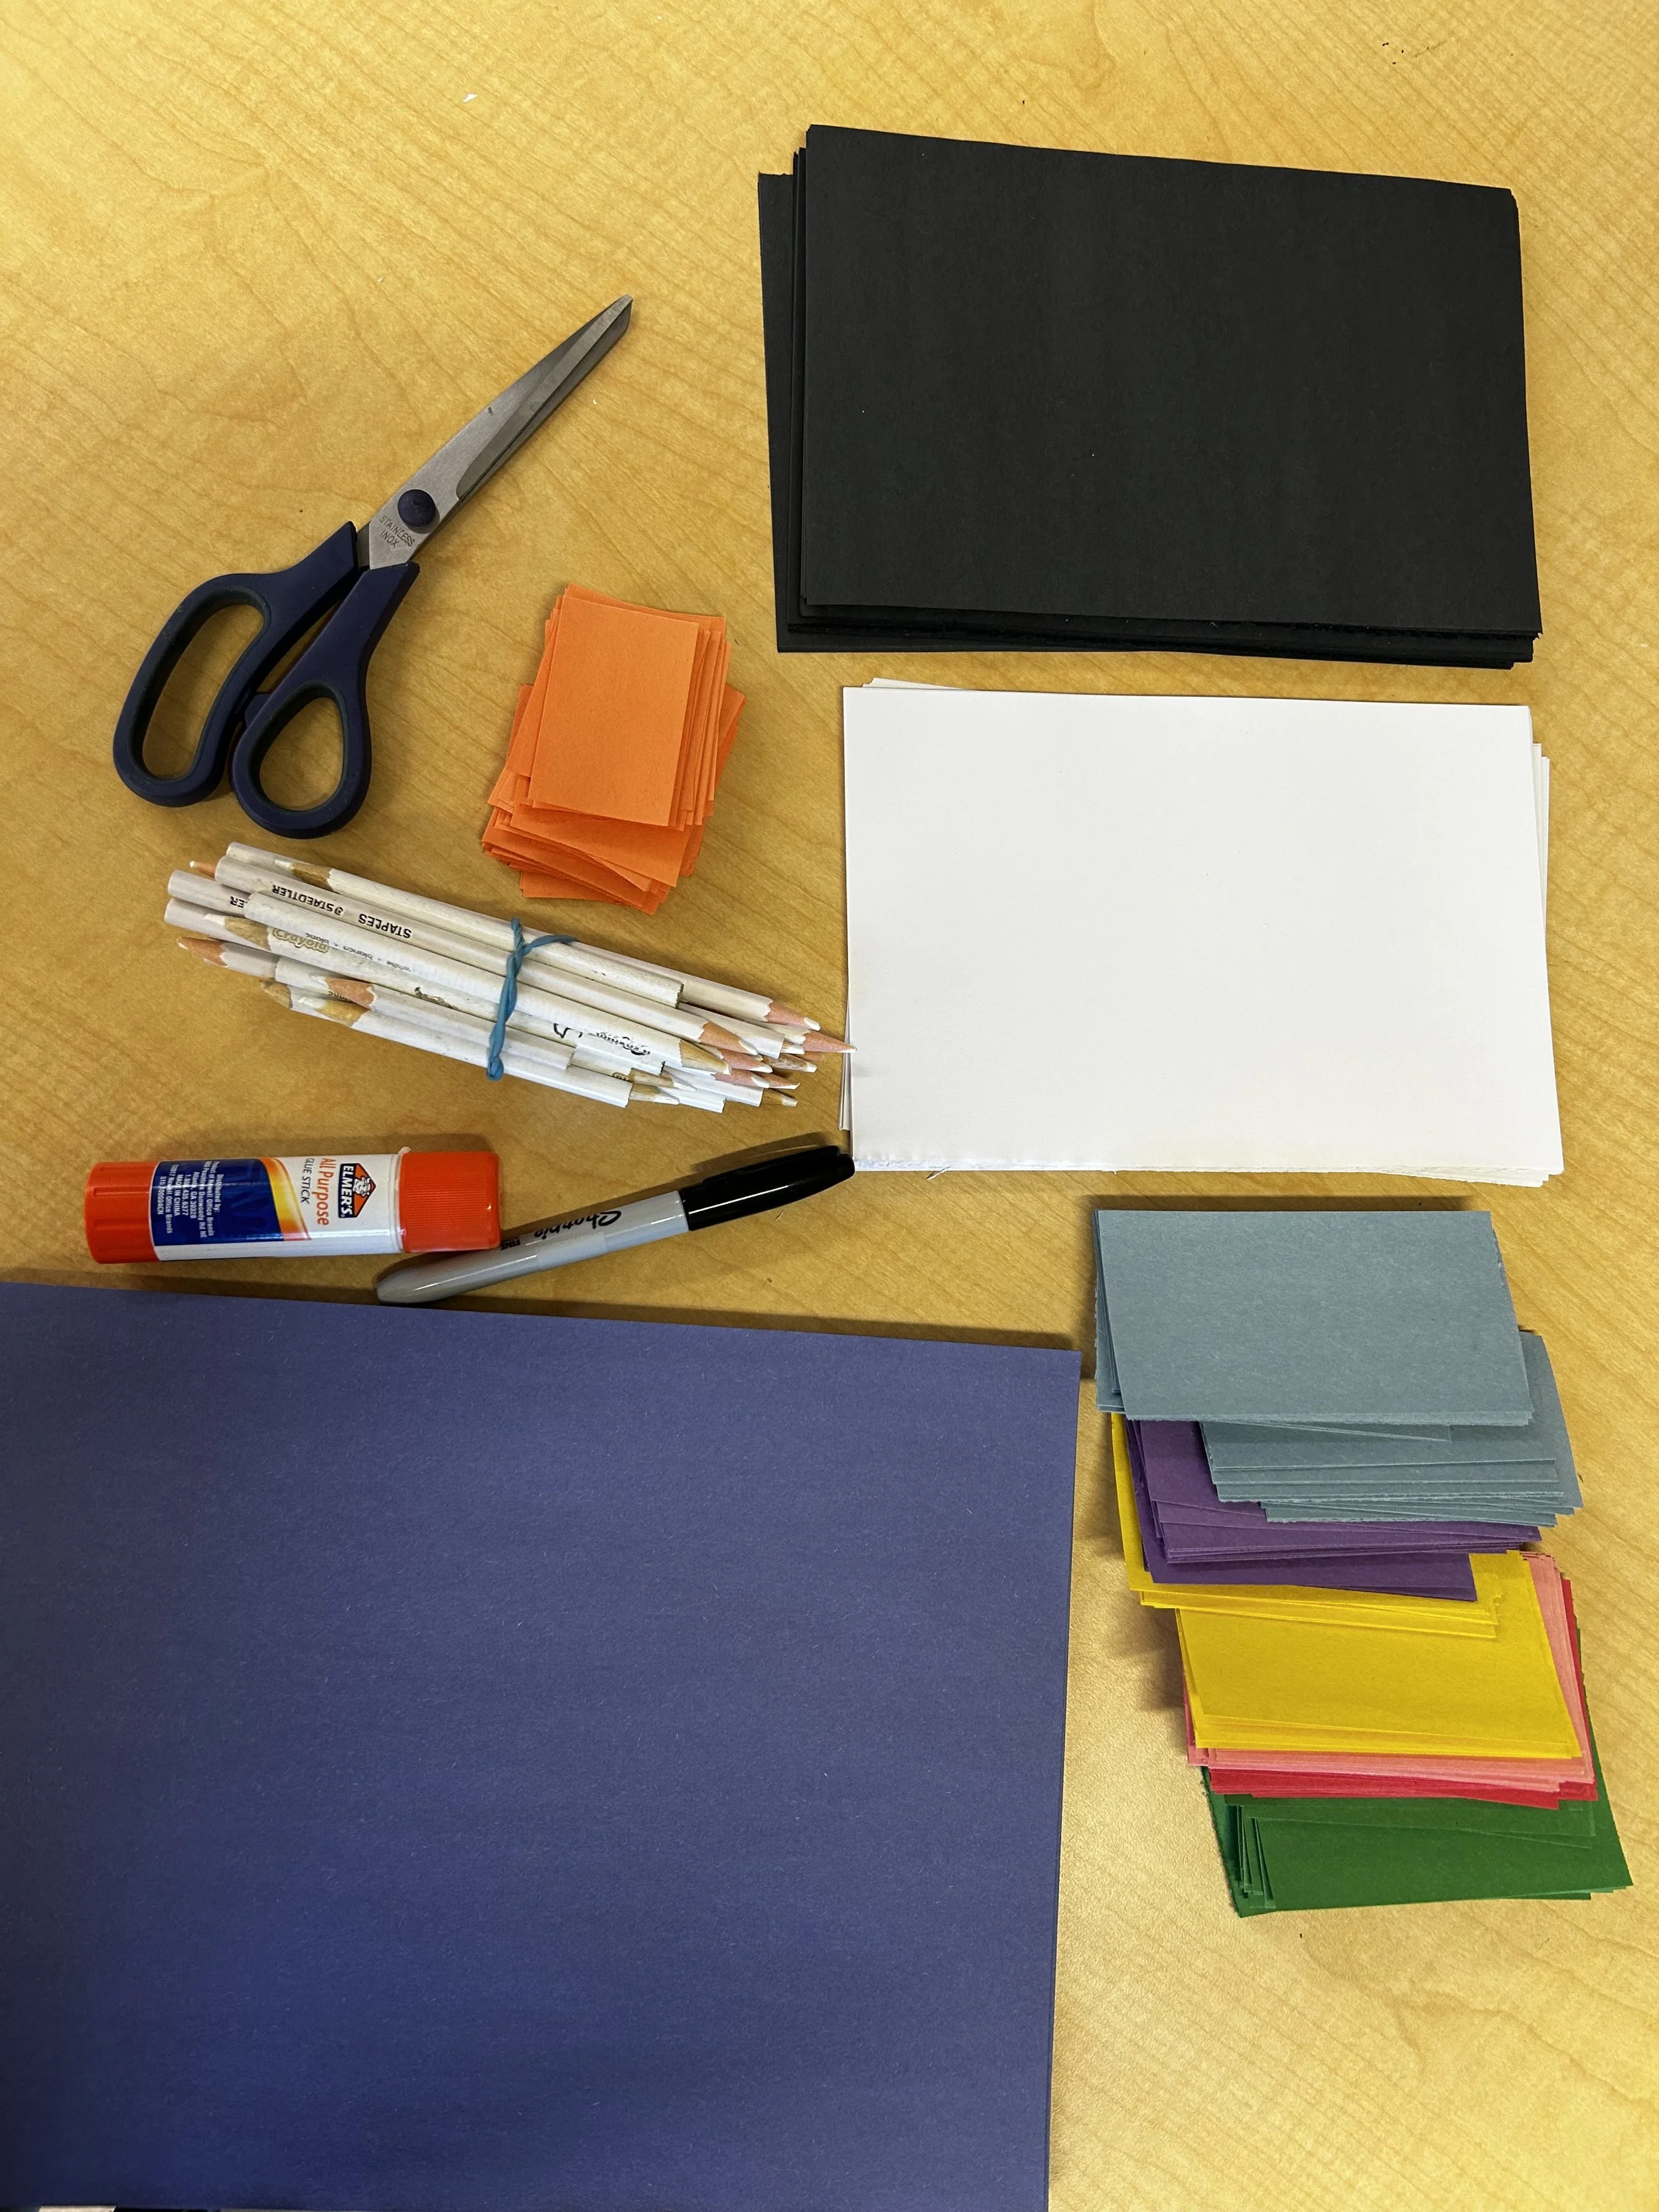
MATERIALS:
Blue construction paper
Black construction paper (1/2 per student)
White paper (1/2 per student)
Orange construction paper (1 per student)
Construction paper chunks (various colours)
Pencil & eraser
Scissors
Glue stick
Black marker
White pencil crayon
Pencil crayons
STEPS
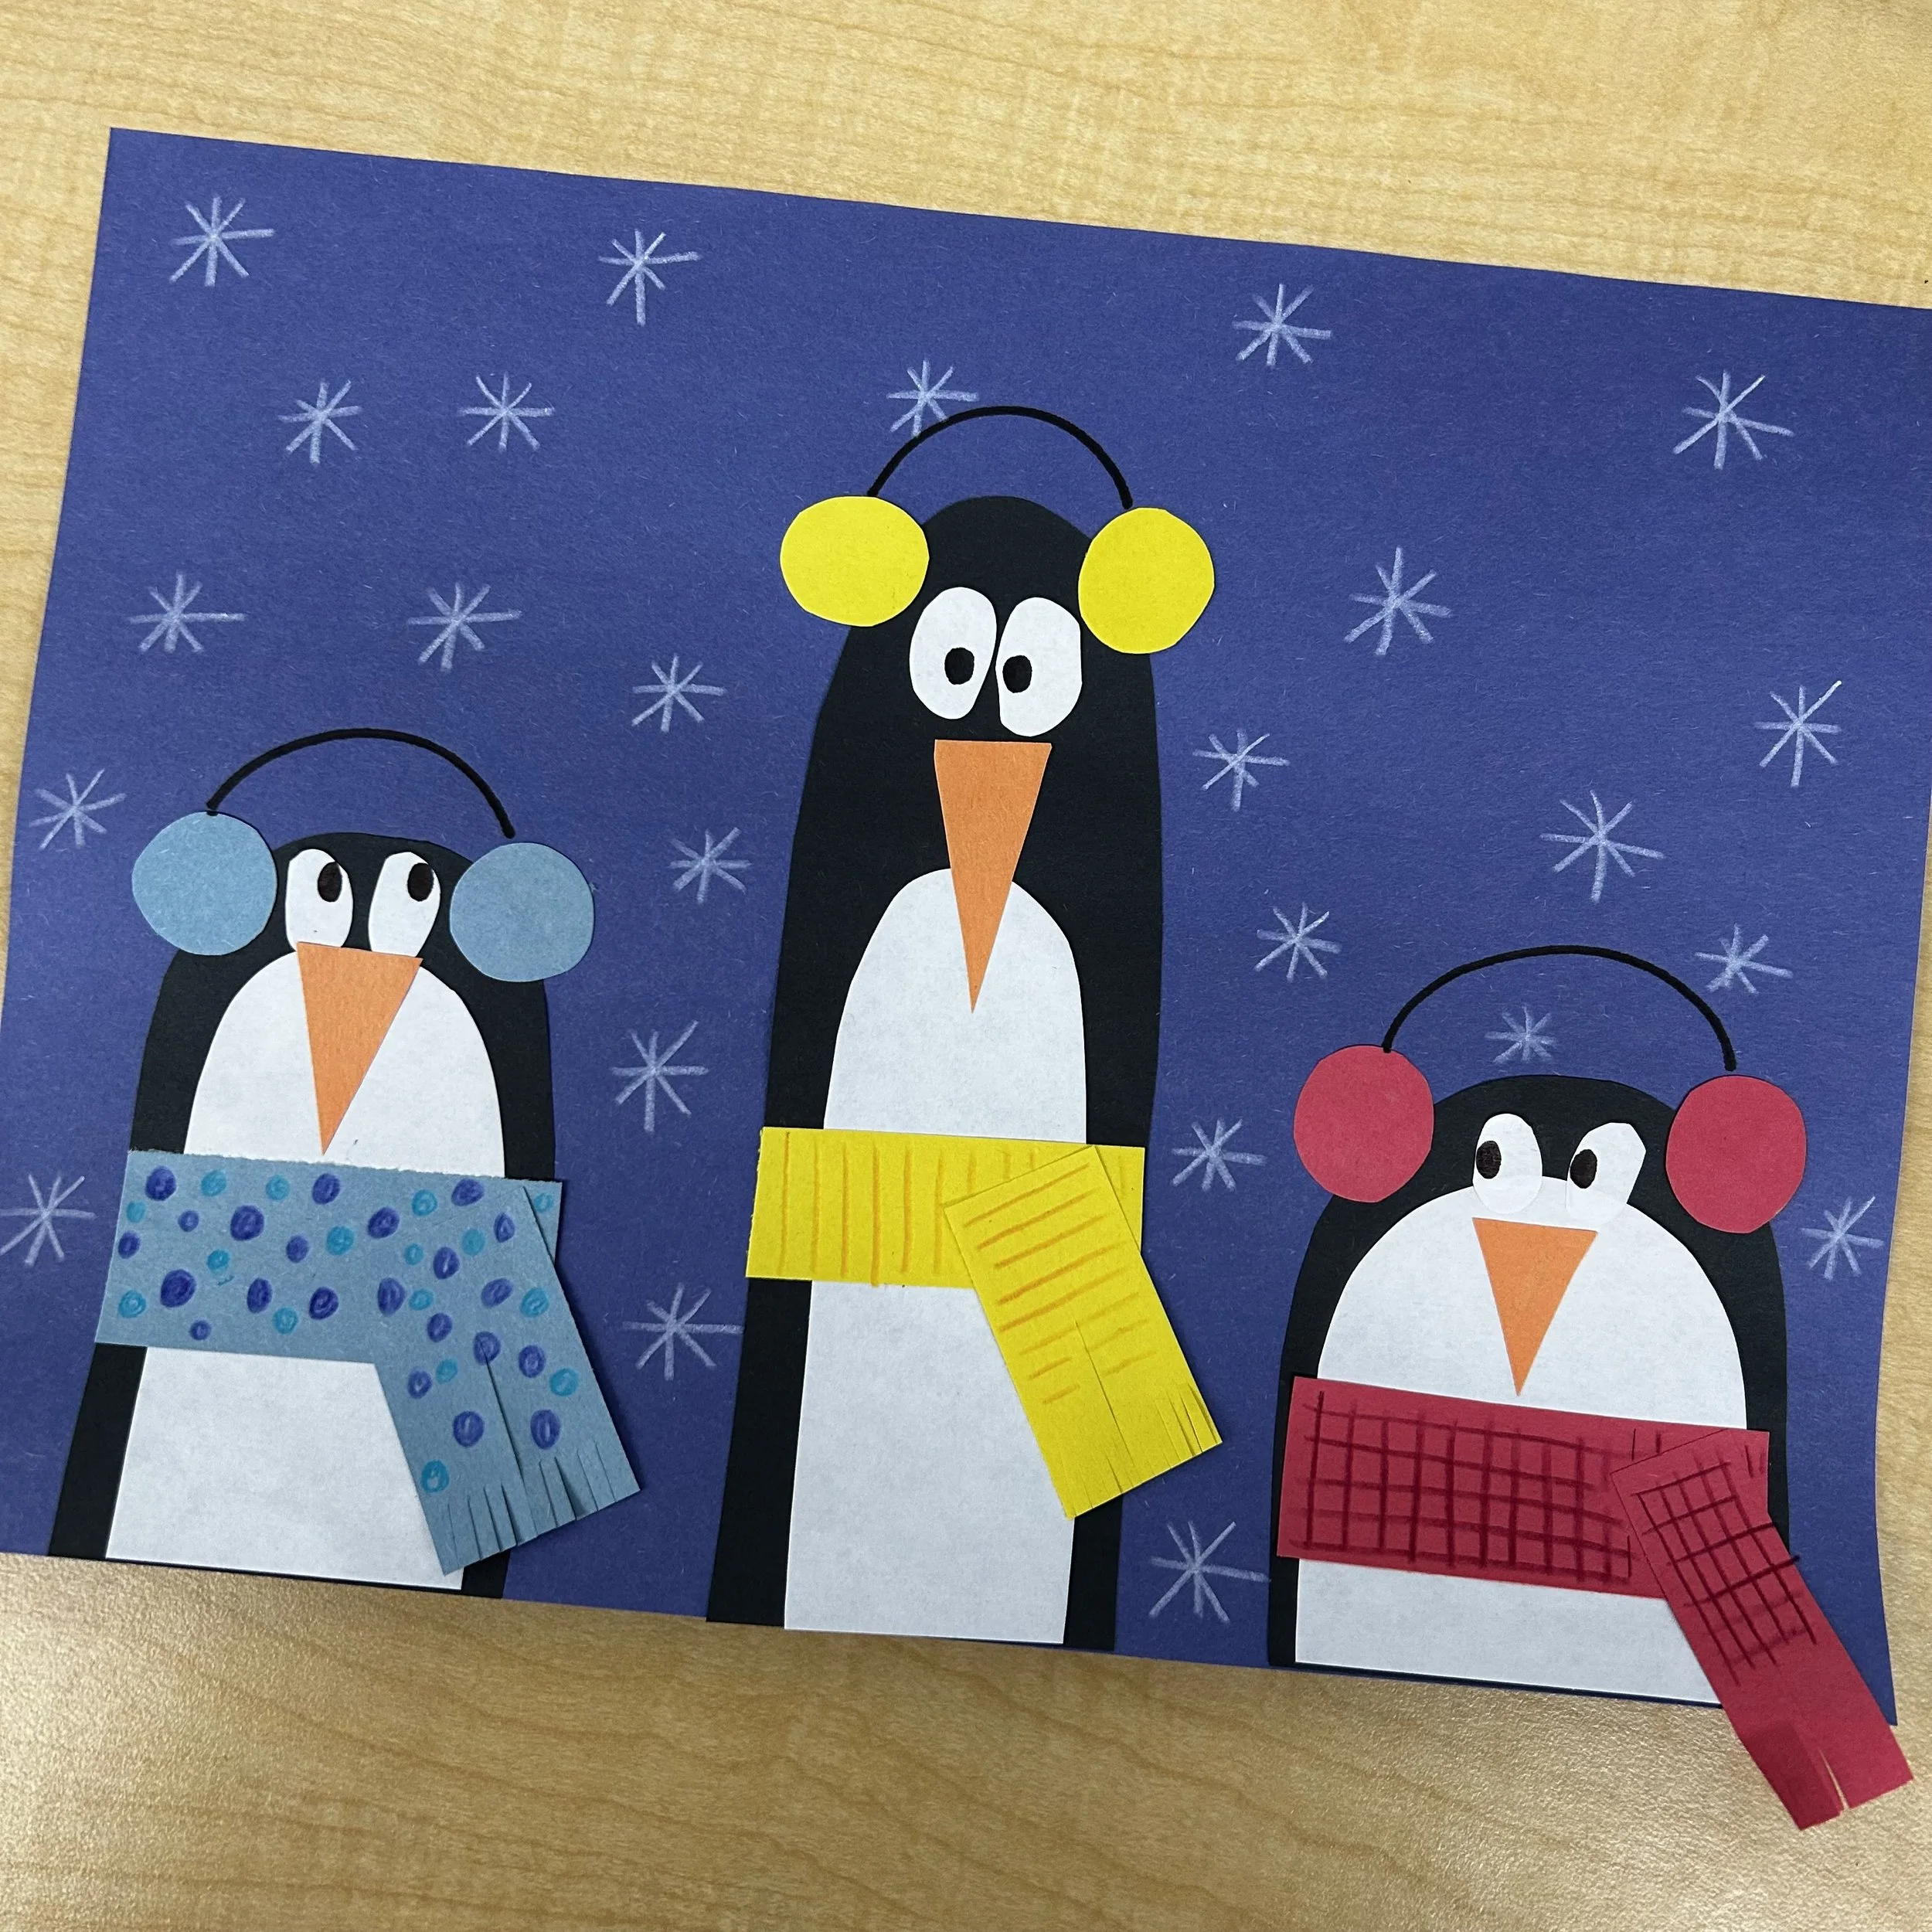
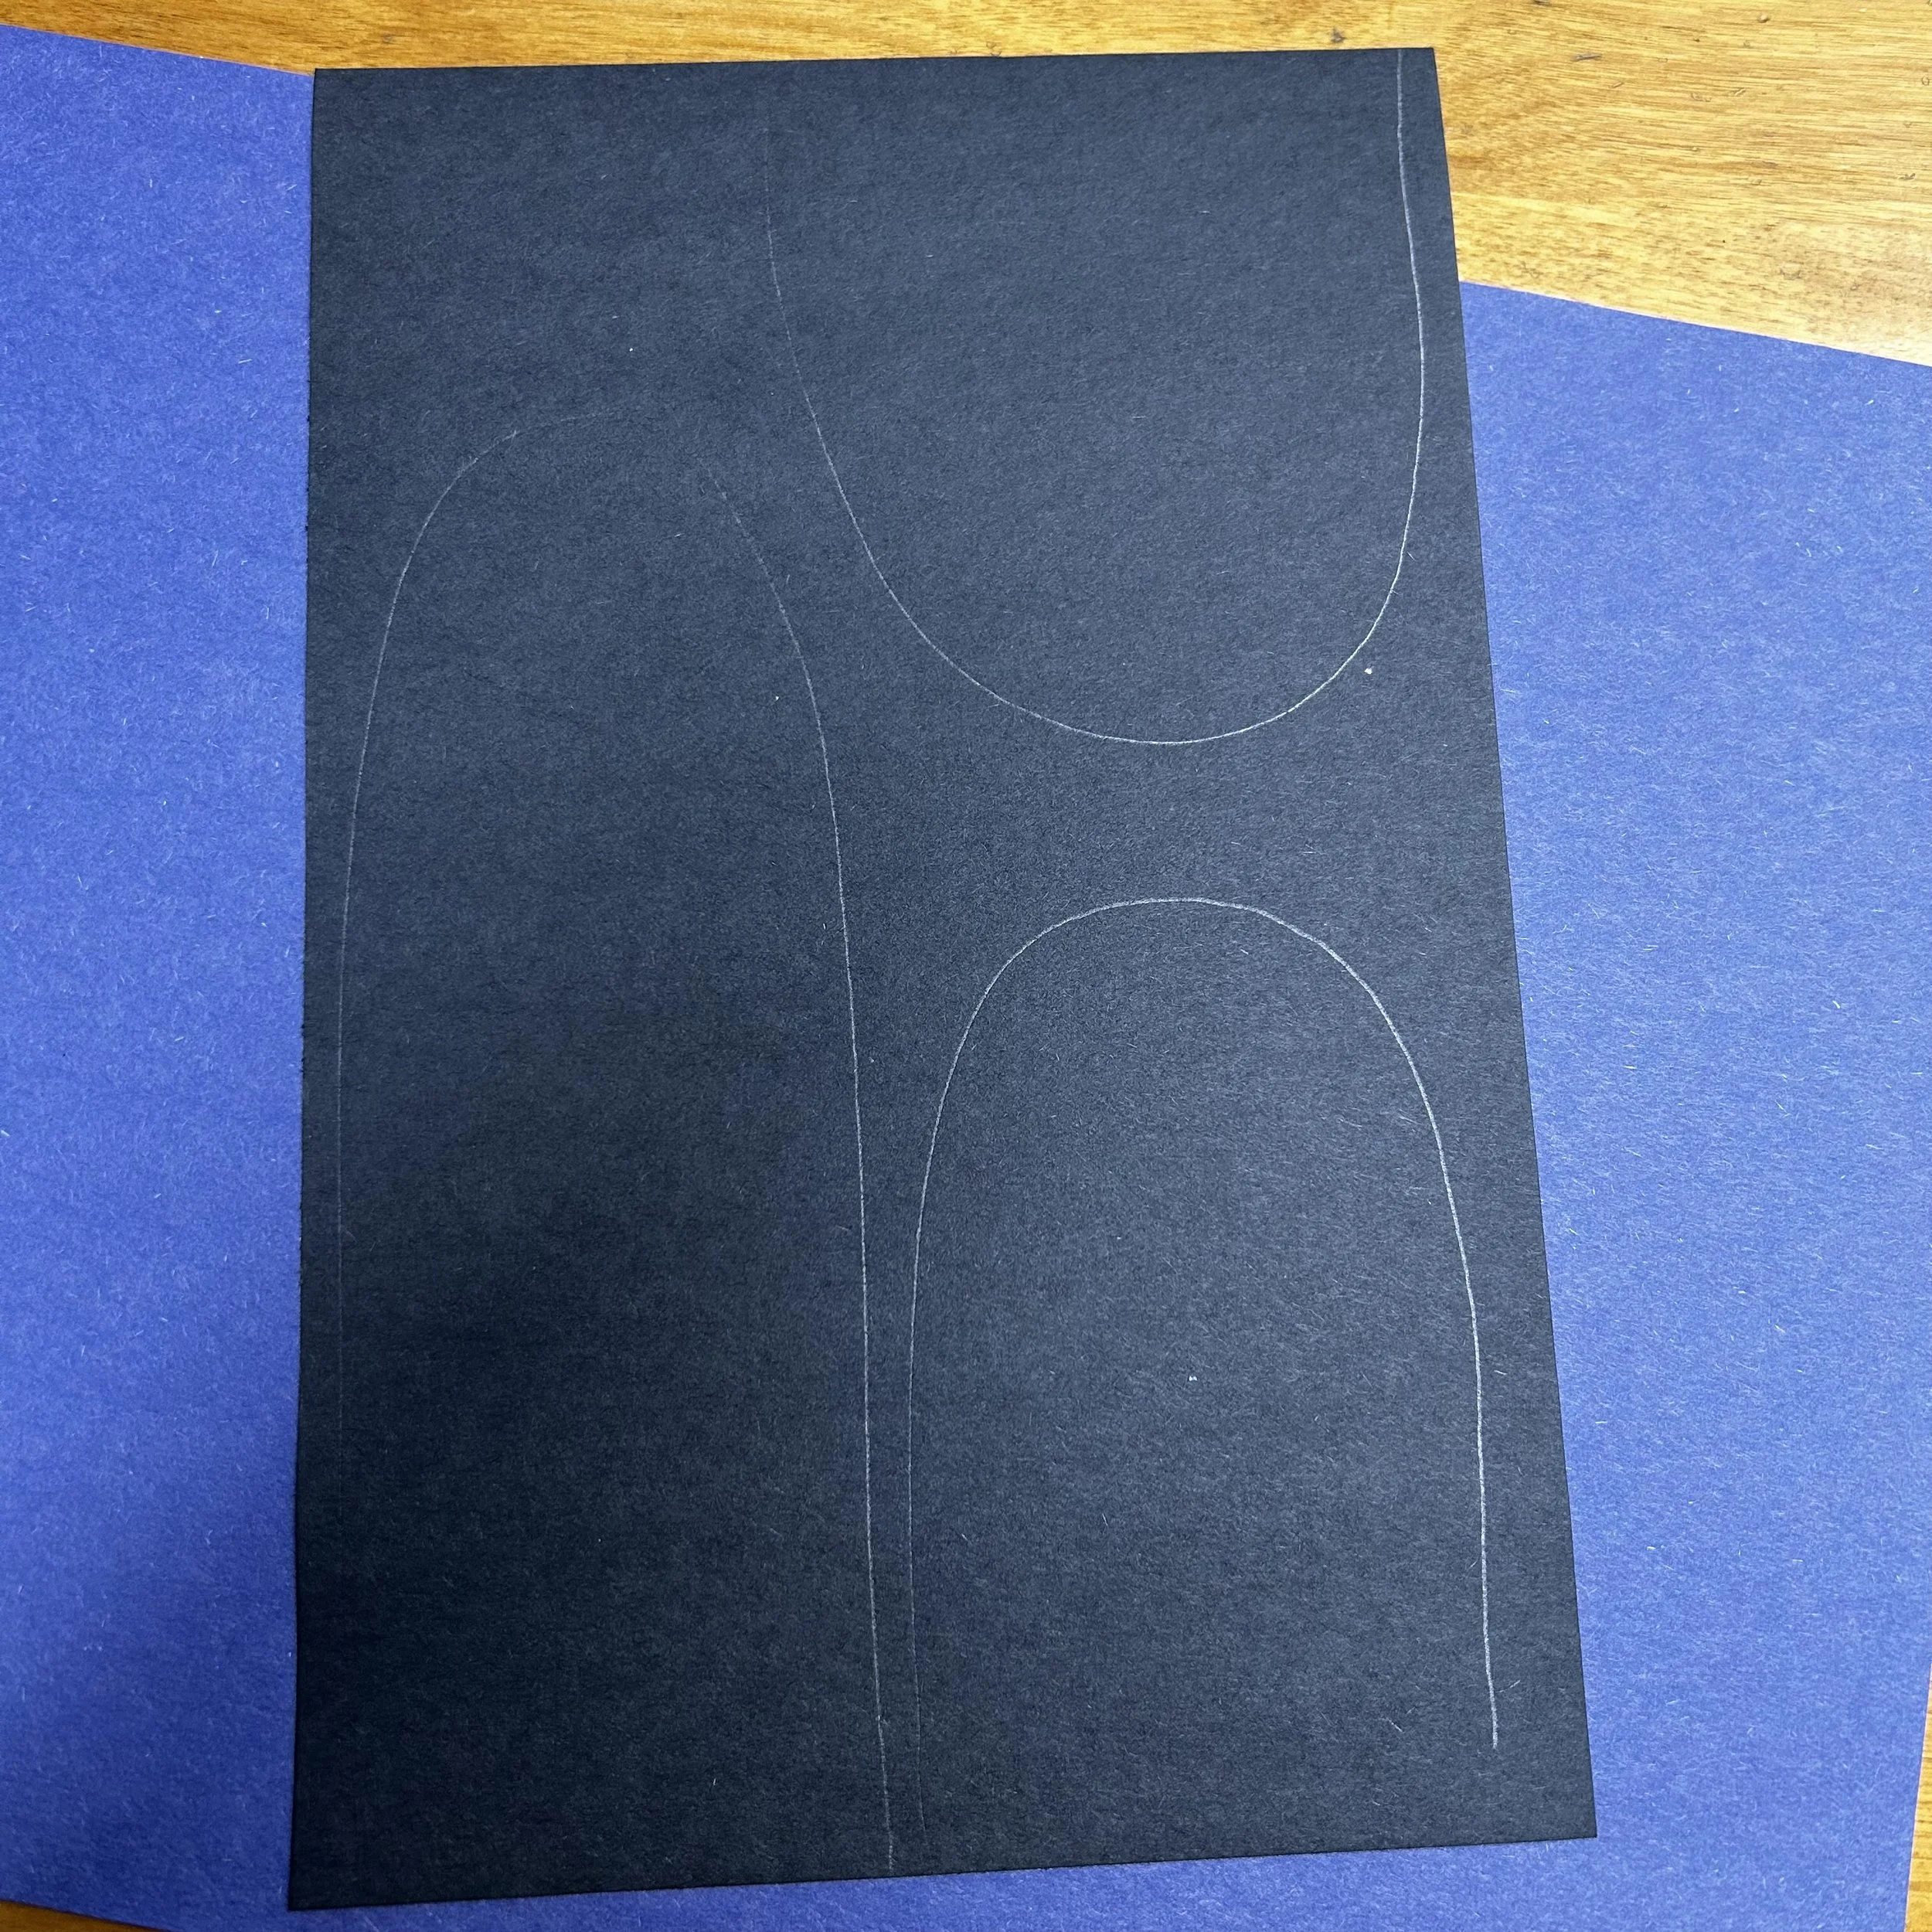
Draw 3-4 curved penguin bodies on the black paper.
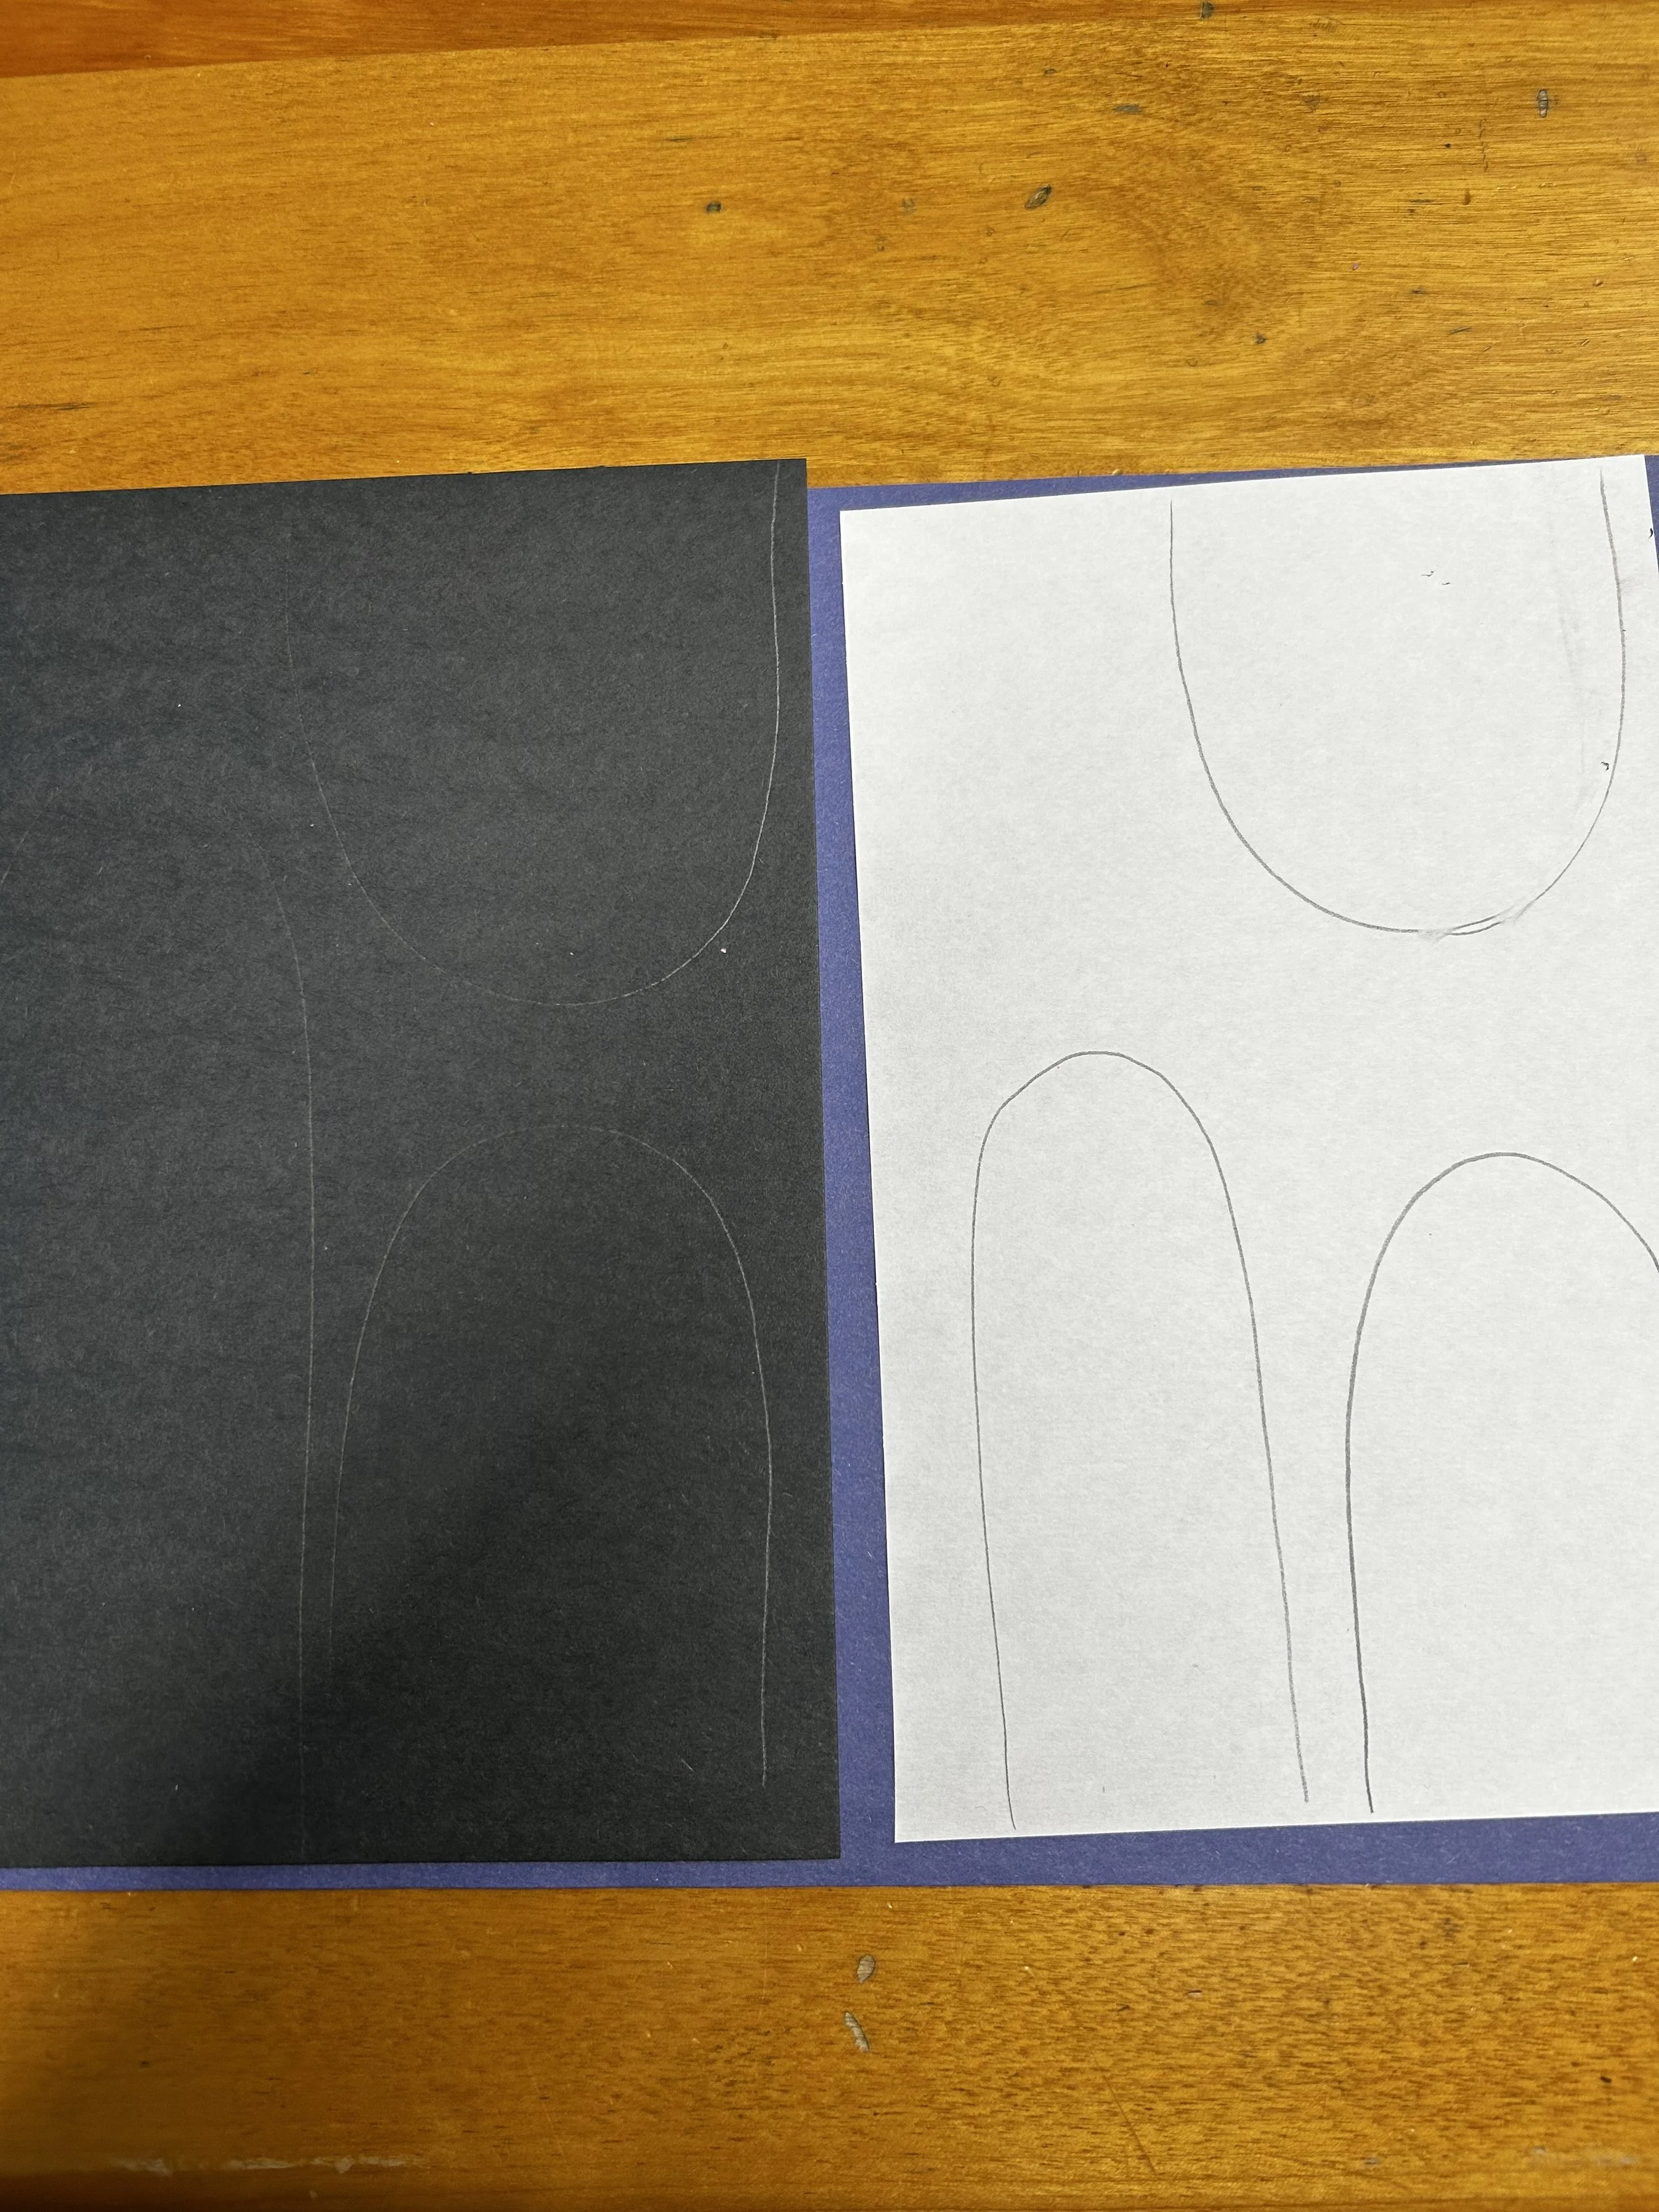
Repeat the same shapes, just slightly smaller, on the white paper. This is the belly. *save this white paper for the eyes
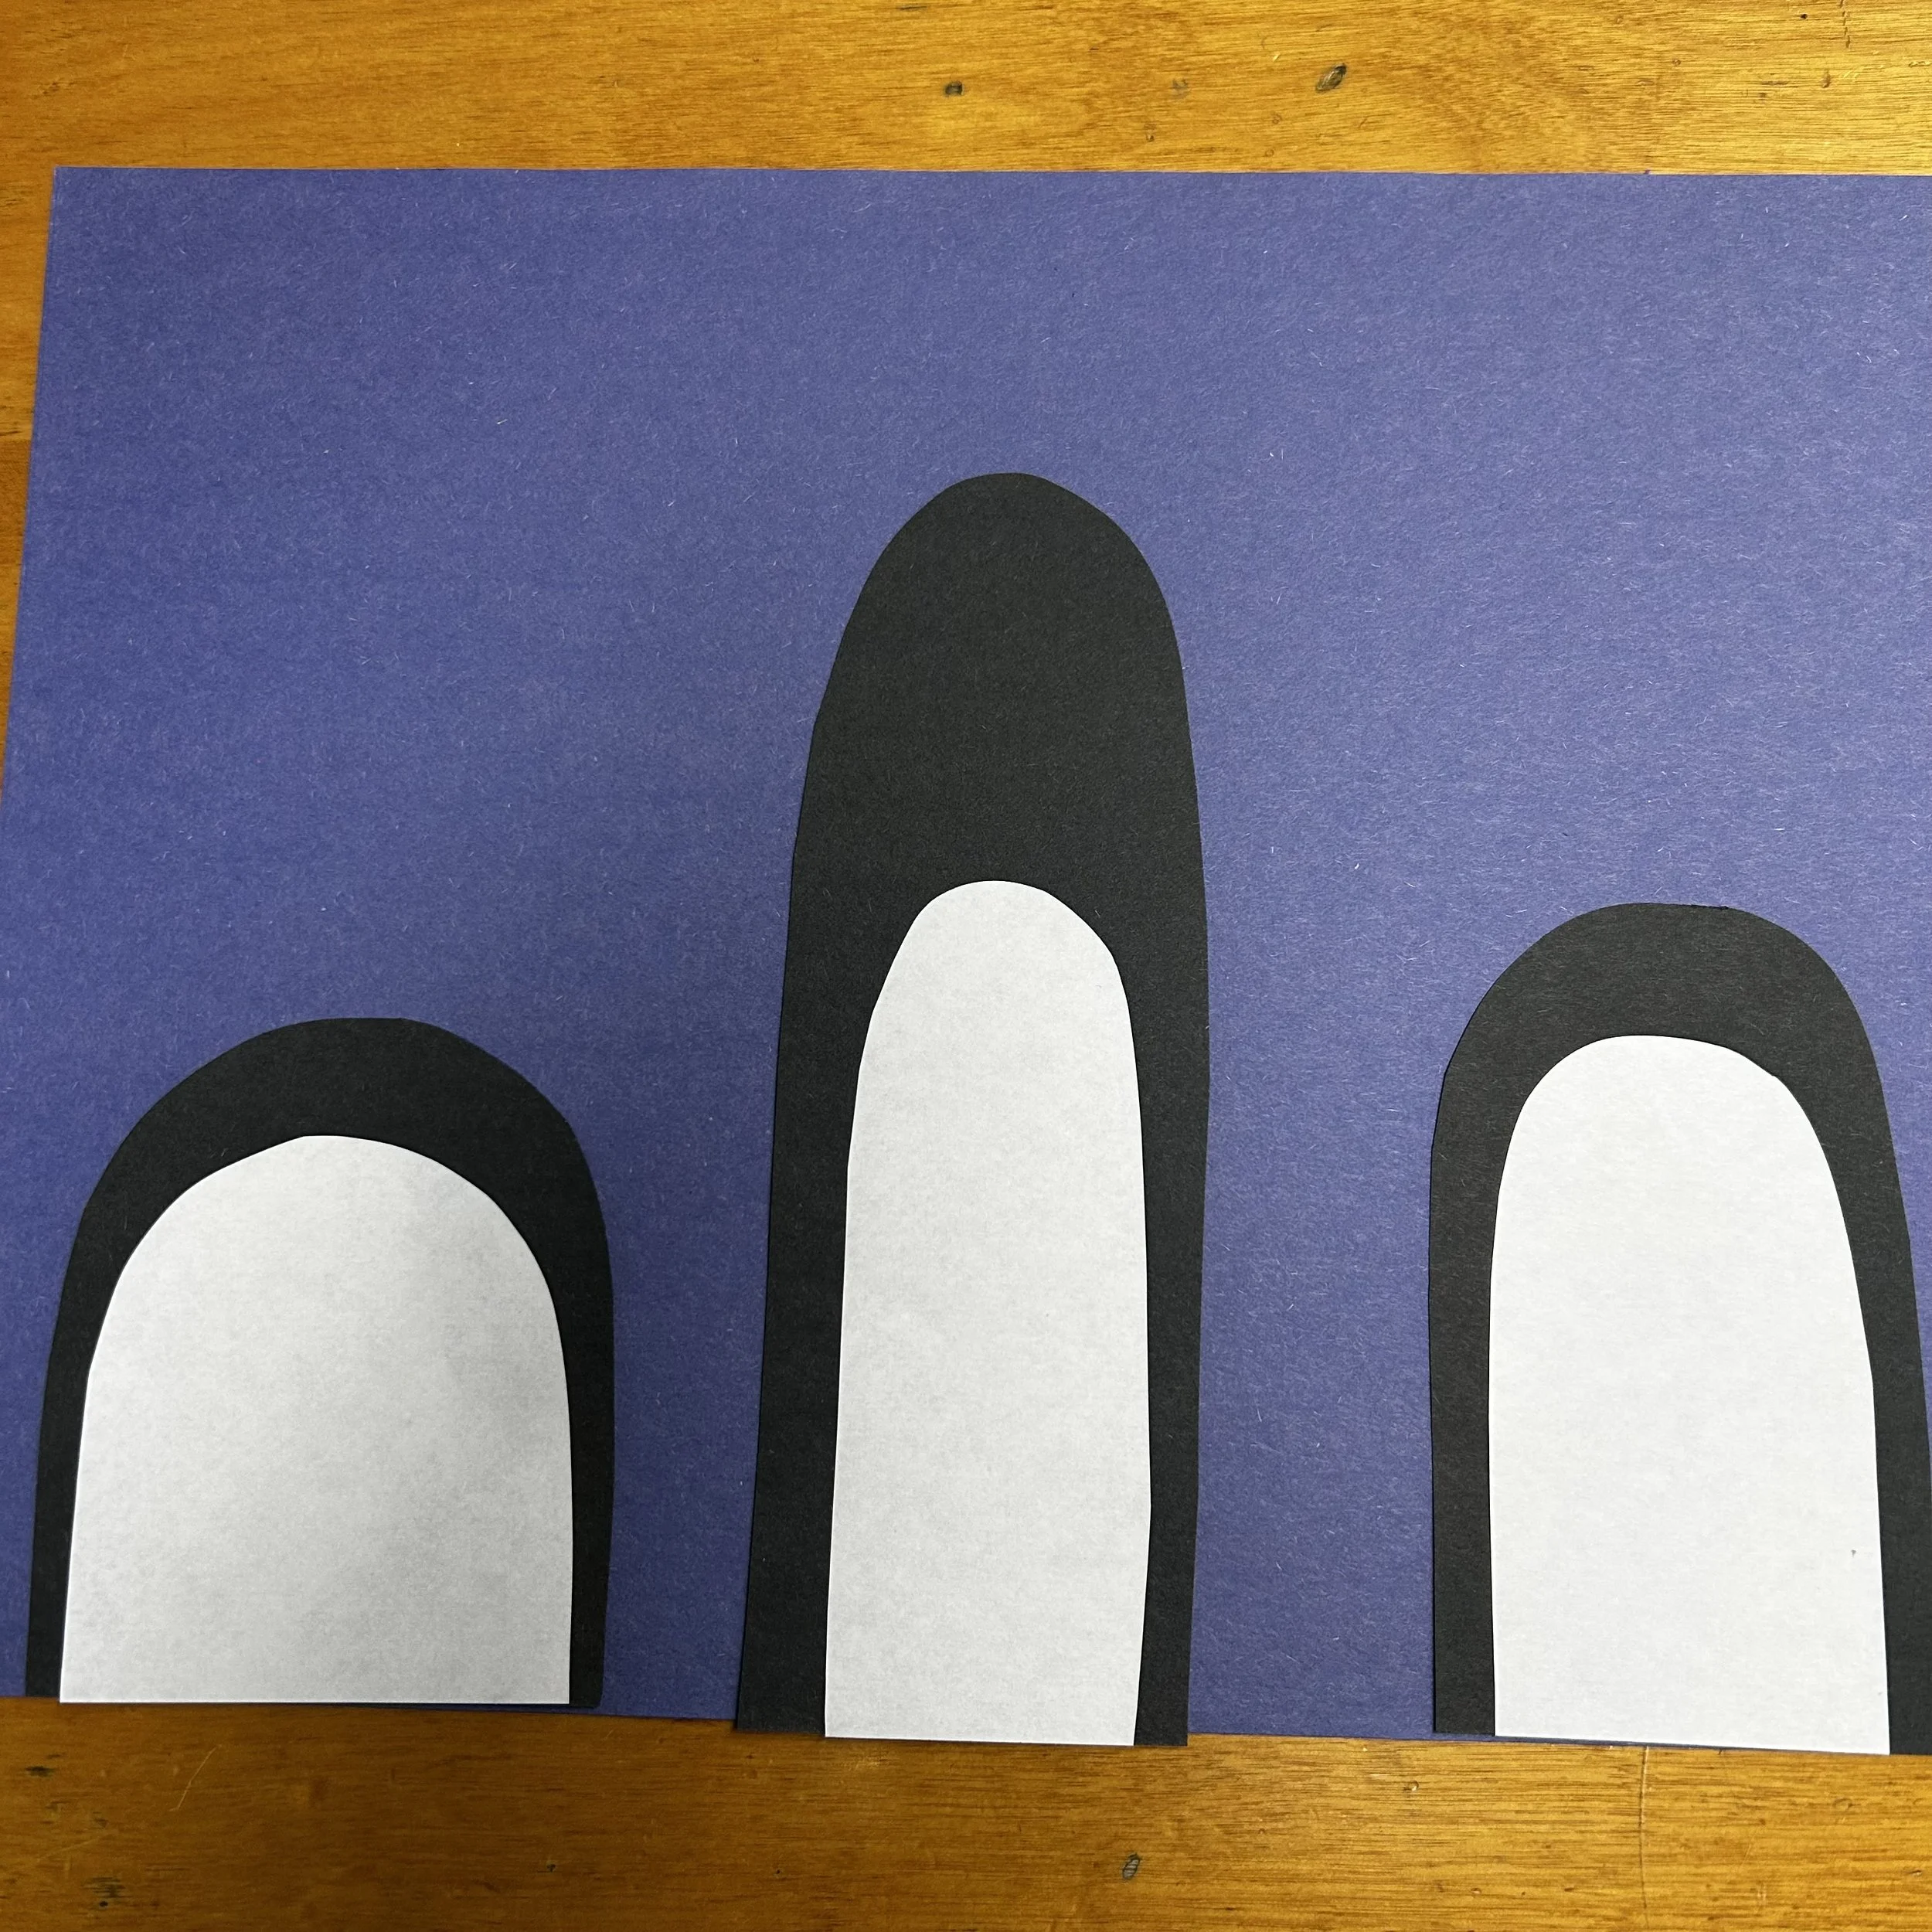
Cut out the body and belly and glue together and then glue them onto the background.
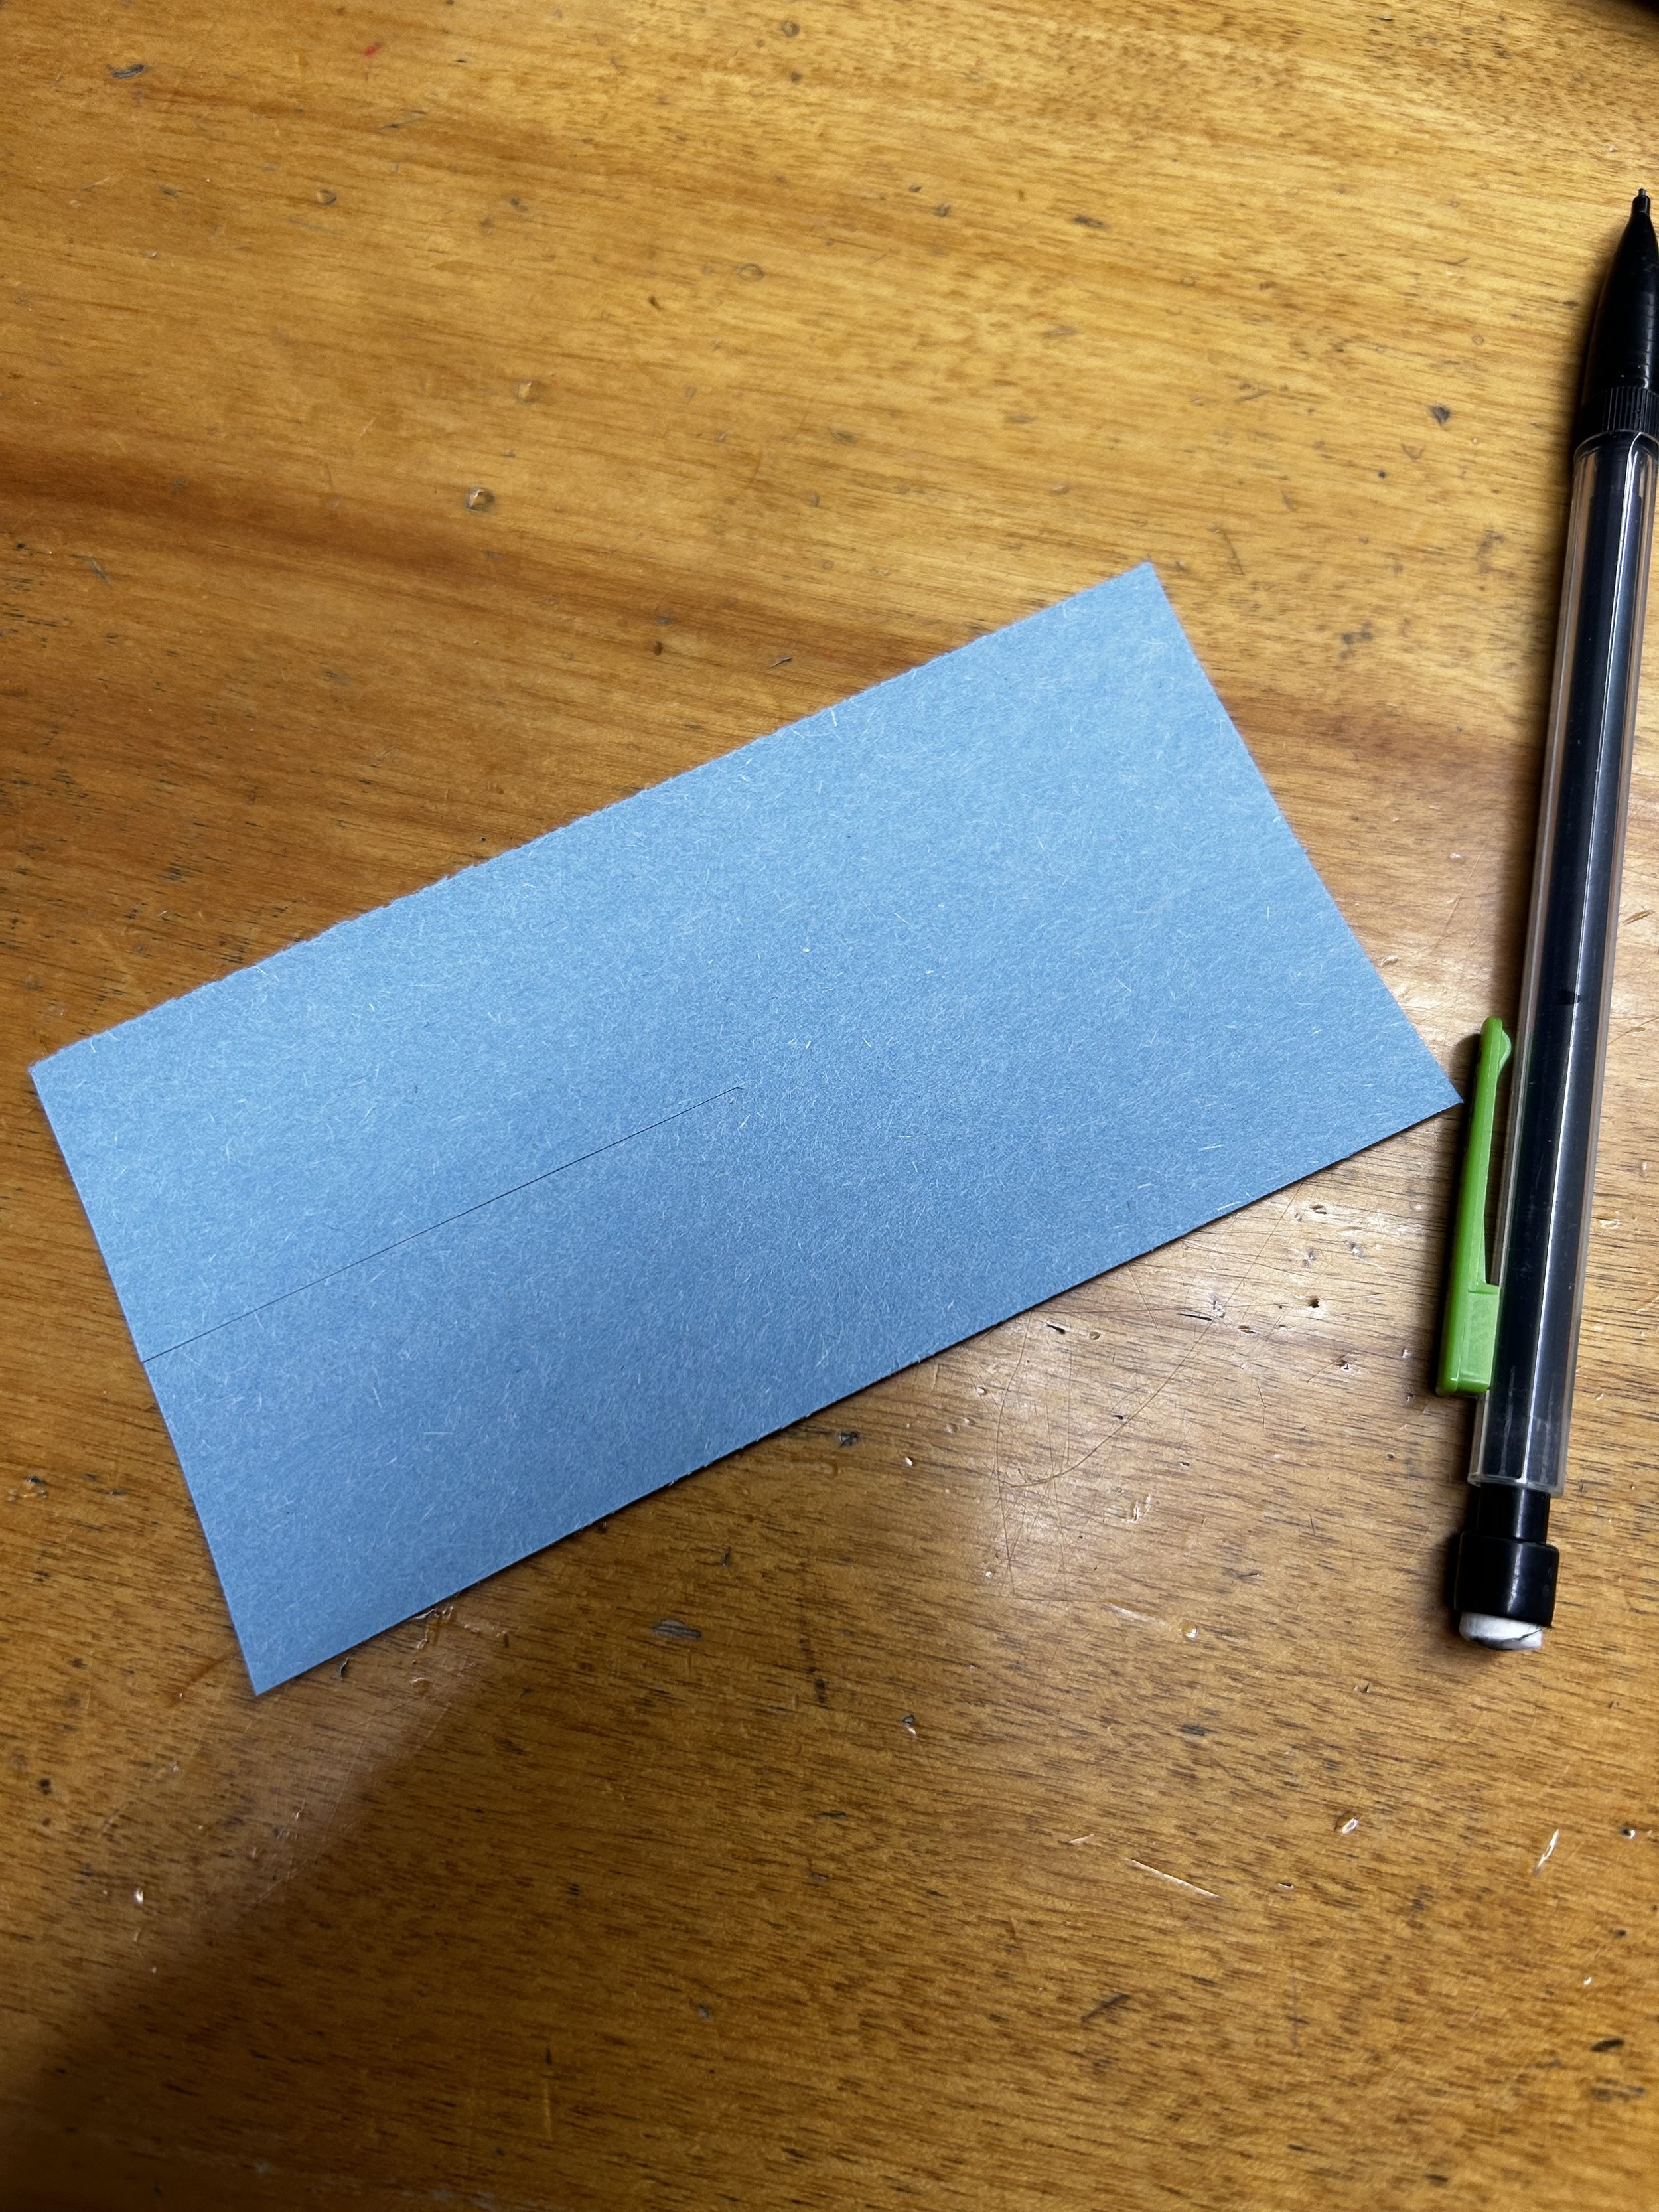
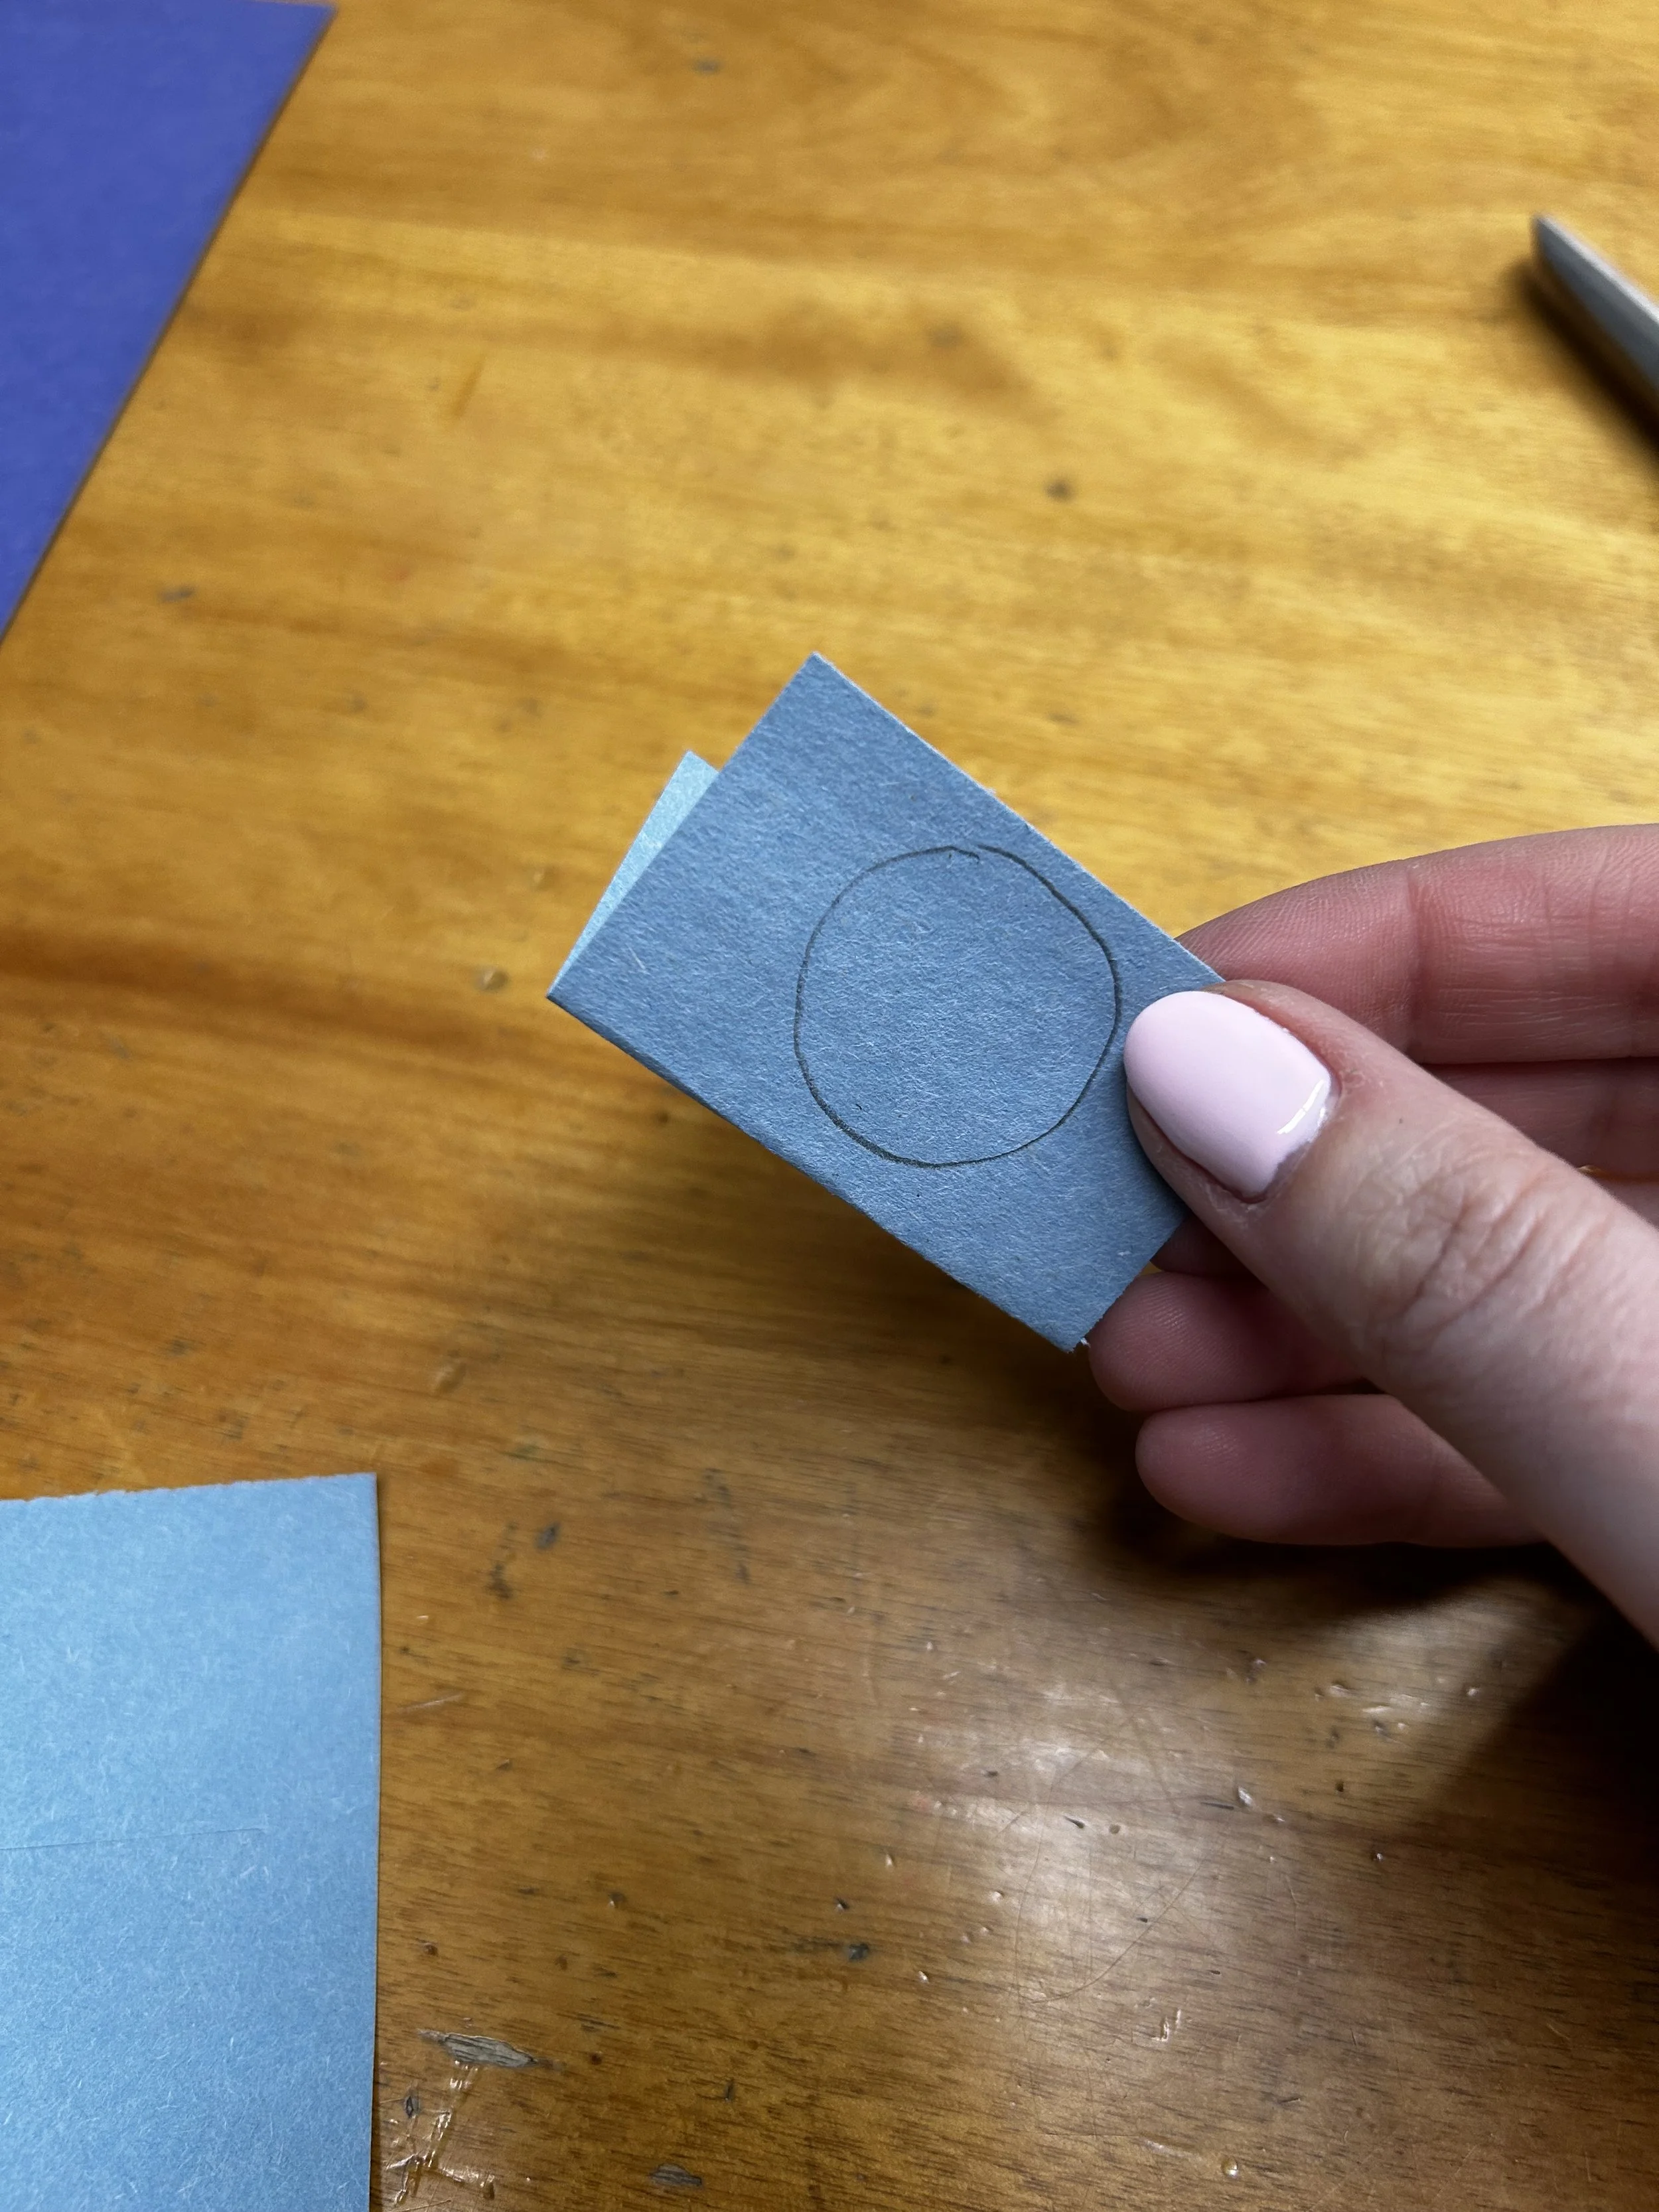
Using one piece of coloured construction paper per penguin, cut off a square and fold it. Cut a circle, yielding two ear muffs.
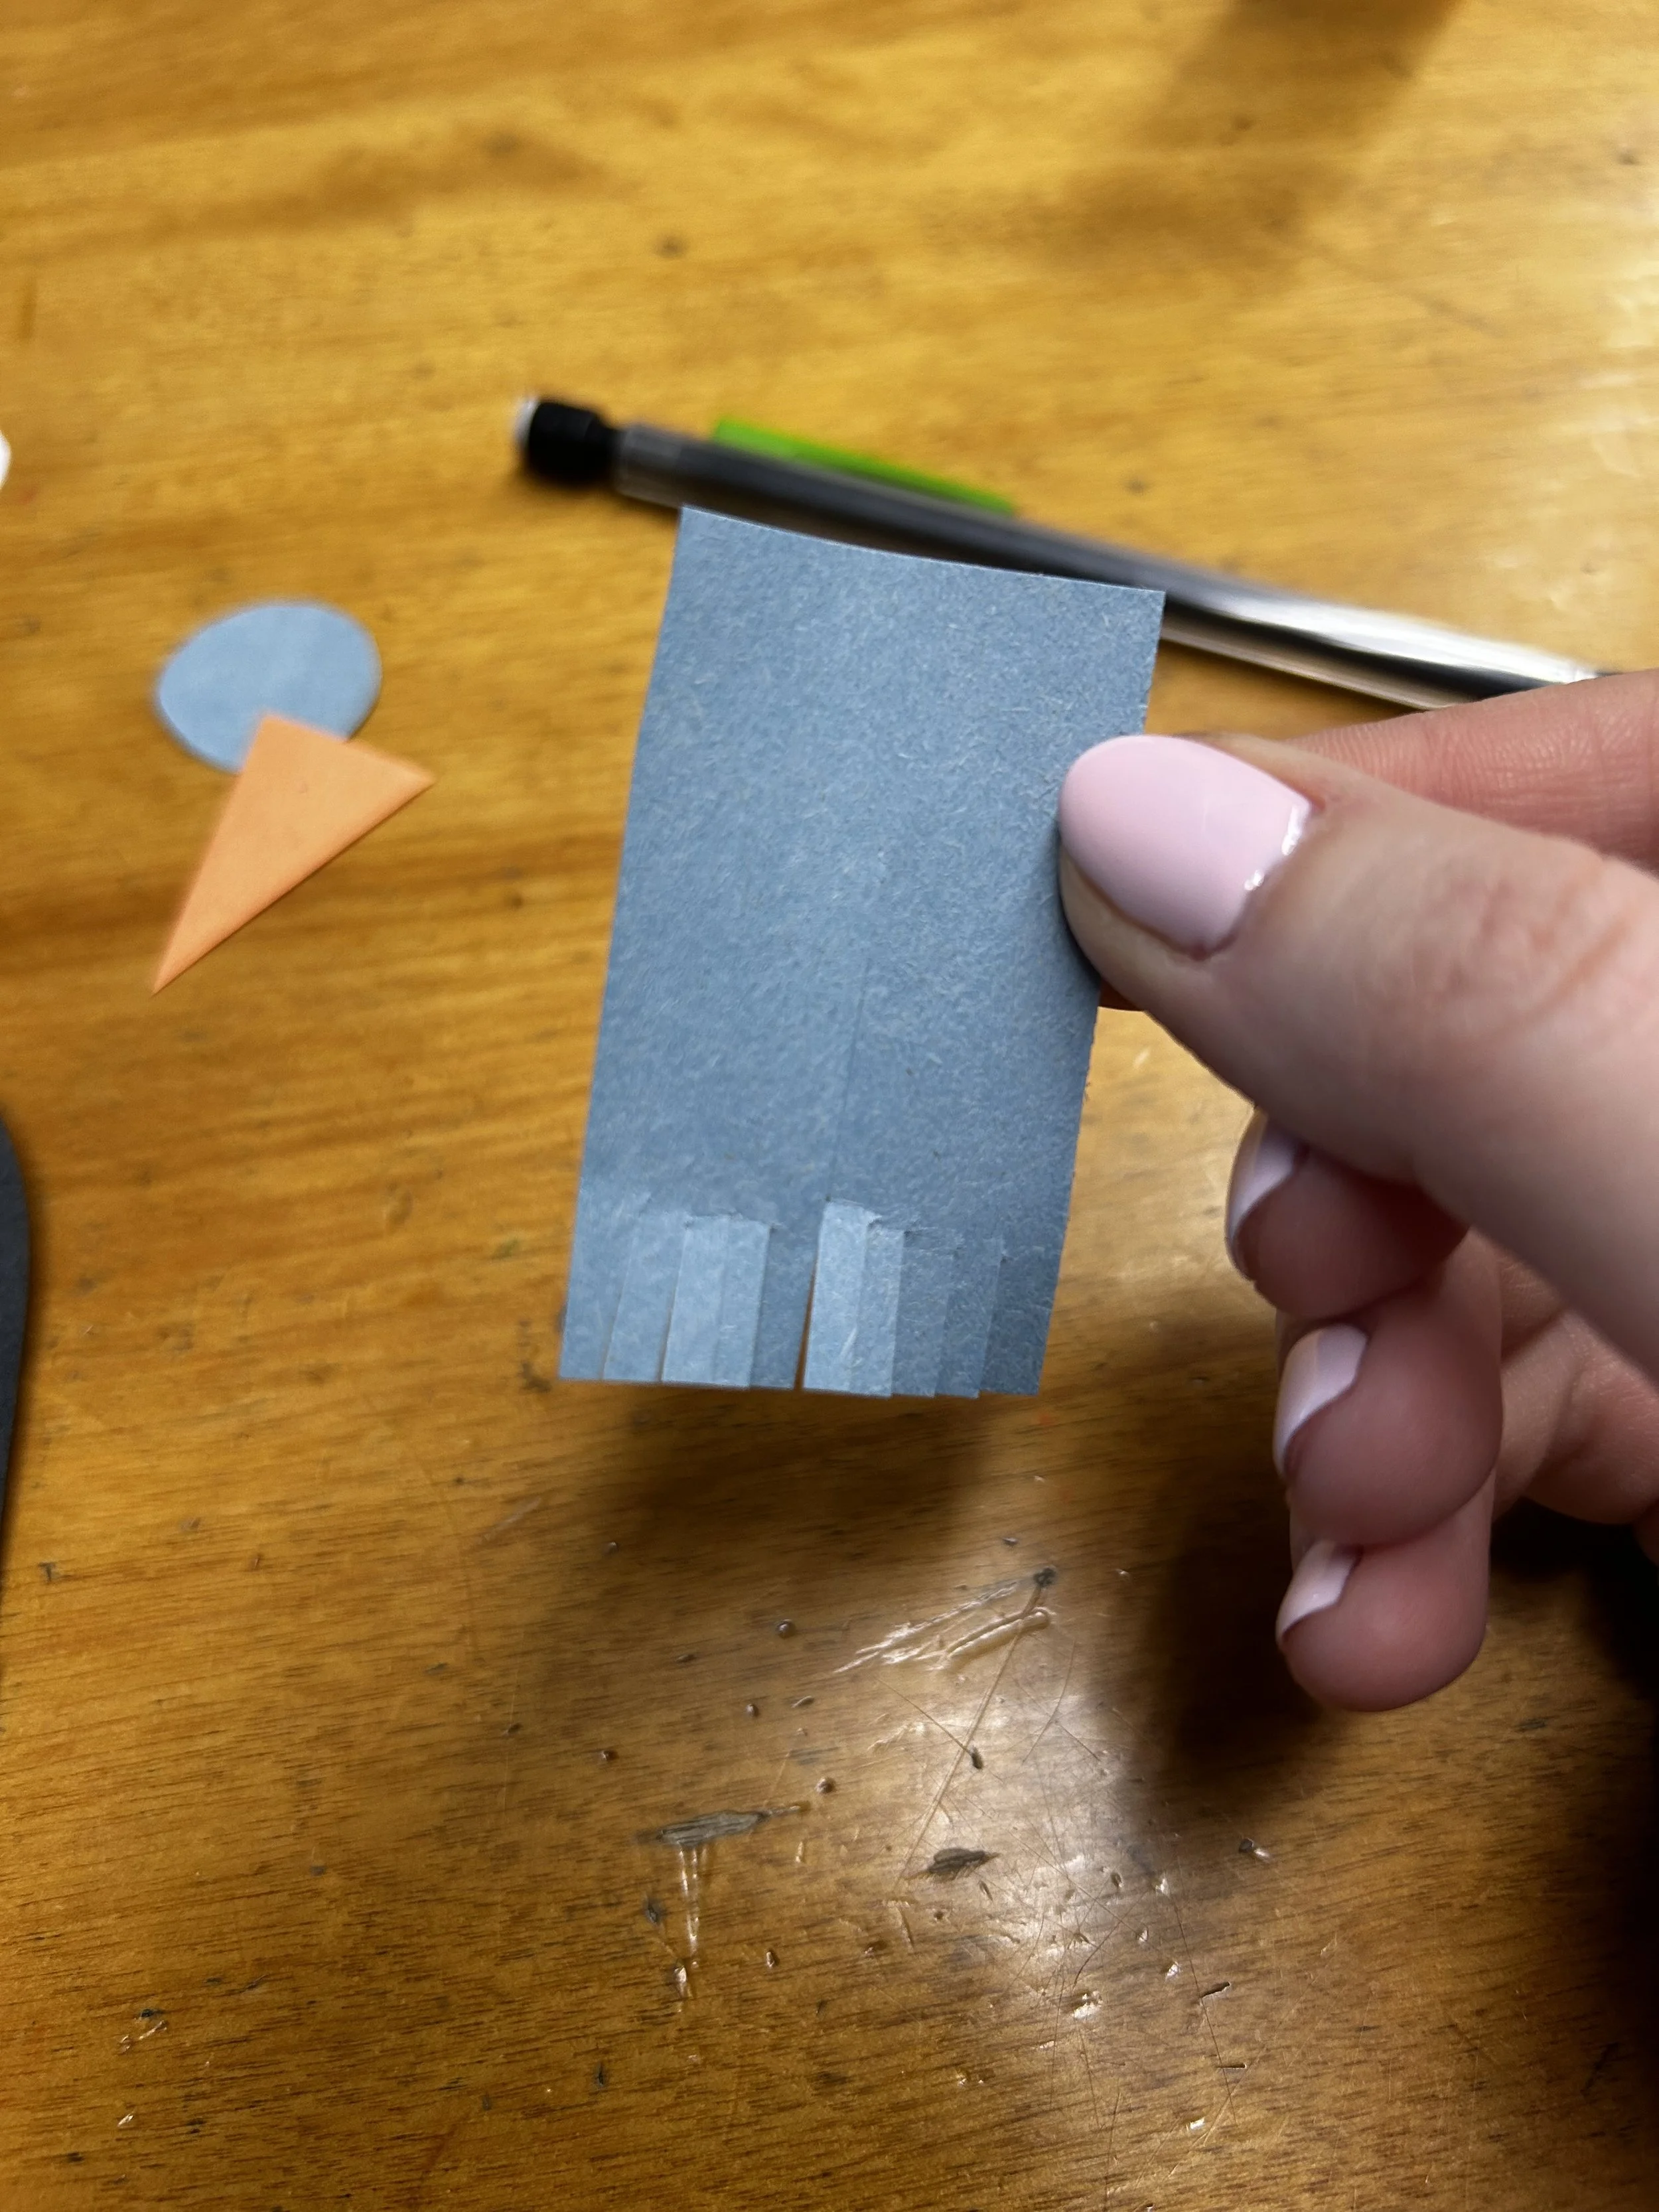
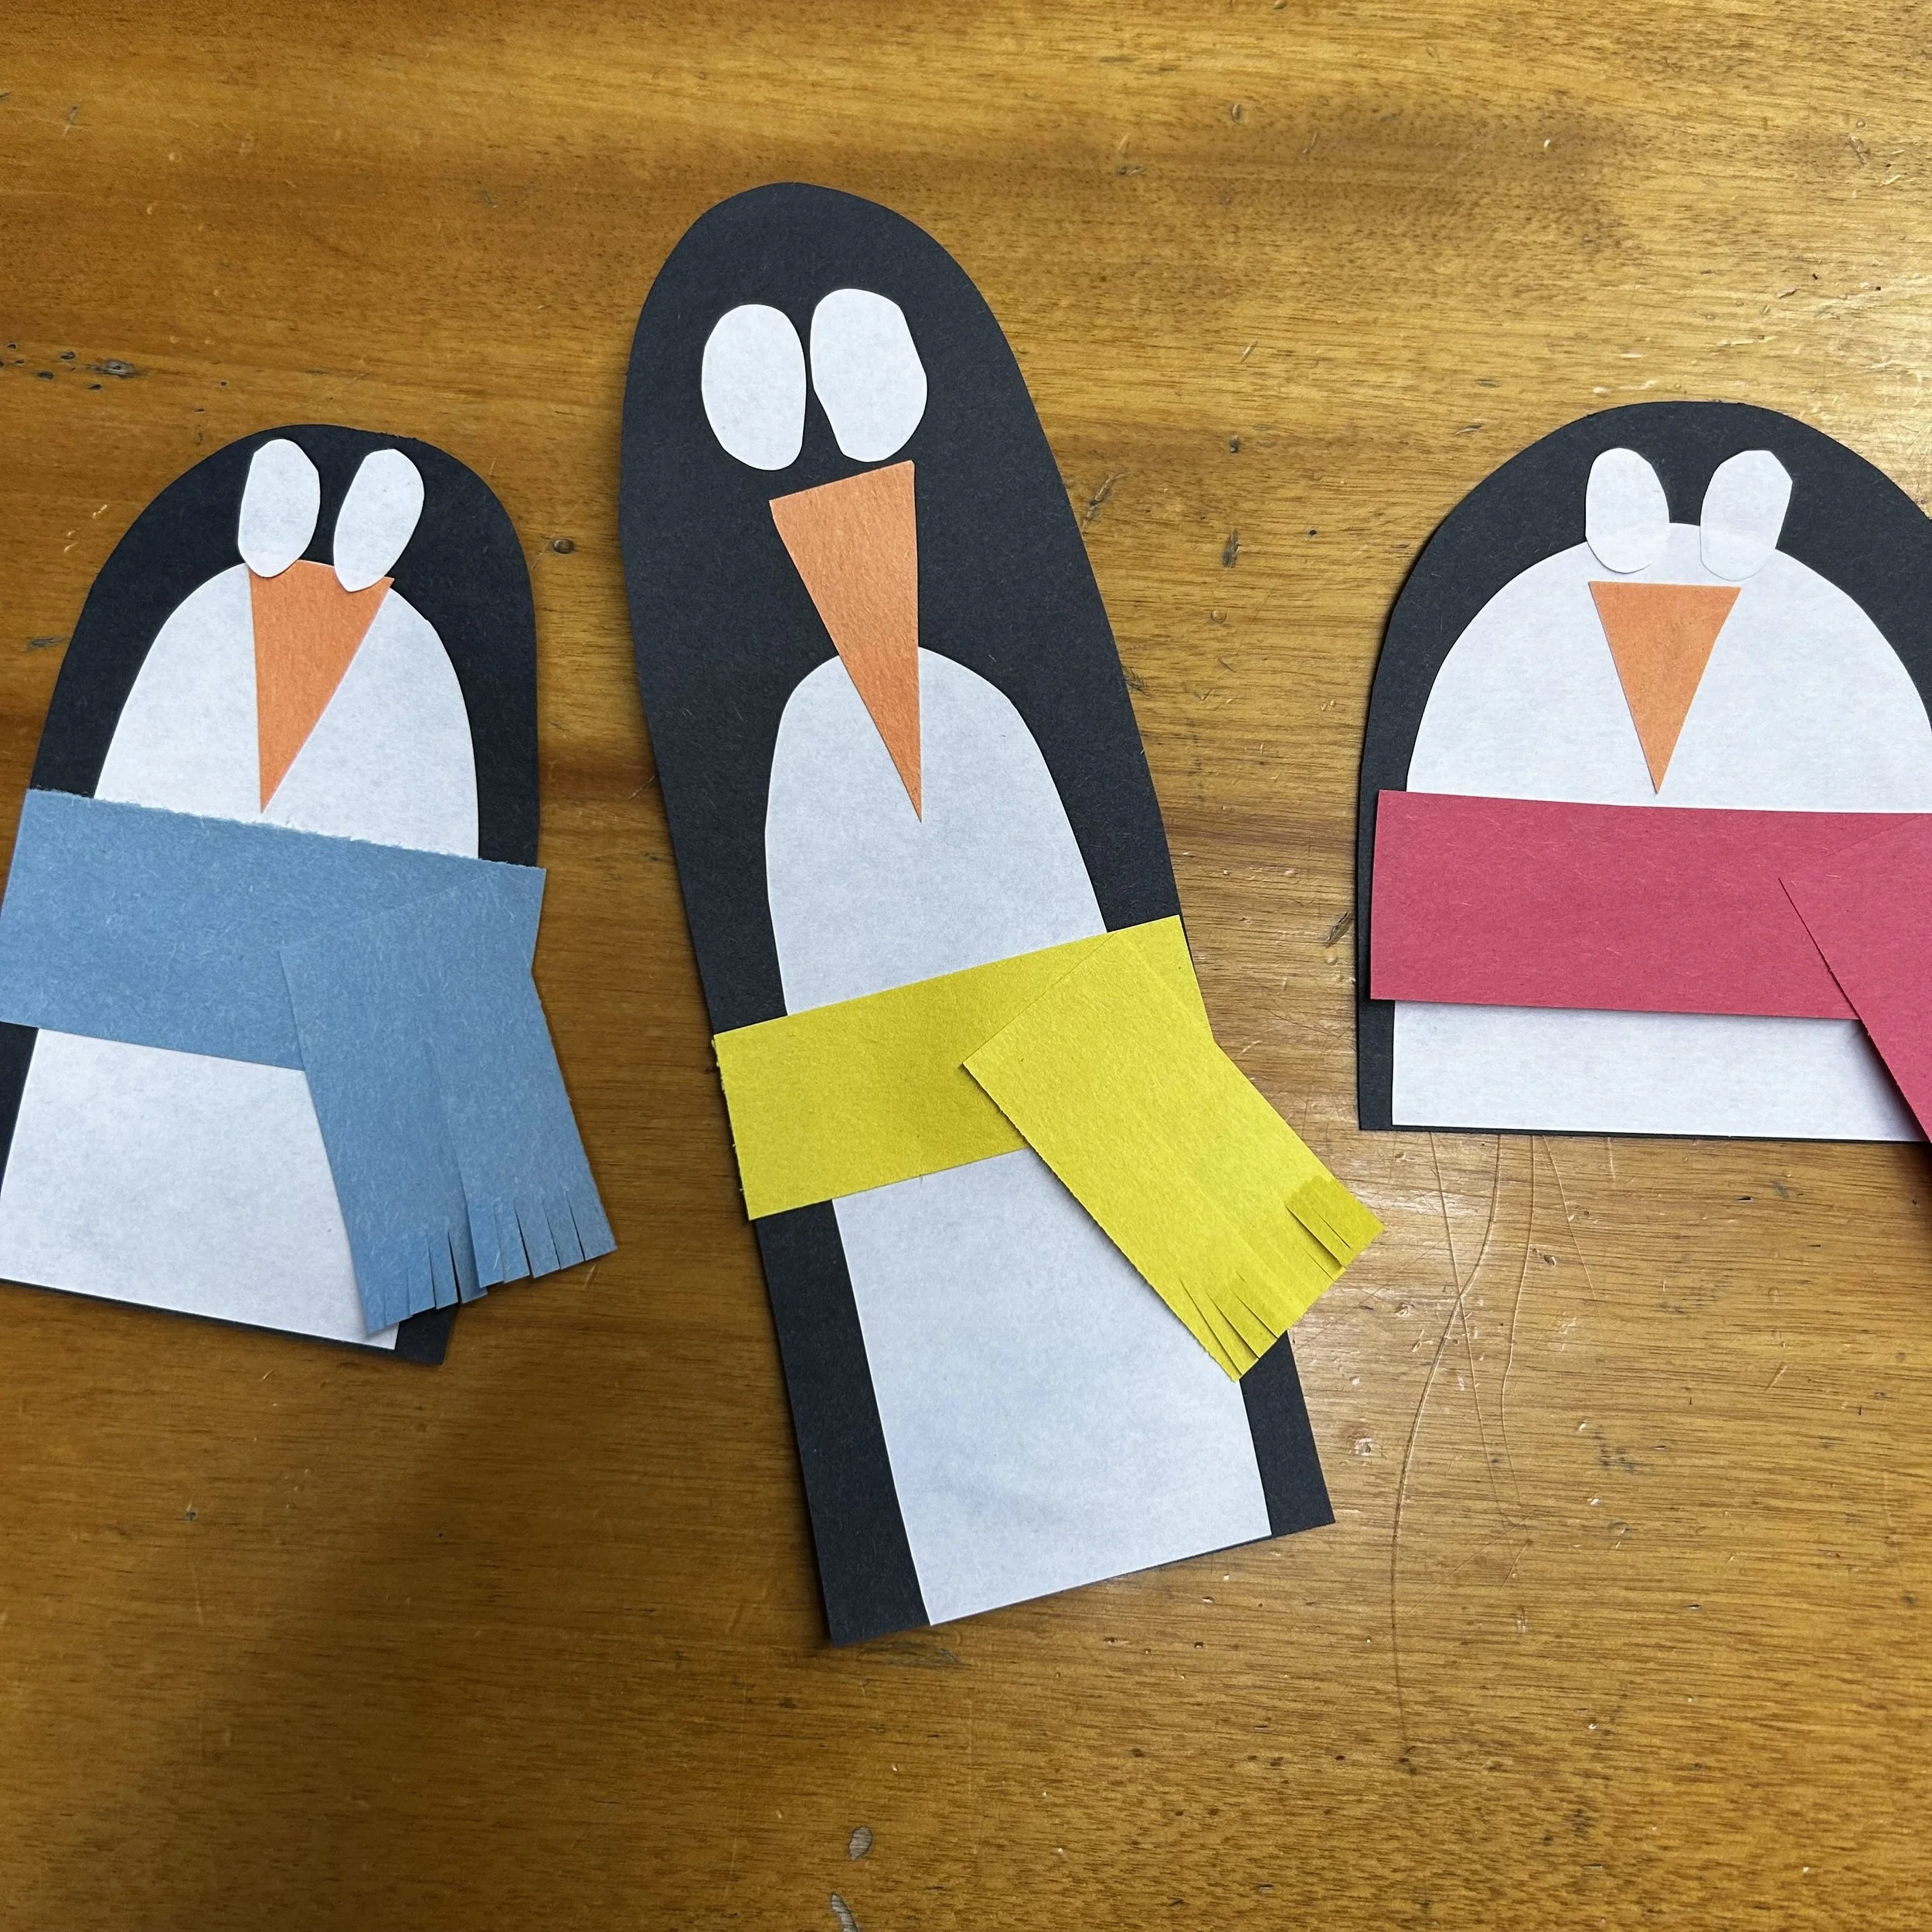
Using the rest of the paper, cut it in two and add some short cuts to one of the pieces at one end for the fringe. Glue the scarf to the penguin.
Use a piece of orange and cut out a beak for each penguin. Glue.
Use the scrap white paper to make eyes. Use a black marker to add a pupil.
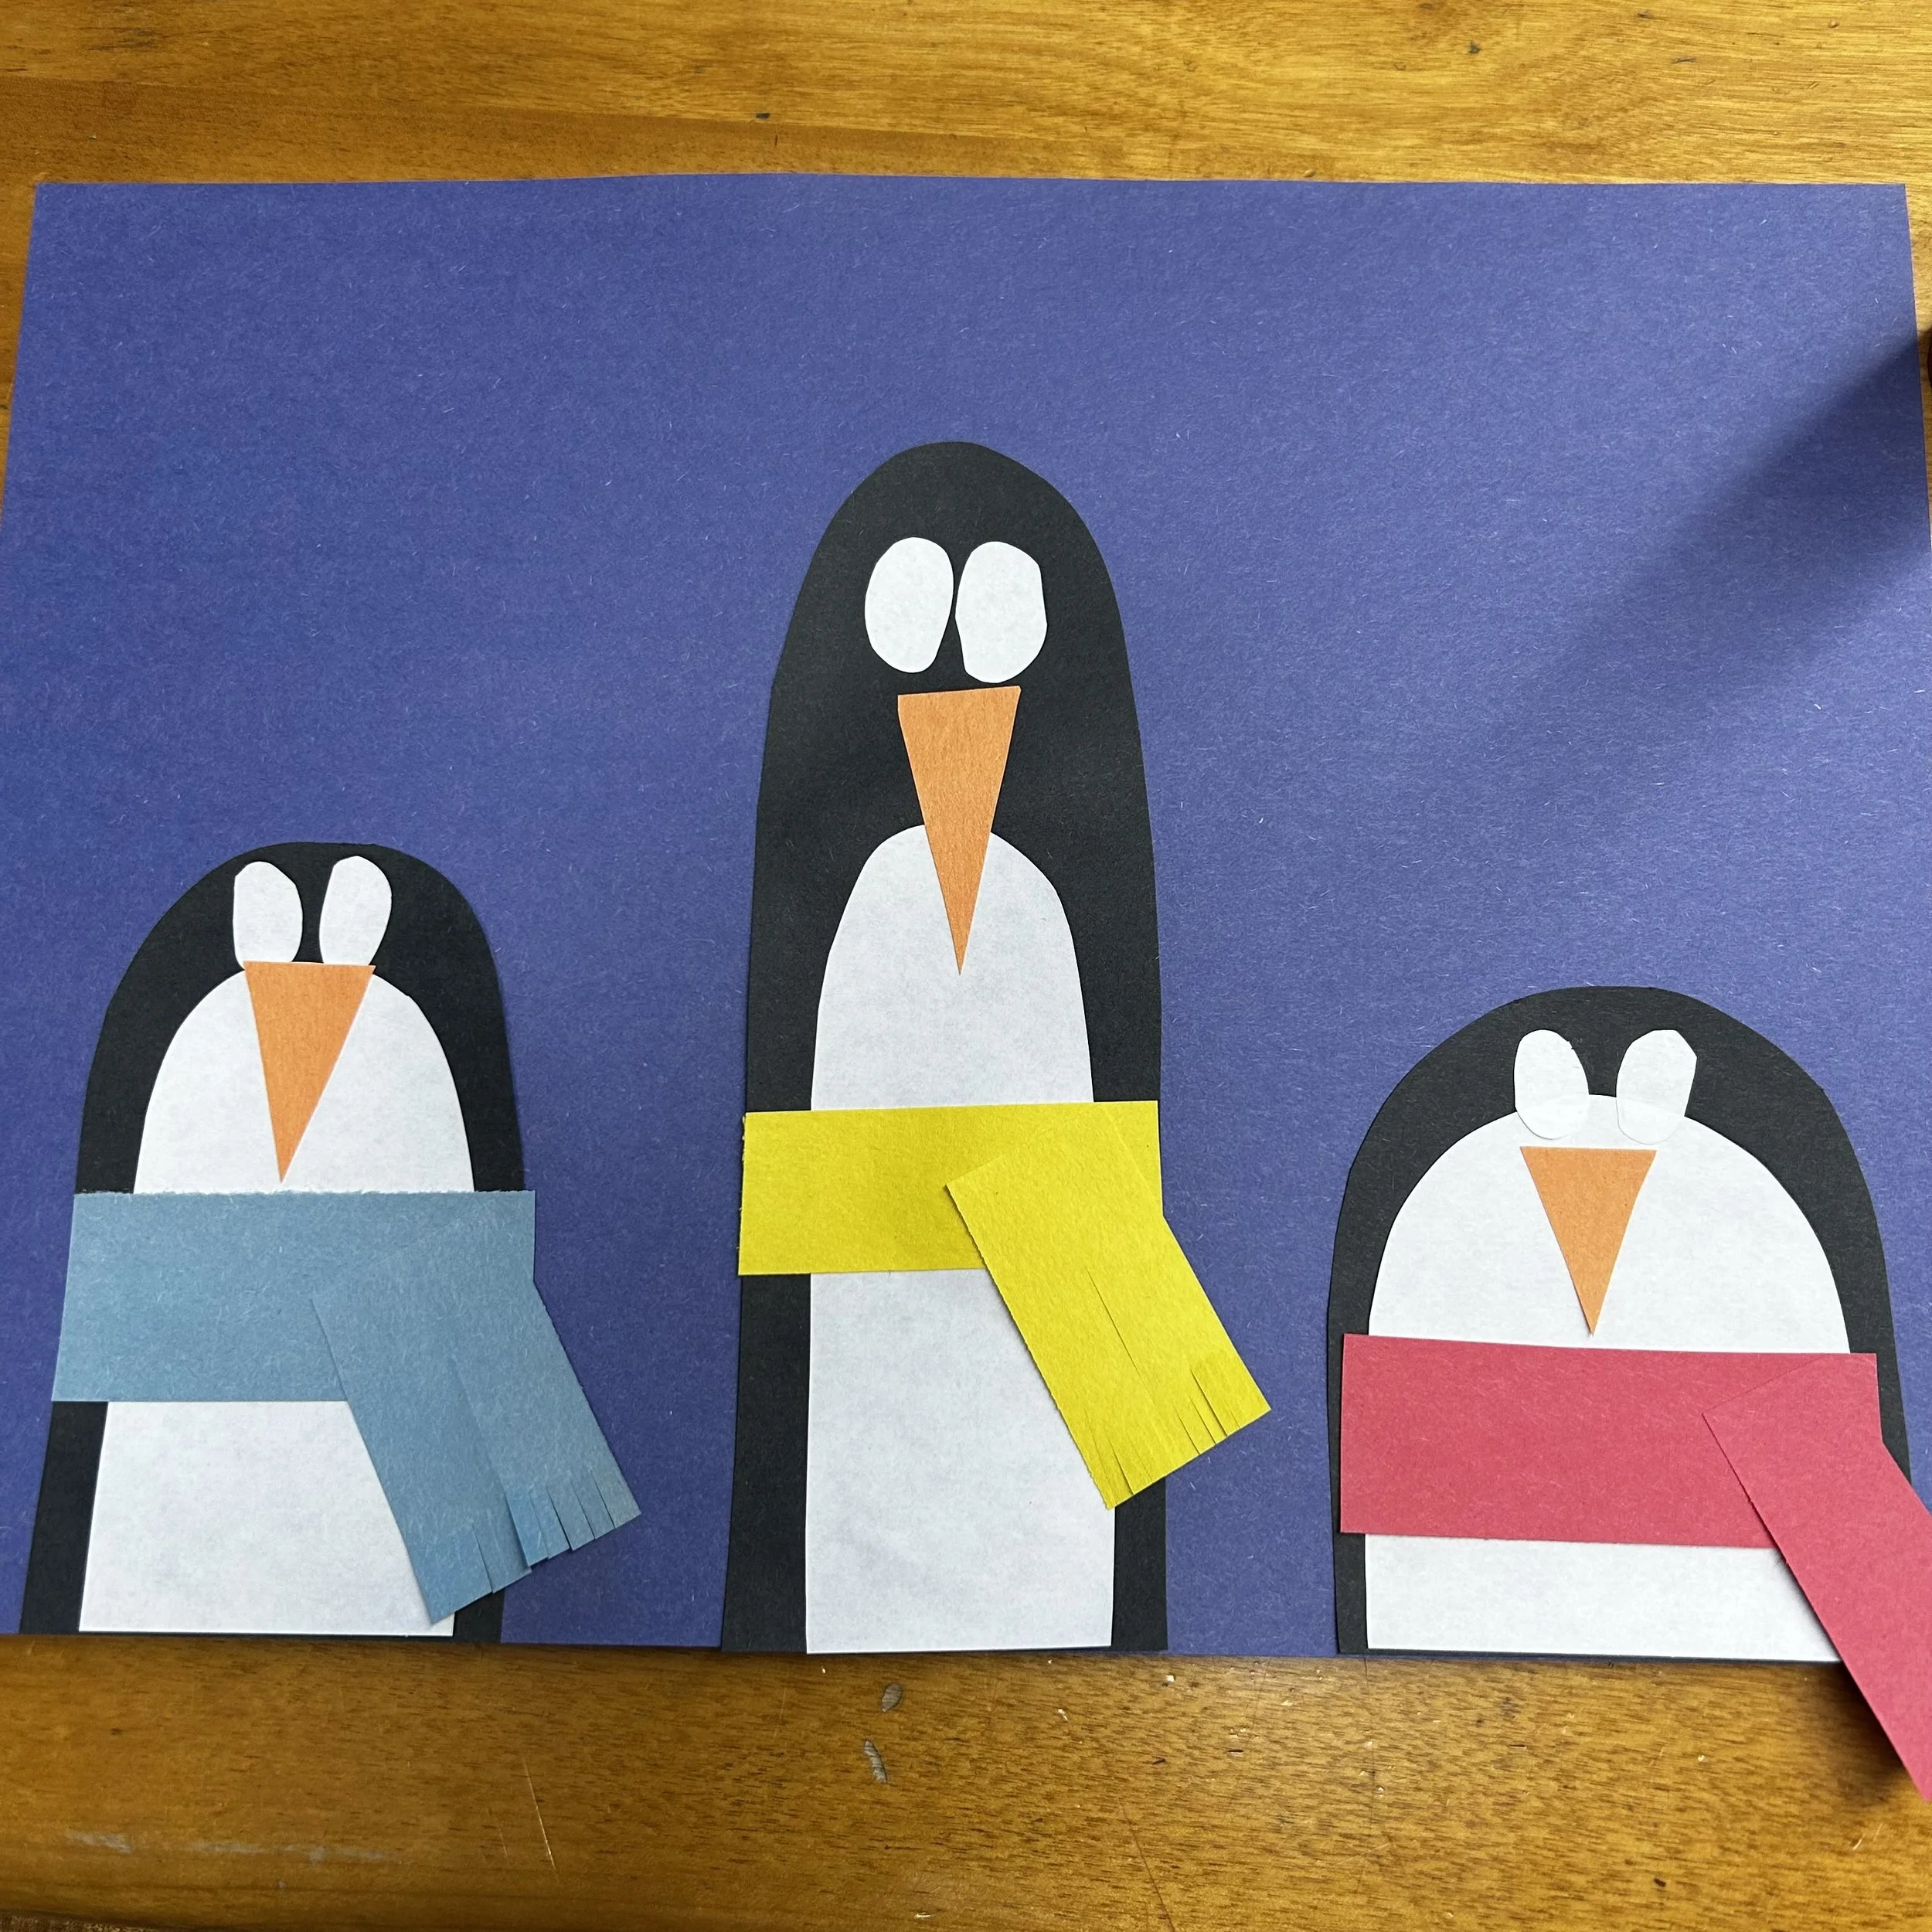
Glue the ear muffs on top of each head. Use the marker to draw a curved line between the two sides.
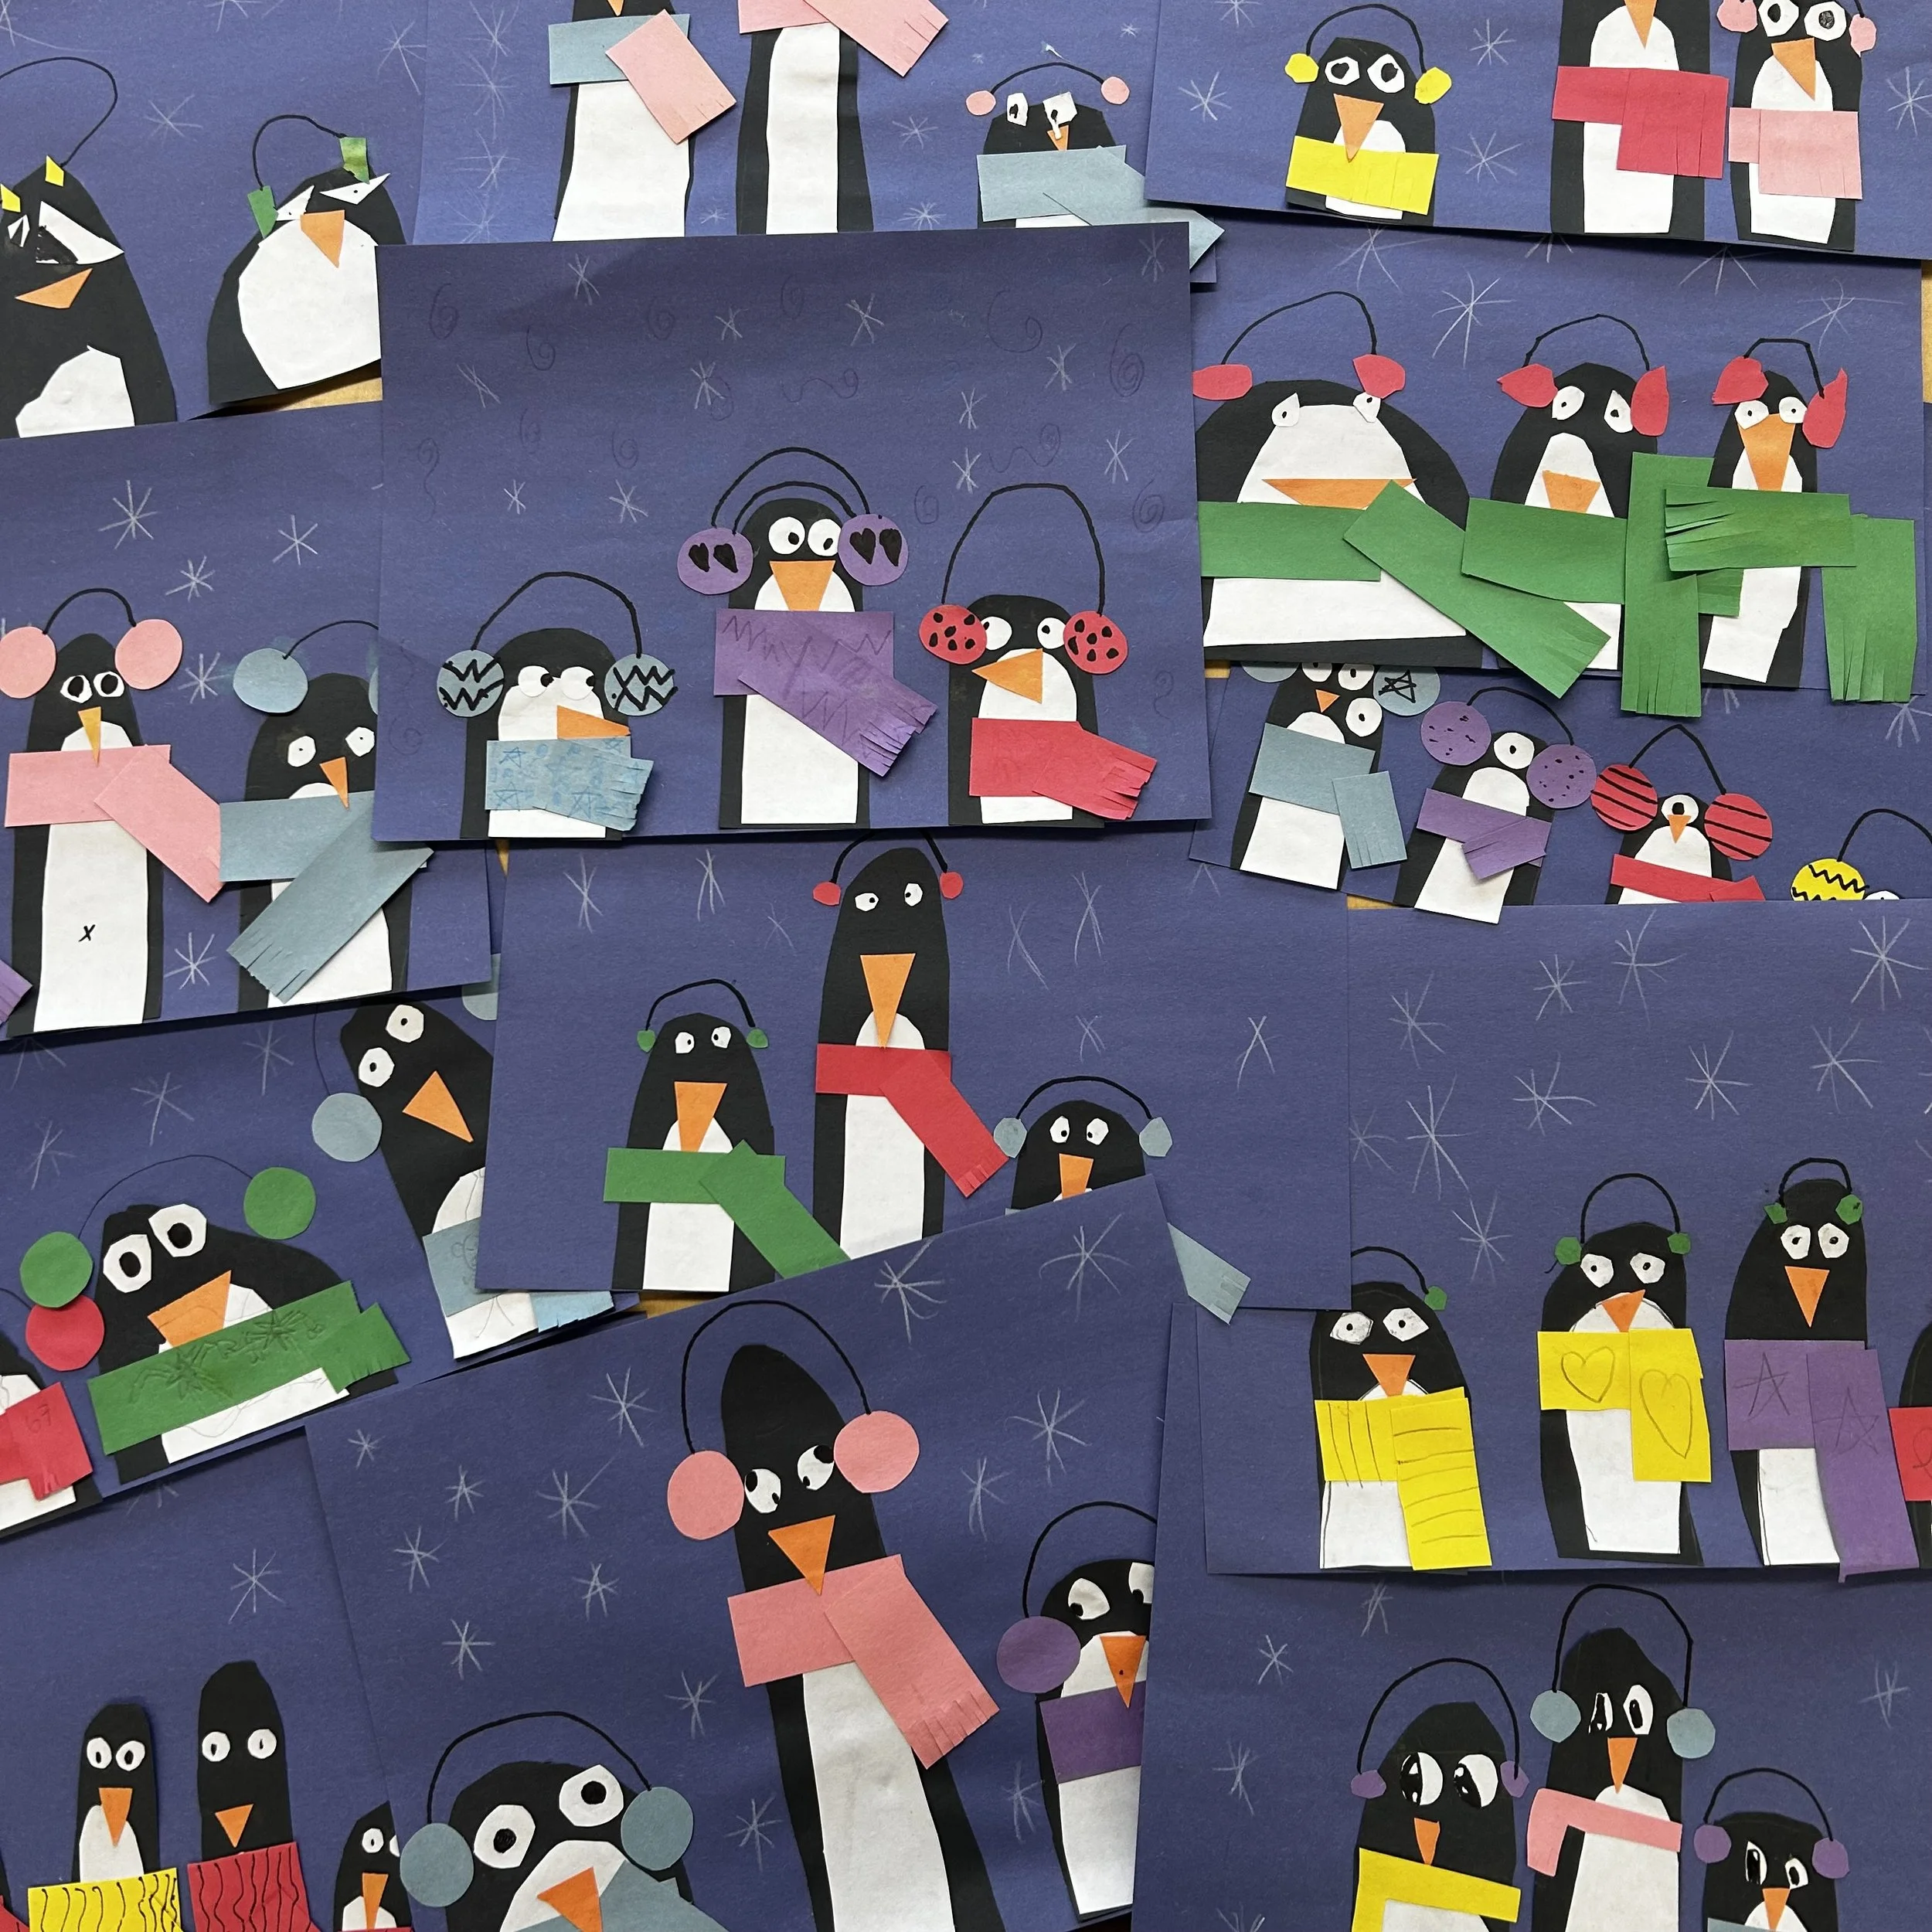
Use a white pencil crayon or crayon to make some snowflakes in the sky.
Optional step: add patterns to the ear muffs or scarves.