

Love Monsters Art Project
This art project is inspired by a series of books by Rachel Bright. During the month of February, we focus on kindness, love and friendship so this story is a great way to set the stage.
I was inspired by the project from Art with Mrs. Filmore. You can find her blog post about this project here.
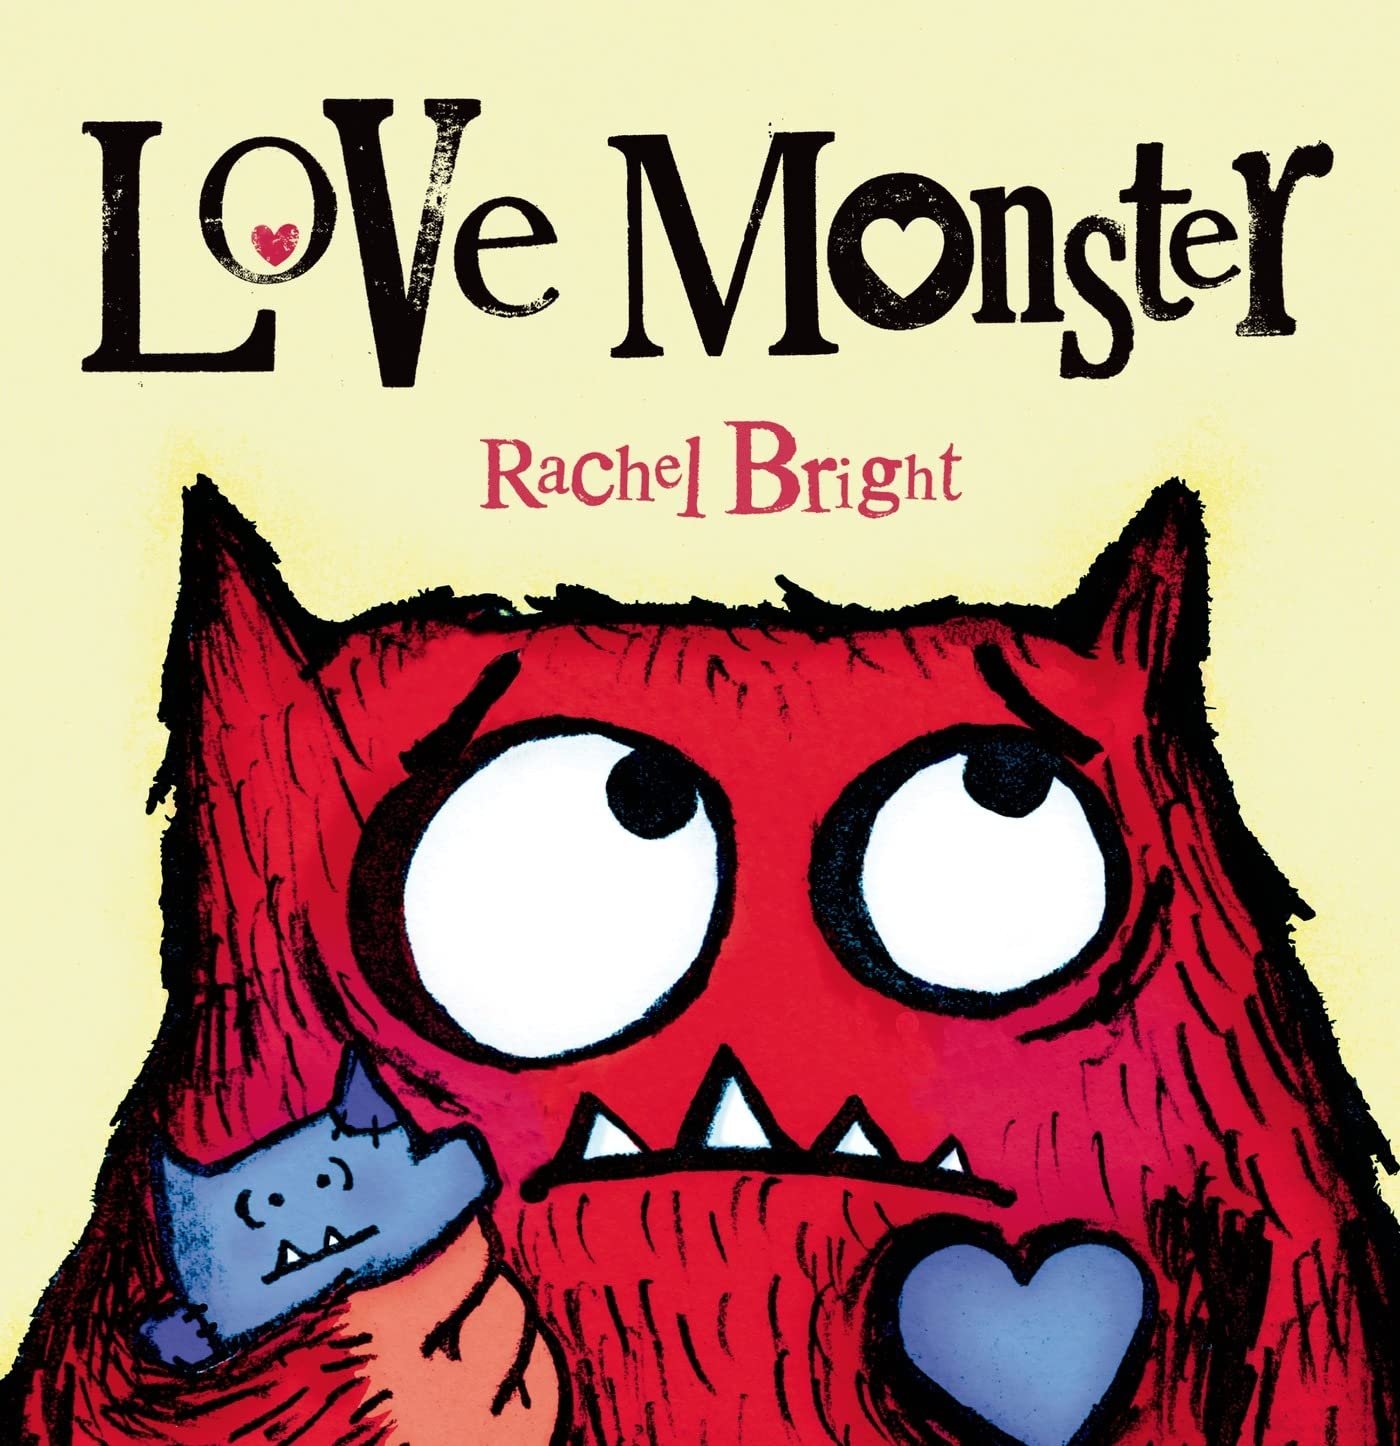
The love monster is a slightly hairy monster trying to fit in with all the cute, fluffy things in his town. He sets off to find someone to love him just the way he is. His journey to find love is challenging but he finds that love can find you at the most unexpected times.
It’s easy to tie this lesson into your SEL program as students can easily relate to this monster. No matter your age, fitting in can be hard, especially when you compare yourself to others. The message in this story helps to start an important conversation.


Time: 60 minutes
Materials:
Black construction paper (full sheet for background + a small piece for pupils)
White paper (printer paper is fine)
White paper circles for eyes (I pre-cut them using a 2 inch circle punch)
Squares of construction paper (various colours for hearts)
Squares of cardboard (I cut up a shipping box into small pieces)
Black oil pastel
Black acrylic paint
Tempera paint (we use paint pucks)
Pencil
Scissors
Glue
Steps:
On the white paper, sketch out a monster with a pencil. Start with a rounded top for the head, add two horns and then two curved lines for his sides.
Use the black oil pastel to trace the pencil line. Since he is hairy, I tell the kids to be a bit shaggy with it, no need for a smooth line.
Paint the monster with any colour tempera paint. Leave to dry.
*be careful not to make it too wet with pooled water on the page, we need it to dry fairly quickly
*paint your monster any colour. The one in the book is red but feel free to get creative.
While the monster is drying, prepare the paper elements:
Cut out hearts from coloured construction paper
Make the eyes using the pre-cut circles or cut your own eyes. Use black paper for the pupil
Once the painted page is dry enough to confidently handle, cut out the monster.
*save a piece of the extra white paper to make teeth
Glue the monster onto the black background.
Use the edge of a square of cardboard dipped black acrylic paint to stamp the fur on the monster. Allow a few minutes to dry. (see below)
Once the fur is dry, glue all the paper elements (eyes, hearts) onto the monster.
For the mouth, we drew a line with the black pastel and then added the paper teeth.

“Fur” stamper
Dip the edge of your cardboard into black paint to stamp the fur.