

10 Tips For Teaching Art In Elementary

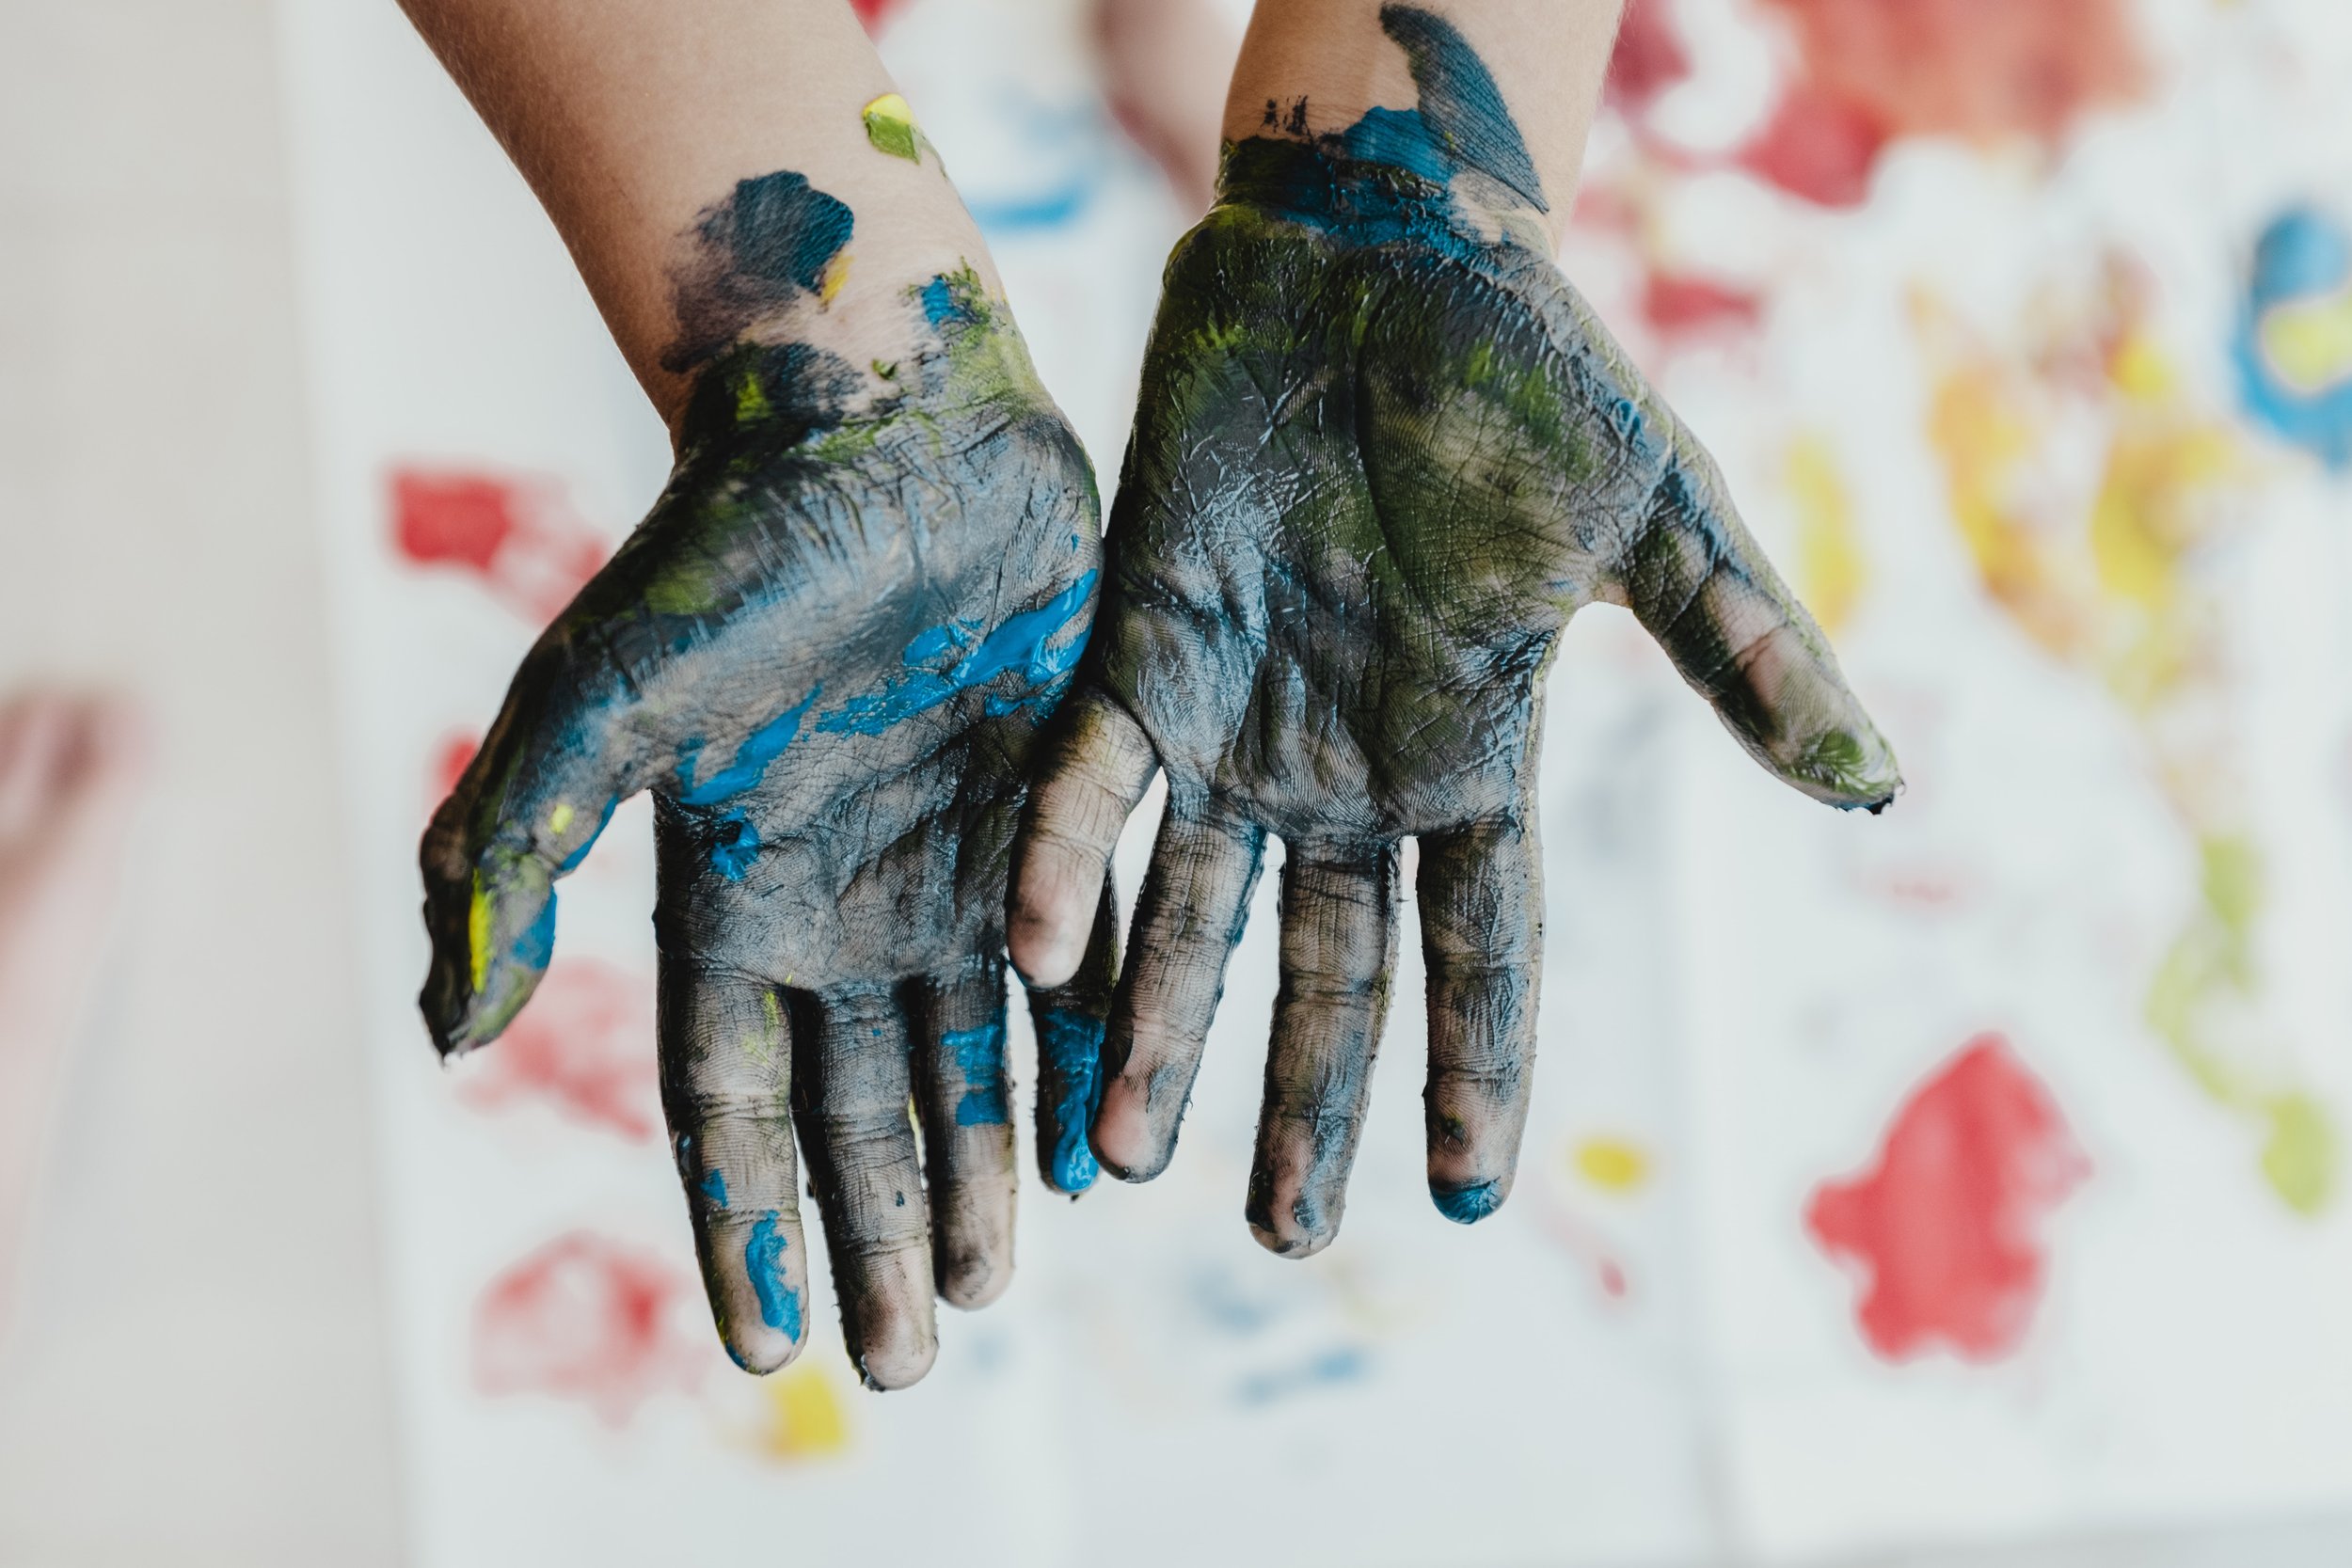
Listen, I hear you loud and clear…art is not everyone’s favourite subject to teach. What’s the first thing that comes to mind when you think about teaching art? Mess? Chaos? Lost?
Art can be those things but it doesn’t have to be so complicated. We do art every Thursday for 30-60 minutes and it’s often one of my students’ favourite parts of the week. Want to make your life a little bit easier? Let’s jump into some of my best tips for making your art blocks manageable.
1. Choose a reasonable project for your students
You’d think this one would seem obvious but I’ve heard from many teachers who find a dazzling project on Pinterest and decide to give it a go with their students, only to discover that it’s way too hard. Pinterest is a fantastic source of art inspiration but make sure you’re checking out the post to best understand what age group it’s best suited for. Think about the materials, fine motor skills and amount of steps involved. If you teach K, you’ll want something that has simple, basic steps that doesn’t require too much finesse. You likely want to keep multiple steps to a minimum as it can be hard to teach that many for little guys. If you teach 2/3 like I do, you can expect more from your students but still need to make sure it’s achievable. If you teach intermediate, your students have a lot more skills they bring to the table, so feel free to choose a project with multiple steps and more intricate detail.
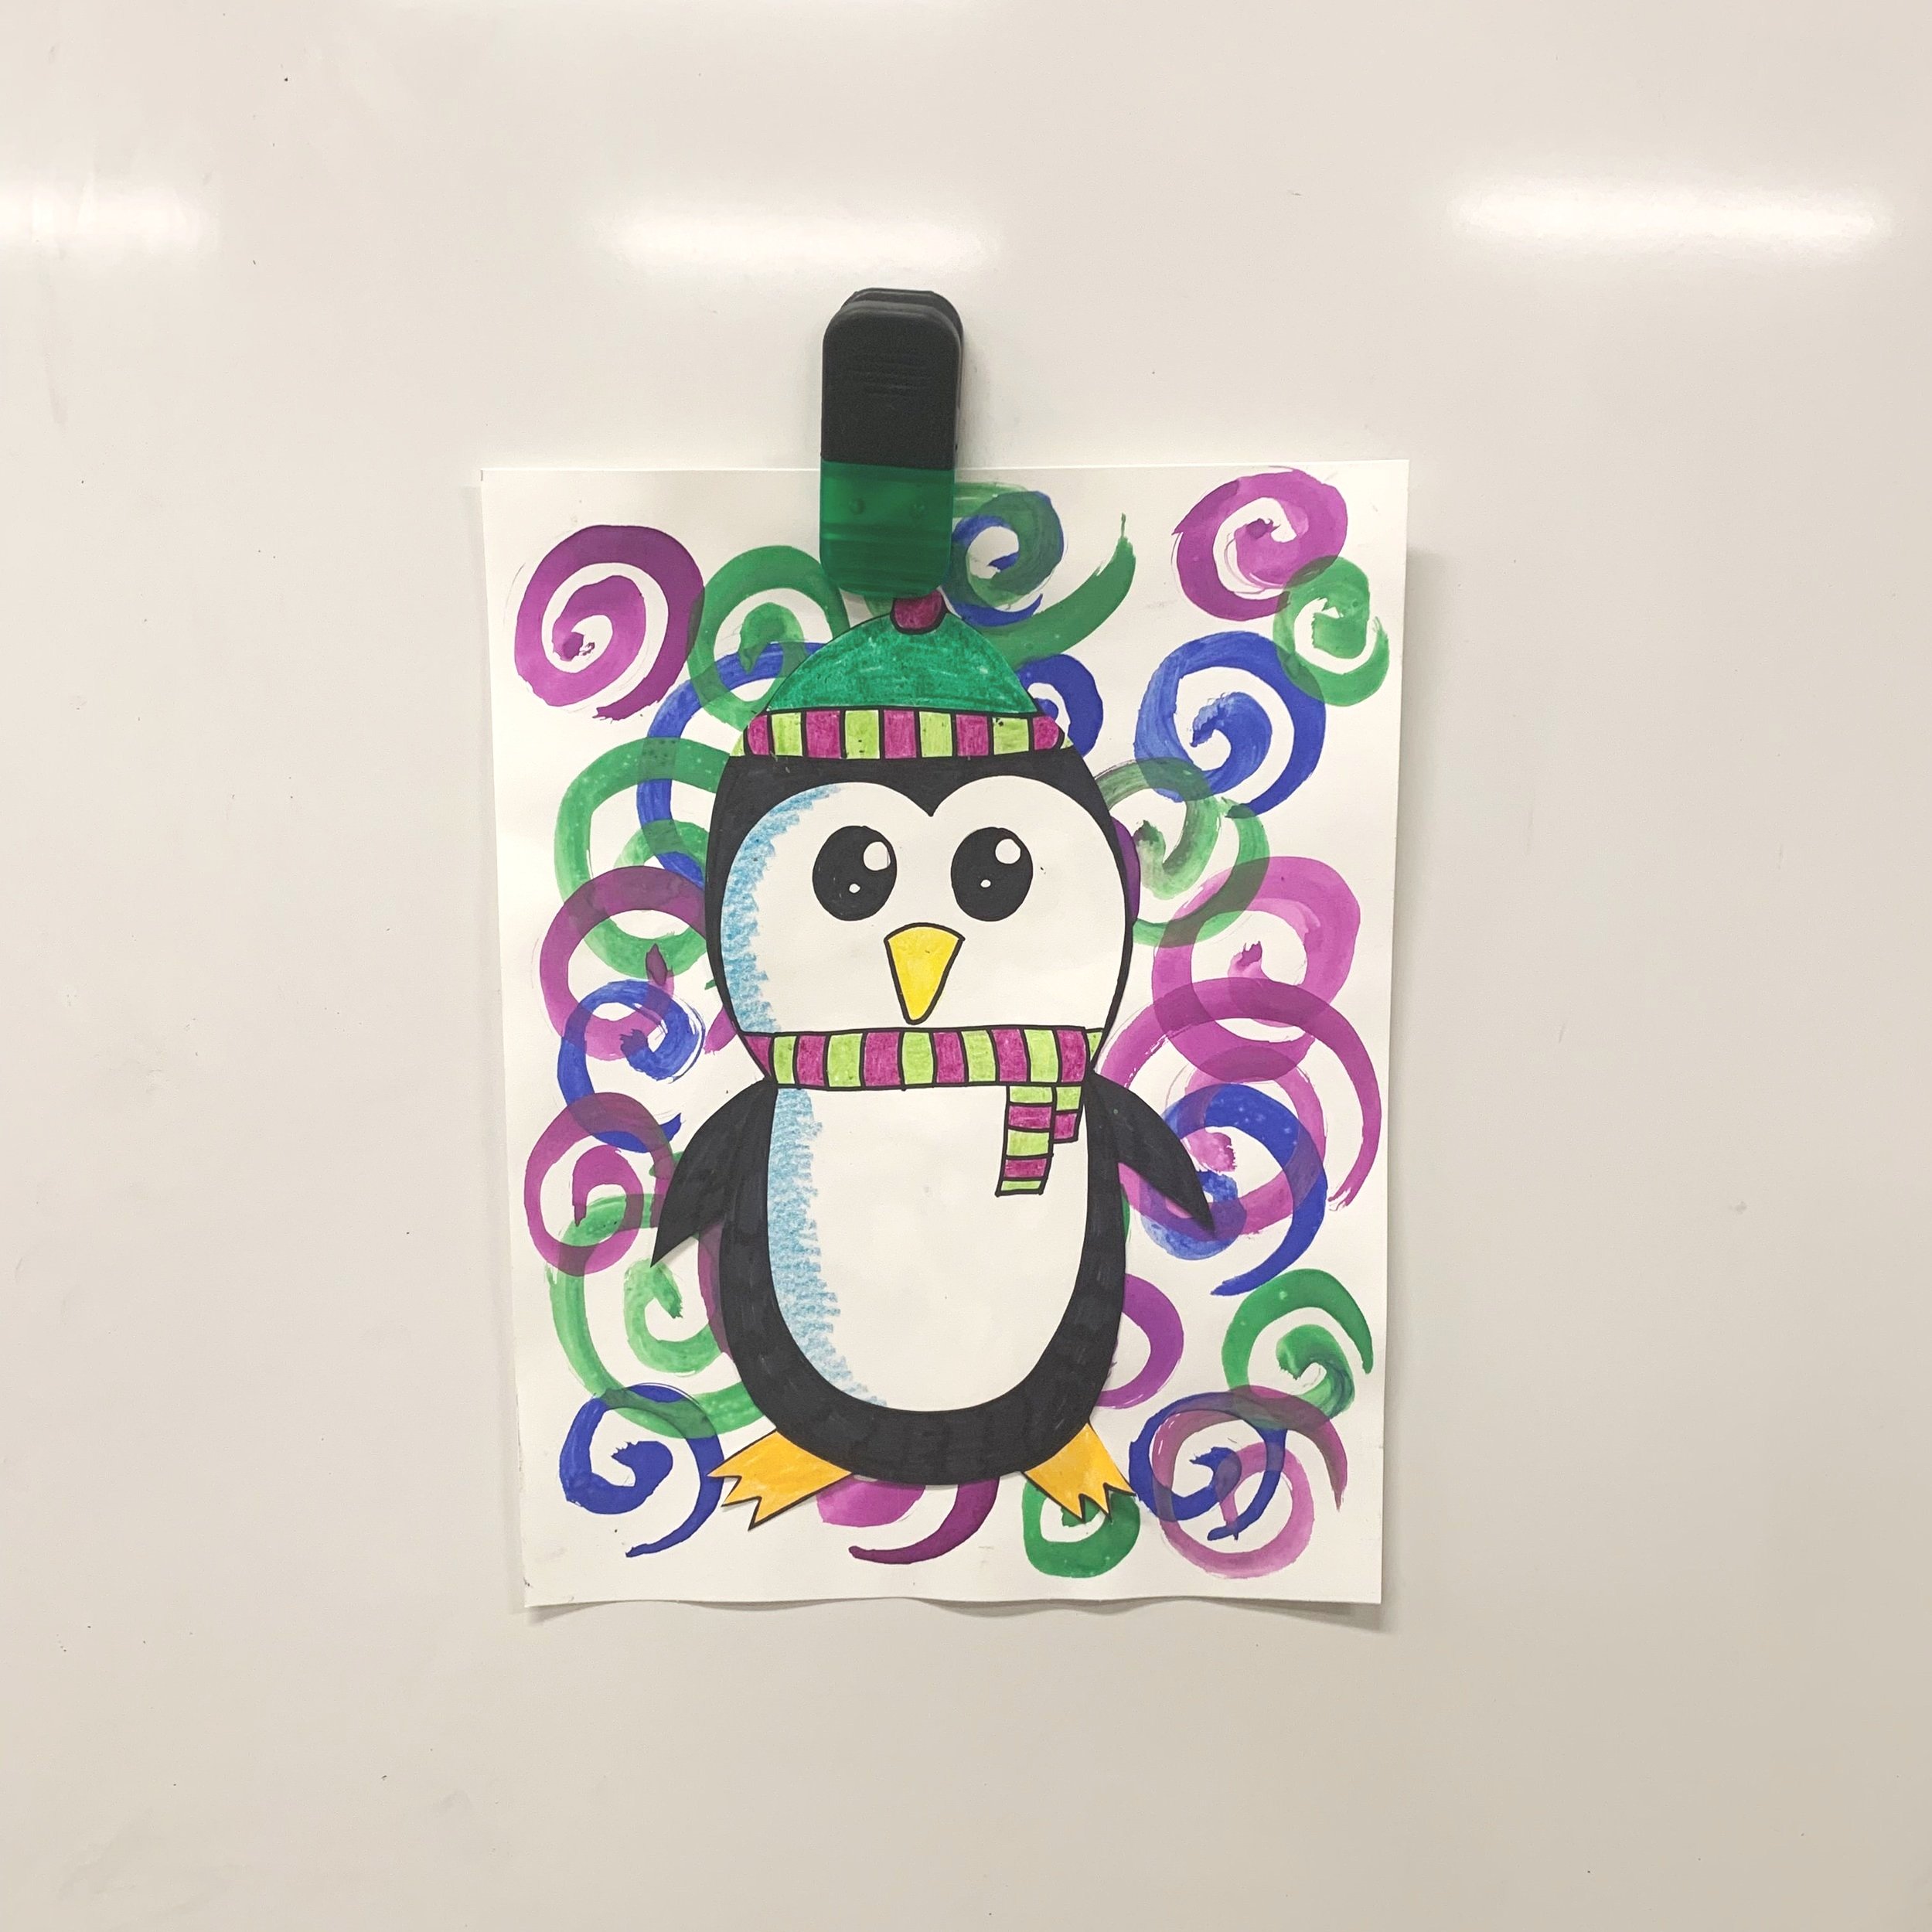
Think about how much time you have and the steps needed for your project. If you don’t have much time, don’t choose a paint project. Maybe this is the week to do a directed drawing where they colour with markers, pencil crayons or crayons. There’s not much mess there. Does your project require dry time? It may need to be something that gets continued the next day. These are all things to consider when choosing your project.
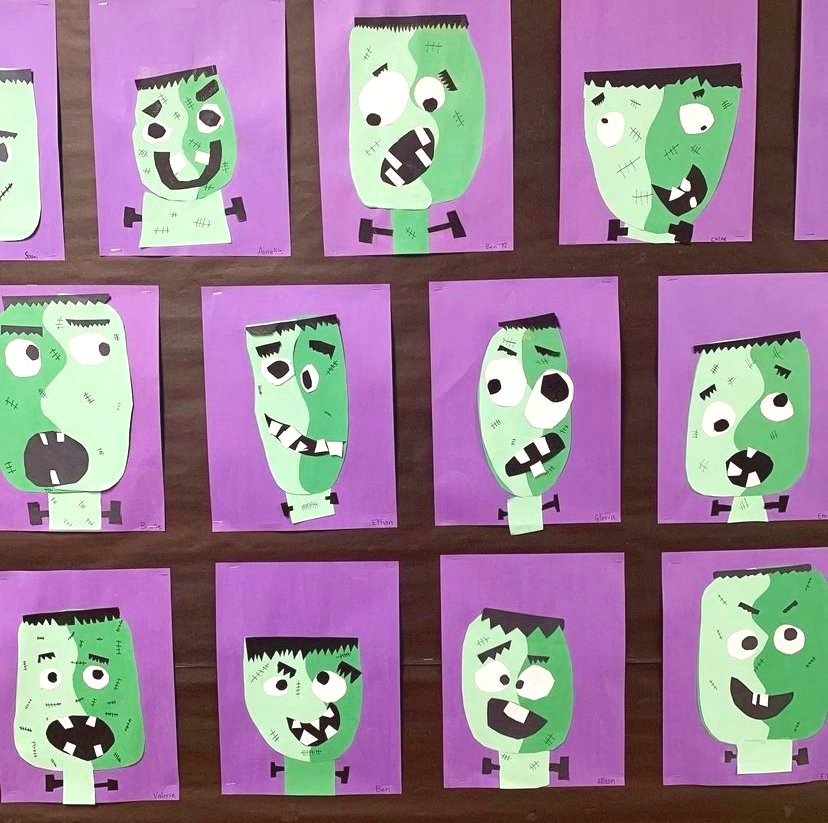
2. Create a sample & display it
While creating a sample is optional, I HIGHLY recommend it. Not only does it serve as a source of inspiration for your students or get them excited about the idea of making it themselves, but it tells you a whole lot about how you’ll actually teach it. By spending the time to do it yourself, you’ll understand what logical steps there are, you’ll do a bit of trial and error and figure out what not to do. This is just as important as knowing the steps you should take. It’ll also give you an idea for how long the project takes. Of course, it will take longer when you’re in a room of students but it’s a rough idea. Remember, not every pin has a blog post that fully explains the project so you may need to spend some time learning it yourself.
Once you’ve created your sample, SHOW IT! I like to stick my sample on the board. My student’s immediately see it when they come in on Thursday morning and you can see the excitement in their eyes, knowing that they get to make one that afternoon. It gives them a chance to start thinking about their project too.

3. Get your materials ready & lay them out

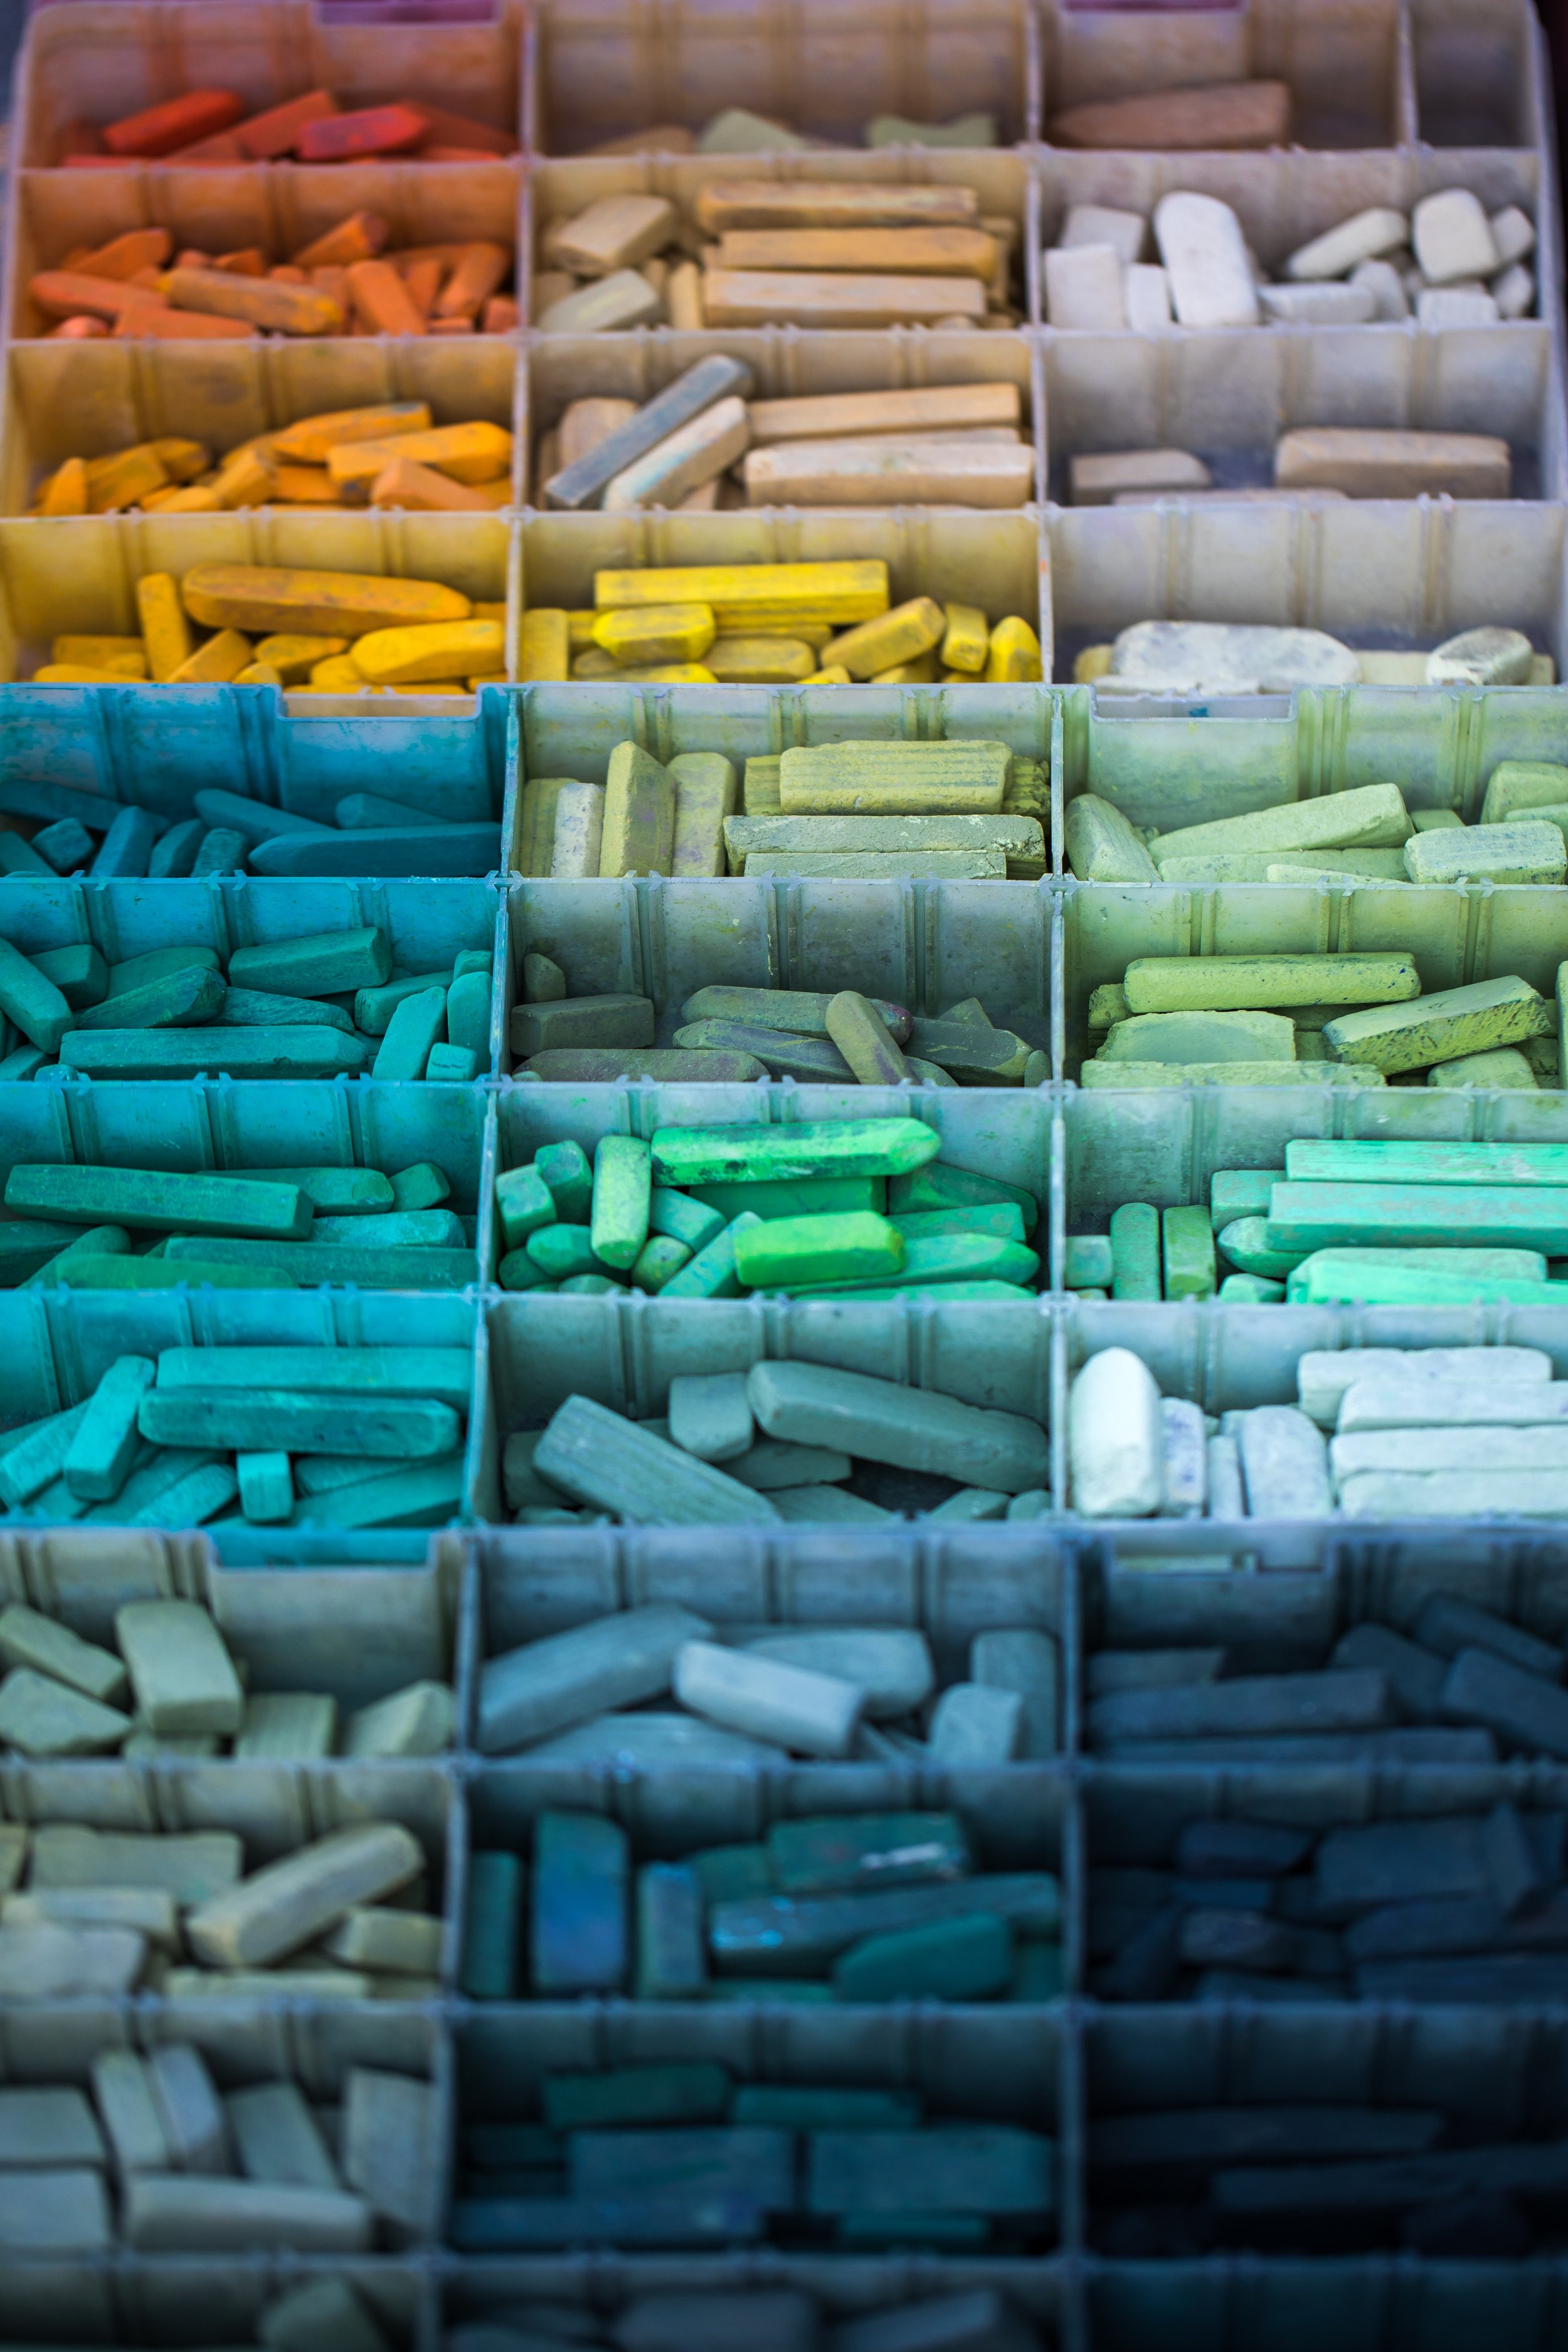
Don’t wait until the last second to grab all your materials and then realize you don’t have pastels or don’t have red paper and then have to run to the art room. Prepare yourself! Prep, prep, prep. I promise it will help make things go smoother.
I like having a place where students pick up their supplies. Similarly to if you have a place where they come collect work, choose a table or counter that will be the art supply area. This is not to say leave your art stuff out, of course not! You’ll only set things out during your art block. Having one place where they find all materials will avoid questions like “where do I get the paint?” “where is the paper?”.
If there are multiple steps that involve multiple materials, arrange the materials in that order. Start on the left and work your way across.
4. Teach how to use and put away materials

Before you even start your project, take the time to talk to your kids about respecting art materials, especially things like paintbrushes, pastels, special markers (like Sharpies). Lots of these materials get used year after year, if they’re treated well. Depending on the material, you may need to explain how to use it.
Next, how do you want them to put them away? How to wash a paintbrush, where does it go after, where do the pastels go, how should they clean their desk/table…etc.
There may be some trial and error but try to find a system and stick to it, if there’s a routine, they’re more likely to do it the way you want. Remember, be clear with your instructions!
5. Go slow, be clear, go one step at a time

Now it’s time to do your project, don’t panic. Give yourself LOTS of time. Make sure everyone has their starting materials ready before you start explaining. Depending on the project, and if you need to model it, you may want them to do it with you or you may want them to be hands off, just watch first. It’s tempting to touch materials and forget to listen so I often ask them to put their hands on their laps just while I show them what to do.
While explaining, go slow and be very very clear in your directions. This is why making a sample ahead of time will help. You may need to pause or re-explain. Listen to your kids, and go at the speed they need, not at the speed you can do it.
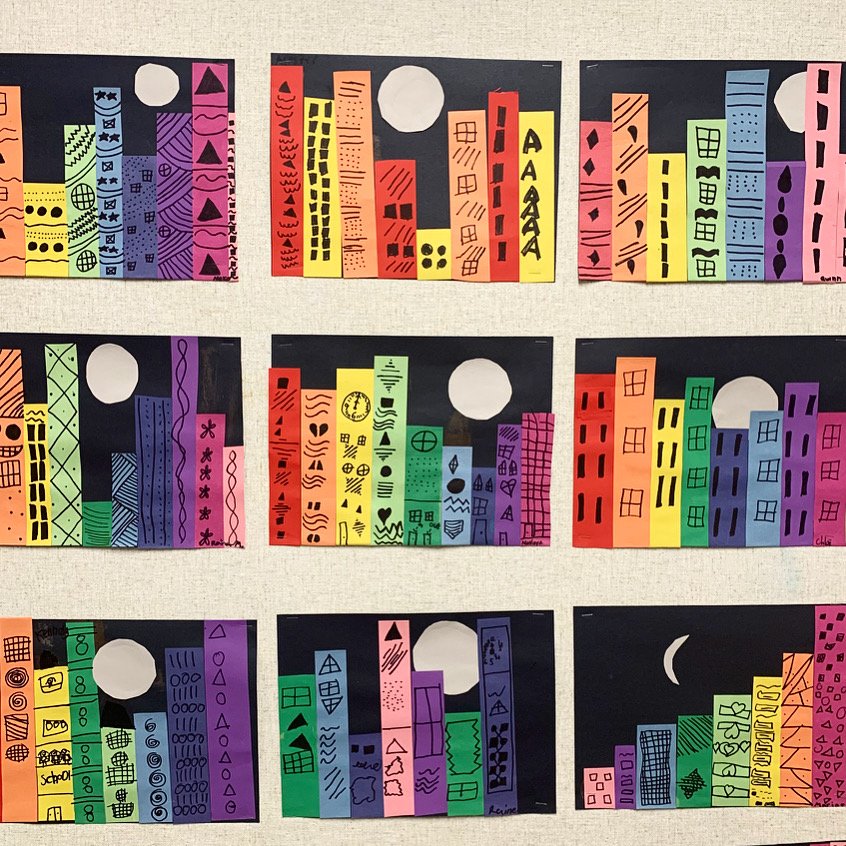
When giving instructions, go one step at a time. Do one part, pause, do the next part, pause. Sometimes I even write some instructions on the board such as 1. Pastel rouge 2. Pastel vert 3. Peinture jaune 4. Découpe la fleur… I don’t need to write long sentences here, just a few words for each step to help them stay on track.
6. Clean as you go
After each part of the project, I have my students clean up their materials that they no longer need. This helps to have less clutter on the table and ensures clean up happens constantly and isn’t a massive job at the end.
If they’re done with their pencil, put it away. Now done with the Sharpie, put it back in the tub. Done with the paintbrush, go clean it. This clean as you go method will save your sanity!
7.Try different mediums, materials and styles
Try to be creative with your projects. We all love a directed drawing, they’re easy and generally turn out well but that gets old if it’s the only thing you do. Try out different mediums and materials. Try painting with different types (watercolour, acrylic, tempera), try paper only projects, try painting and then adding details with a fine tipped marker, try a paint and paper project, try oil pastels and chalk pastels etc.
Get creative and use recycled materials like old magazines, newspapers, egg cartons, bubble wrap. Using different materials is a great way to learn about texture.
Before starting a project with a material that they’ve never used before, give them a chance to play with it. That also helps get some of the nerves out because they’re not really creating anything, it’s just exploring so there’s no way to “mess it up”. I remember this happening in university, so it happens to adults too. They give you something and you don’t even want to listen, you just want to use it. So don’t fight to get their attention while their minds are elsewhere, give them a few minutes and some scrap paper to play. Once they’ve had a chance to figure out how to use it, they’ll be much more ready to start the project.
You may want to also focus on a particular artist. Depending on your level, you could do a little artist study and could even incorporate some literacy. Check out their work, their style, what materials they use. The idea is not to copy them, but rather to be inspired by what they brought to the art world.
8. Talking to kids about their artwork
My university art prof talked to us about how to talk to our kids about their artwork and how it affects their confidence and willingness to try. When you’re circulating or when a student brings you their work, try to be intentional and genuine in what you say. Try to push yourself and go beyond “good job”, “looks nice” or “well done”. Find specific things you like about their work and tell them. I promise you that even your struggling artists will have something about their work that you can comment on. Say things like:
“I love the colours you chose”
“I like all the details you added in your tree”
“You blended those colours beautifully”
“Look at your cutting, you’re getting so good at making it smooth!”
If you have time, you can lay out all the pieces and do a gallery walk. This lets students give each other compliments about their work and it may inspire them to try something new on their next project.
9. Don’t get too hung up on perfection - lots of kids struggle with it
Listen, I was a perfectionist kid and I’m still a perfectionist adult and I notice this in my students too. Some kids can get very stuck because something doesn’t turn out quite the way they’d like. Encourage turning “mistakes” into happy accidents that give a new perspective. Teach ways of correcting mistakes, if possible. I won’t tell you that you’ll be able to change how perfectionist kids do art, I still erase things multiple times but it’s something I’m working on and something your students are working on too.
Commenting on things you like about their work helps them switch those negative thoughts if they’re in the mindset of “my whole work sucks”. Celebrate “accidents” and talk about them in a creative way. Don’t get frustrated if your student is not making it look exactly like YOU hoped. It’s not YOUR project, is it?
Sometimes you may just need to start from scratch, and students need to know that it’s ok to do that sometimes. Have a little extra material if possible. I don’t advertise that they can just scrap their work but I know which students I may need to offer that choice to if I notice they’re struggling. Sometimes a fresh piece of paper is all they need to try again.
10. Give plenty of time

Don’t rush your students when doing art. I get it, sometimes you’re running out of time and you need to clean up right now to get to music in time. We’ve all been there. So, the idea would be to build in more time than you think you’ll need into your plan or schedule. Don’t forget, it often takes students much longer than it took you, so you need to allow for this time.
If some students are done early, there are so many things they can do. Clean up, do an early finisher activity, help a friend tidy up or read. It’s a lot easier to have some students done and doing something to keep busy than it is to stress everyone out because they only have 10 minutes to get something done. You’ll always have the slowest pokes who won’t be done even in your given time, but let’s give most kids the best chance of finishing without pressure.
Bonus - Setting the mood with music
Art can be very calming and depending on how your day has gone, you may want to keep a sense of calm in the class. If your project requires a lot of focus you may want to minimize distractions. You could choose to just keep it quiet or perhaps you could put on some instrumental music, lo-fi or nature sounds.
Art can also be fun and exciting. I like to put on music in the background, but not instrumental music. It could be thematic or I often put on French music for my students.