

Starry Night Halloween Cat Art Project
We’re all familiar with Van Gogh’s Starry Night. Now we’re taking inspiration and merging it with Halloween.
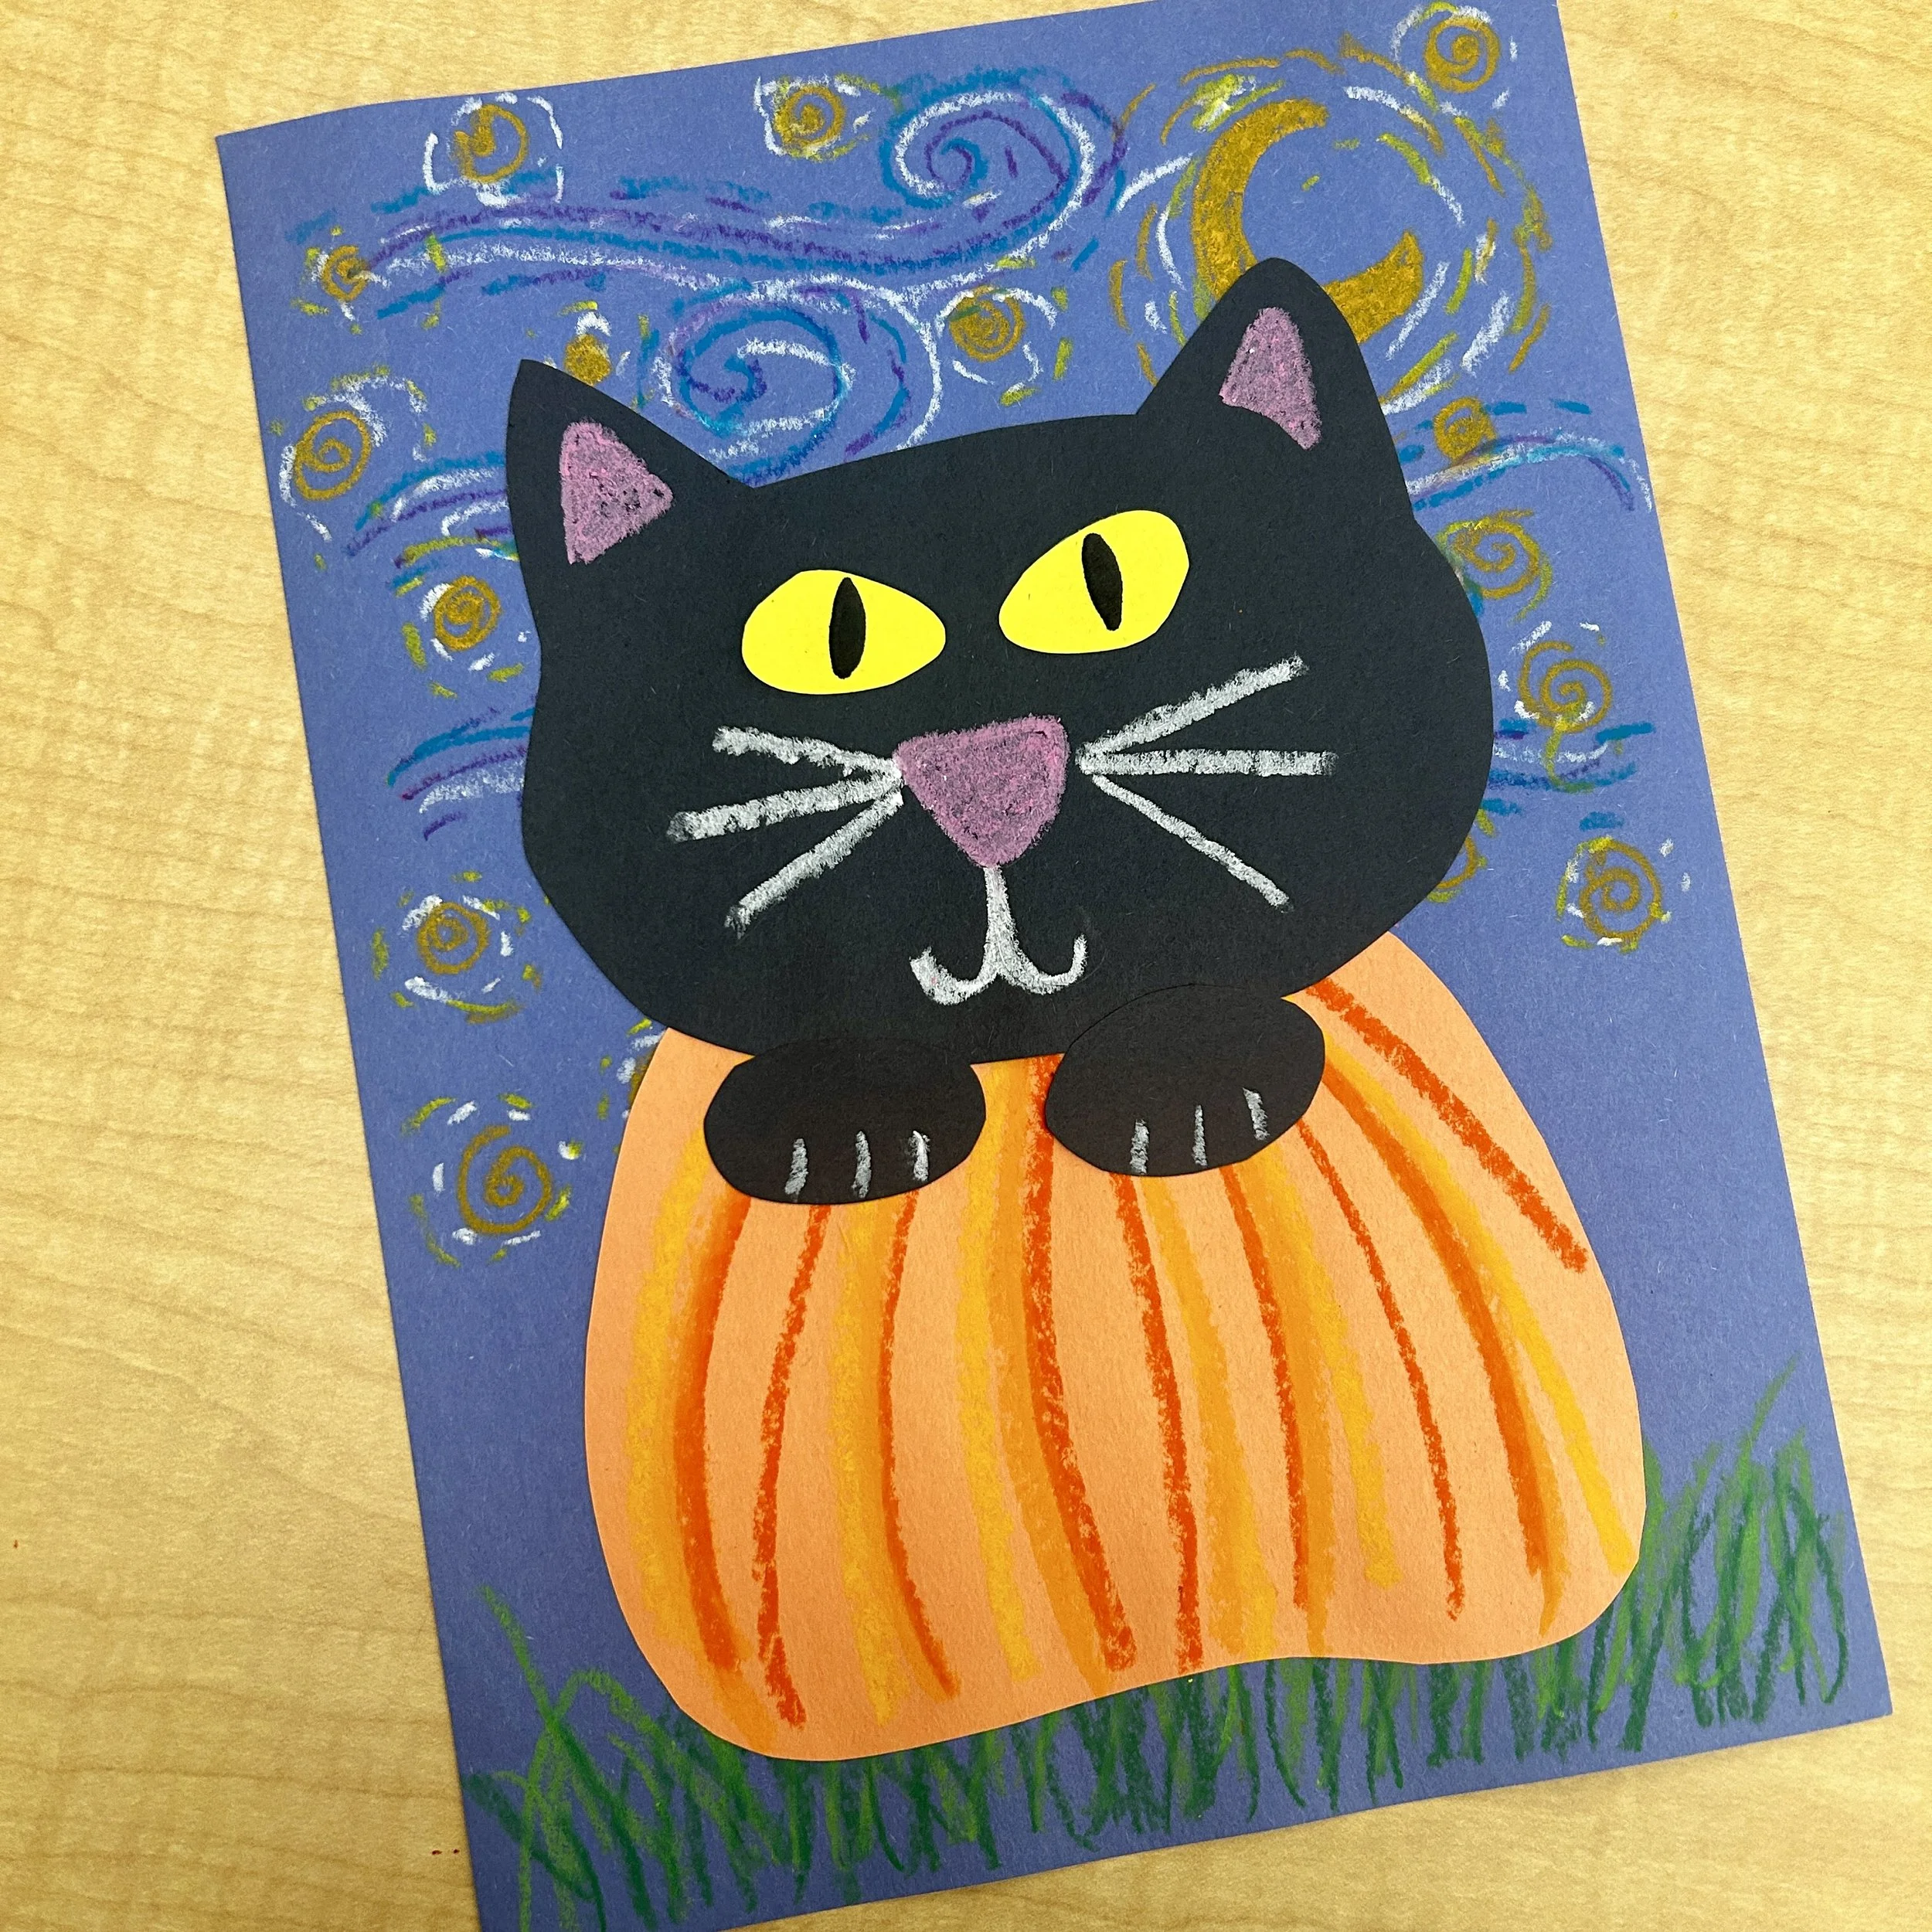
Suggested grade: 2-5
Time required: 45-60 minutes
Materials:
Construction paper (per student)
1 full dark blue
1 half black
1 half orange
1 small piece yellow (large enough for cat eyes)
Oil pastel (orange, yellow, green, blue, purple, white, pink)
Scissors
Glue stick
Pencil
Sharpie or other black marker
Starry night background steps:
*note: you’ll really want to model this for your students
We will be focusing on the top 2/3 of the paper (oriented as portrait)
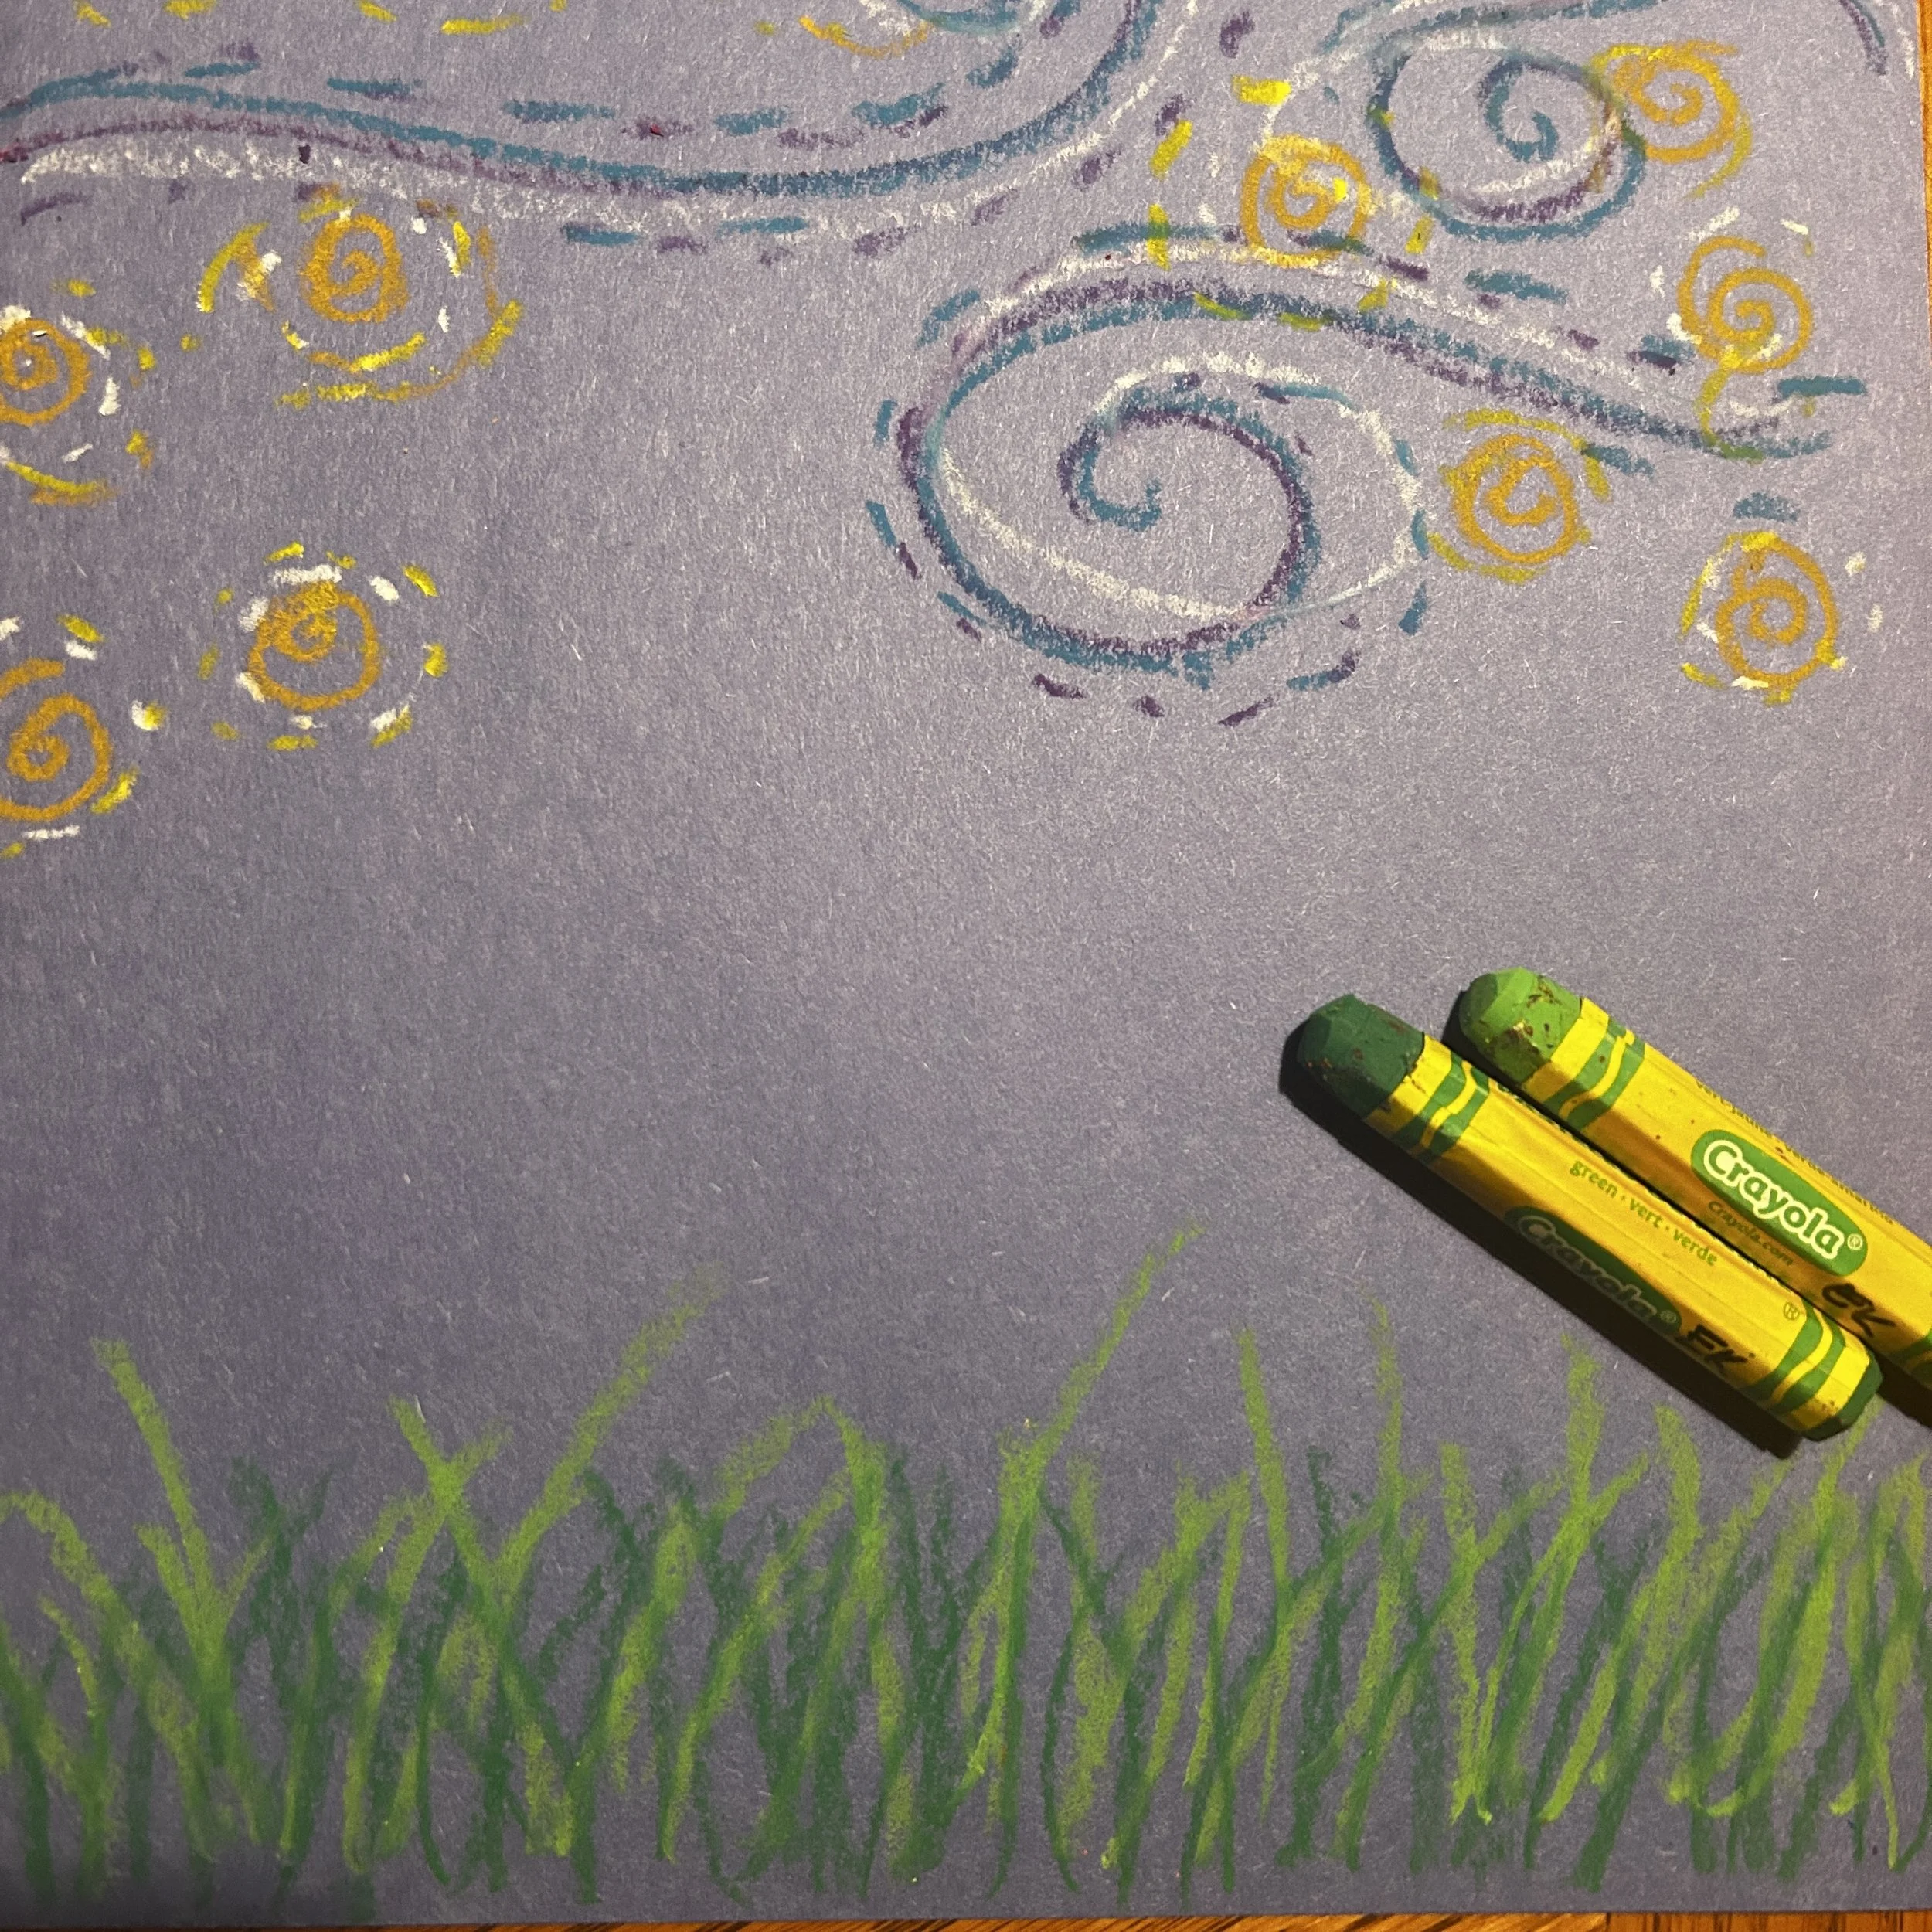
You will need the dark blue paper and some pastels (dark yellow/orange, yellow, blue, purple and white)
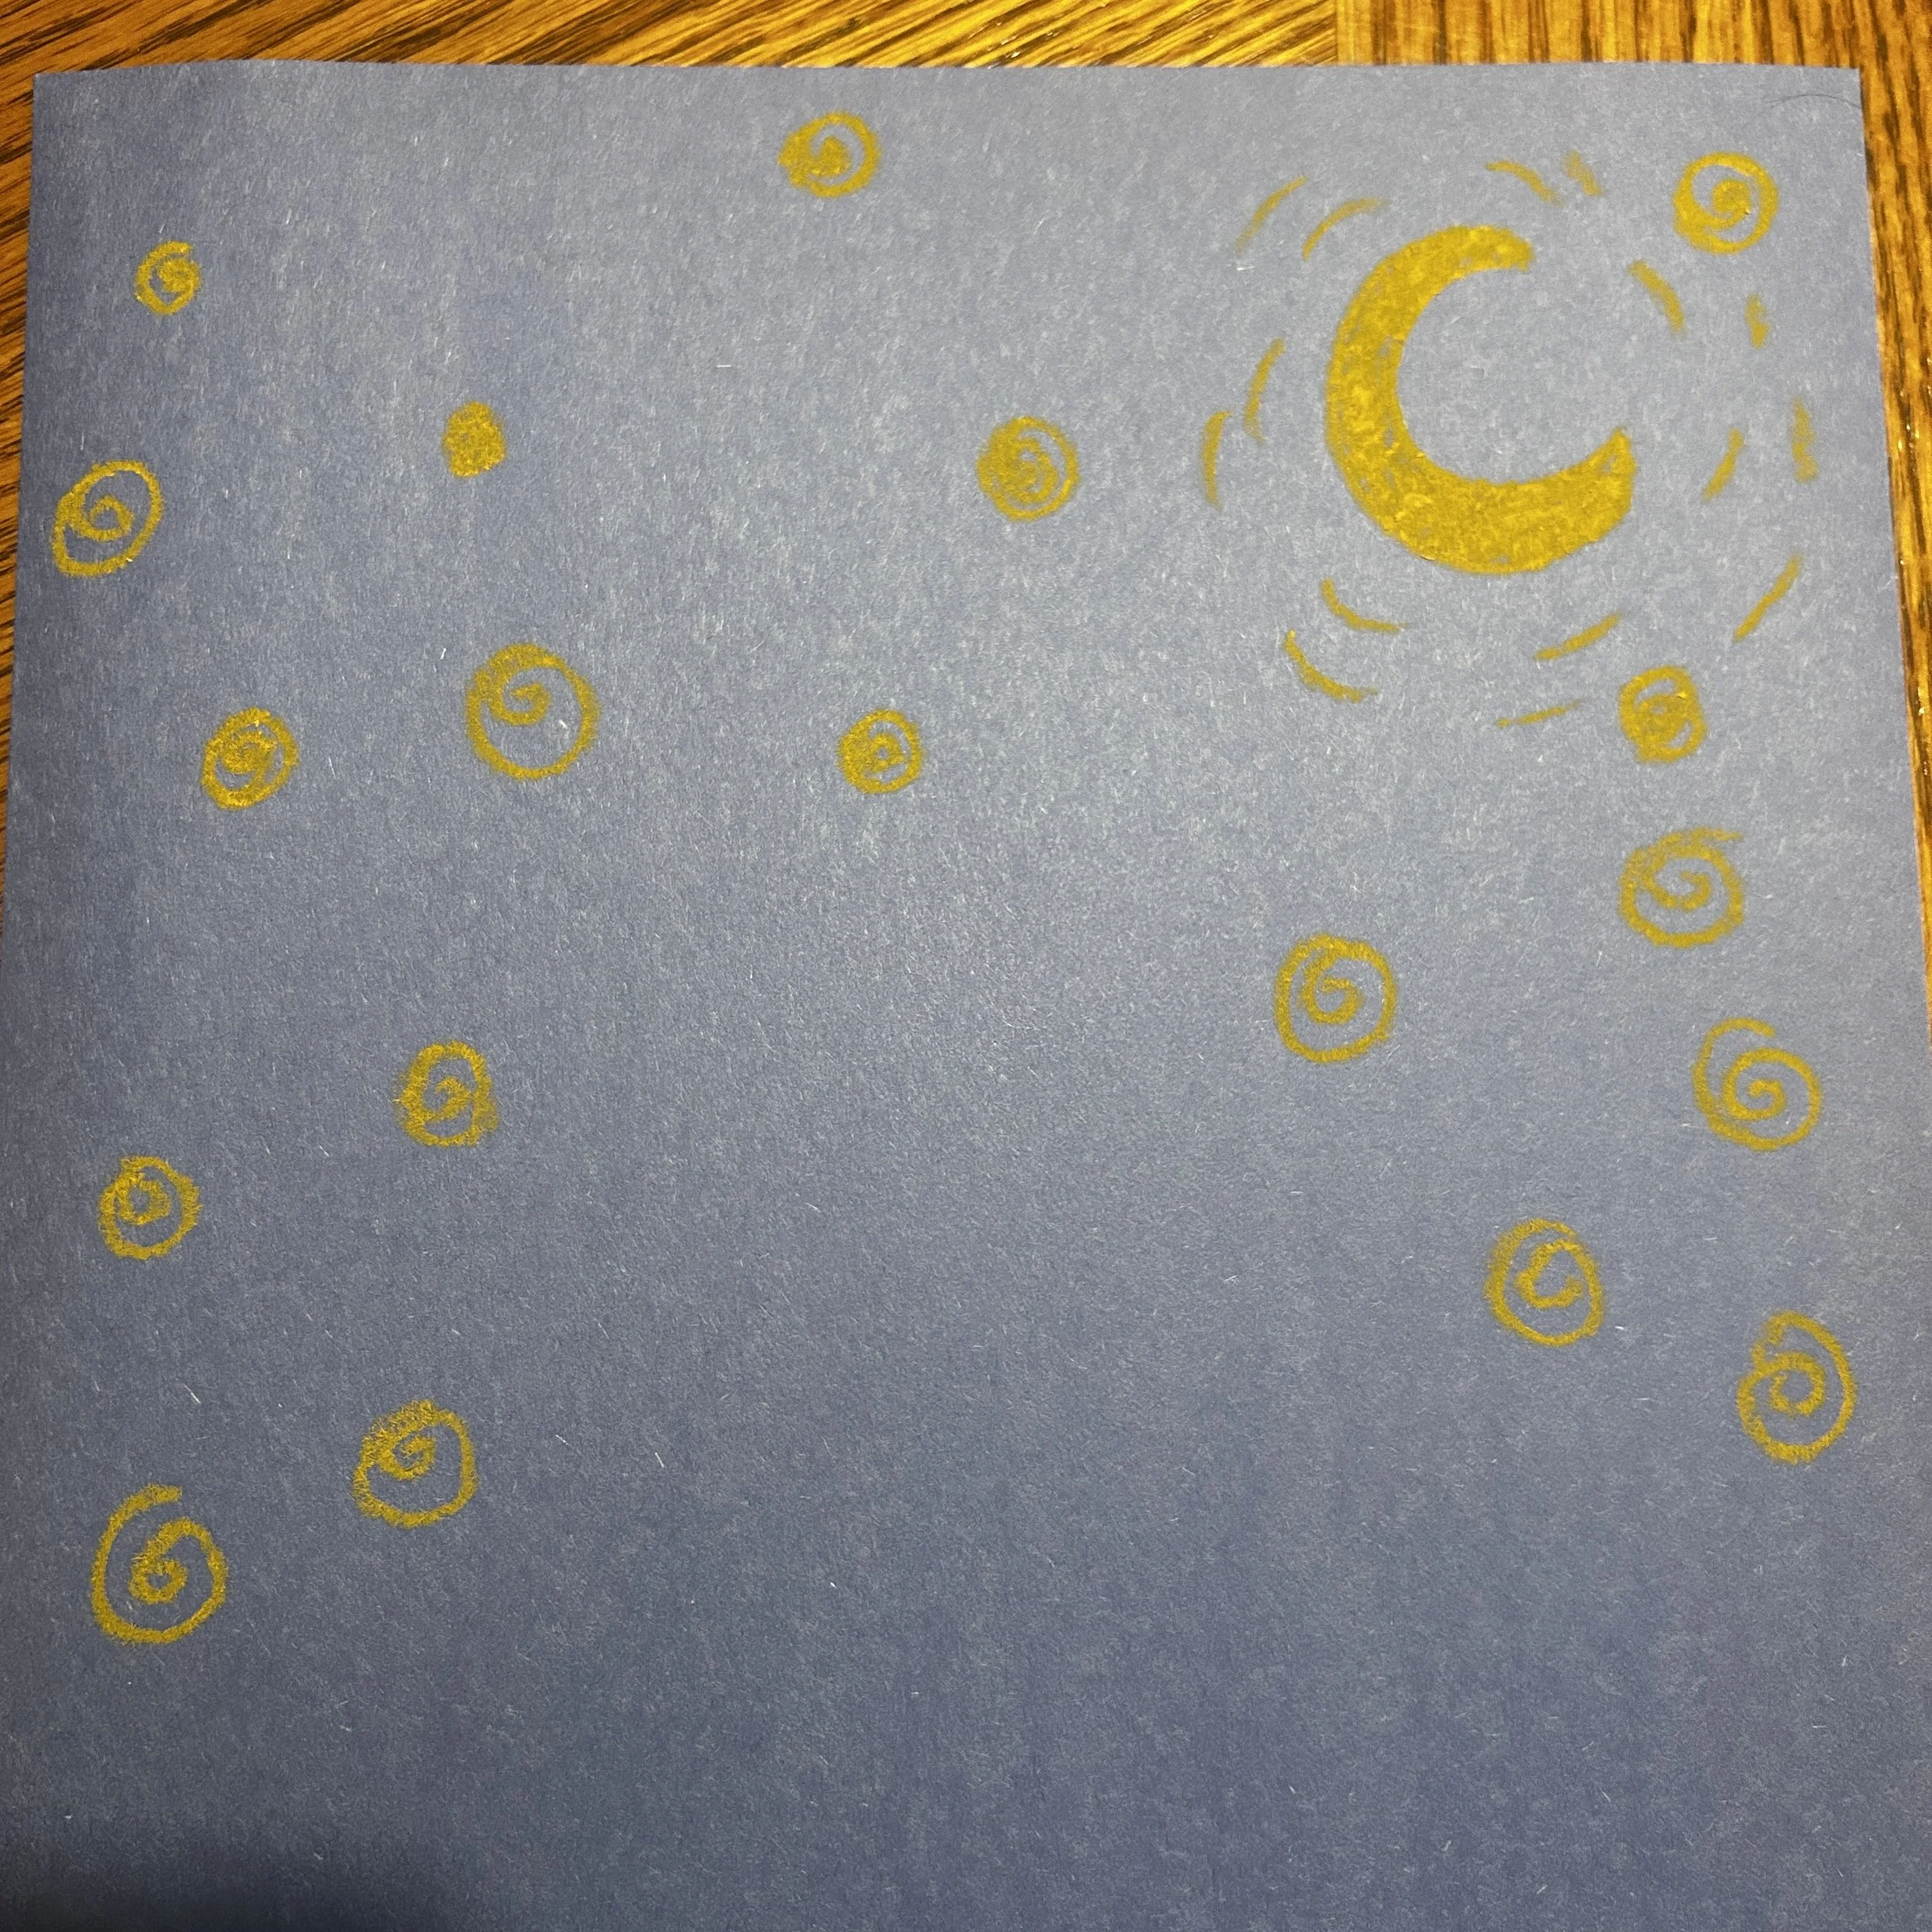
Using dark yellow or orange, draw a crescent moon near the top in one corner.
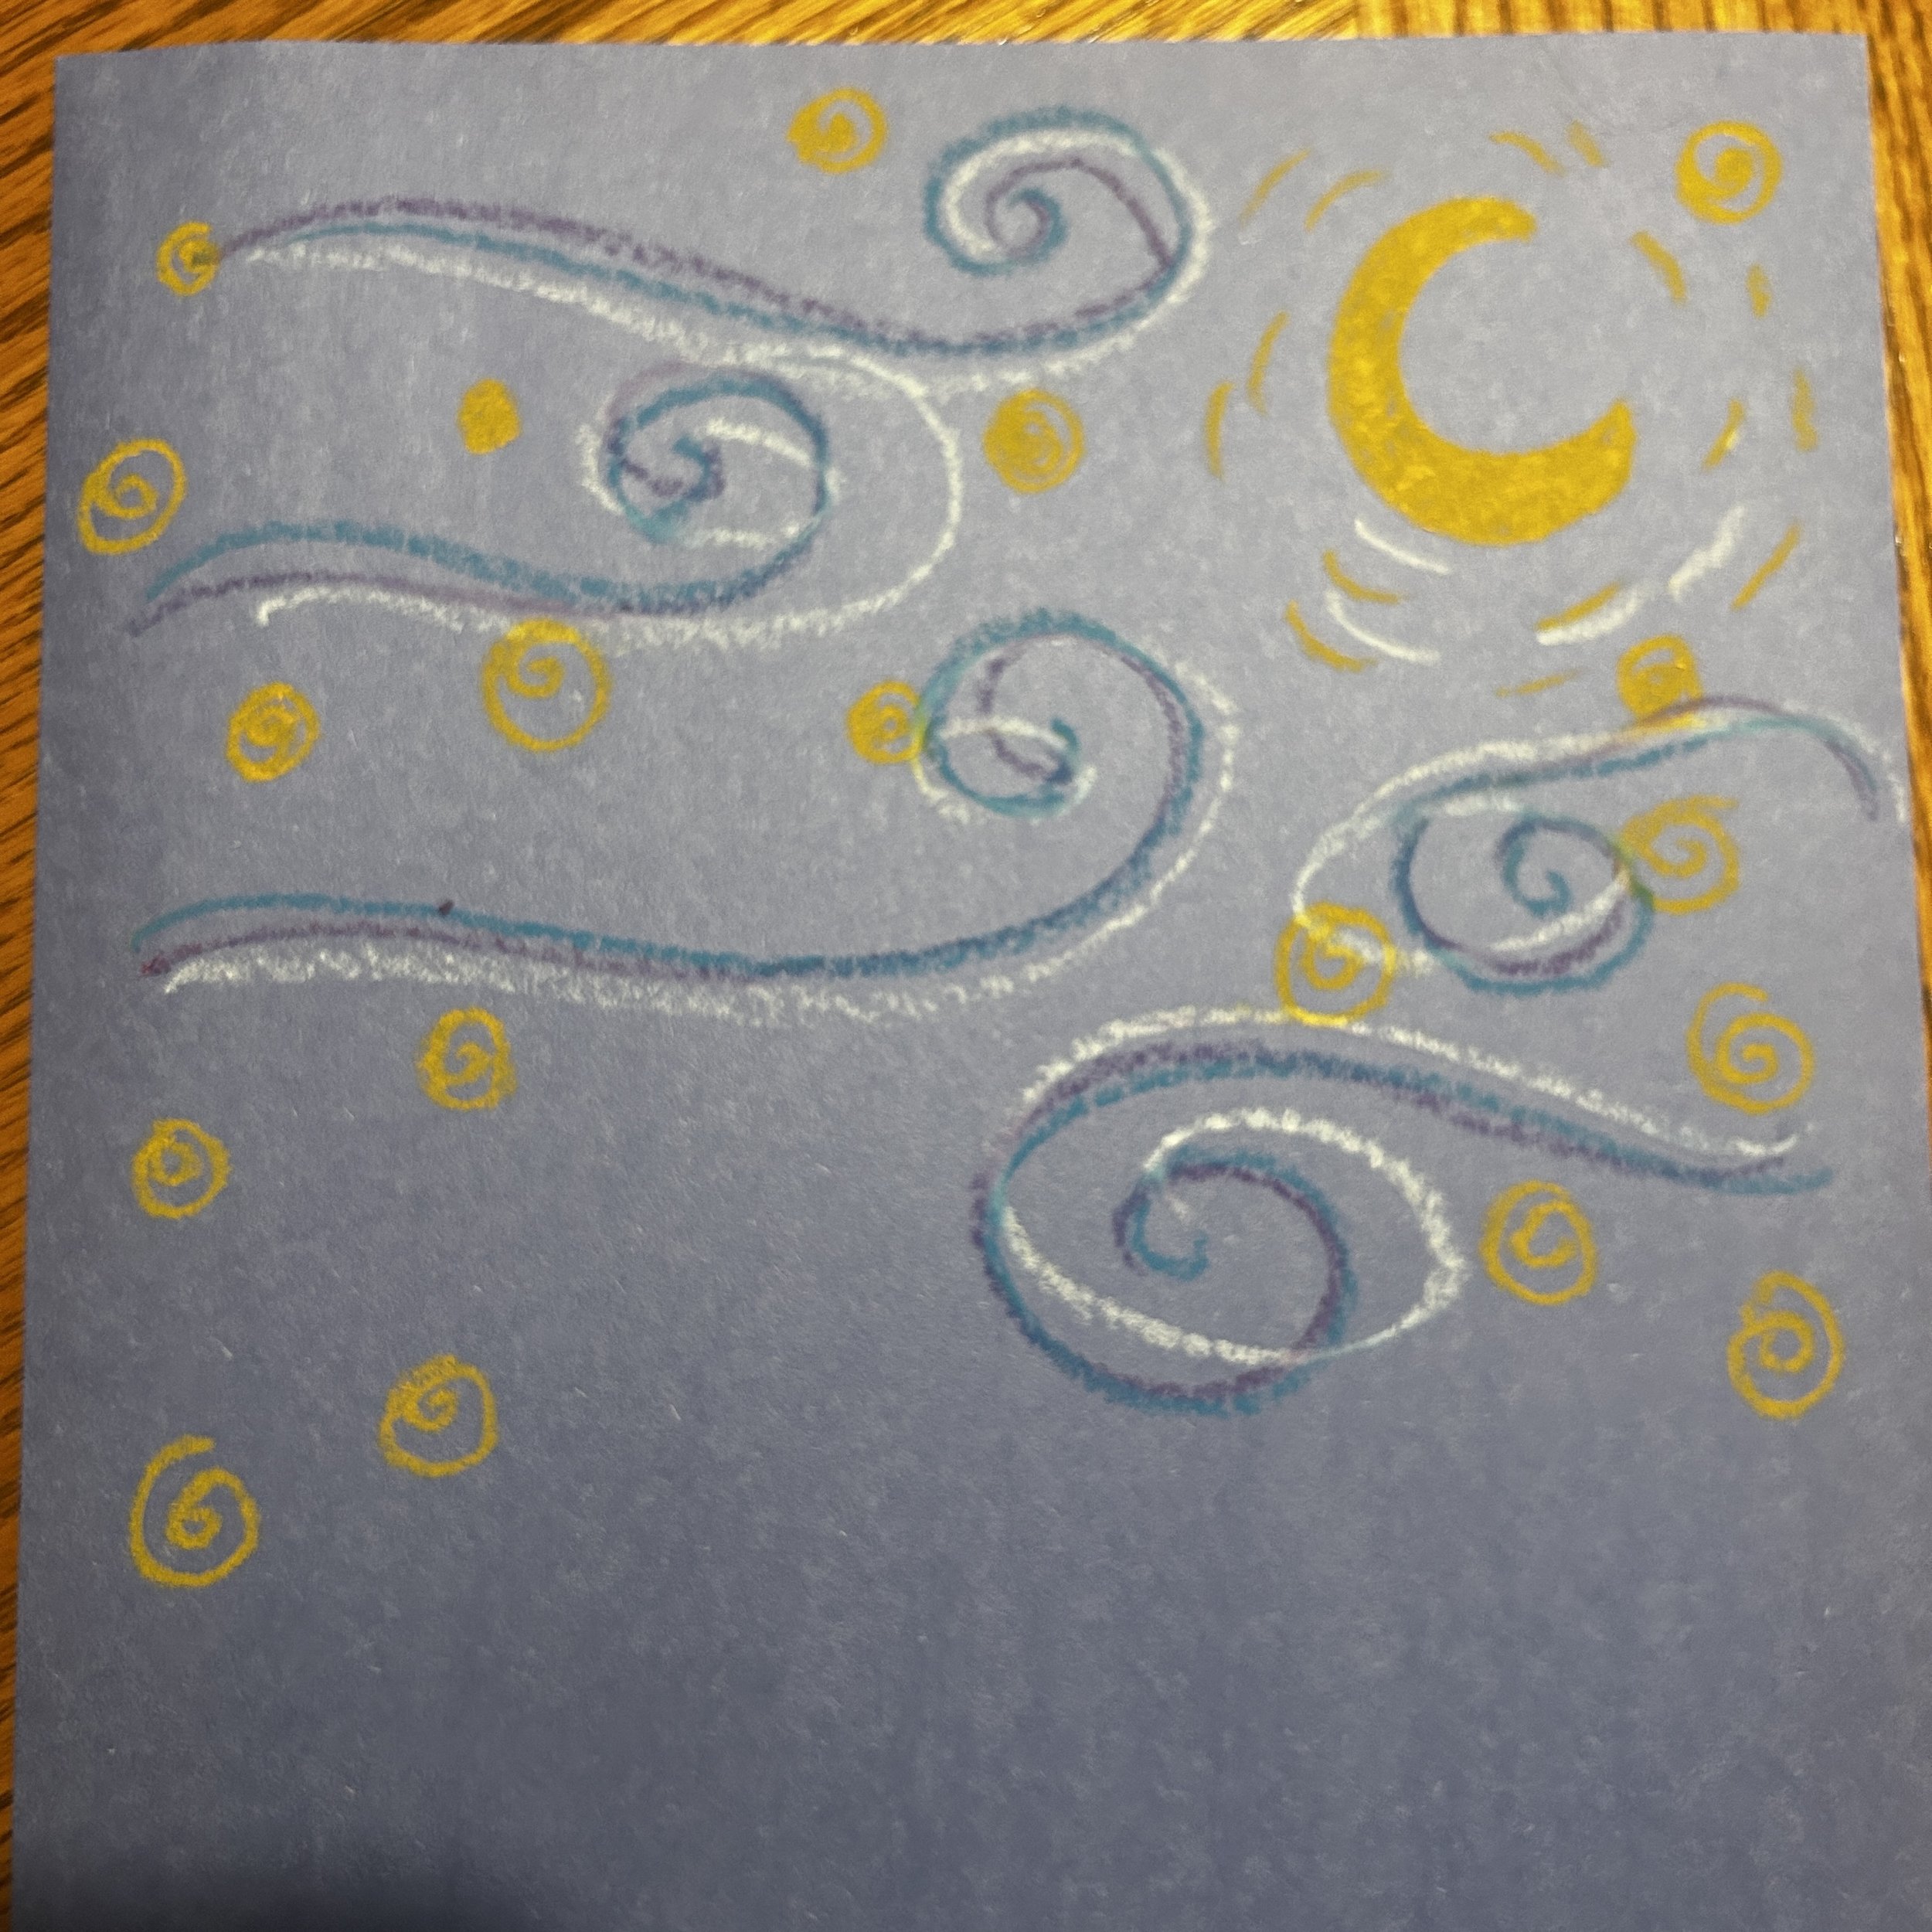
Using blue, white and purple, draw curving lines across the page. These are the wind guide lines.
Using yellow, draw some smaller round dots or swirls scattered around (these are the stars).
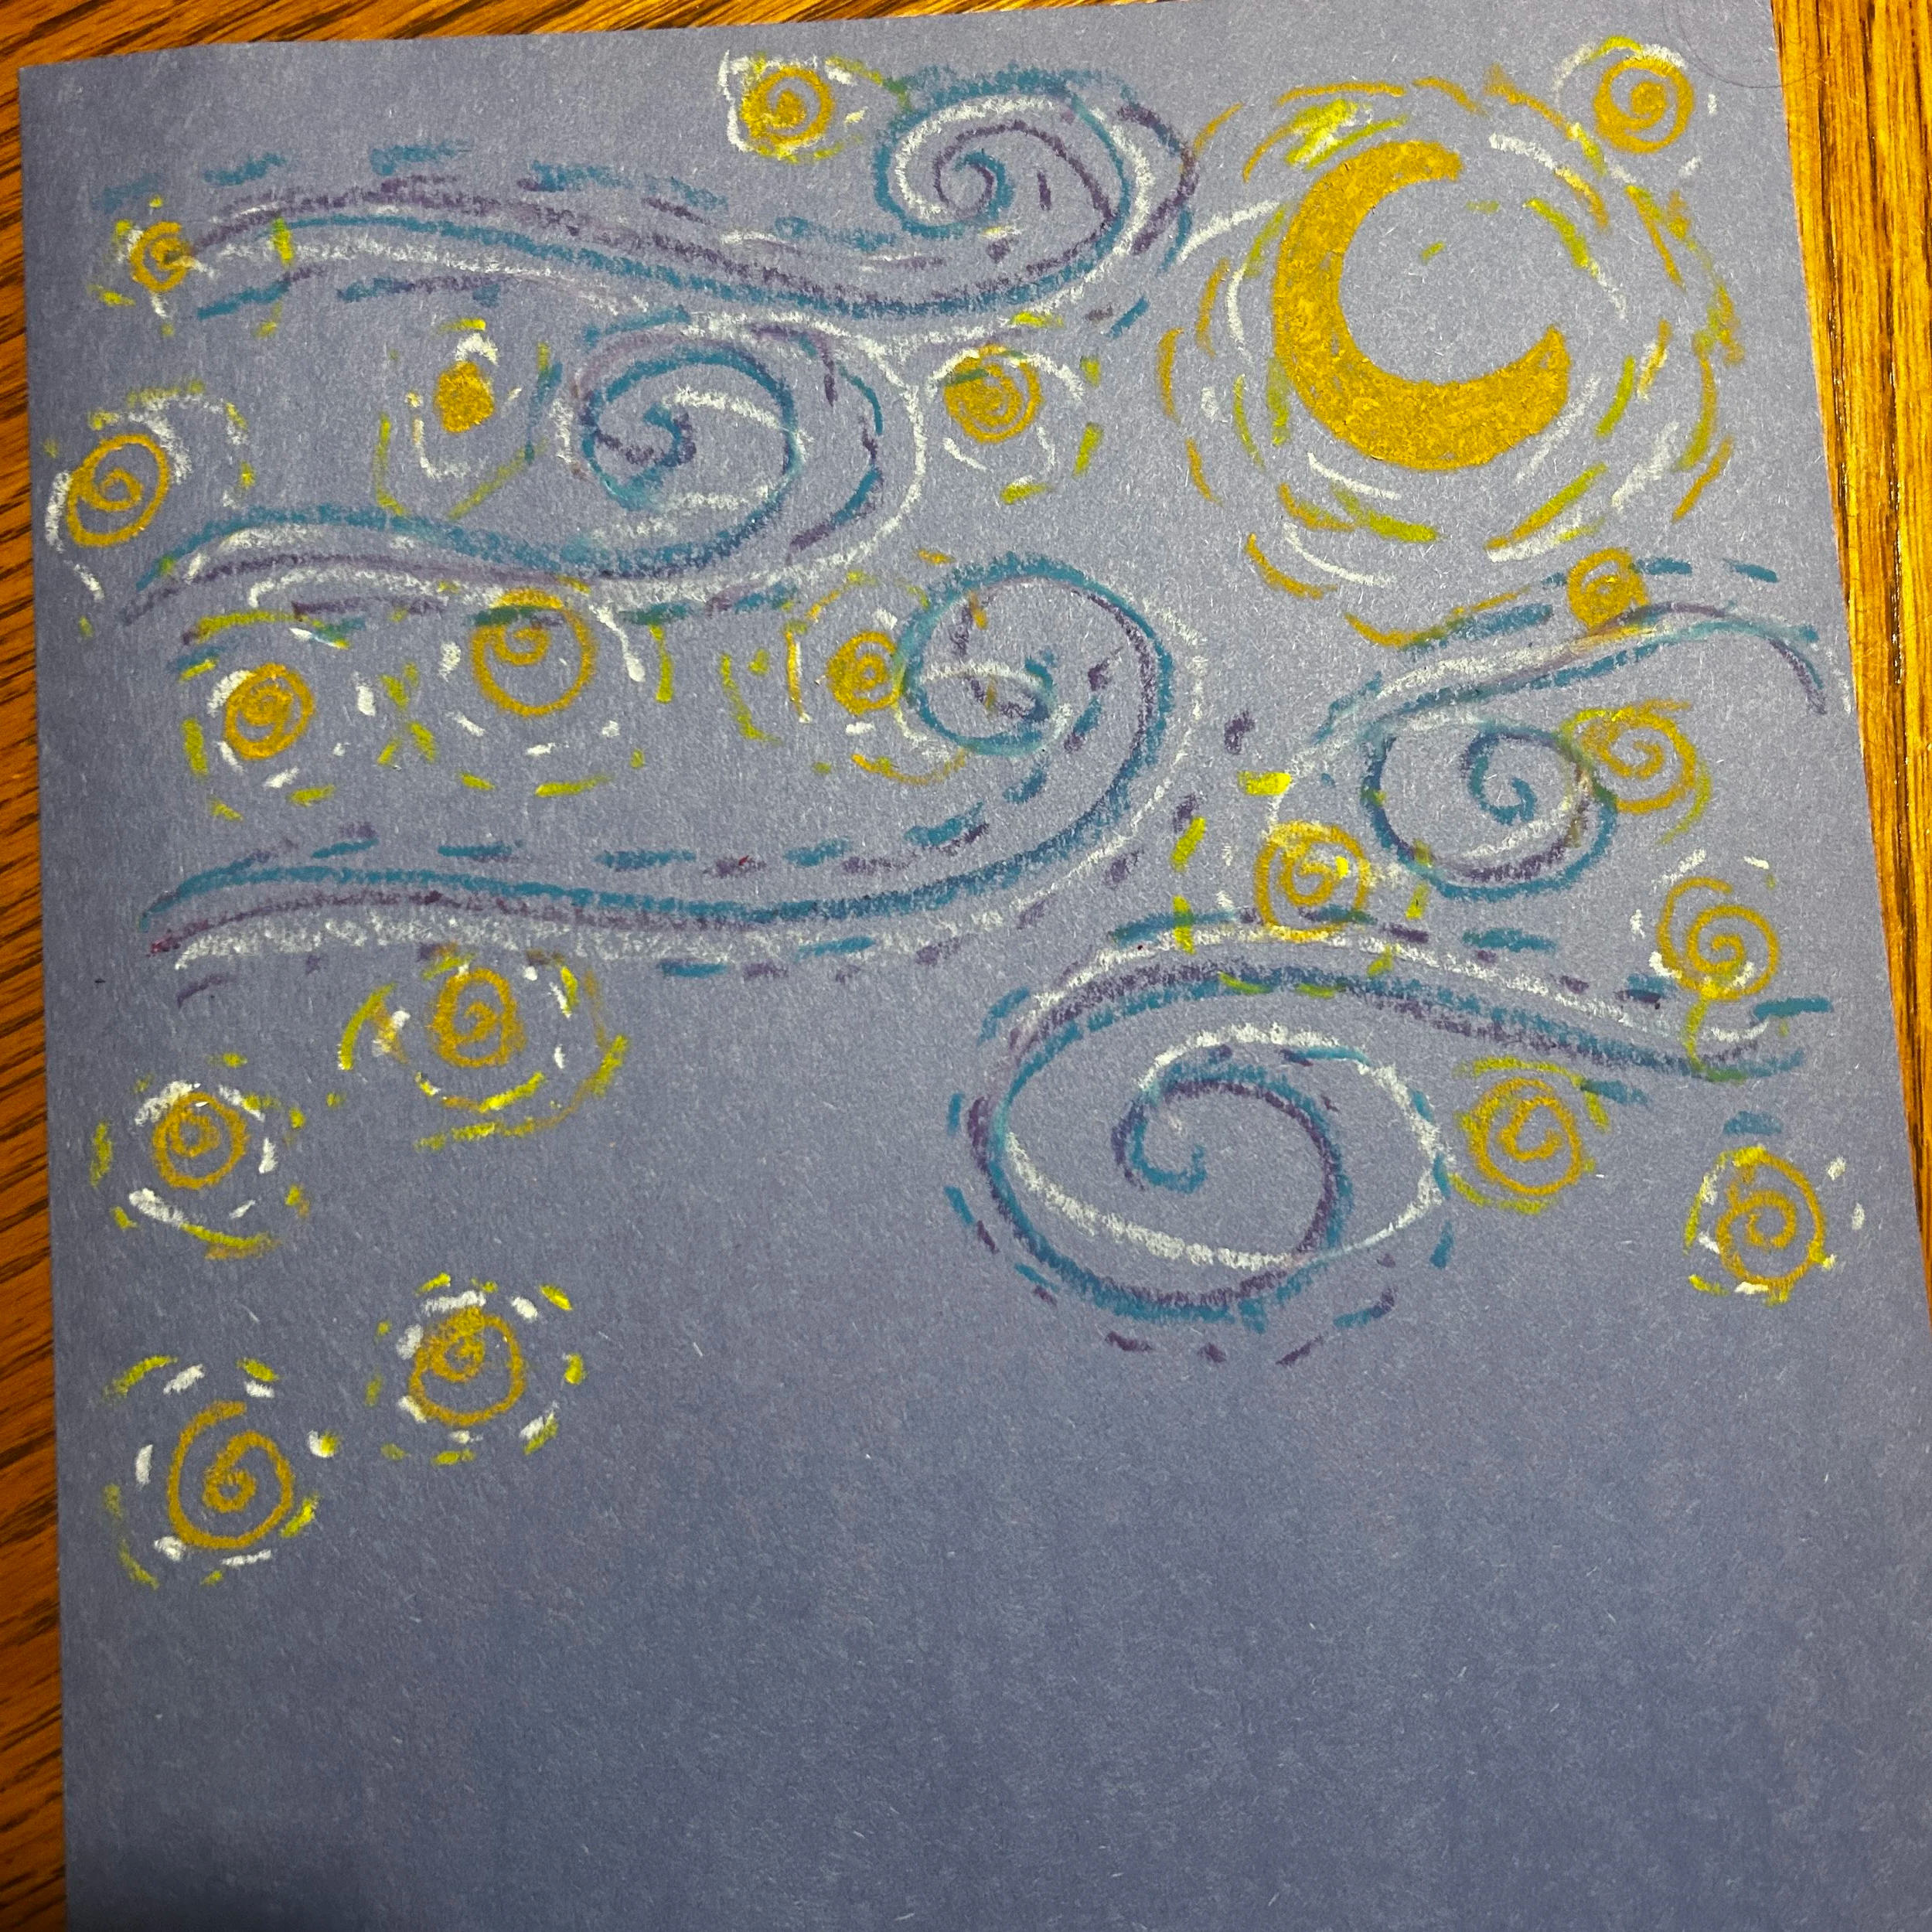
Now we need to make the shorter brush strokes around the guide areas we made using appropriate colours. Model this!
Grass background steps:
Once the sky is done, go along the bottom and add stokes for grass using green.
Pumpkin steps:
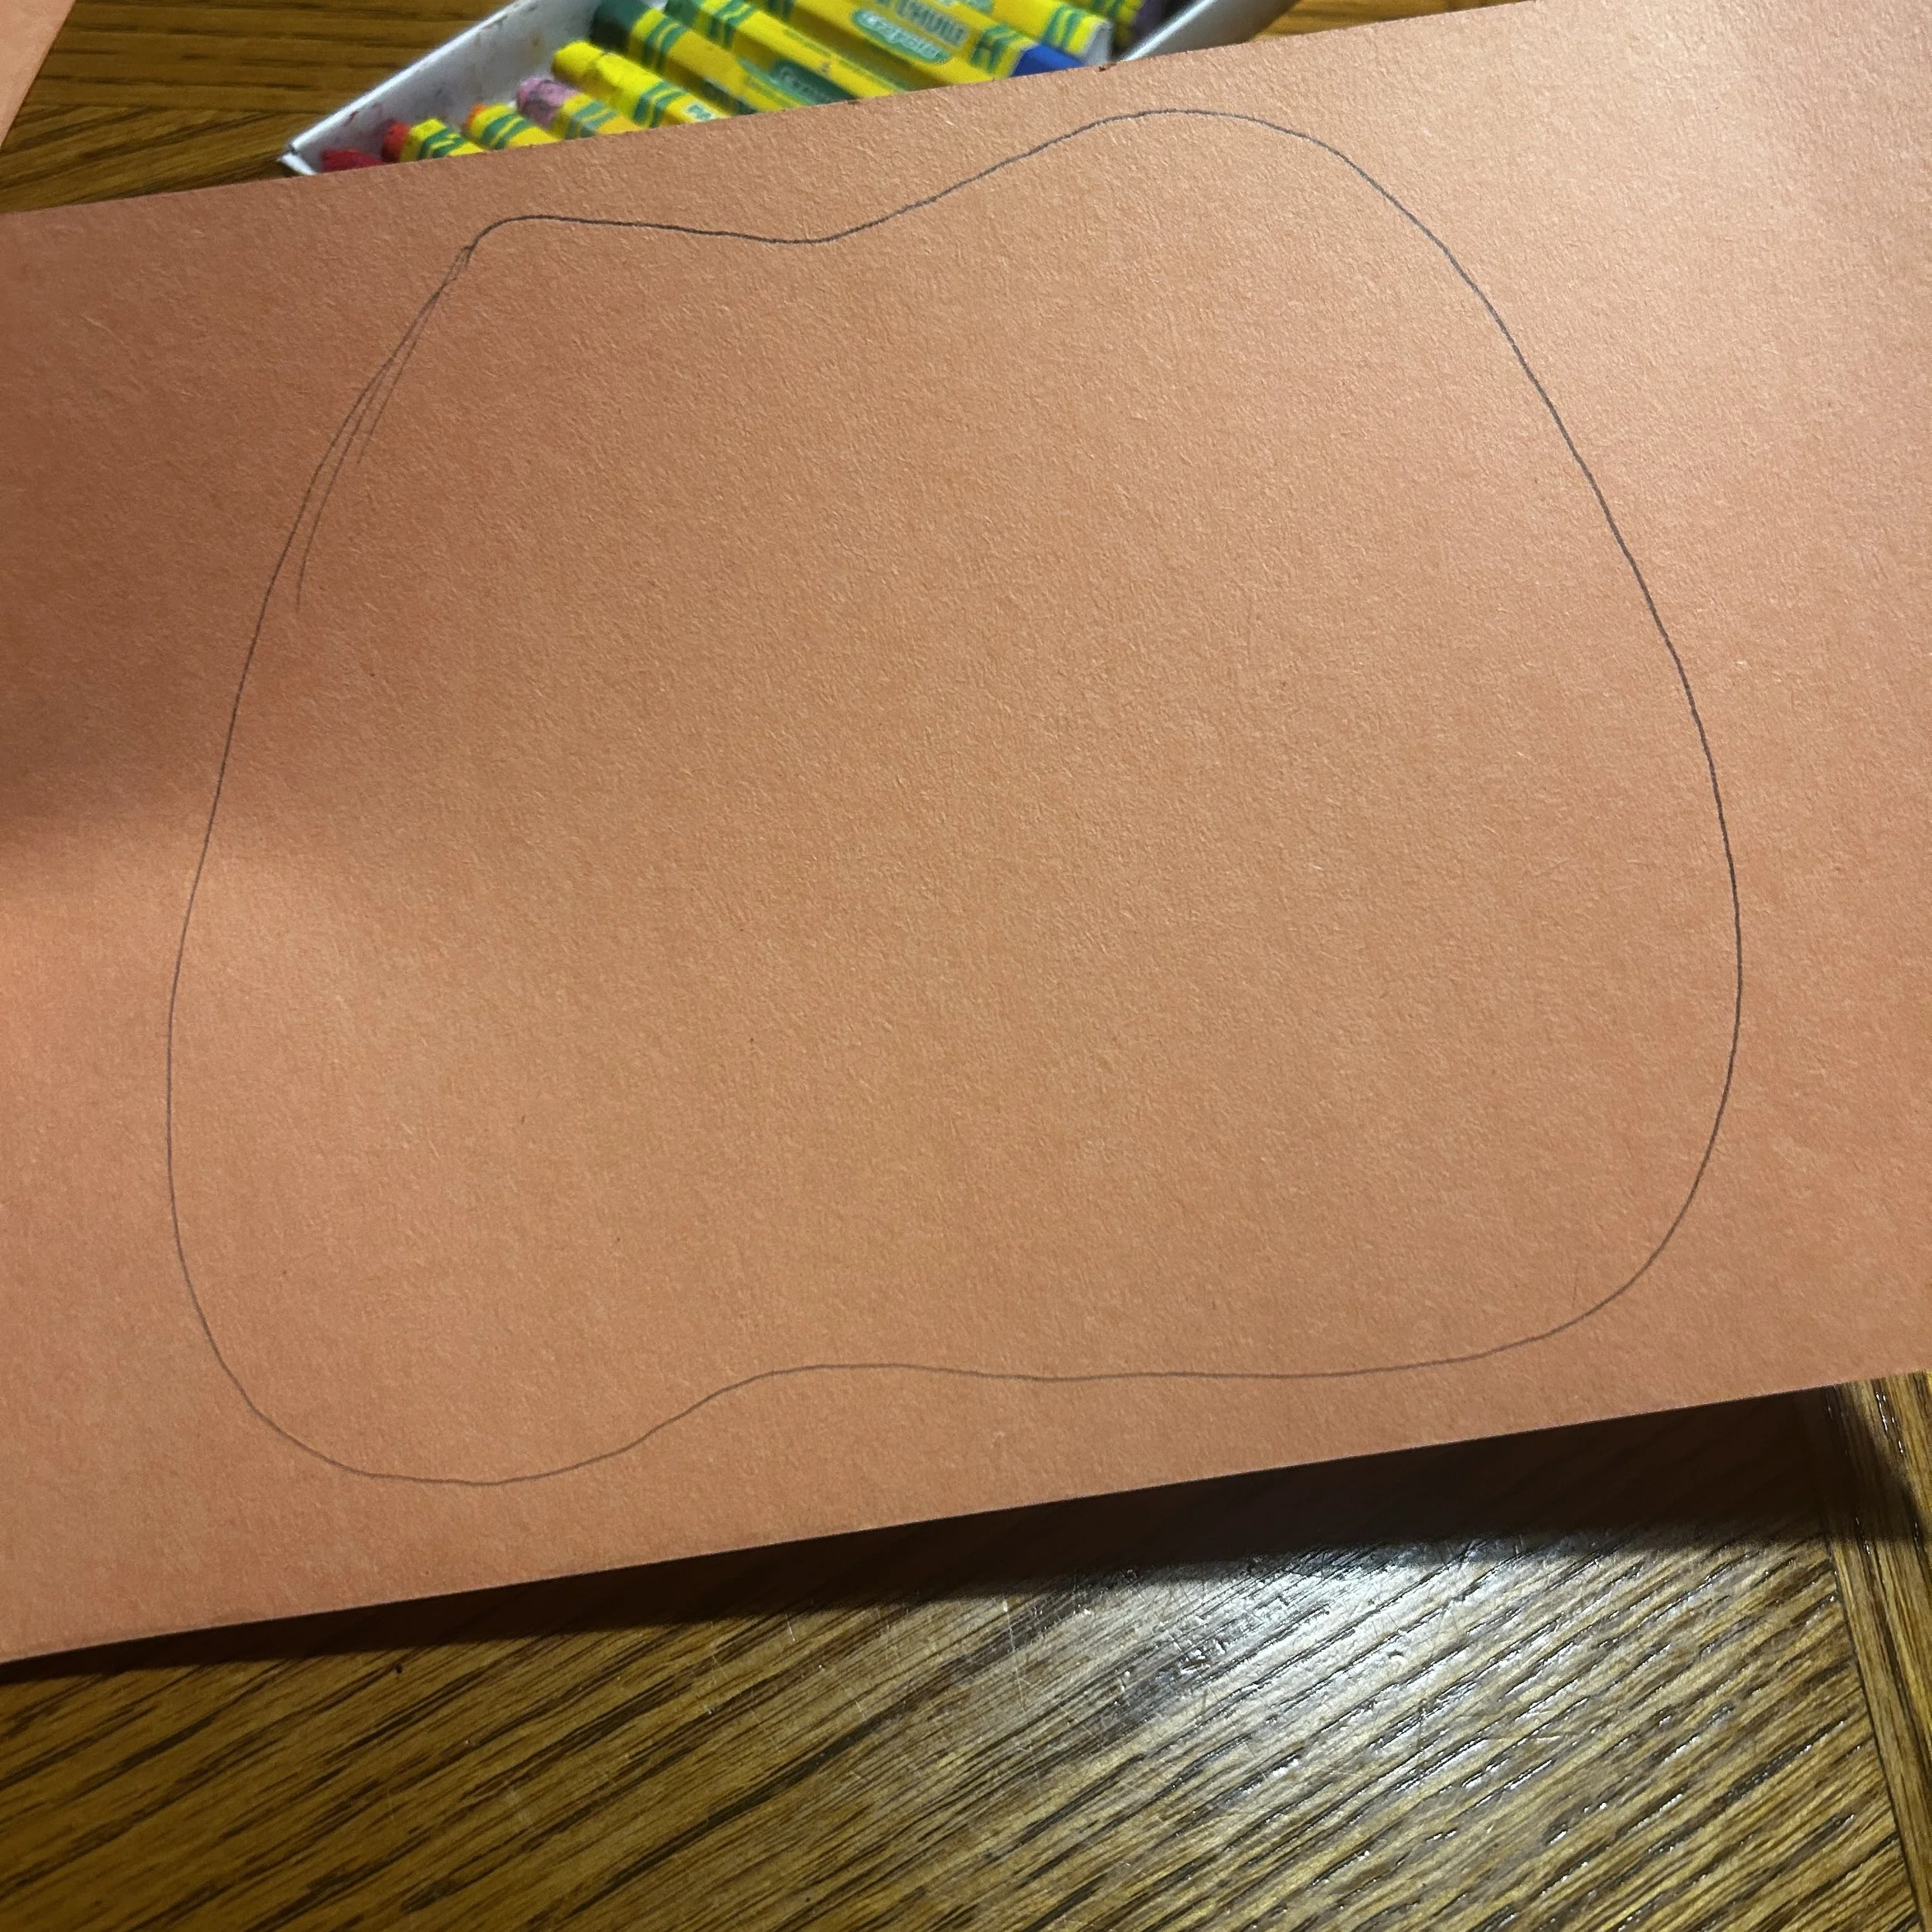
Sketch a simple pumpkin shape on the orange paper.
Keep in mind that a cat will have to be coming out of it so try to use as much of the paper as possible but we want the cat’s head to be bigger, so taper the top of the pumpkin compared to the base.
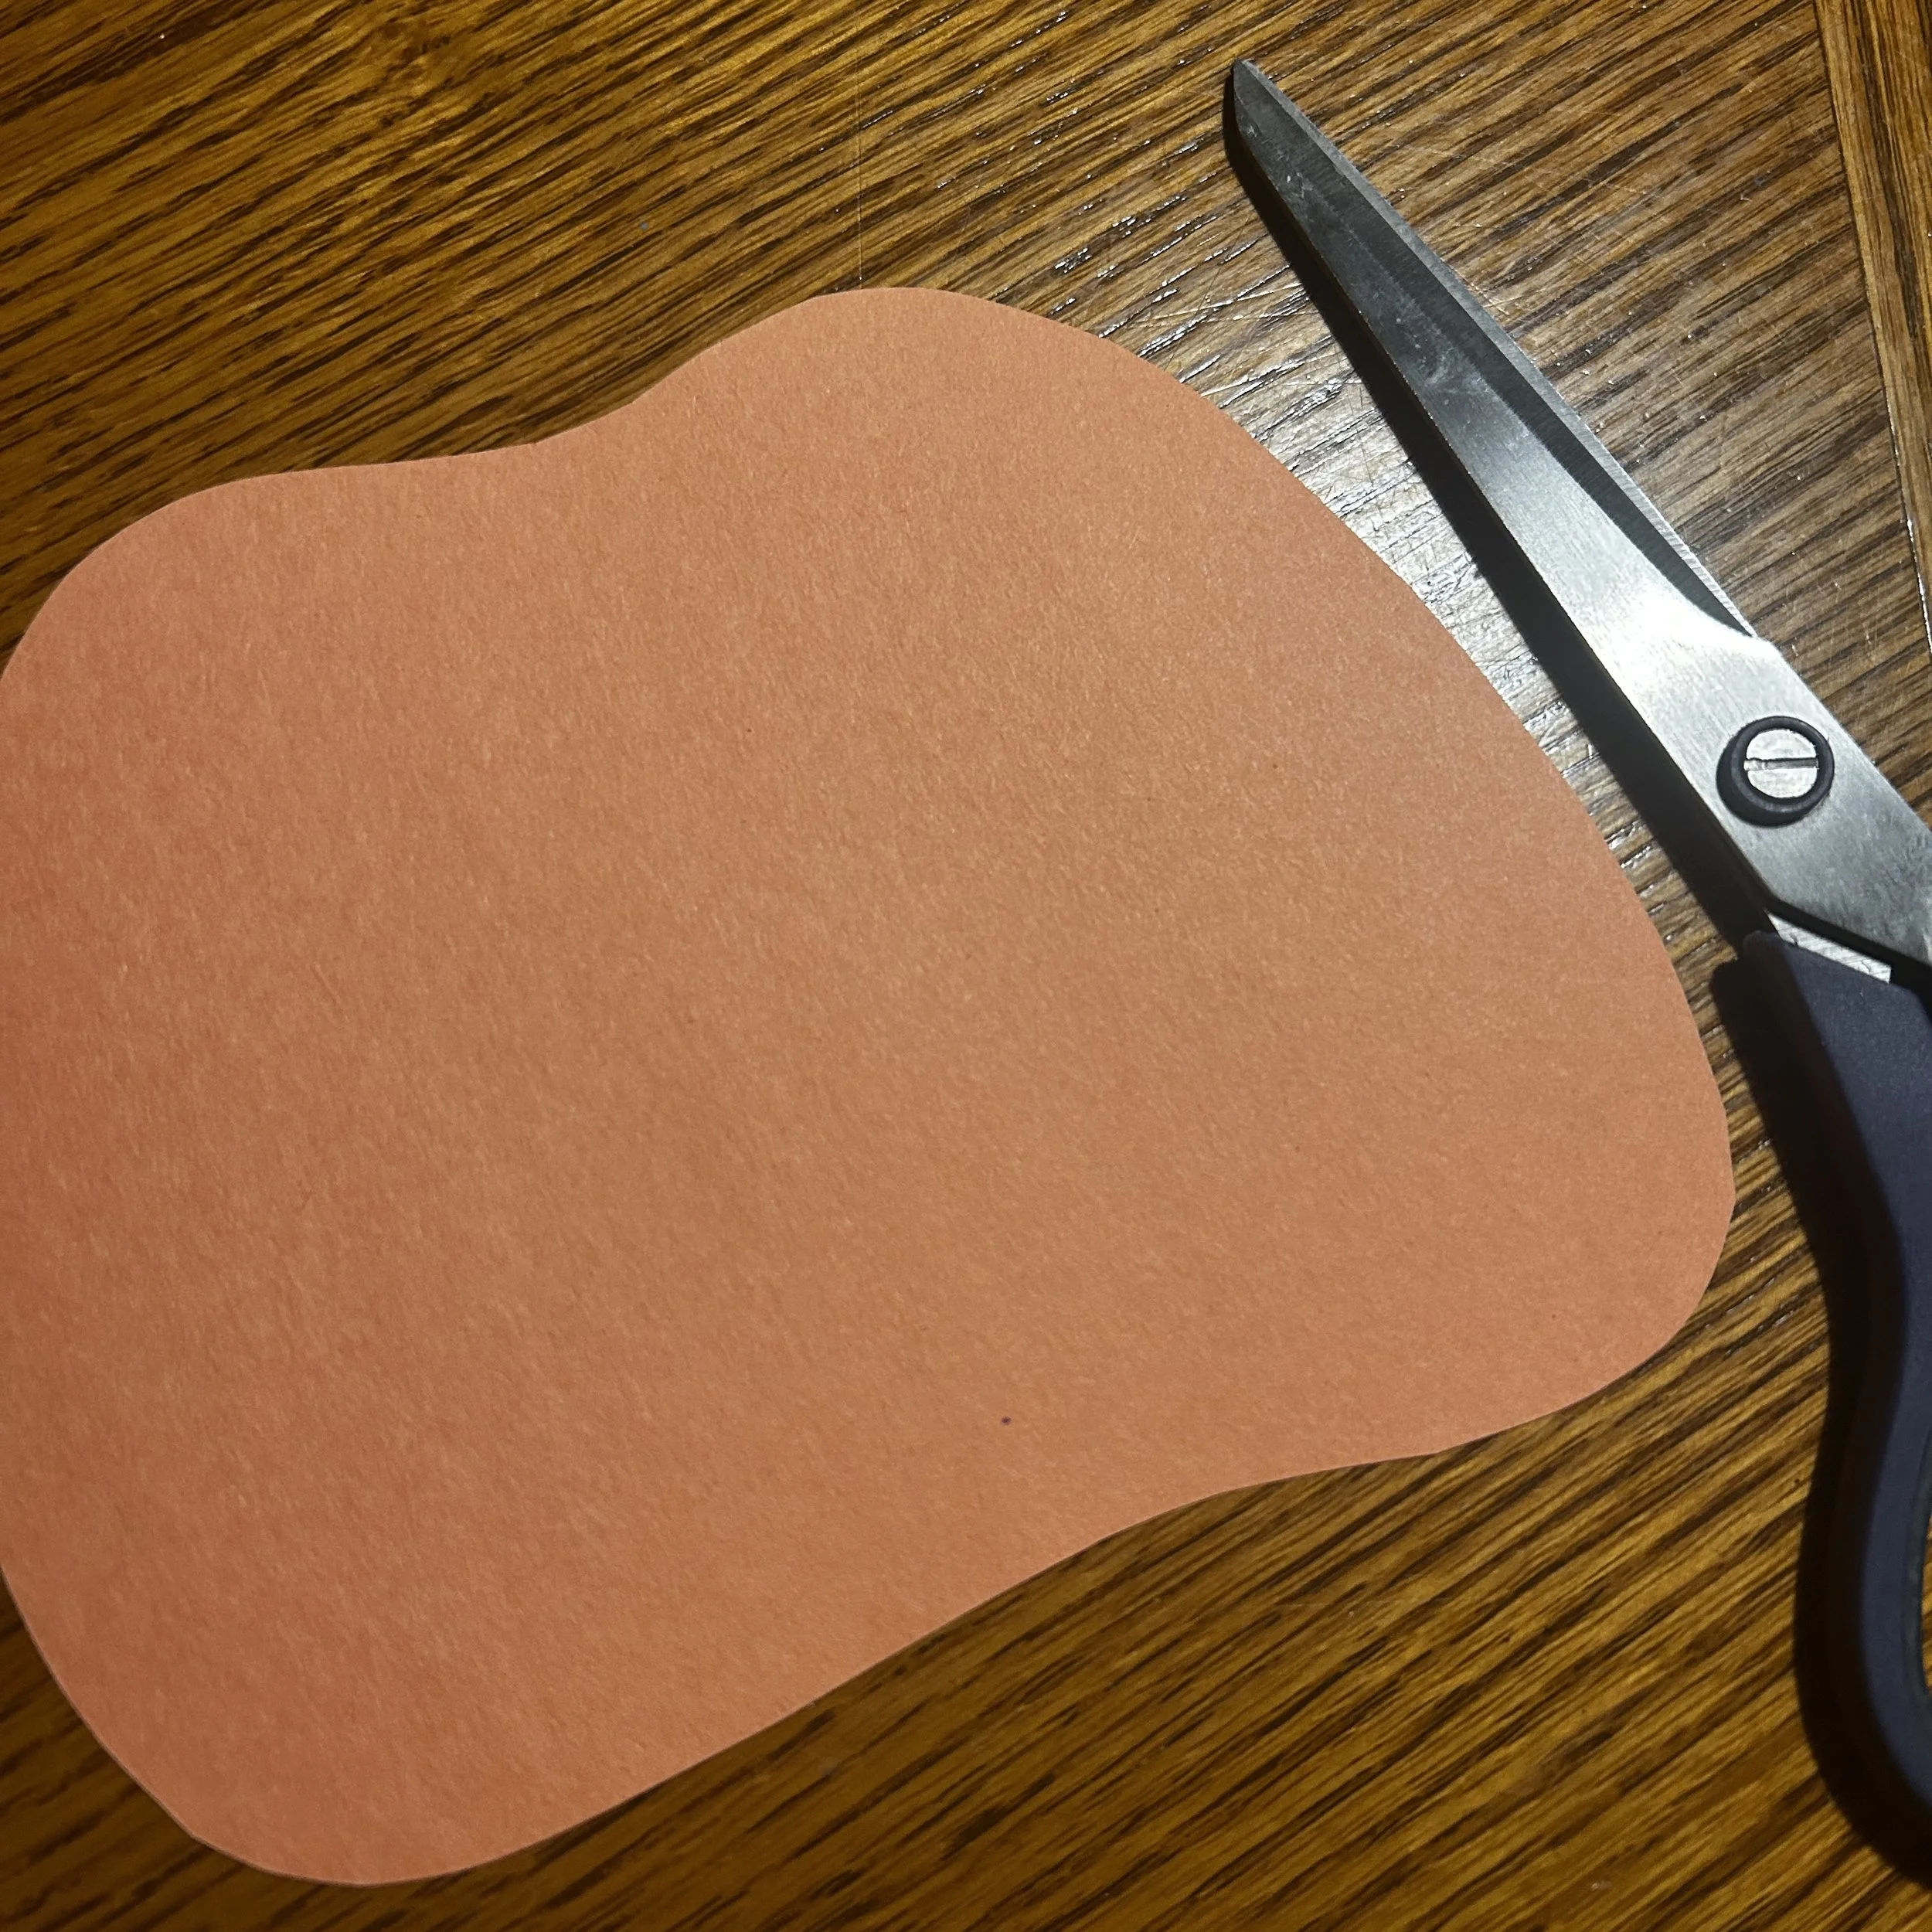
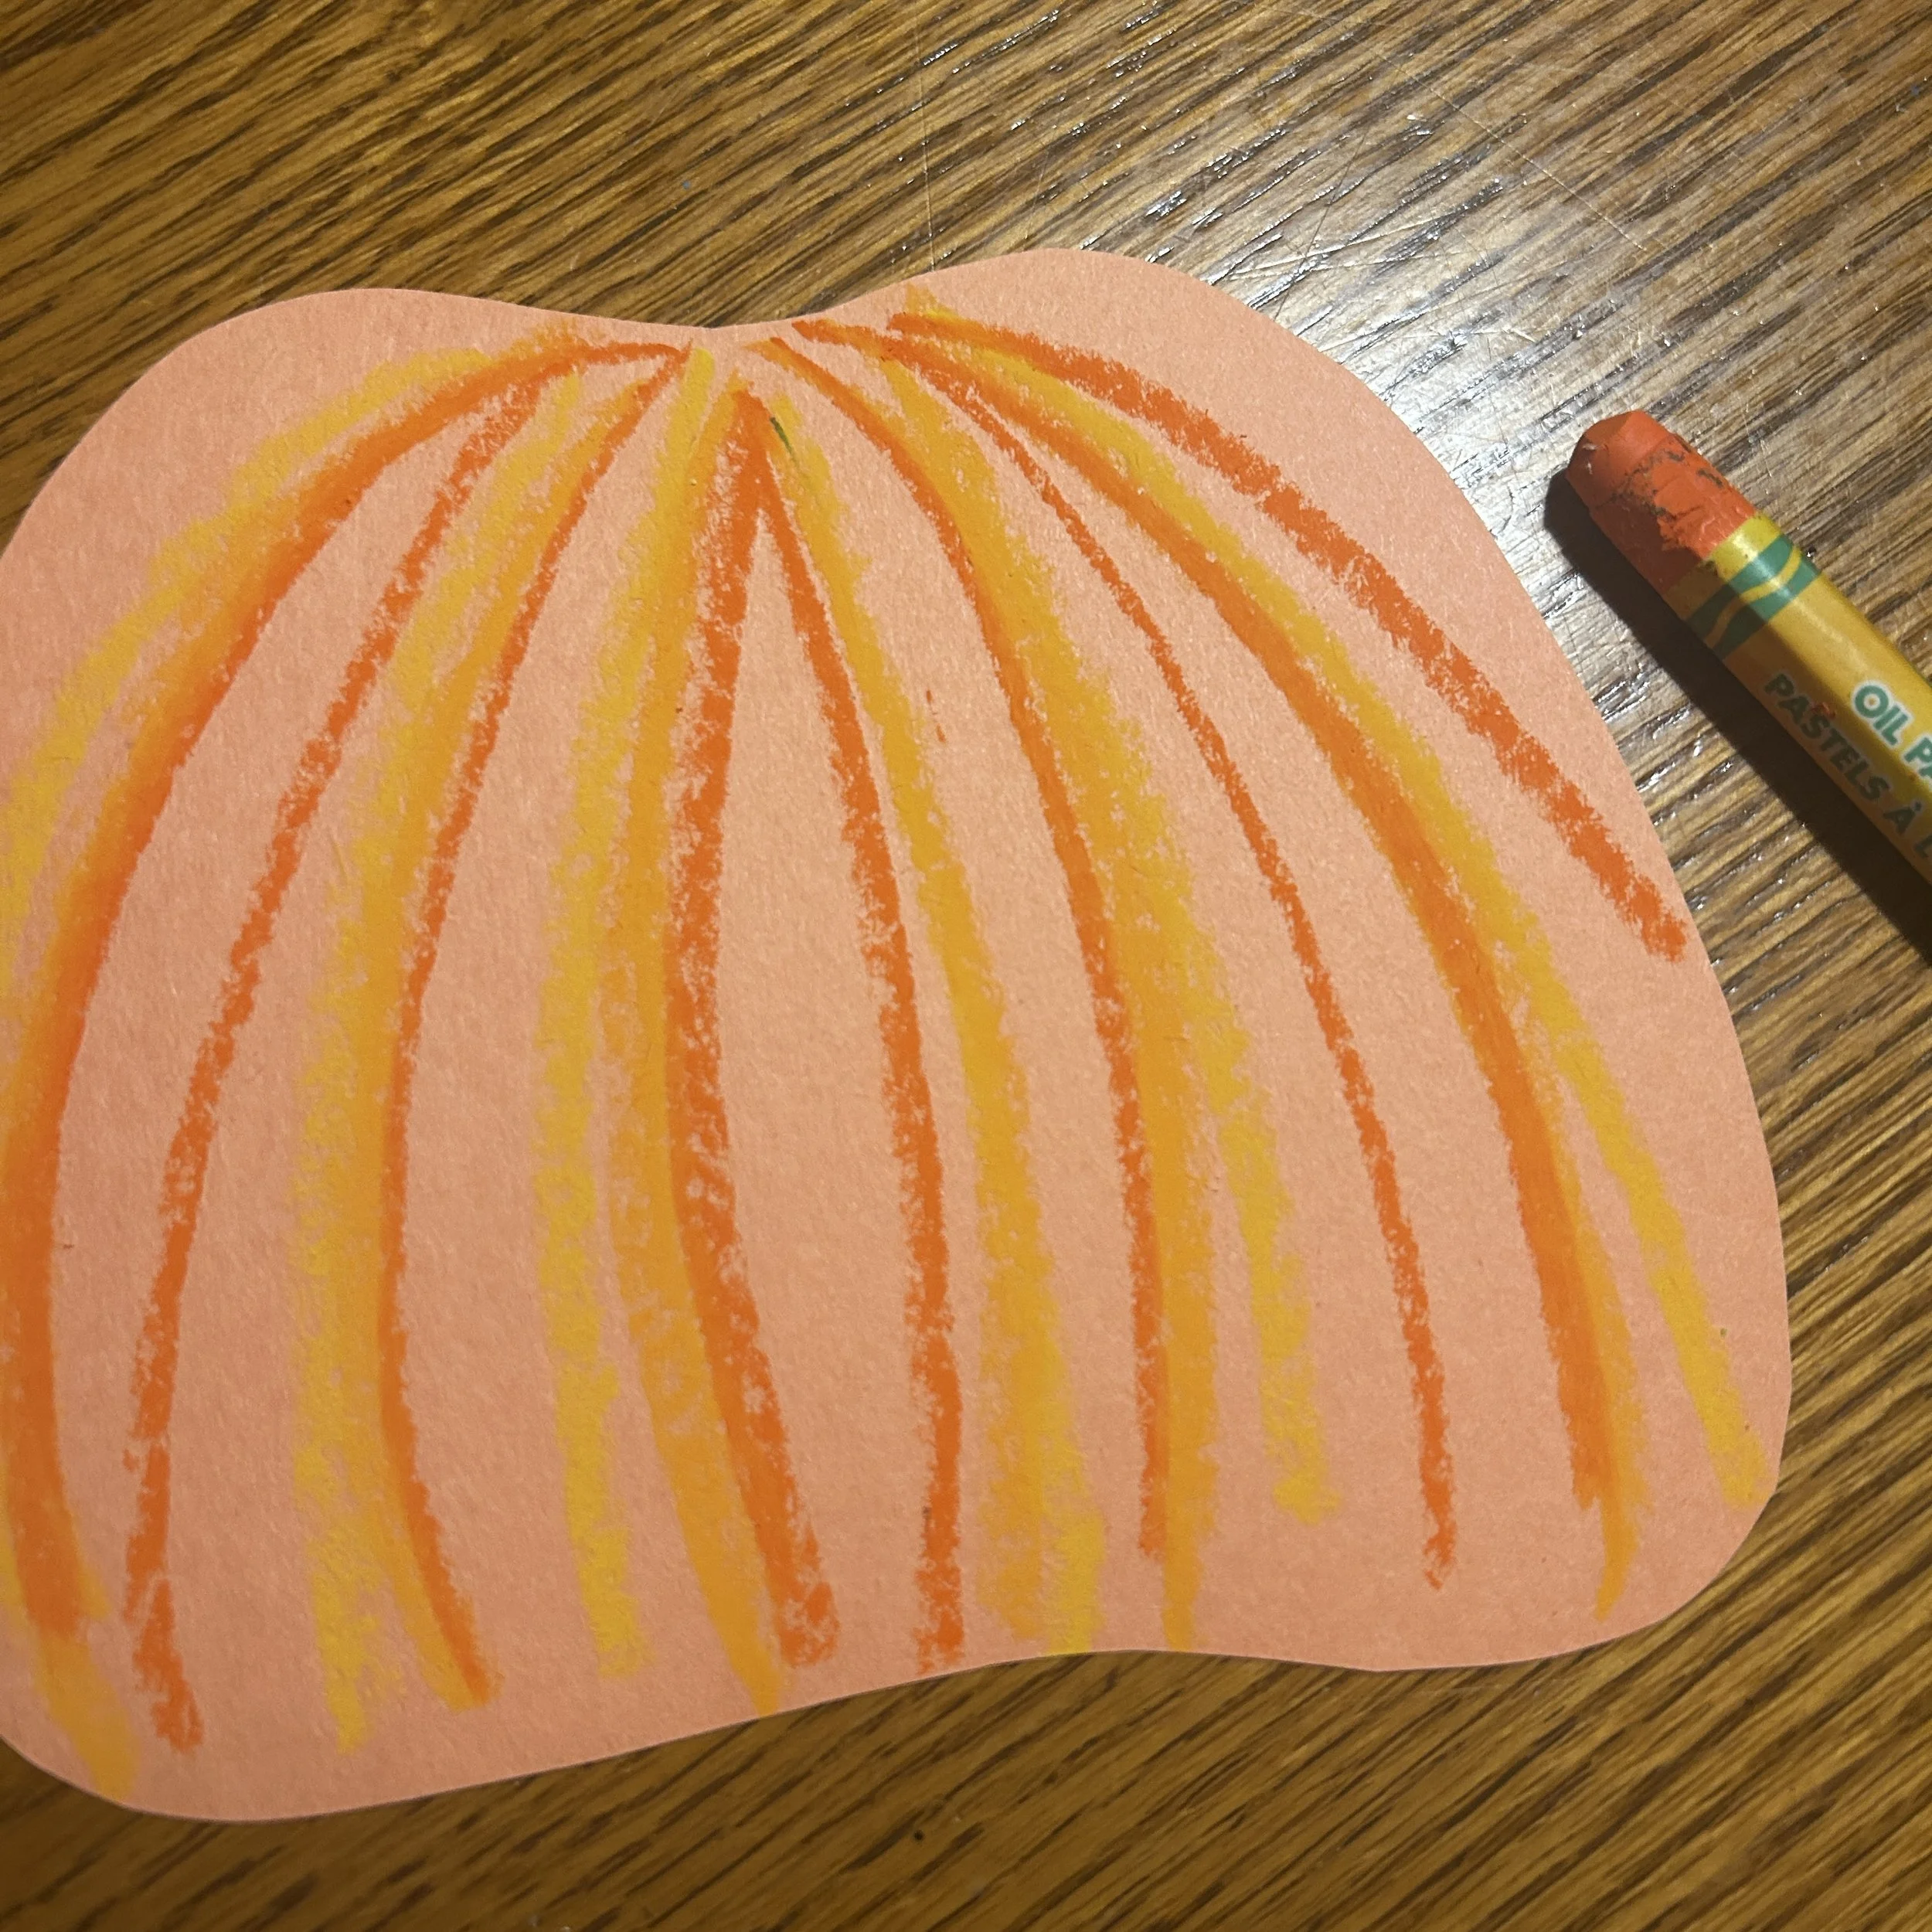
Cut the pumpkin shape out and add details to it with orange, yellow or black pastel.
Cat steps:
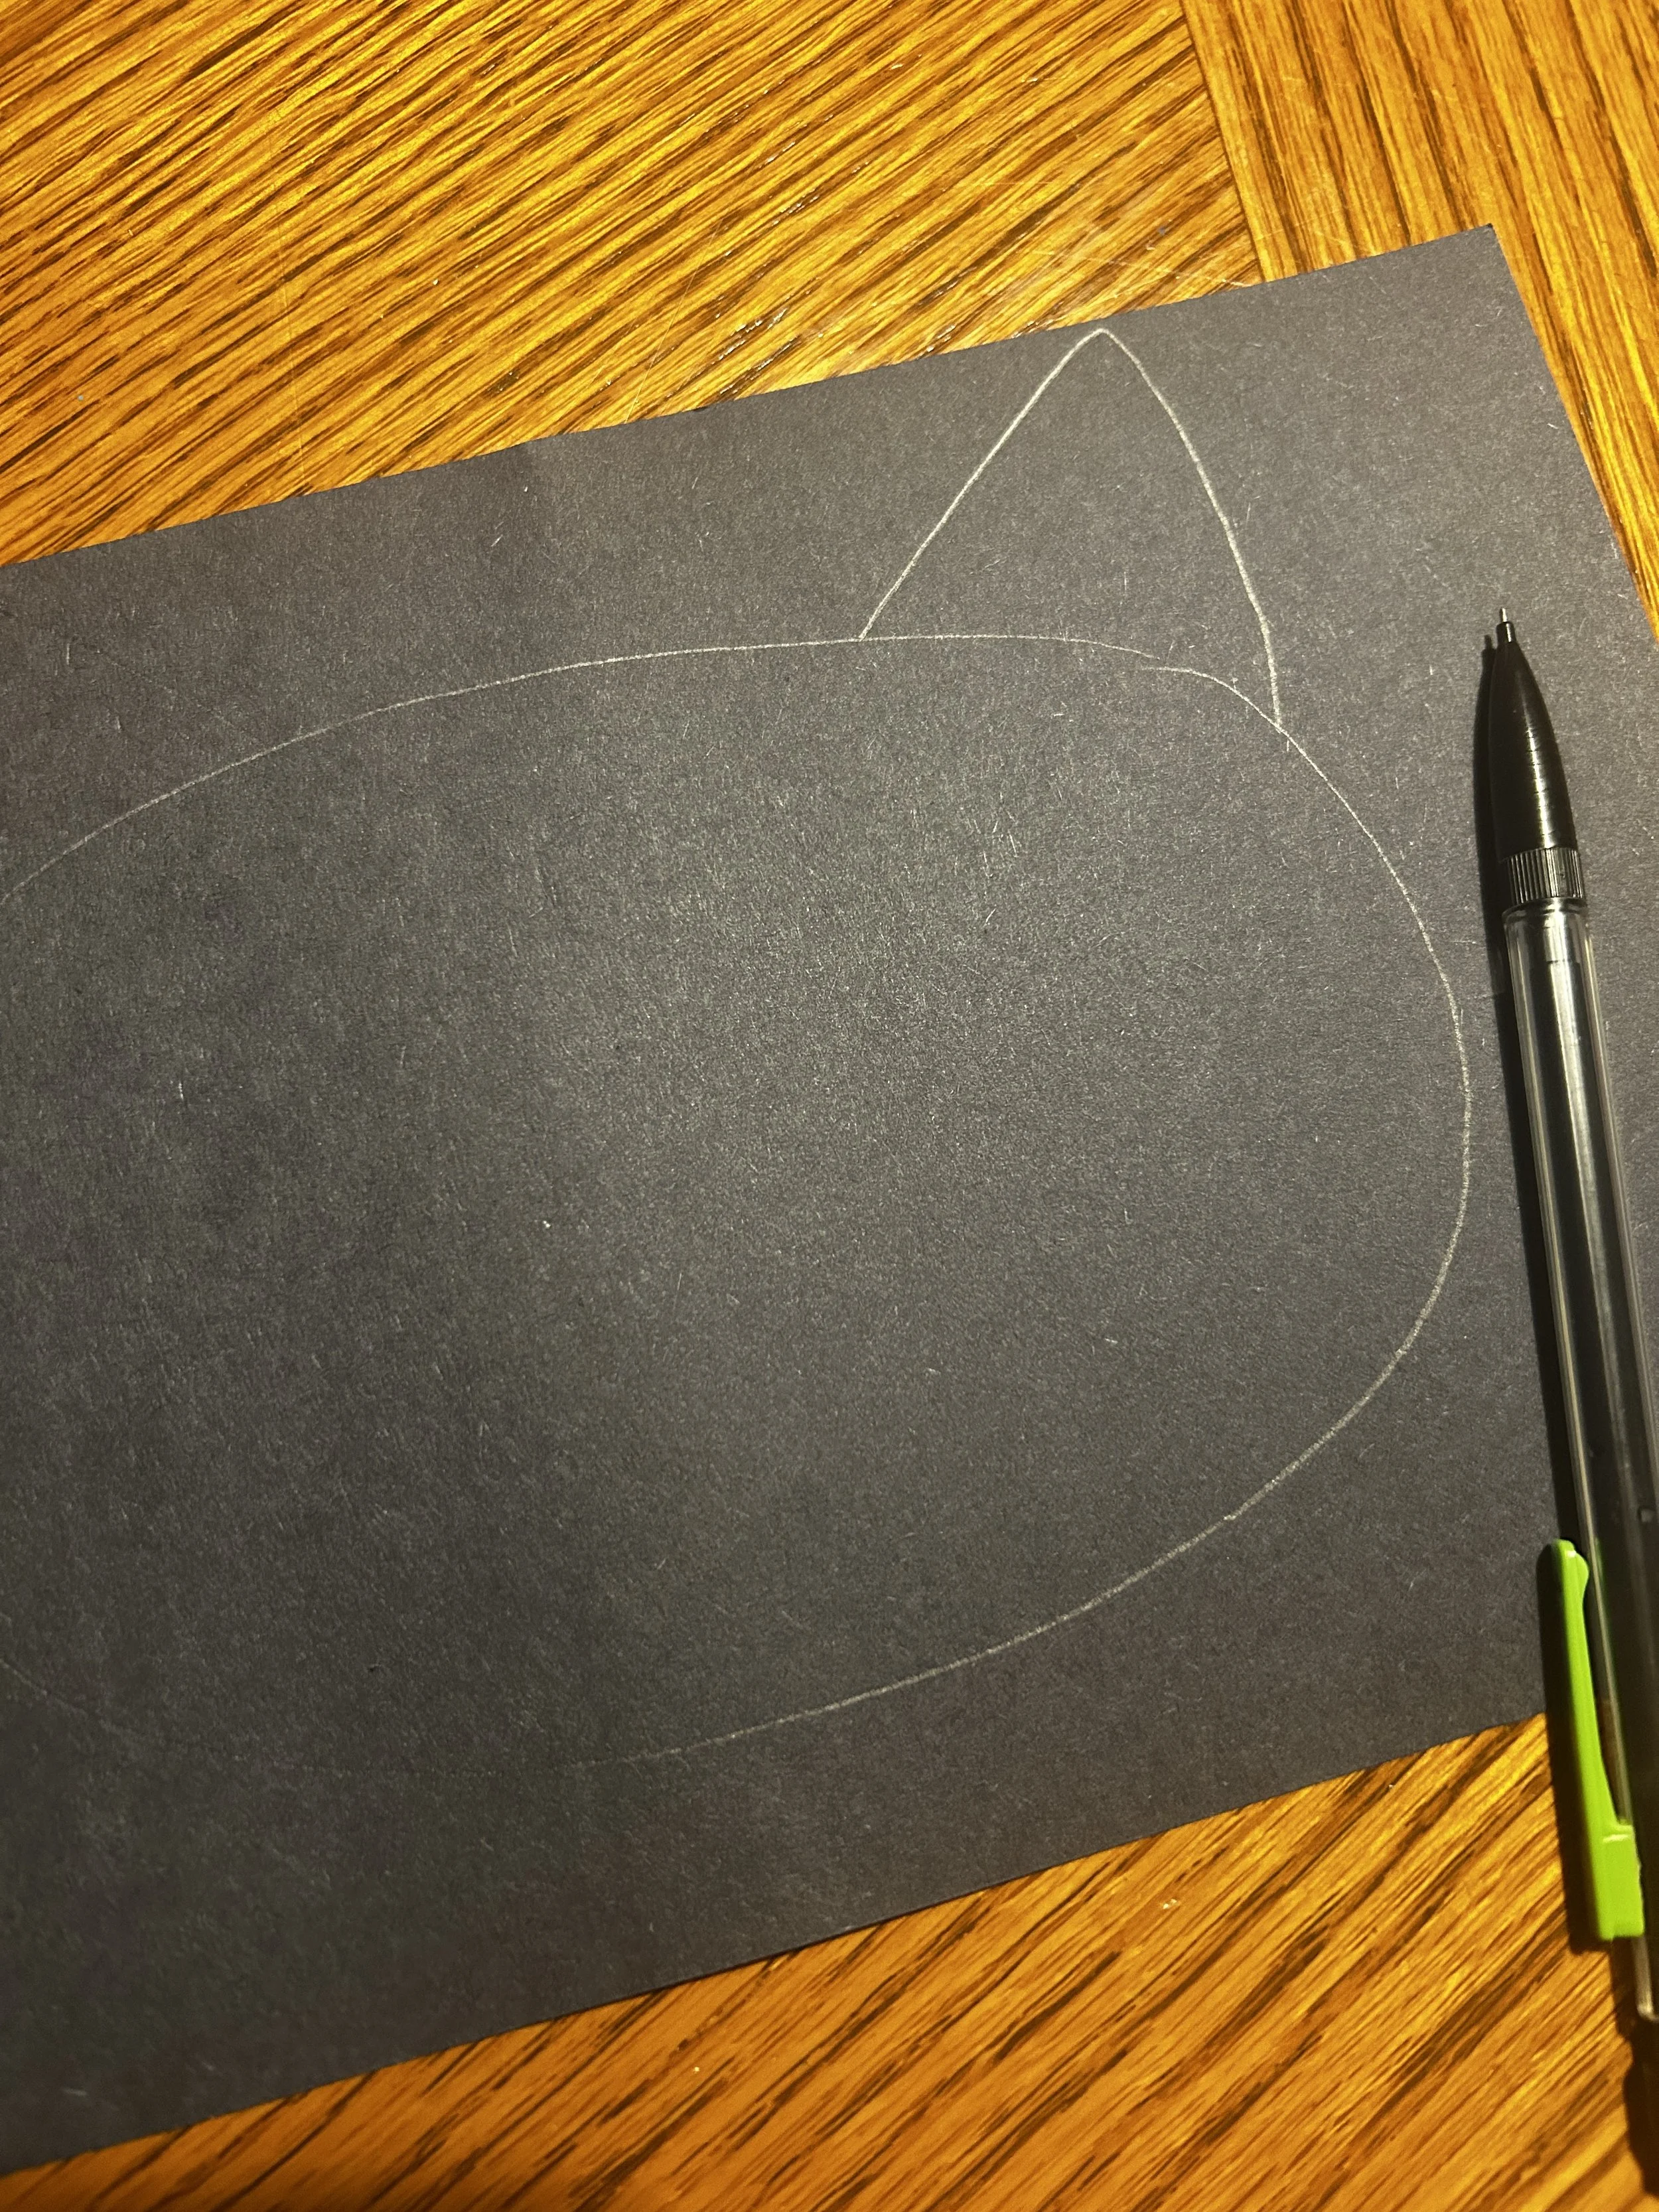
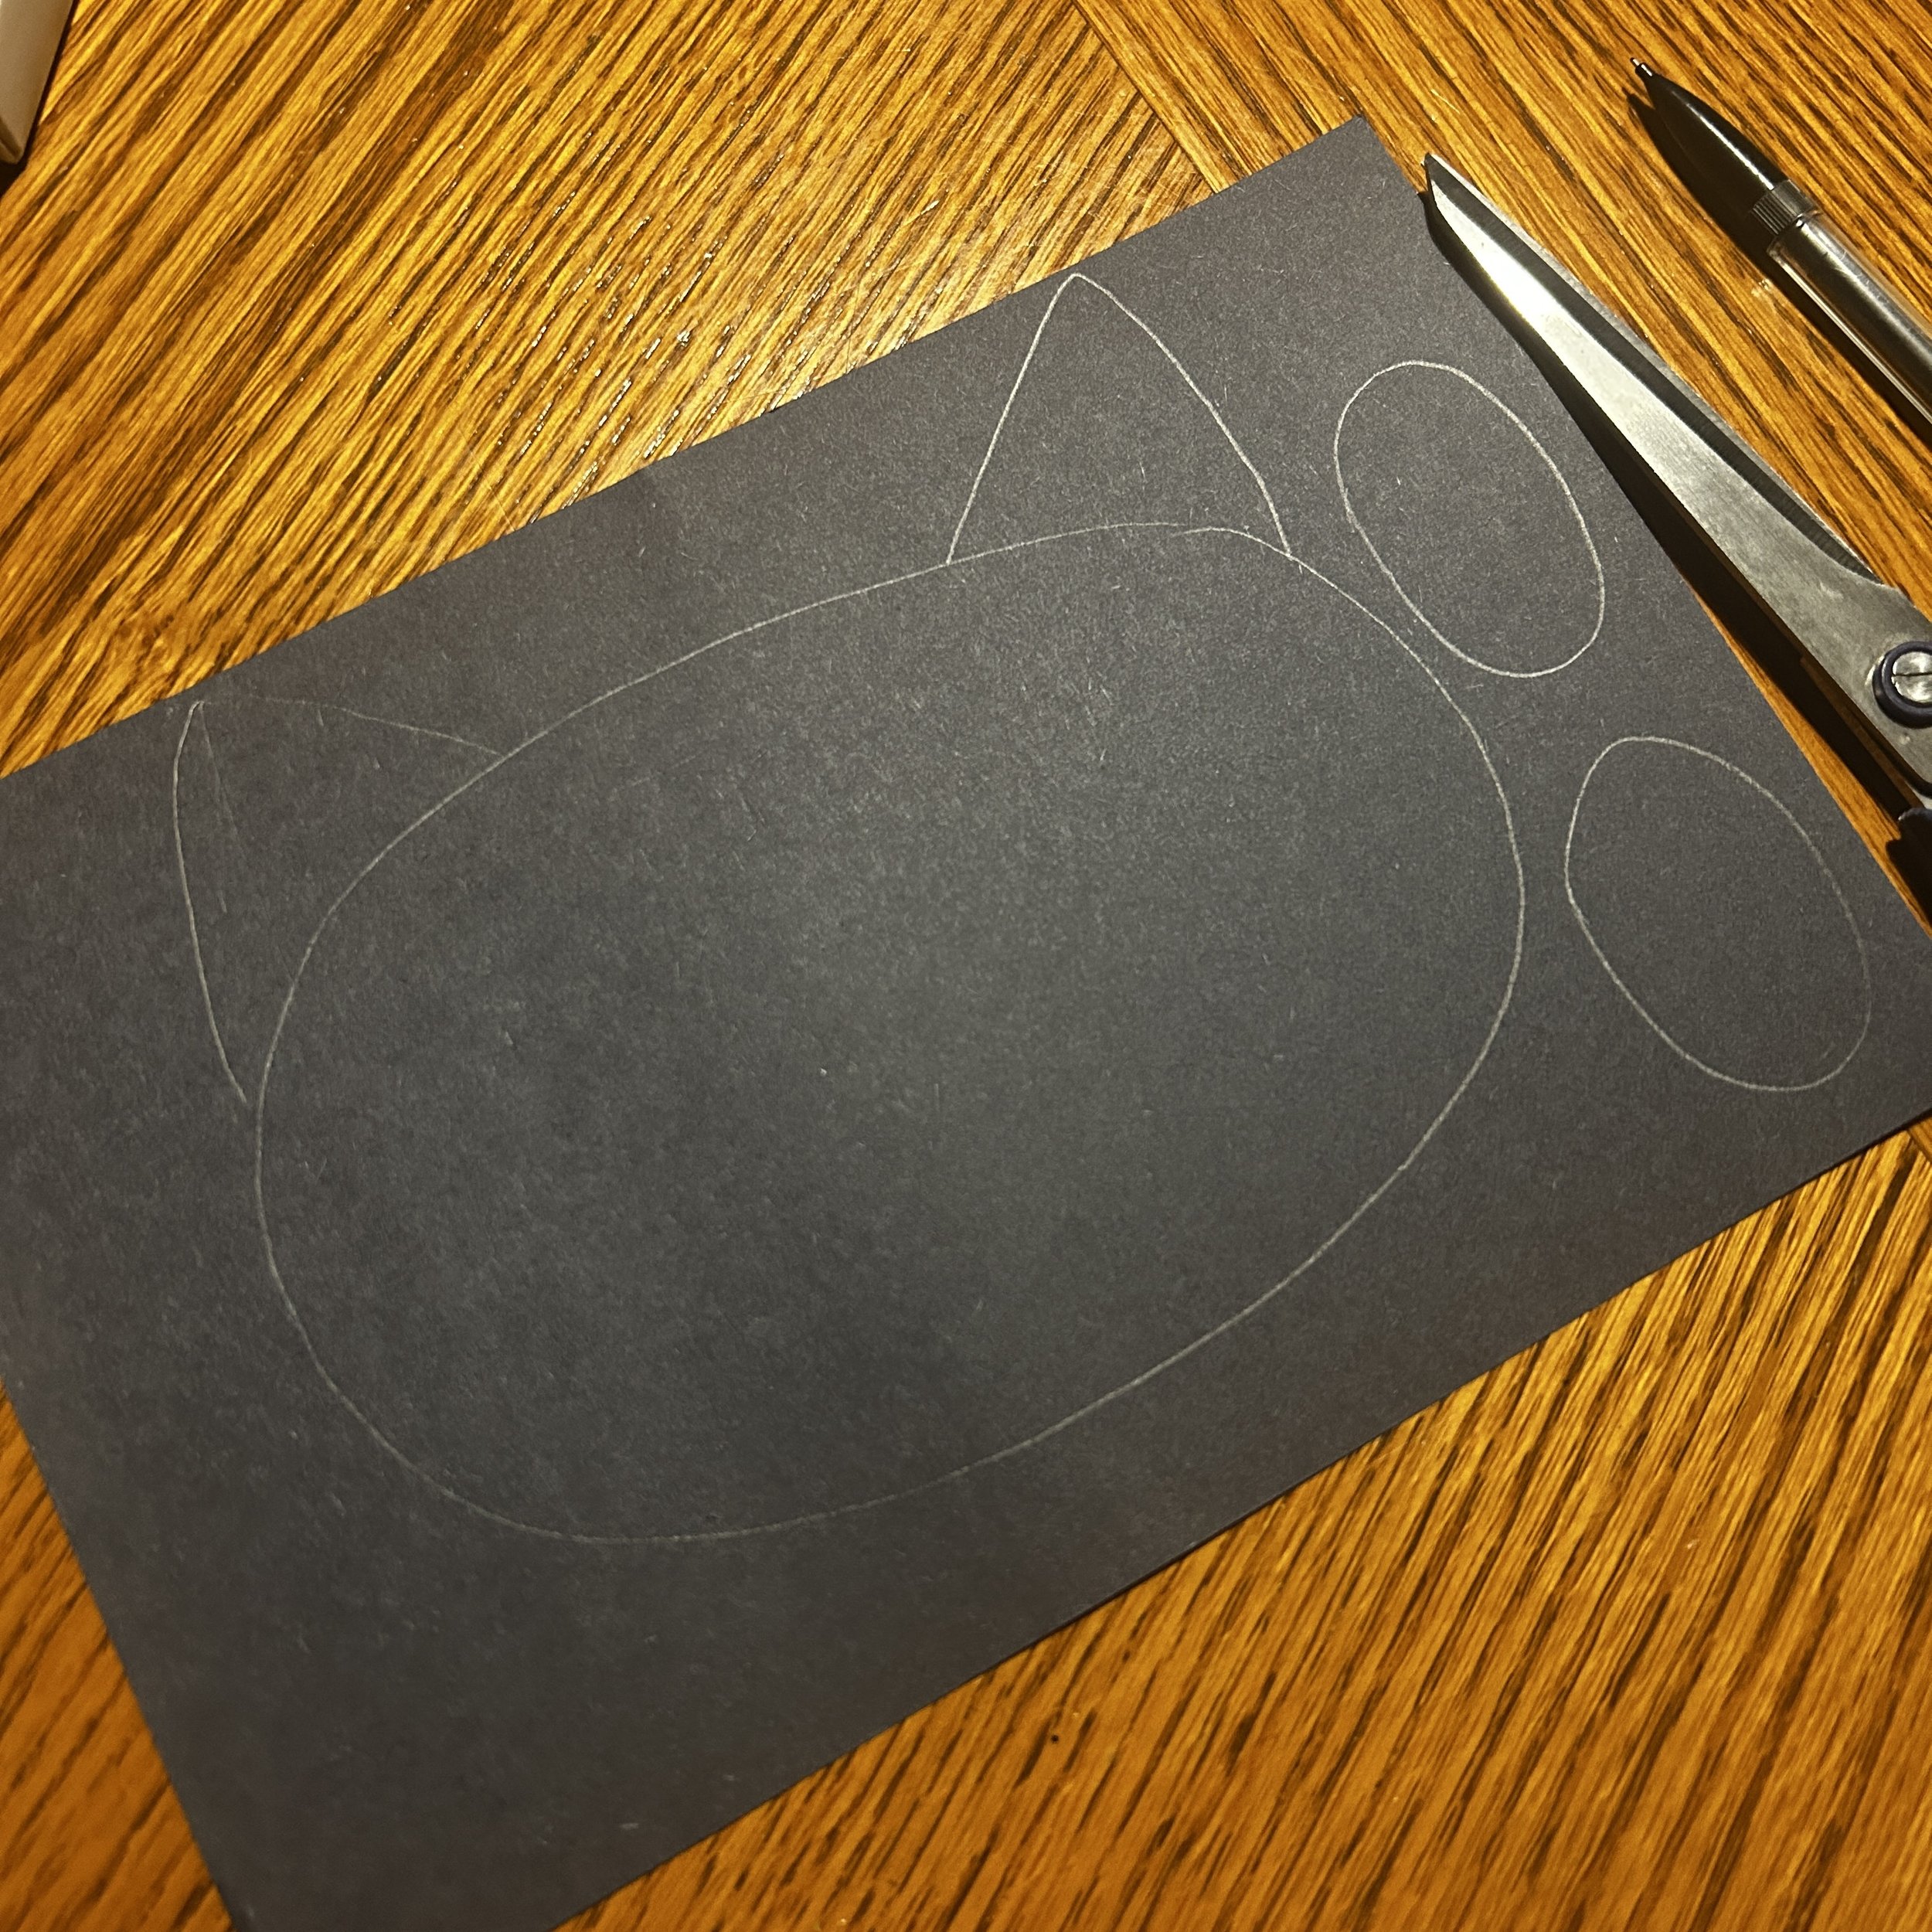
Draw a large oval on the black paper. We want it to fill up a big part of the paper. No tiny heads!
Draw two triangles on the oval for the ears.
With leftover paper, cut out two small ovals for the paws.
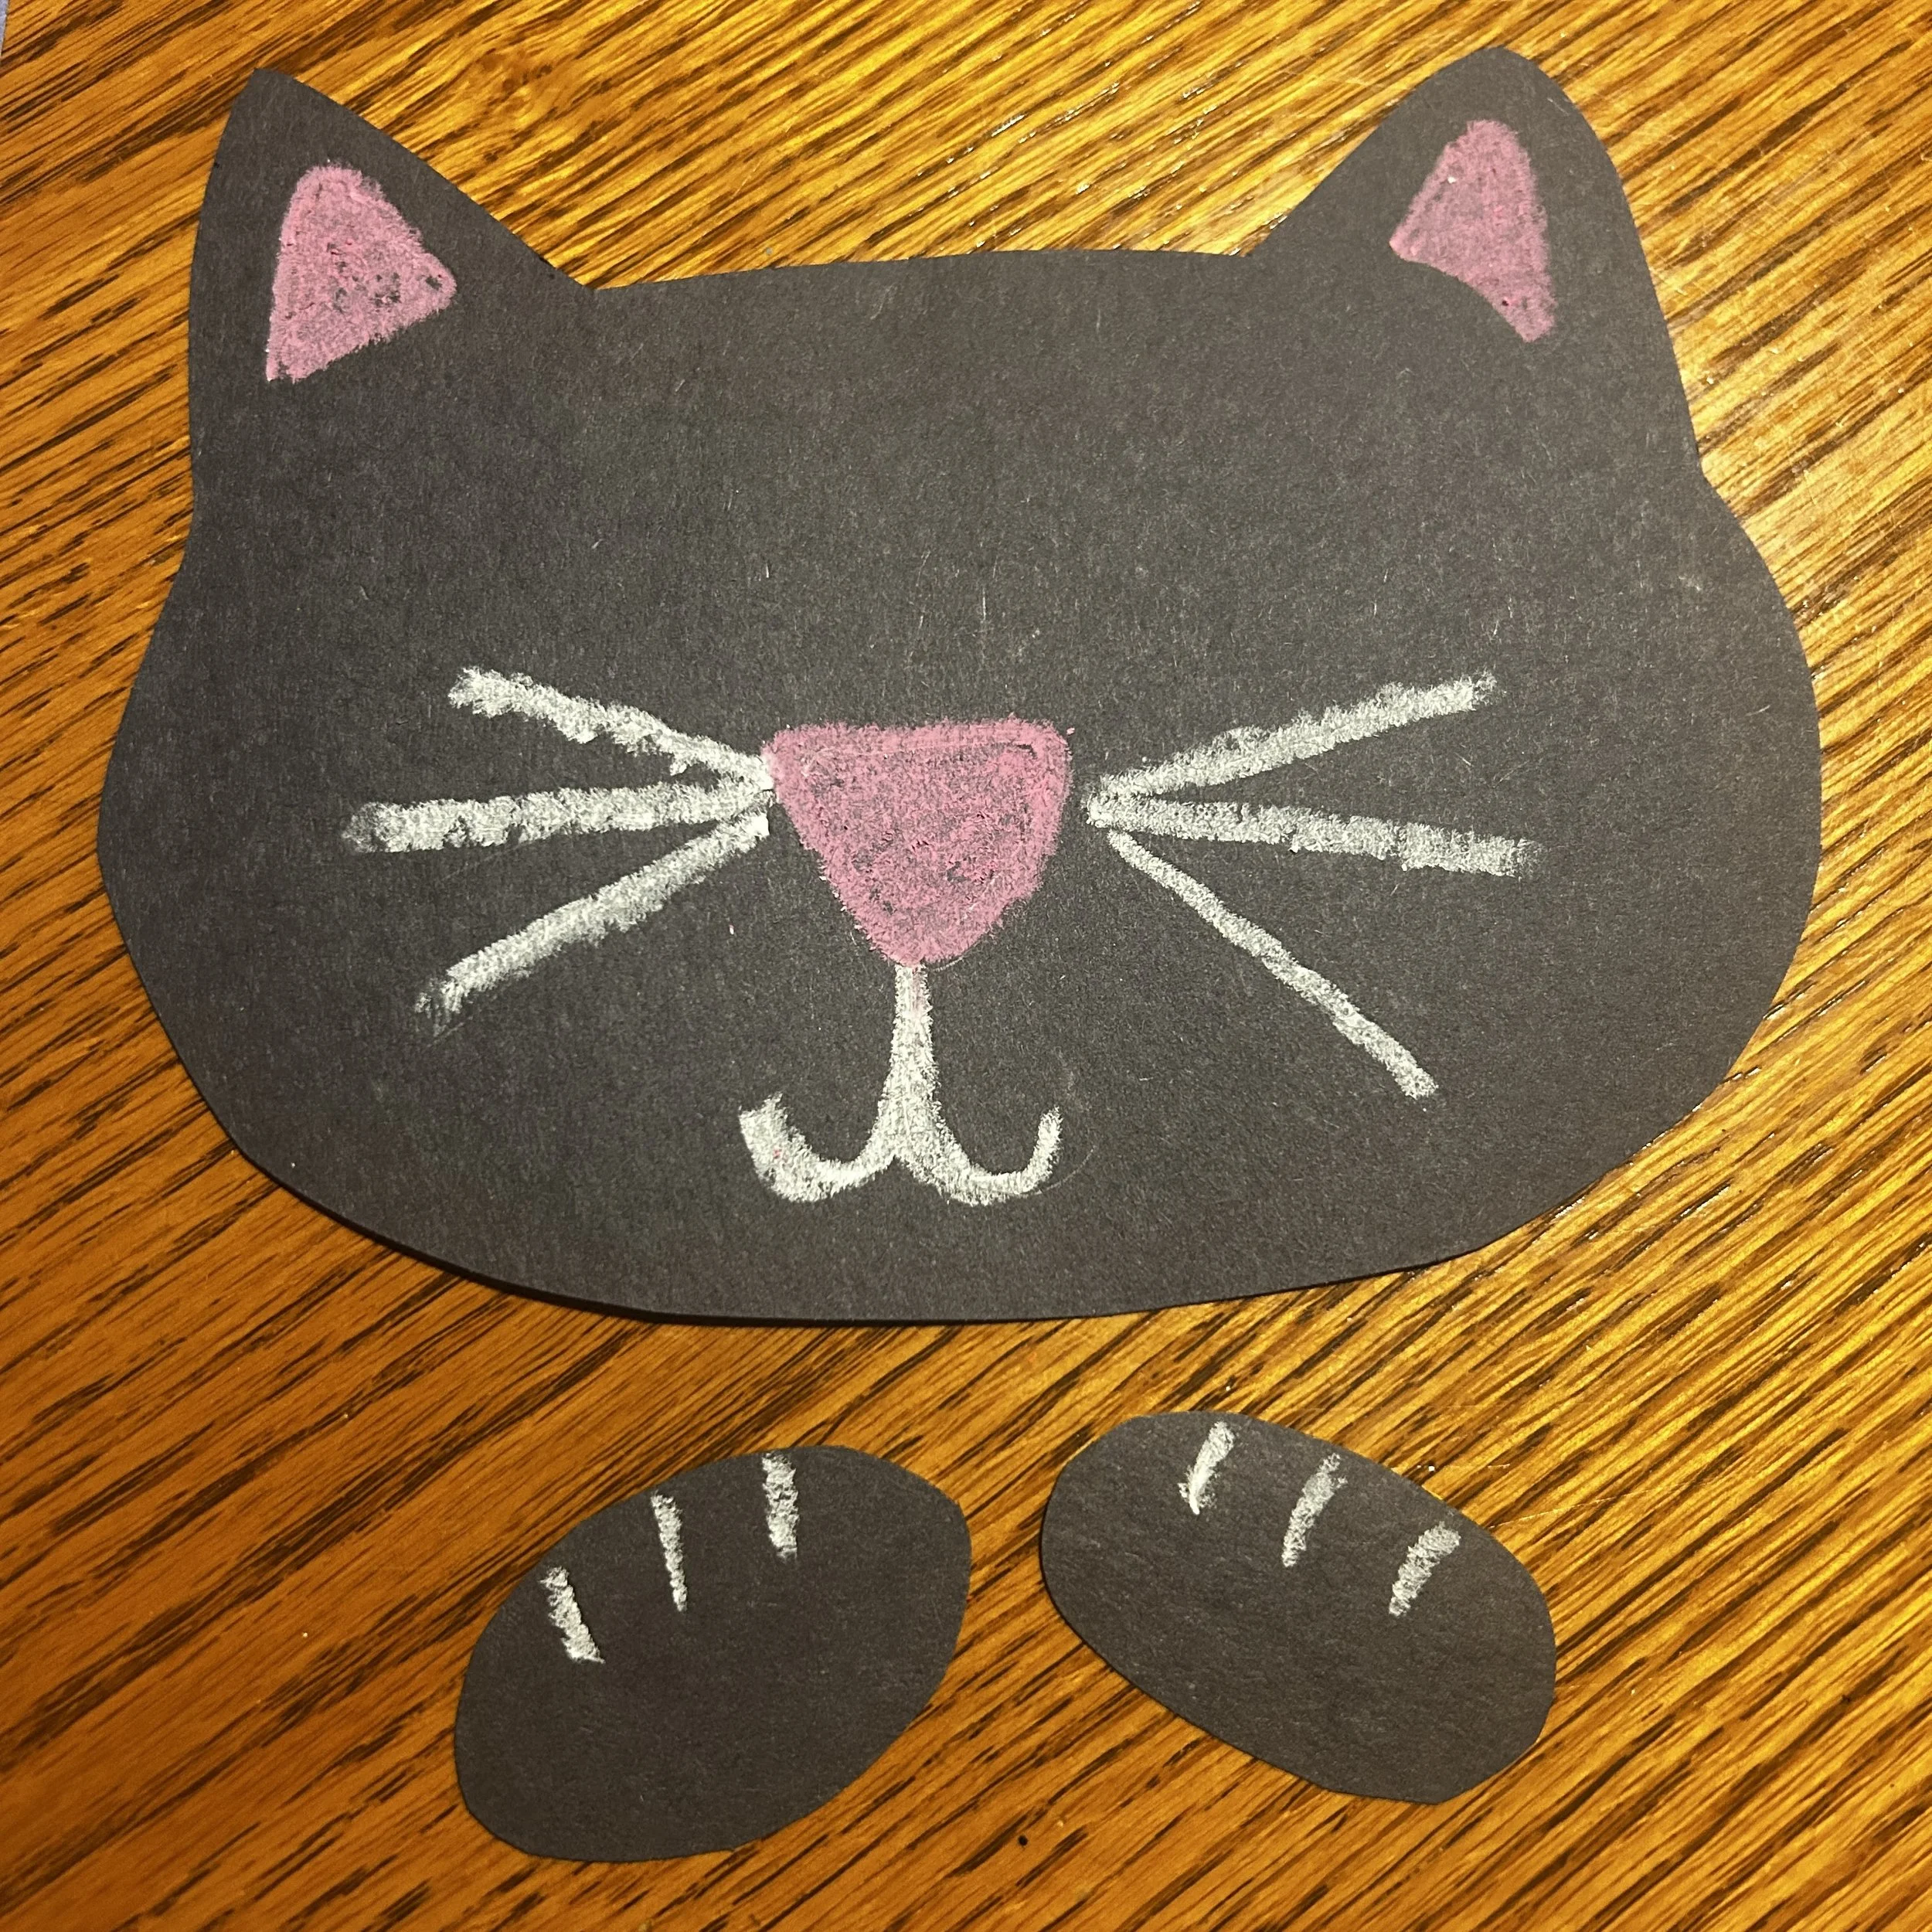
Cut out the cat head shape and paws.
Cut two eyes out of the yellow paper and add a pupil using a black marker.
Flip the cat head over so no pencil marks show.
Add details like pink in the ears and a pink nose using the pink pastel.
Add whiskers using a white pastel.
Add claws to the paws with white pastel.
Glue on the eyes.
Assembly of all pieces:
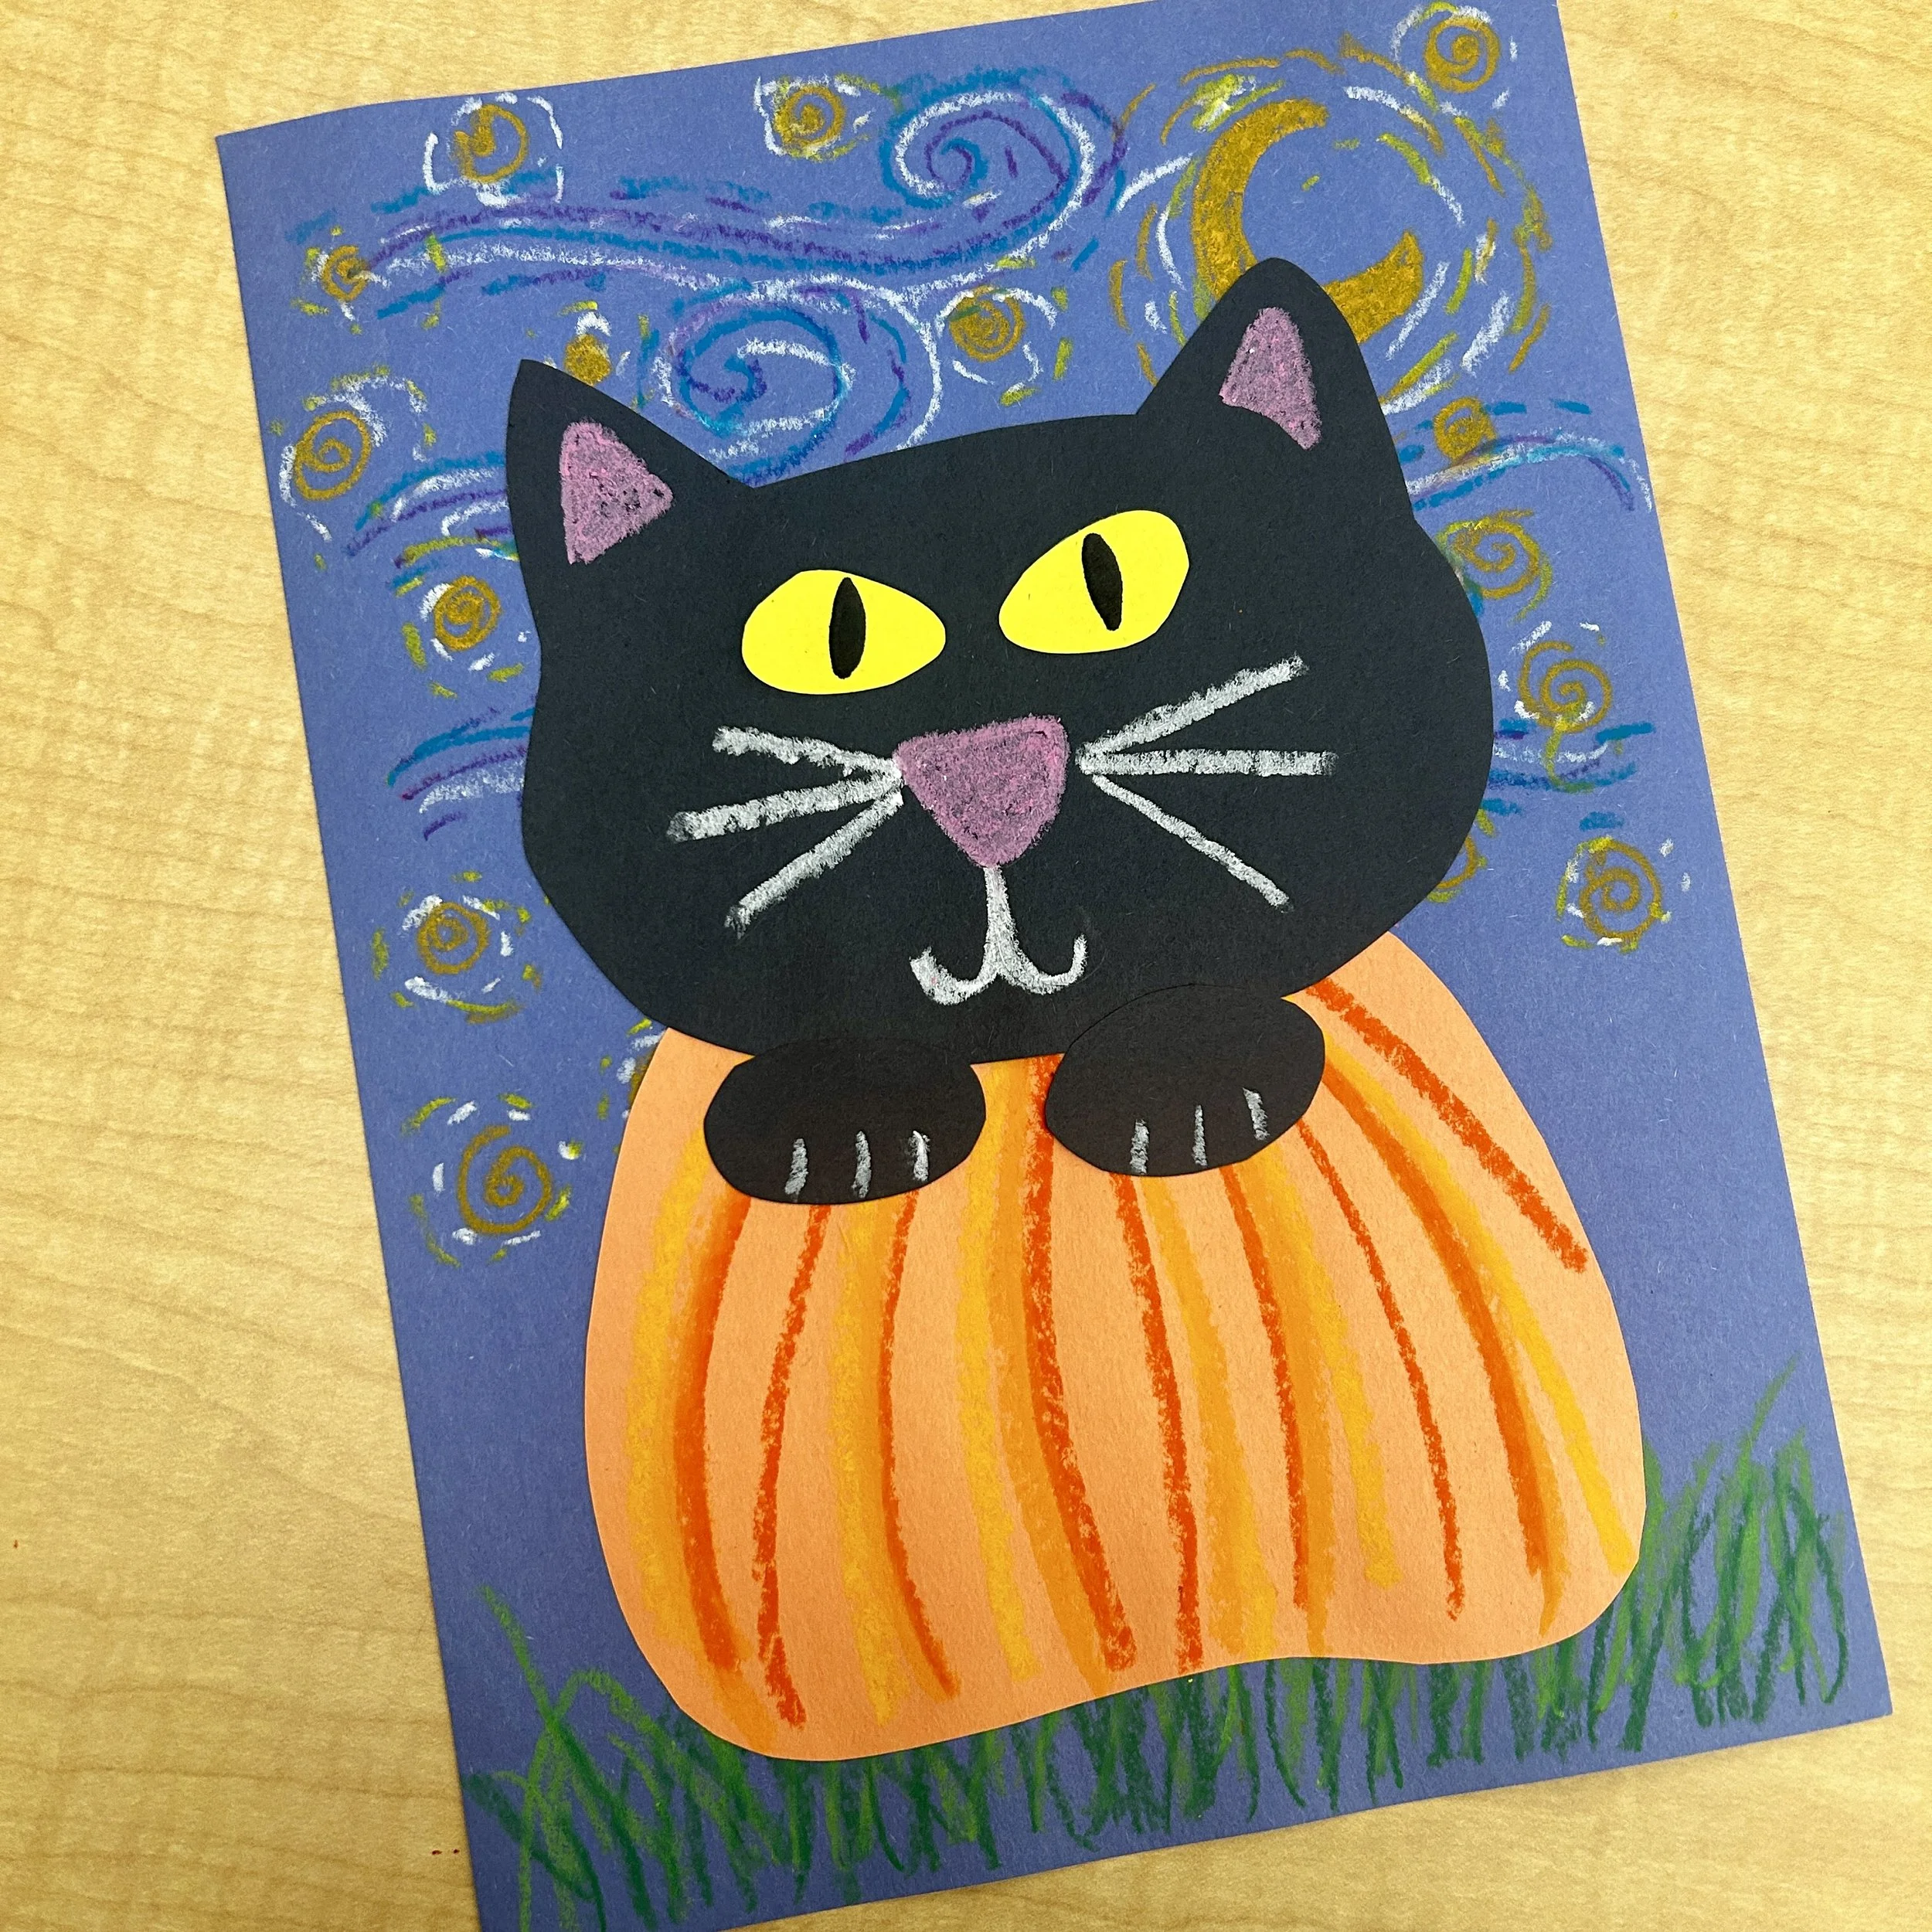
You will need the background, the pumpkin and the cat (with it’s paws).
Glue the pumpkin onto the background so that it sits in the grass.
Glue the cat head on top of the pumpkin.
Glue the paws in front of the cat where it meets the pumpkin.