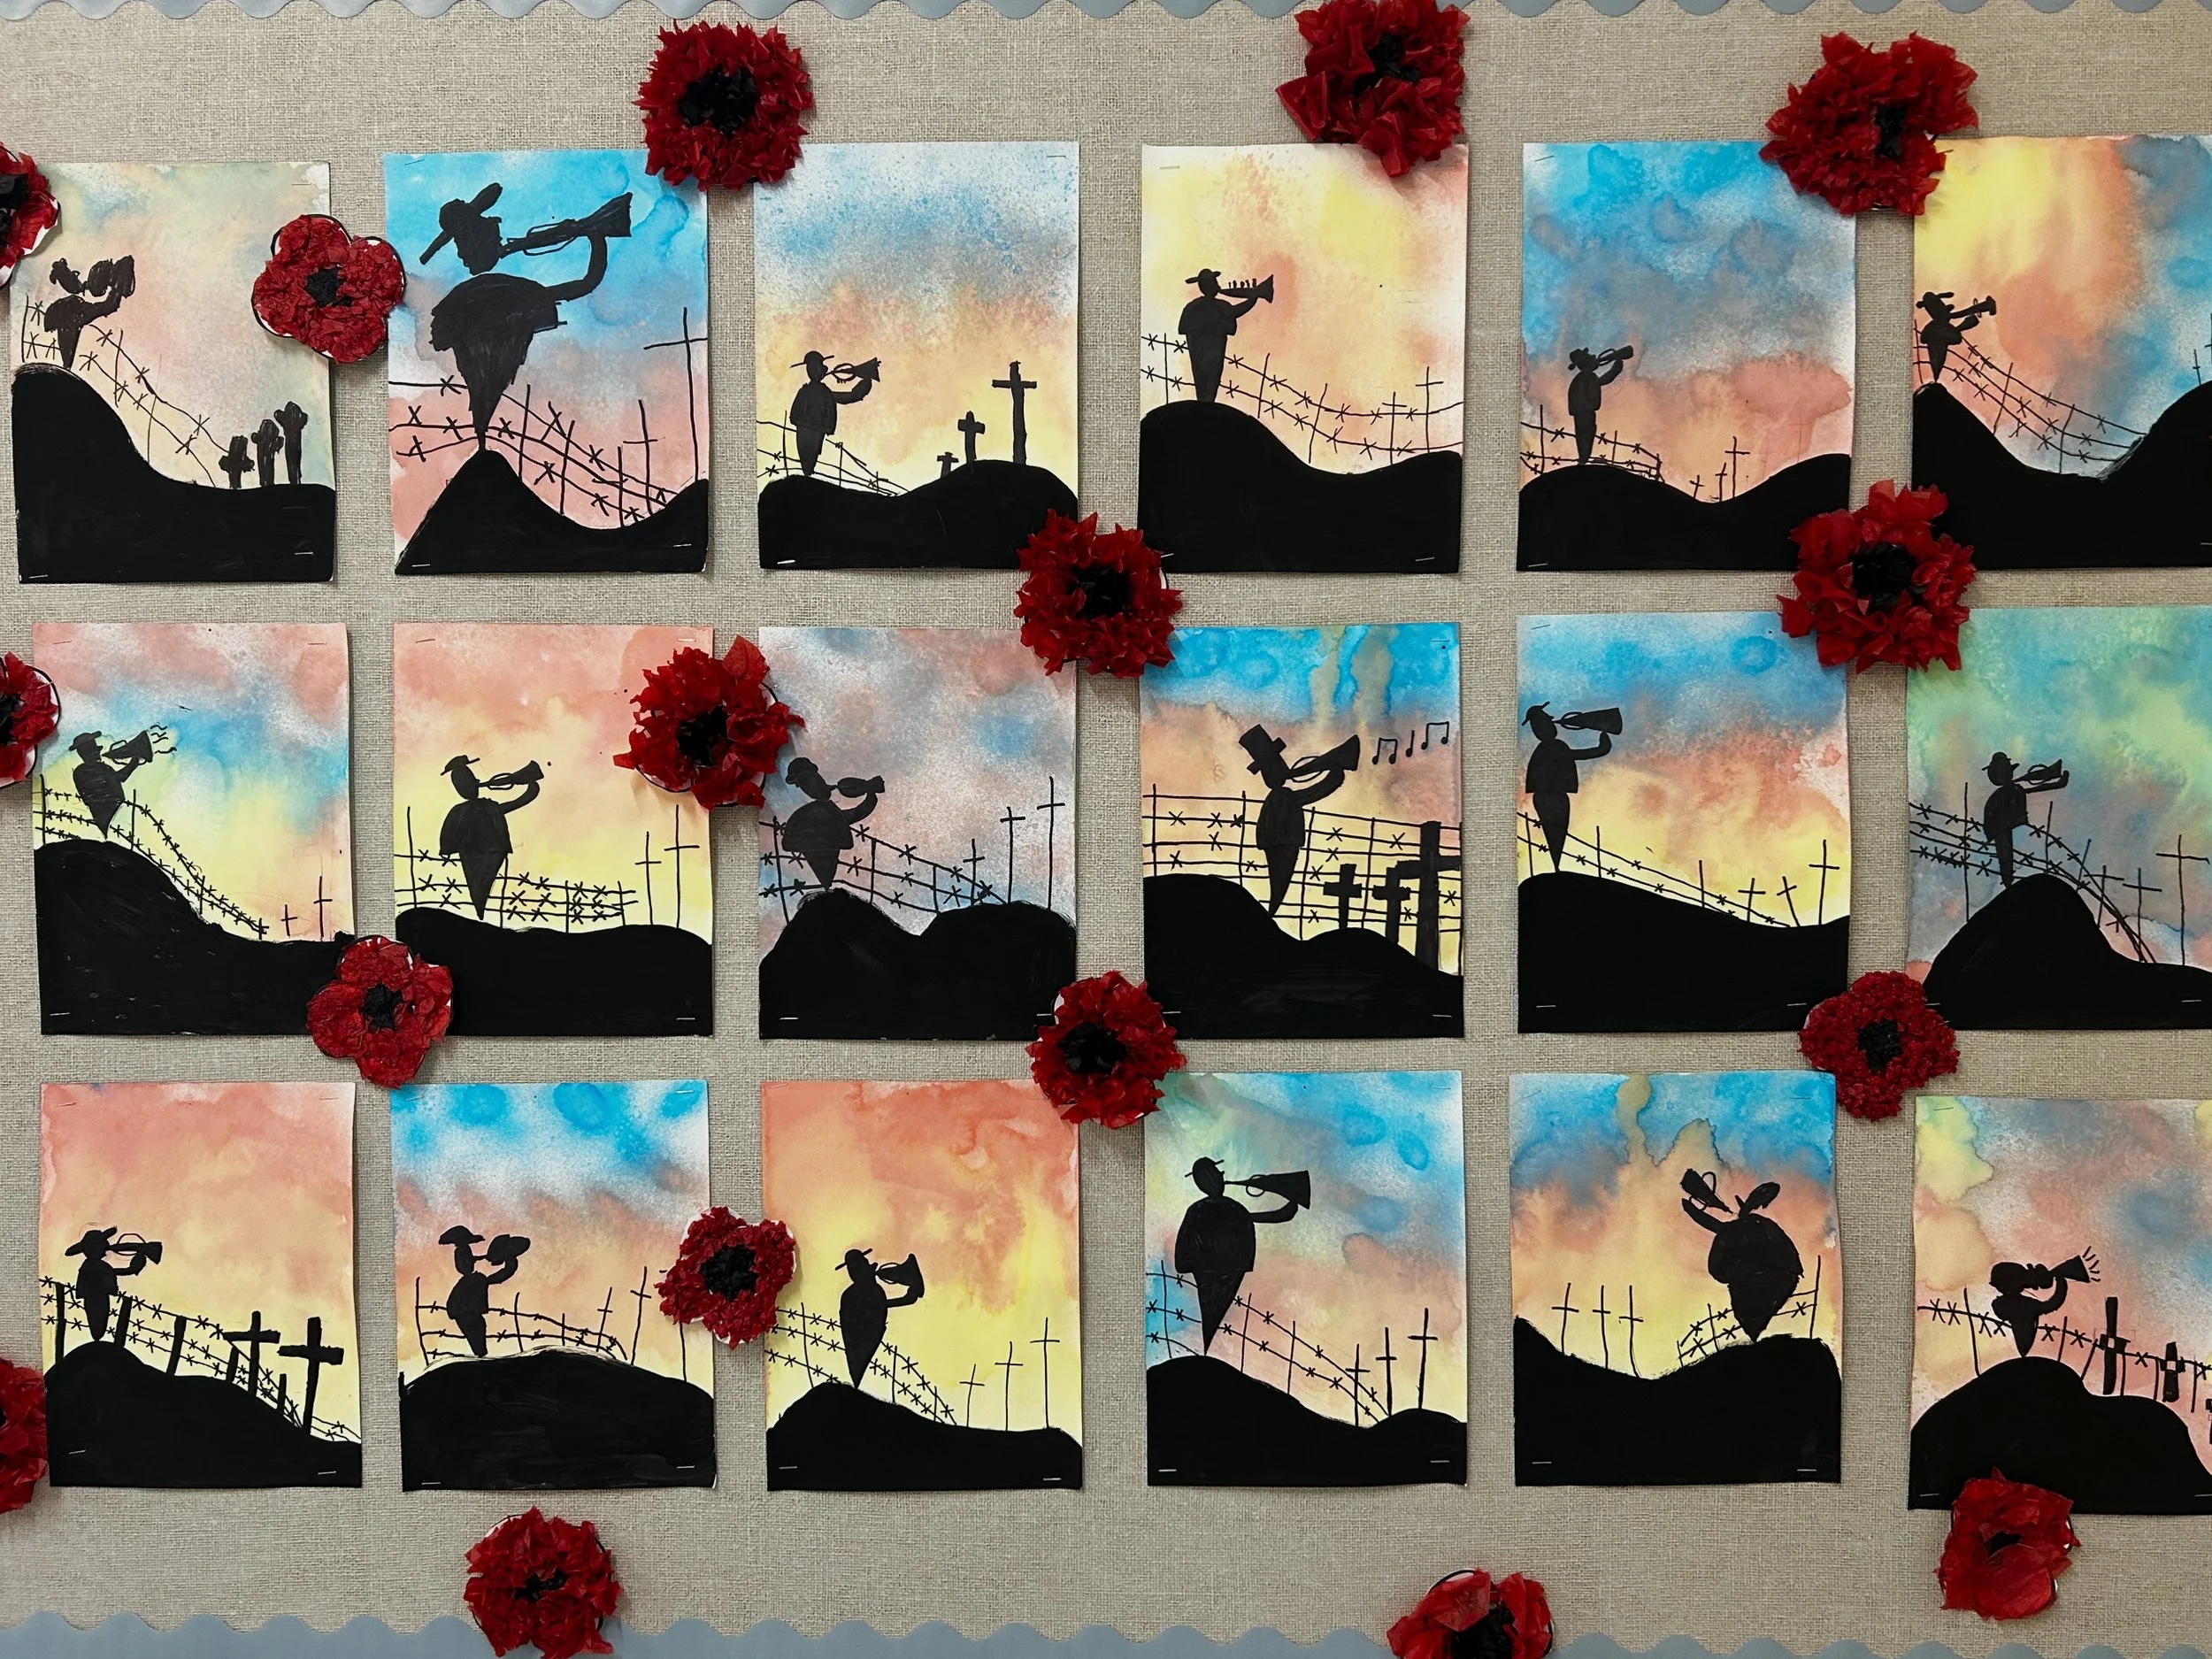
This project comes from Easy Peasy Art School. Find their instructions here.
French Frenzy shared the project a few years ago on Instagram with a fun way to do the background and I loved it so tried it out for myself. The first year was fine but we absolutely destroyed our Sharpies in the process.
This year I tried again and we had so much more success! A couple differences to note from their lesson plan.
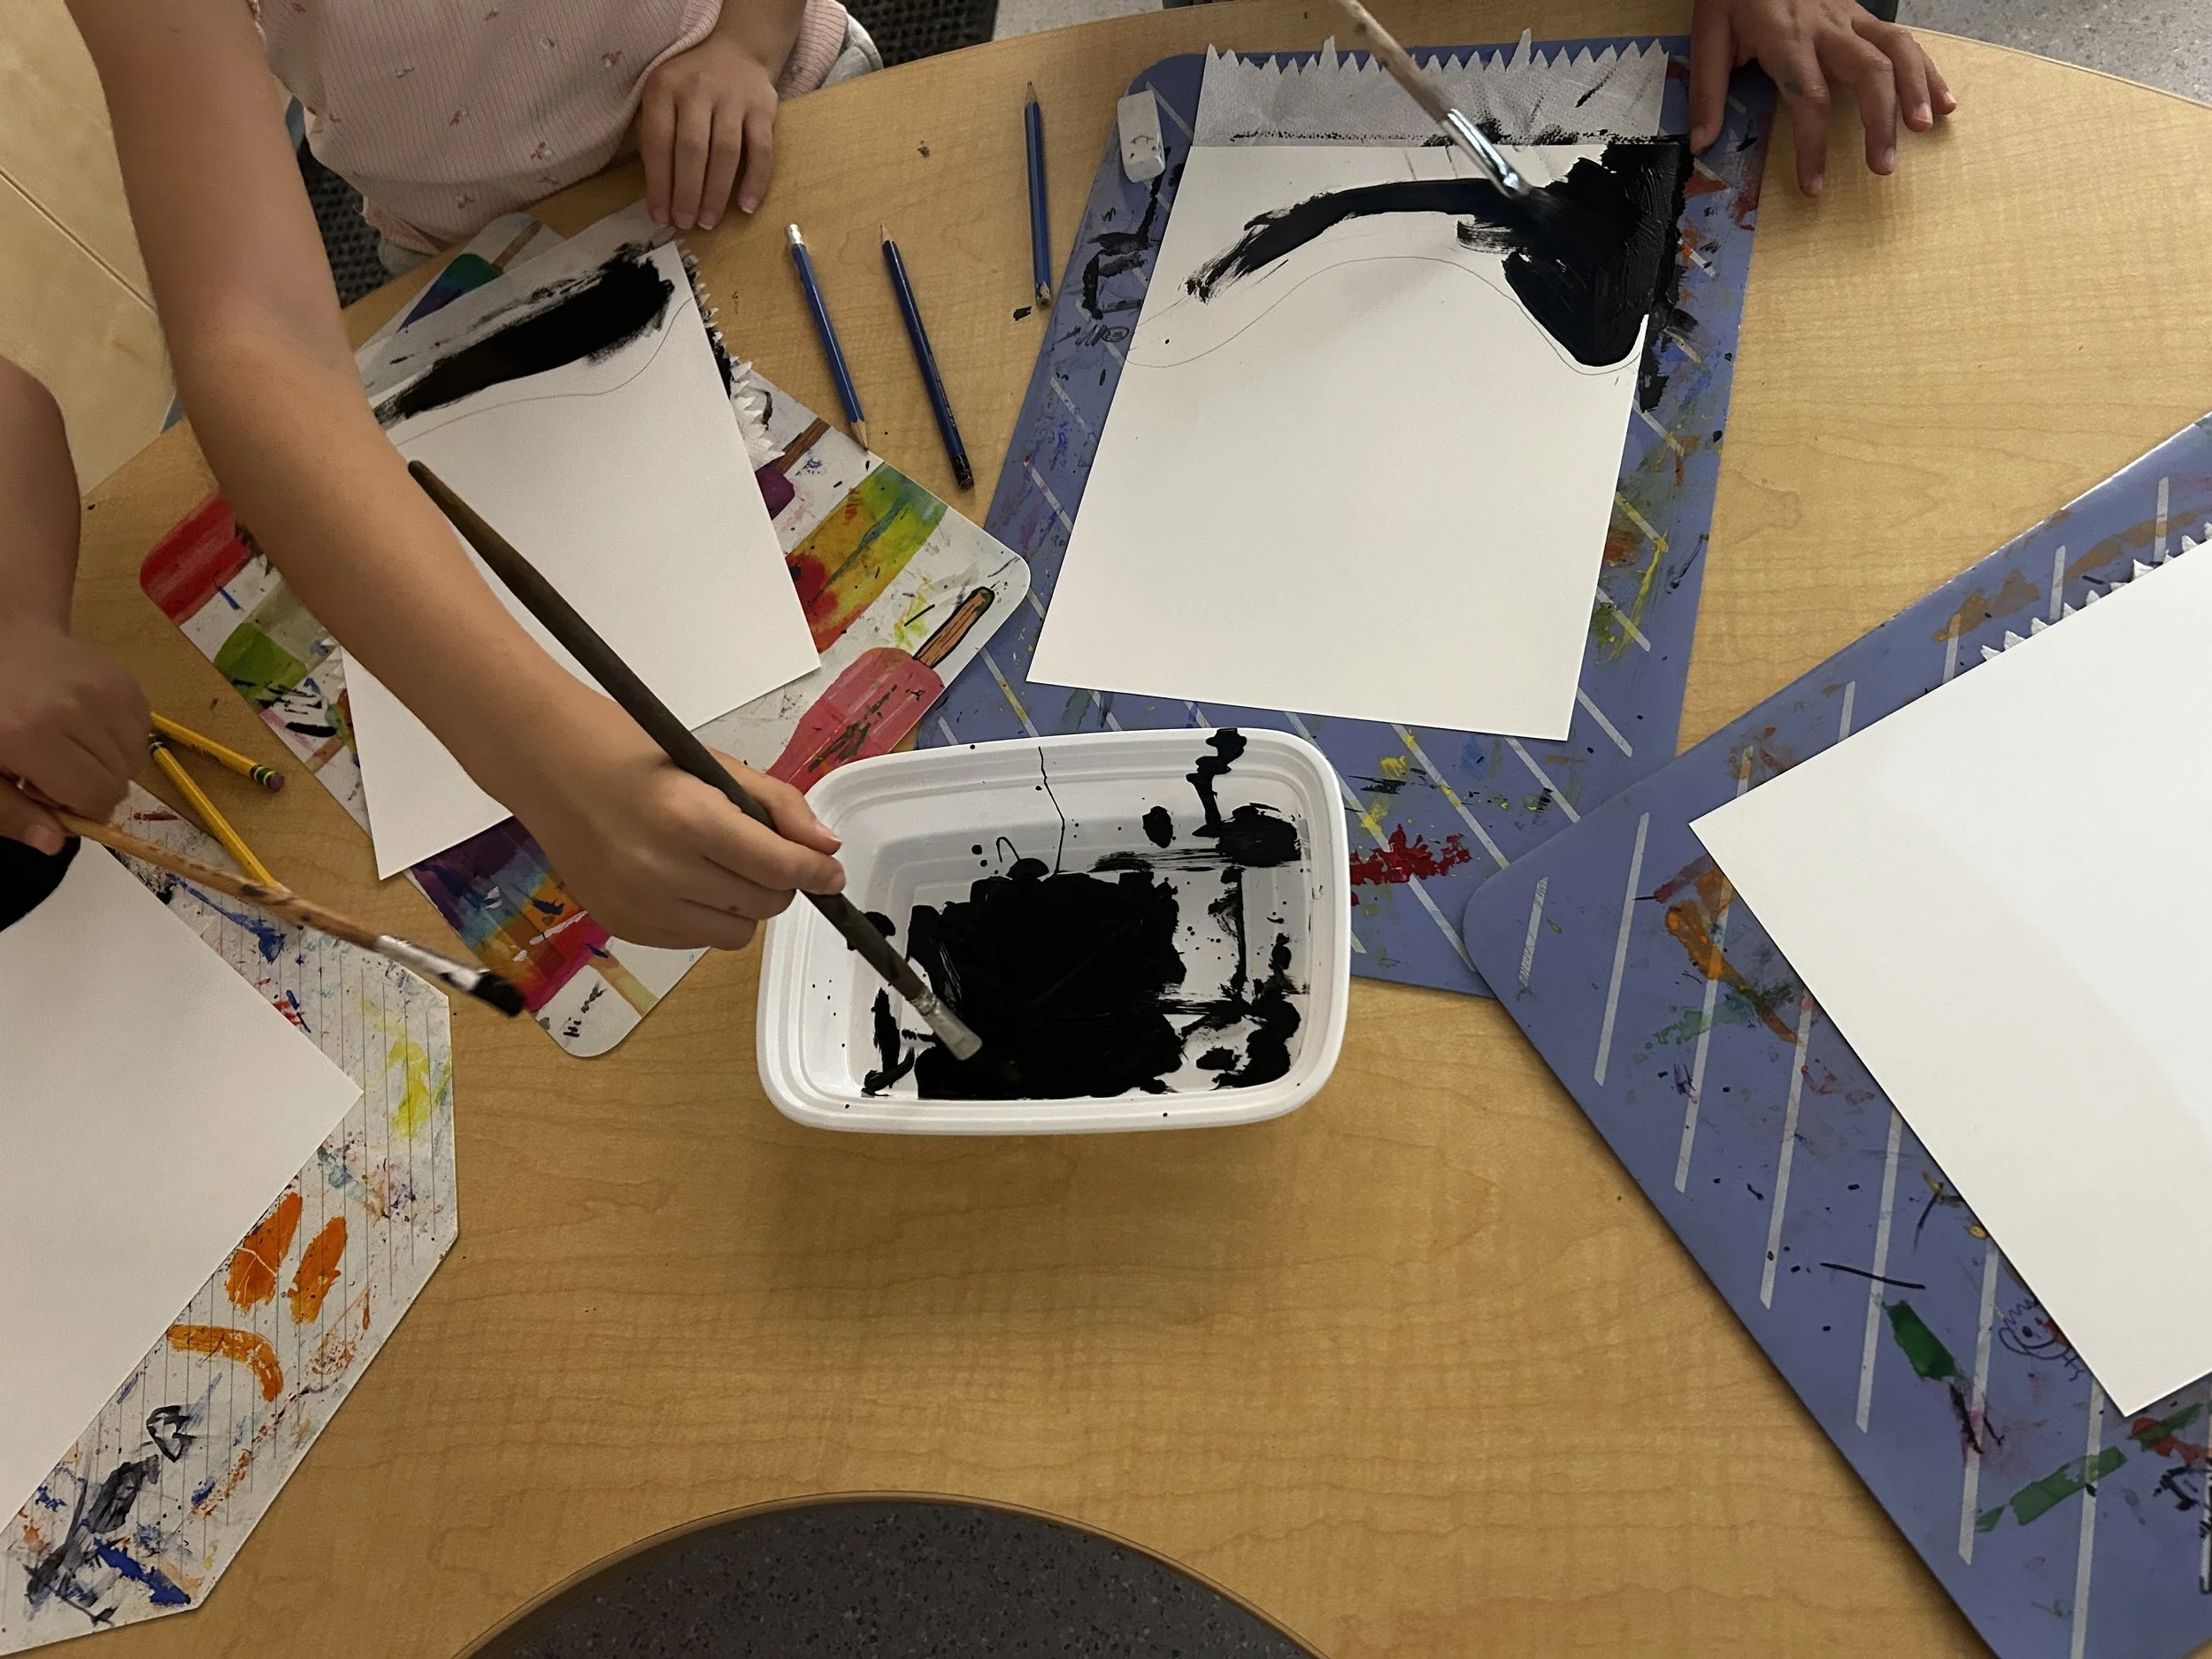
We did the hill FIRST with black acrylic paint. We did this on day 1 to allow dry time.
I had students come to my rainbow table and do this in small groups while everyone else was busy with another task. This helped manage the acrylic paint.
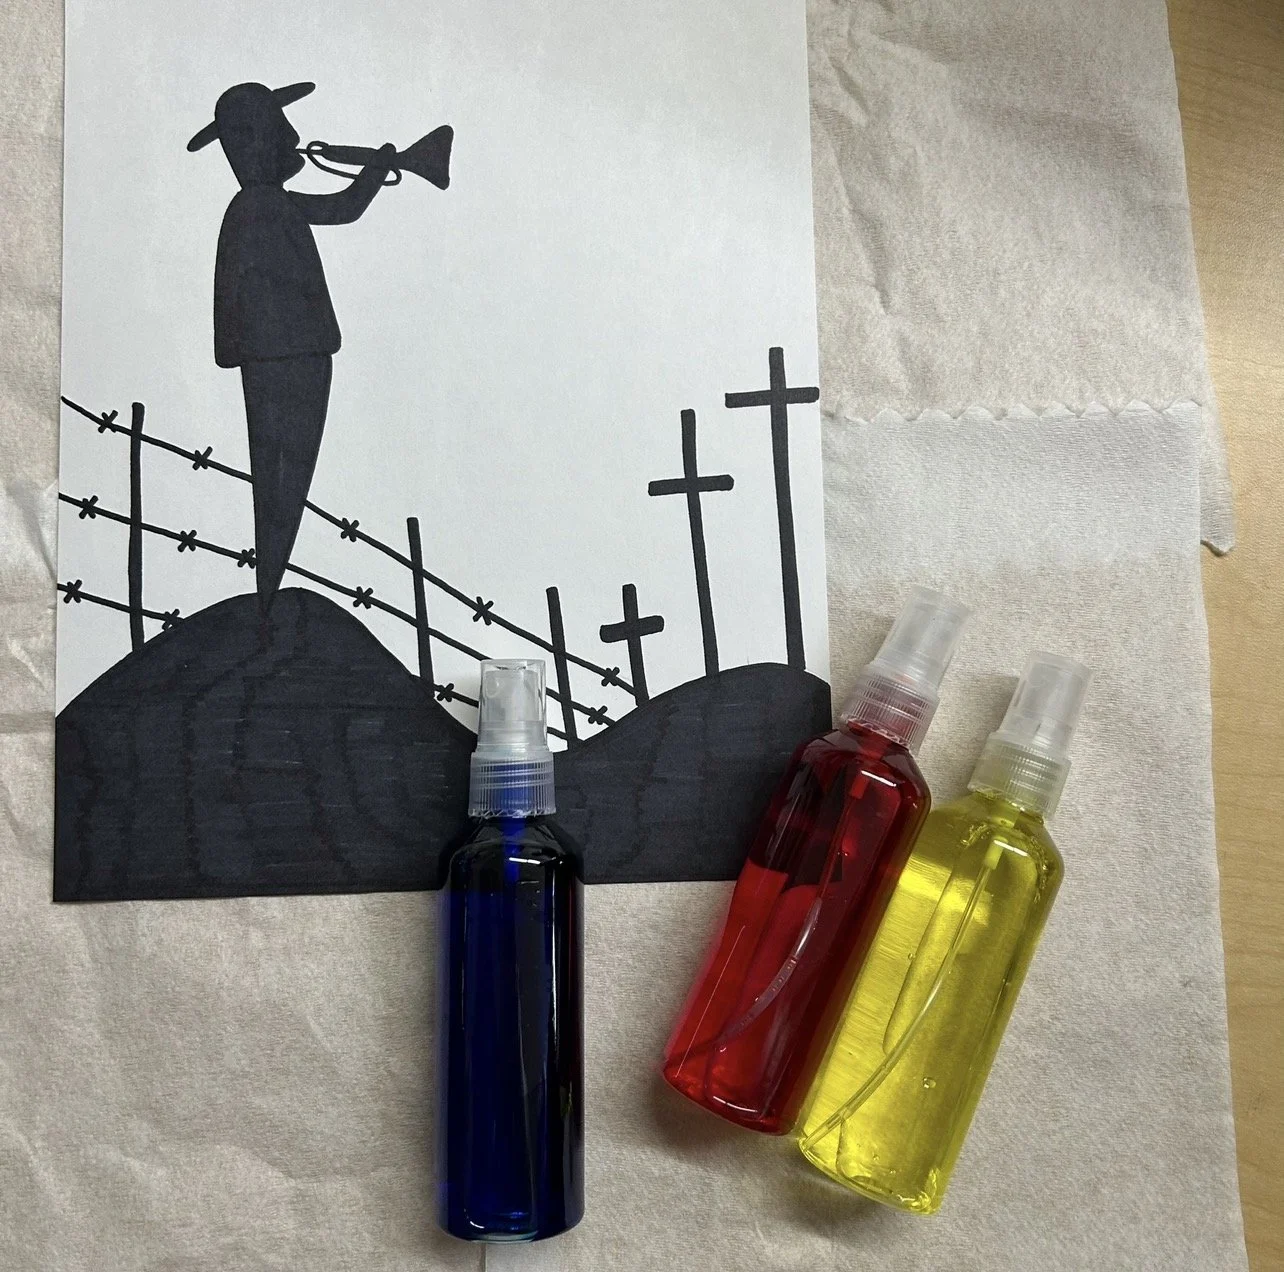
We did the background LAST. We spray it on using mini spray bottles from the dollar store. Inside is a mix of water and a lot of food colouring. Yellow in particular needs a lot of dye.
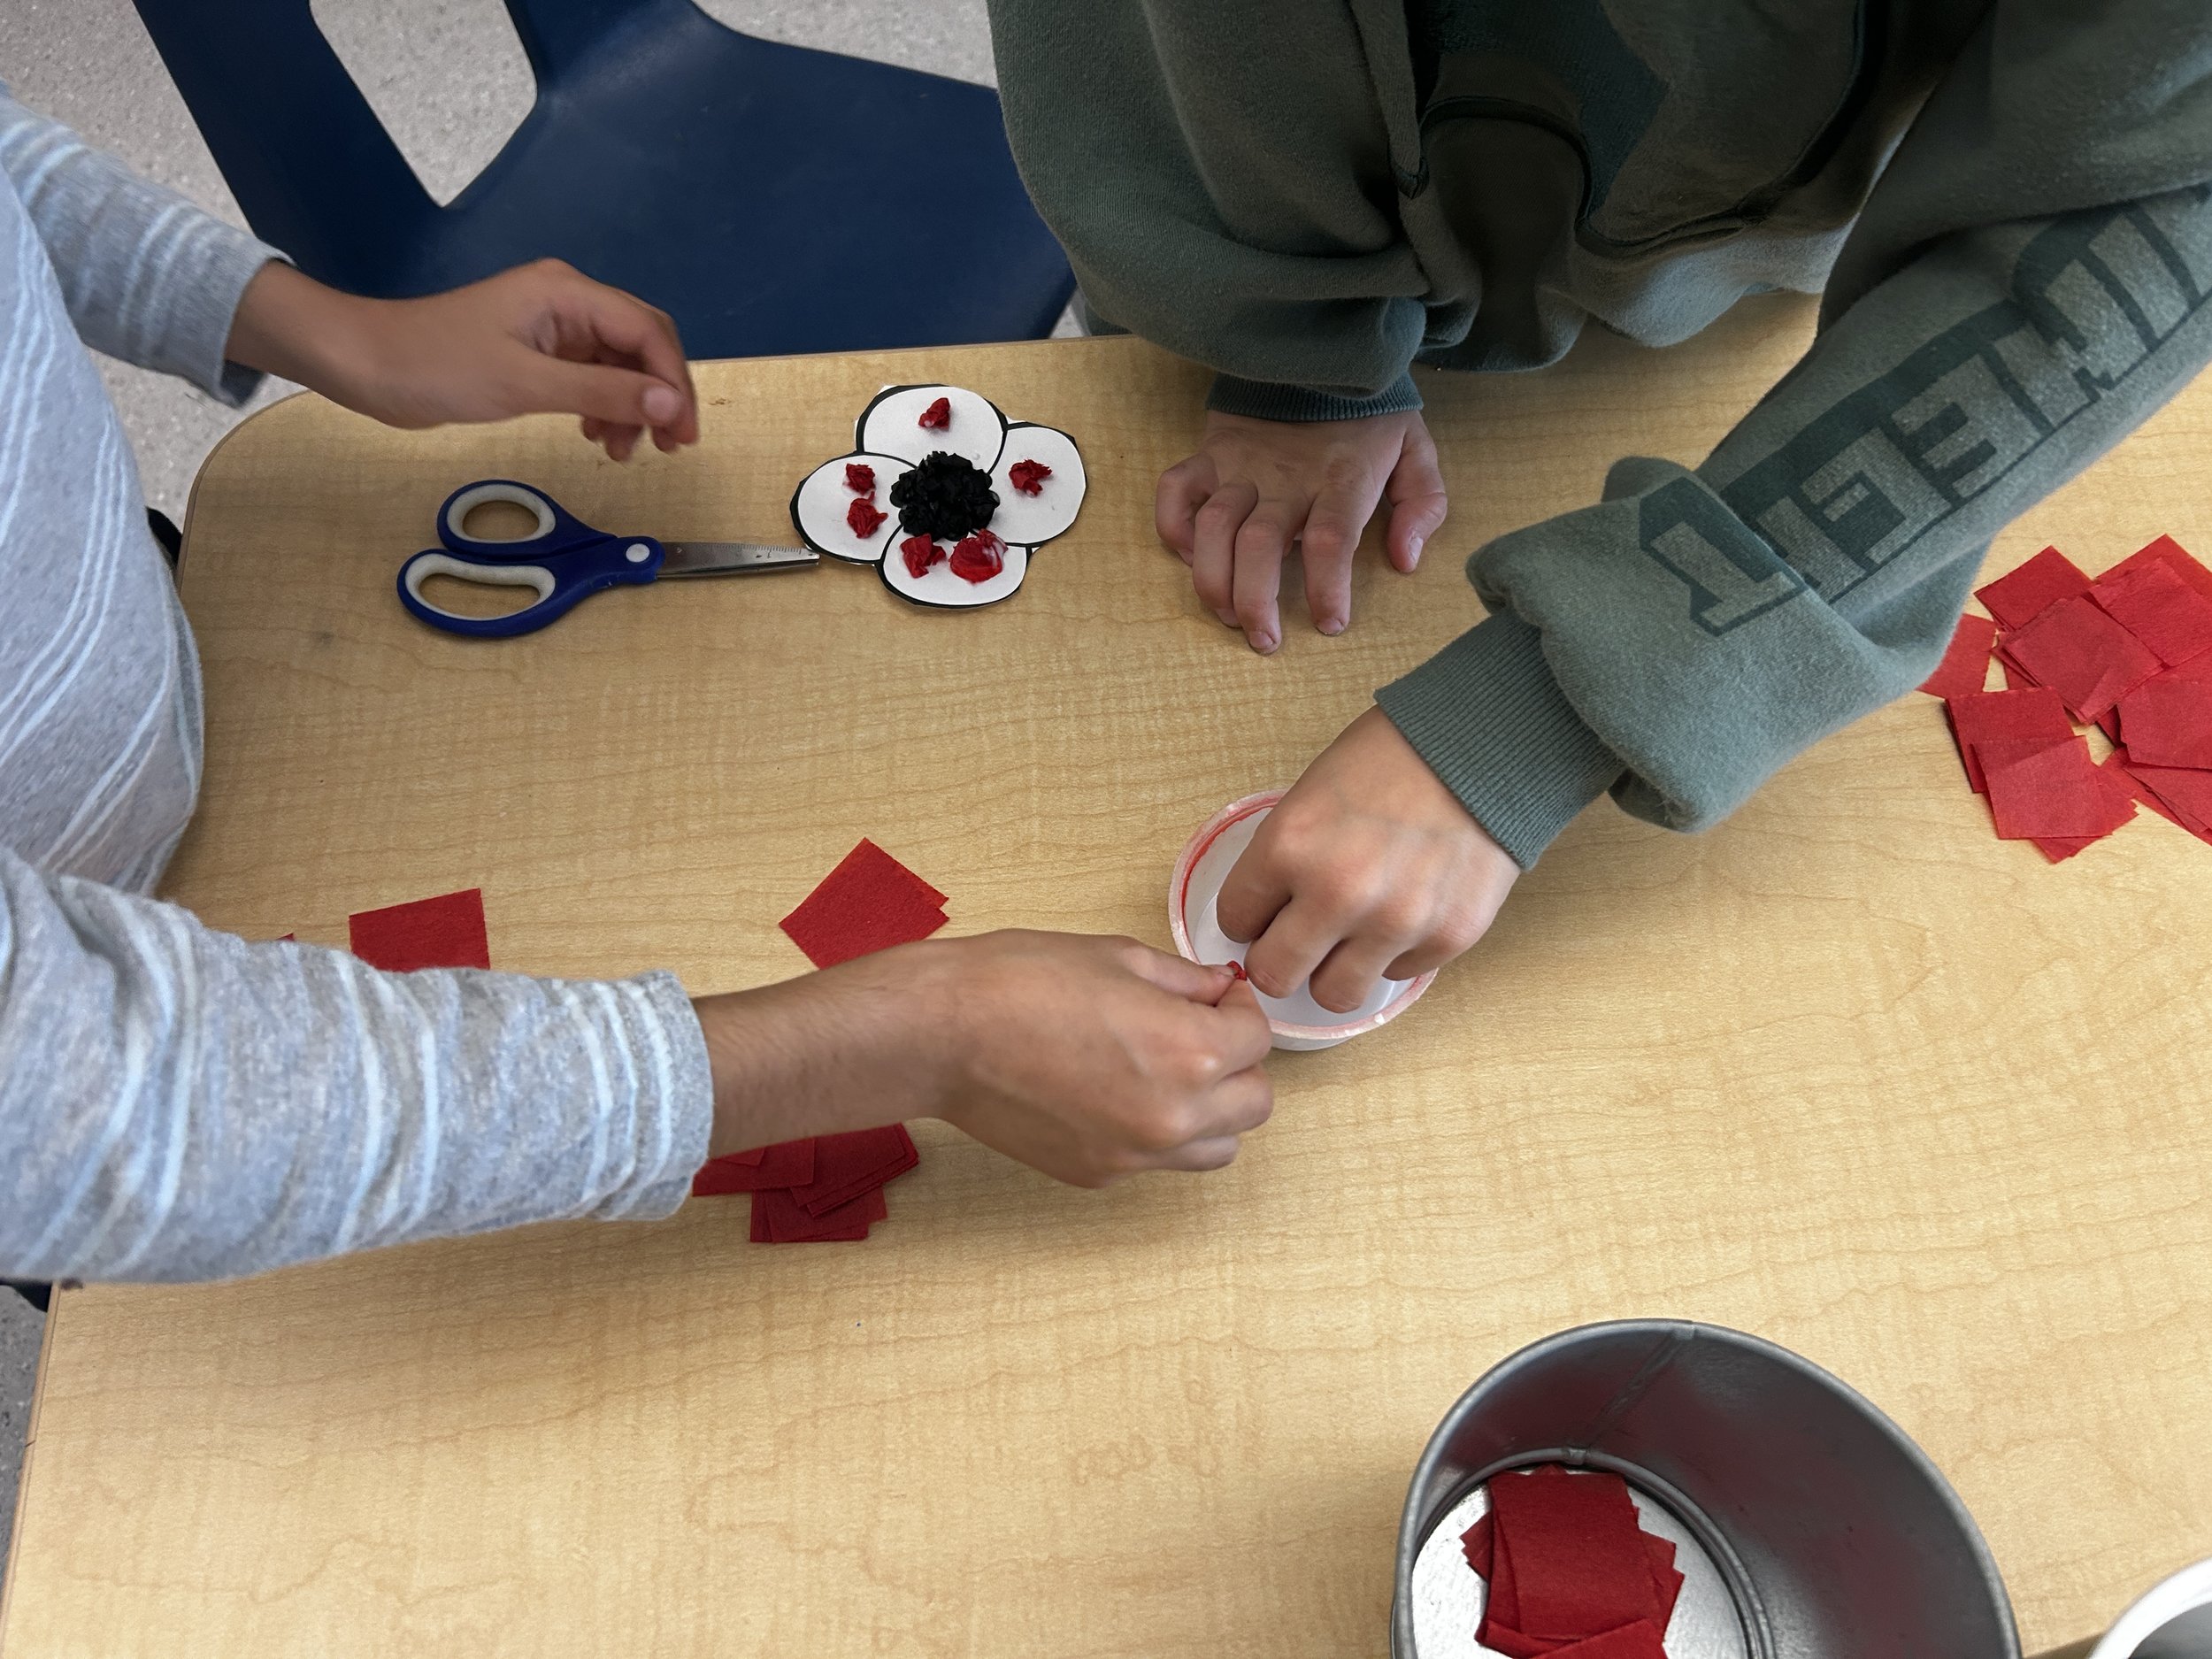
We also made poppies. I printed a template and cut black and red tissue squares. Students dipped a bit in white glue and set it on their poppy. This is totally optional and you may wish to put them on a wreath instead but they look great scattered around the board.
Materials day 1:
Card stock
Black acrylic paint
Paint brush
Materials day 2:
Dry paper from day 1
Pencil & eraser
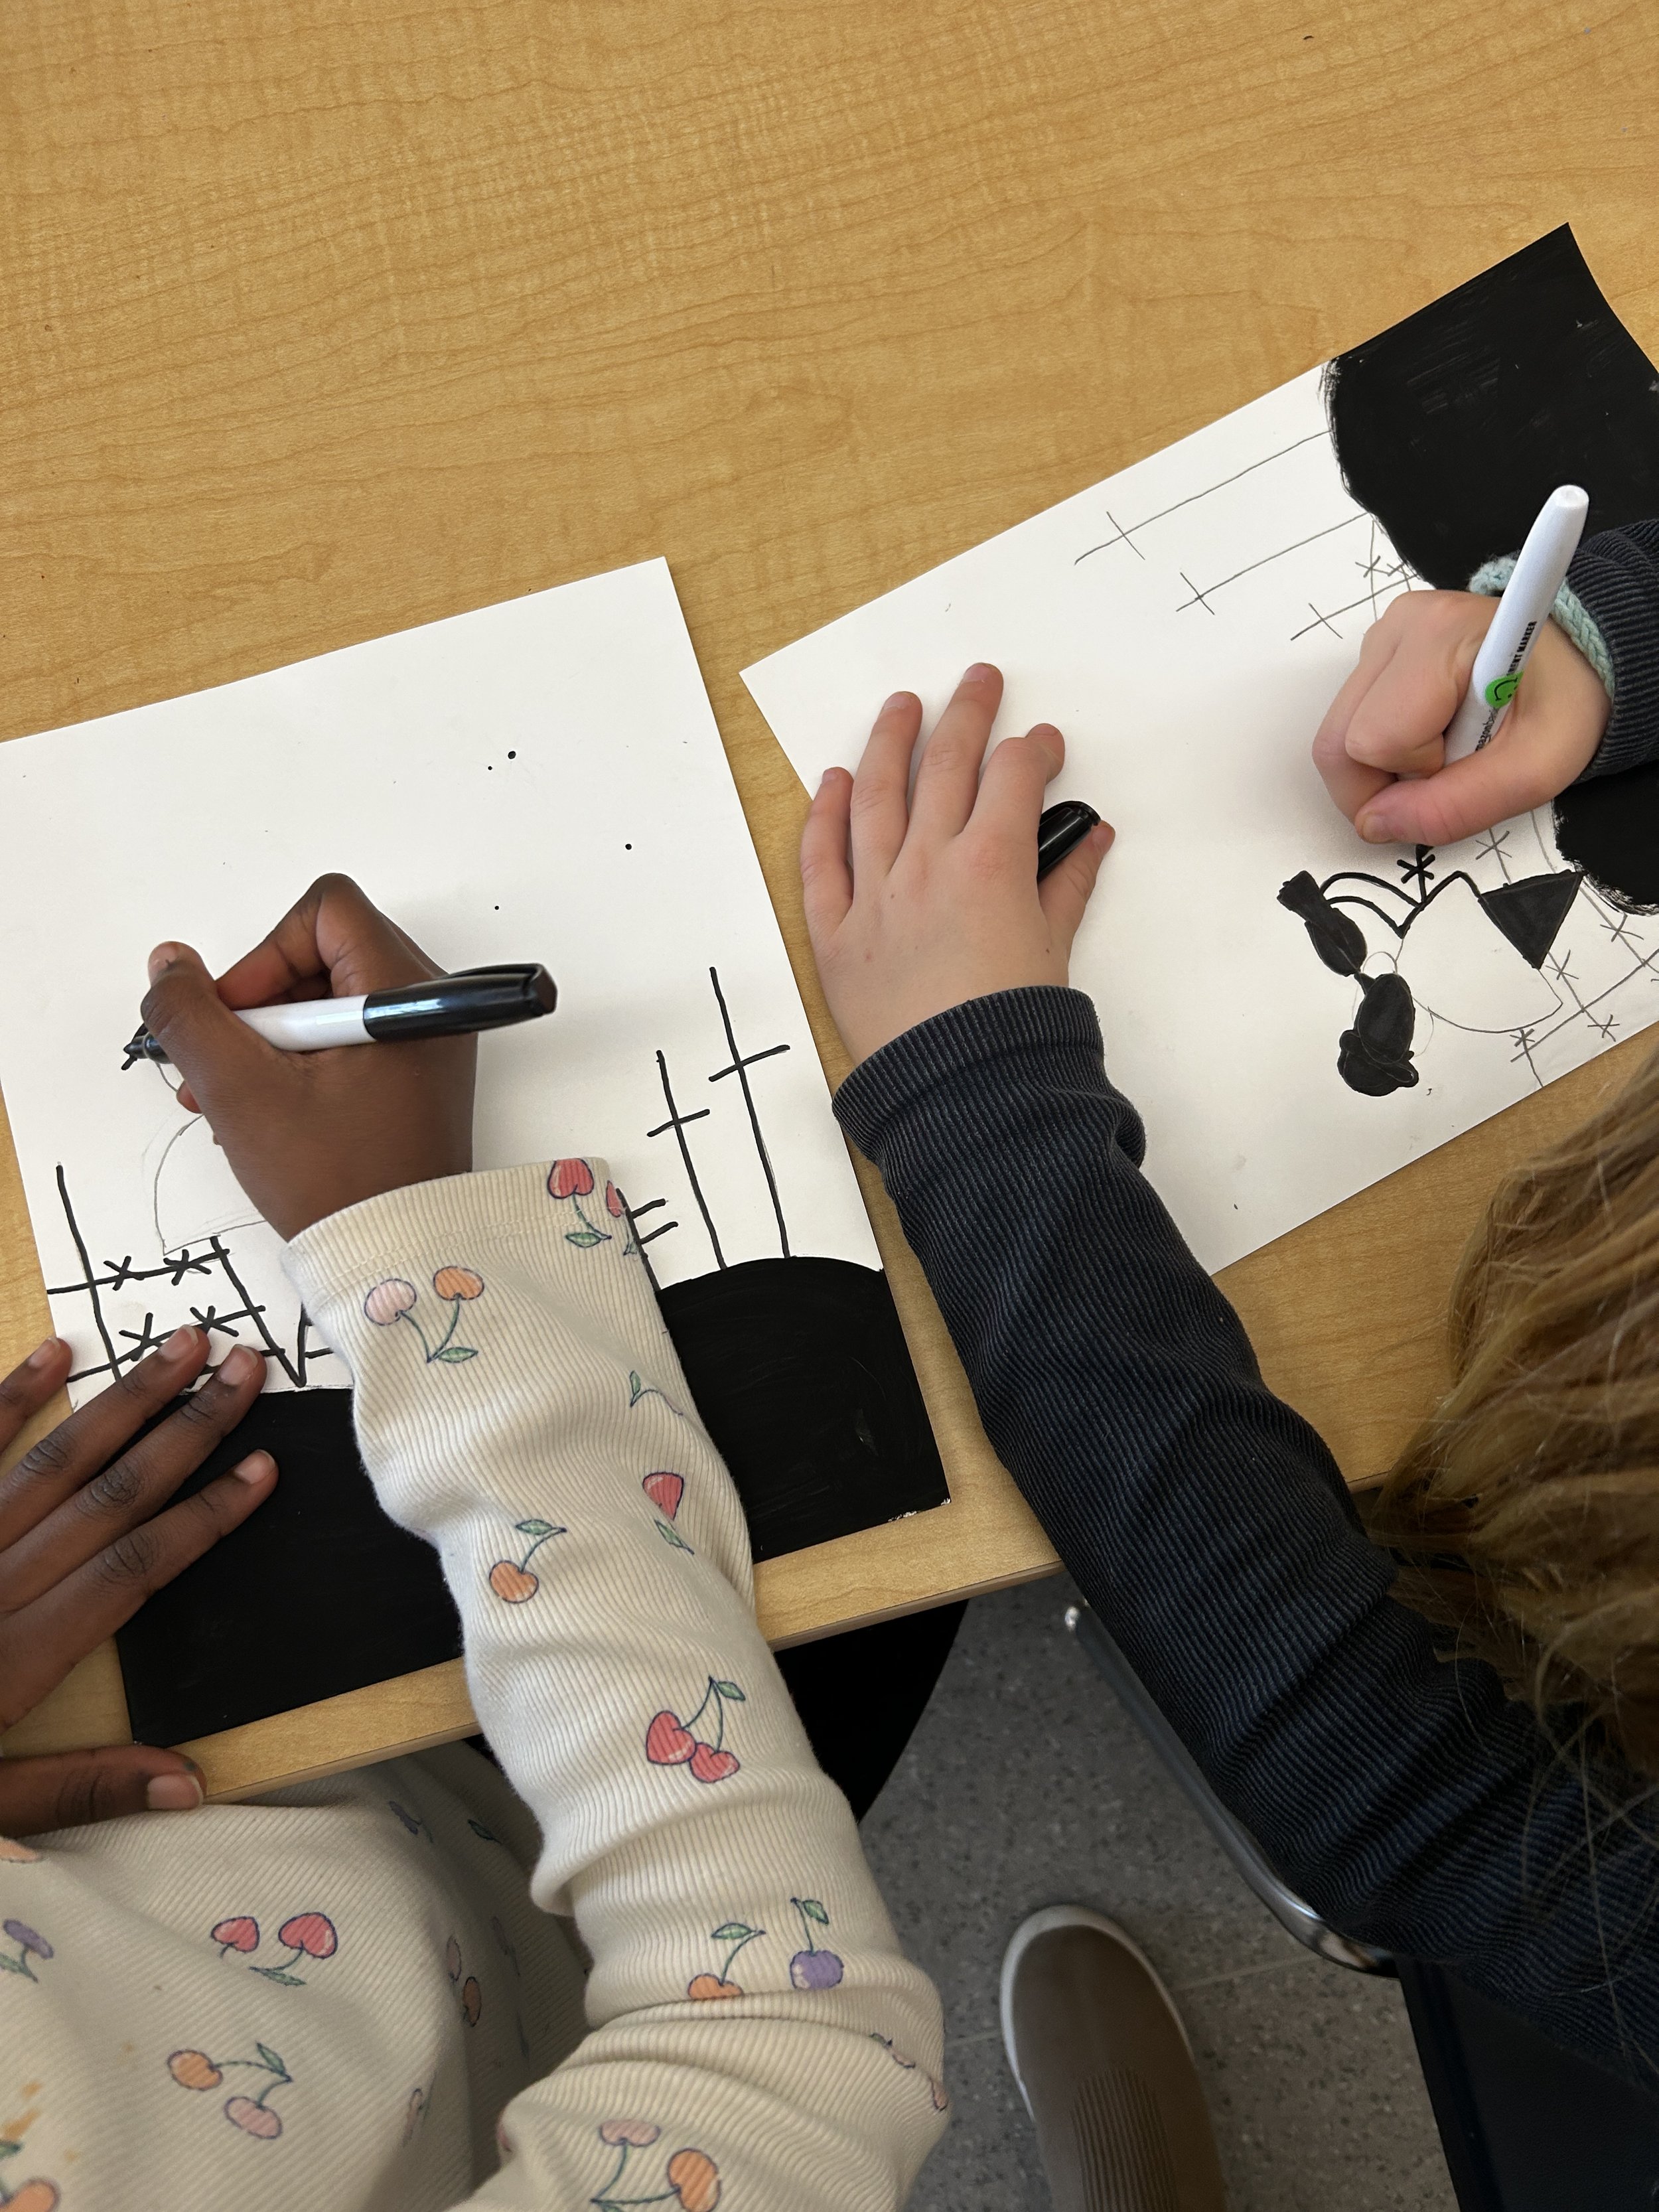
Sharpie
Small spray bottles (filled with water and food colouring) - red, yellow, blue
Instructions:
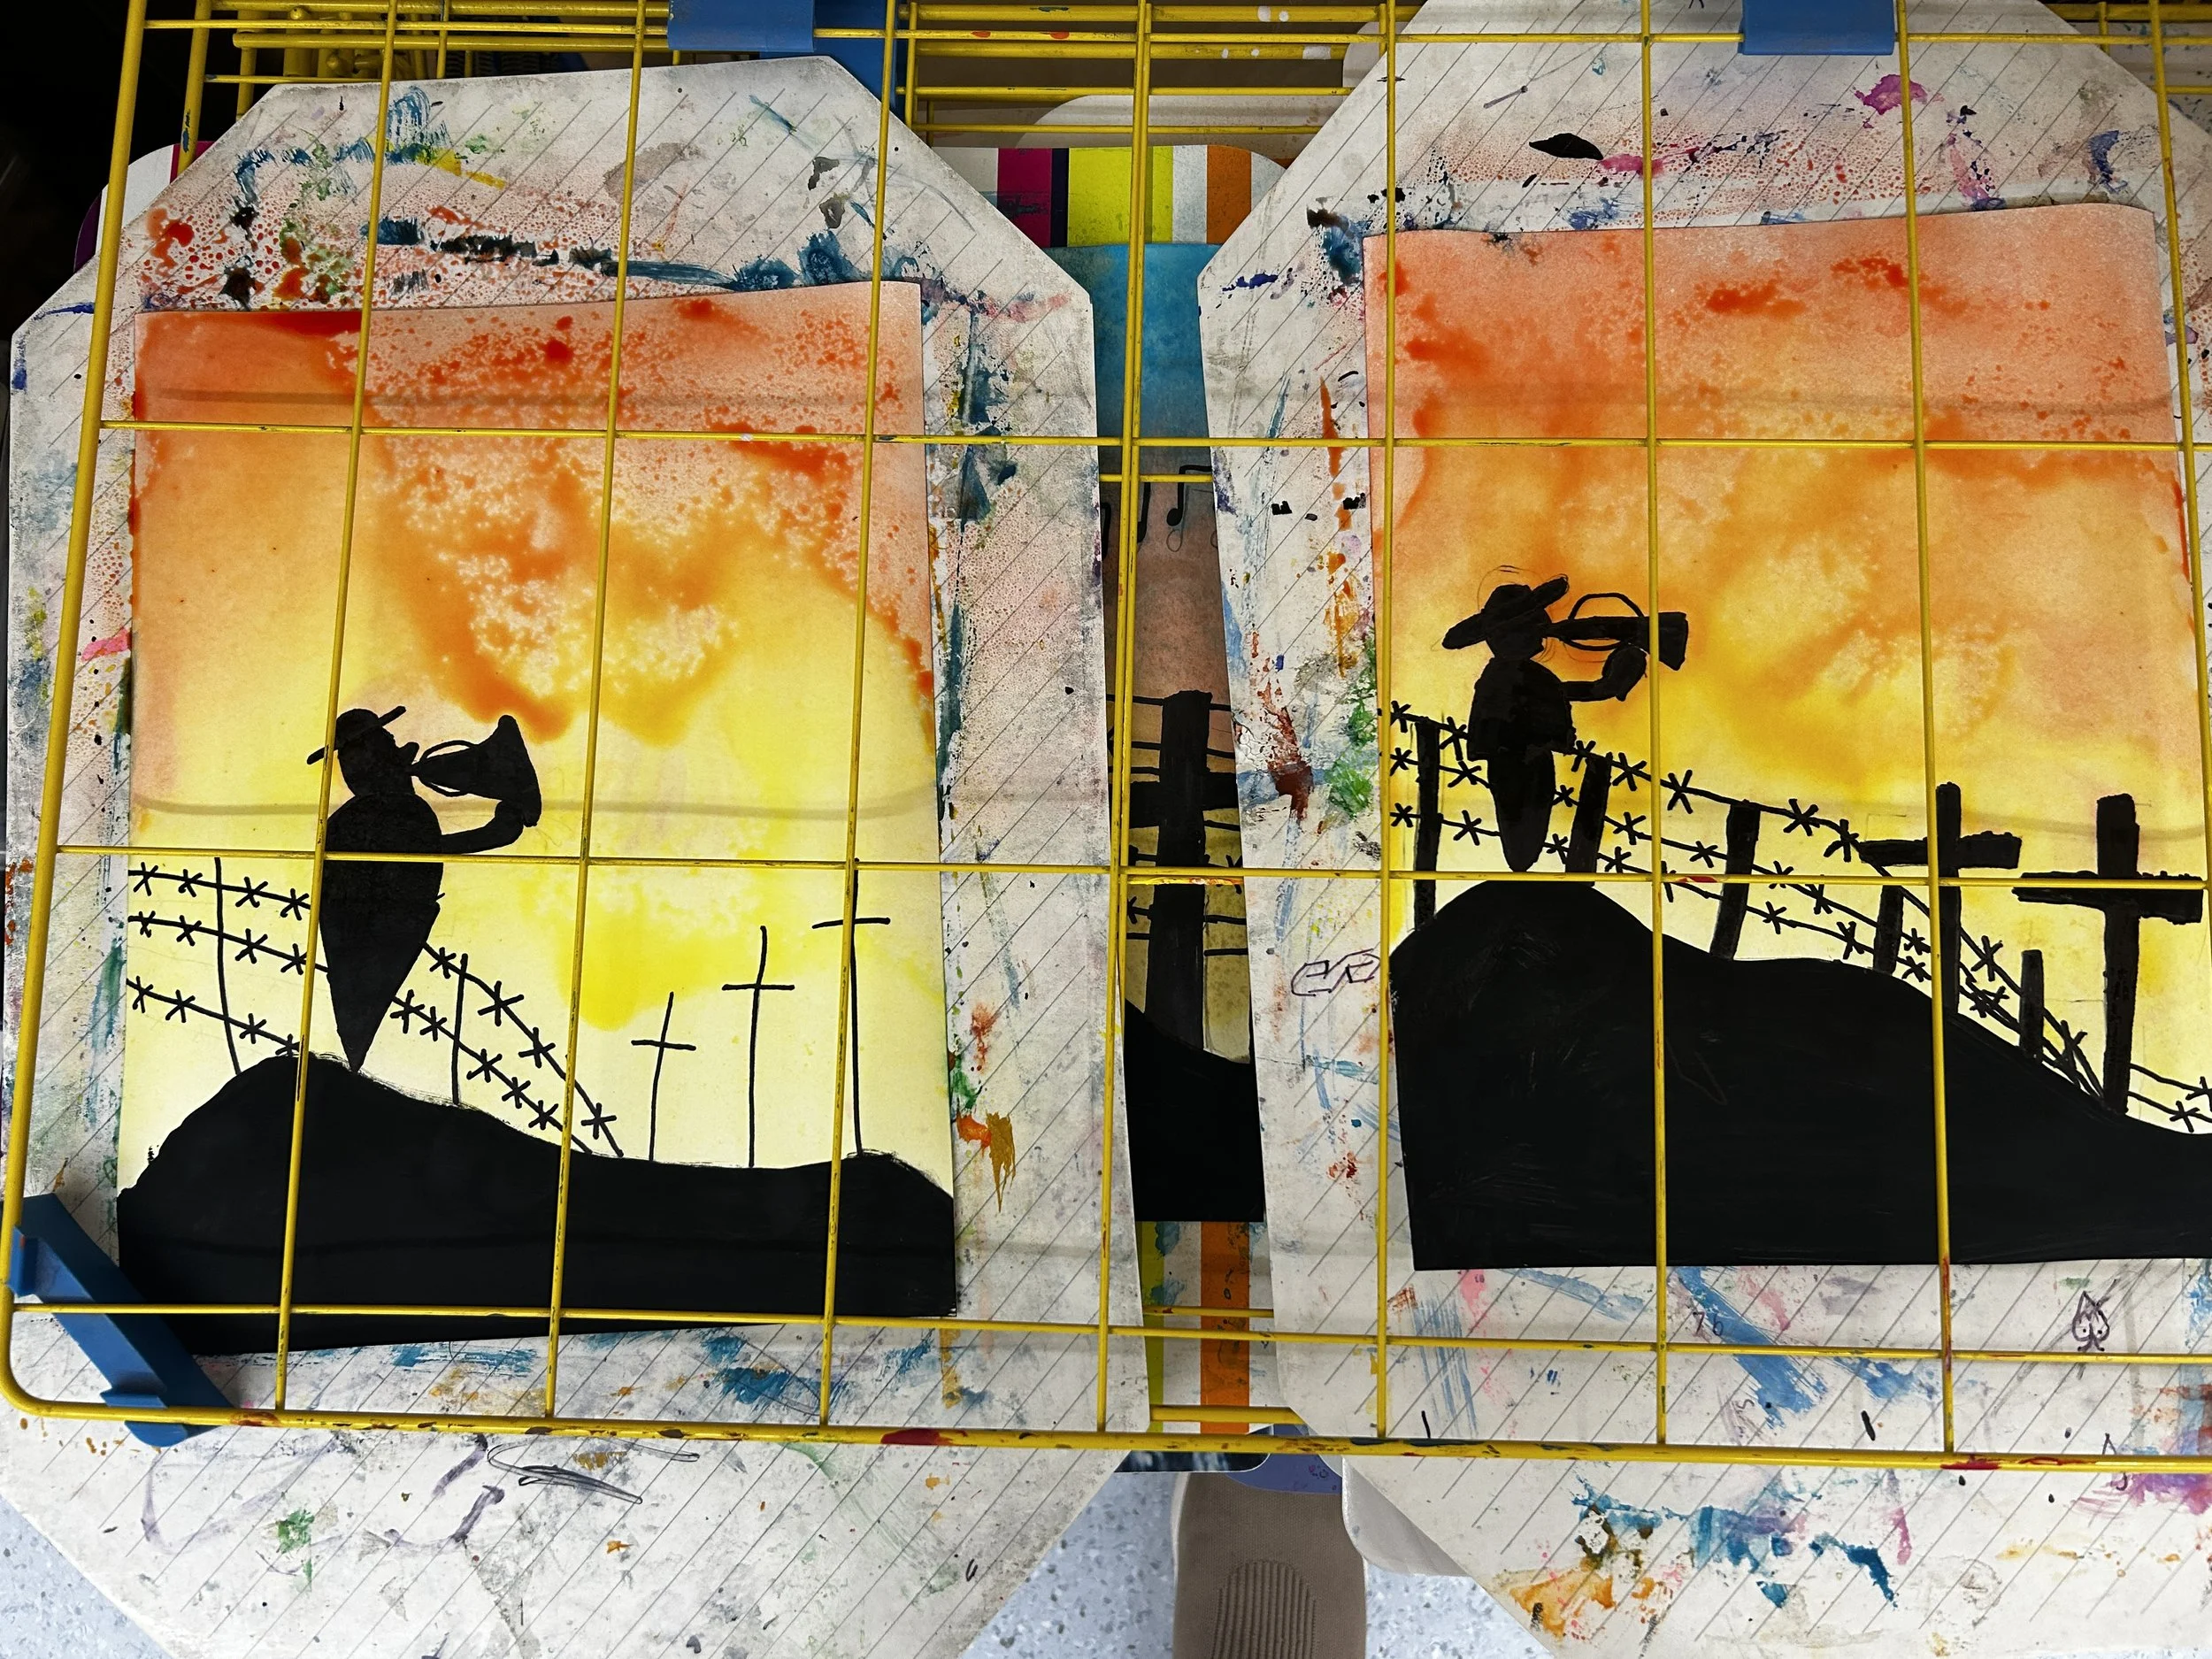
Draw hill, paint it with black paint.
Do the soldier, barbed wire and crosses directed drawing style (see lesson plan linked at the top)
Spray the background.
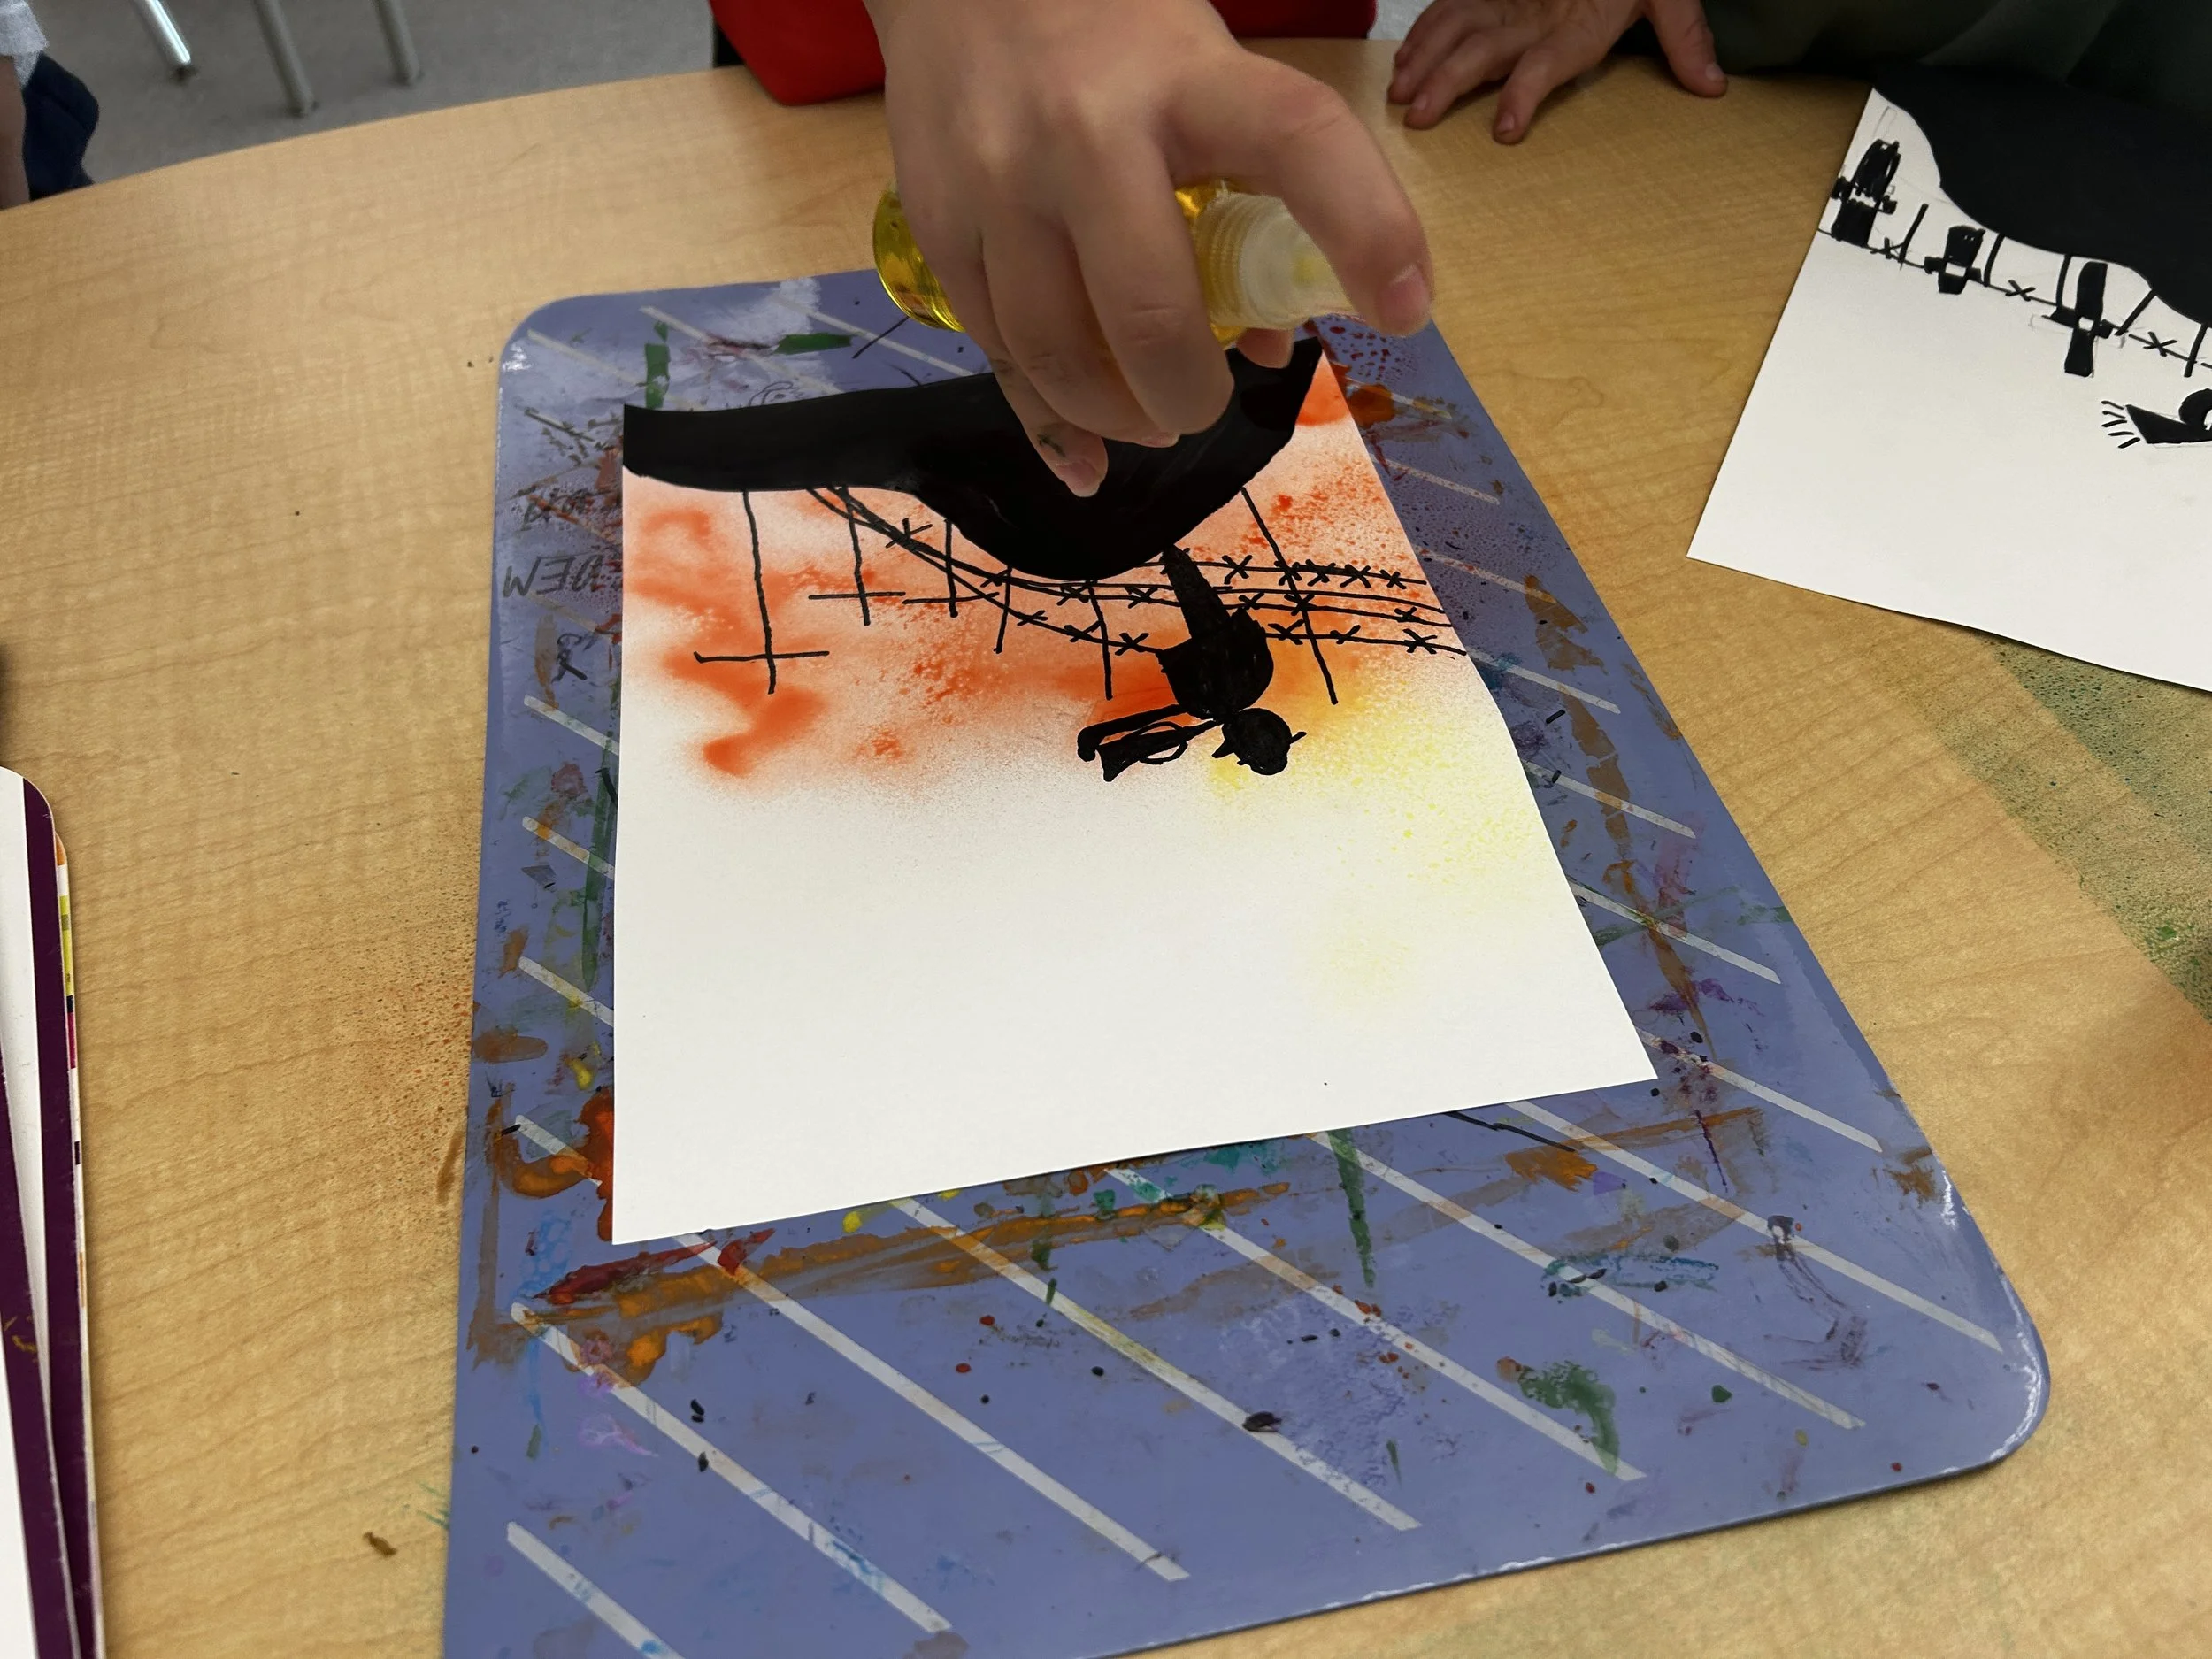
MESS TIP: This is very messy and includes dye. I highly recommend putting something under your paper.
In my class we use these messy art mats for EVERYTHING.
If you don’t have them you can lay them out on a table cloth.
Try not to carry them elsewhere once they’re sprayed. If you have individual trays or mats, they can walk them to your drying area. If you’re doing a table cloth, spray them all on the table cloth.