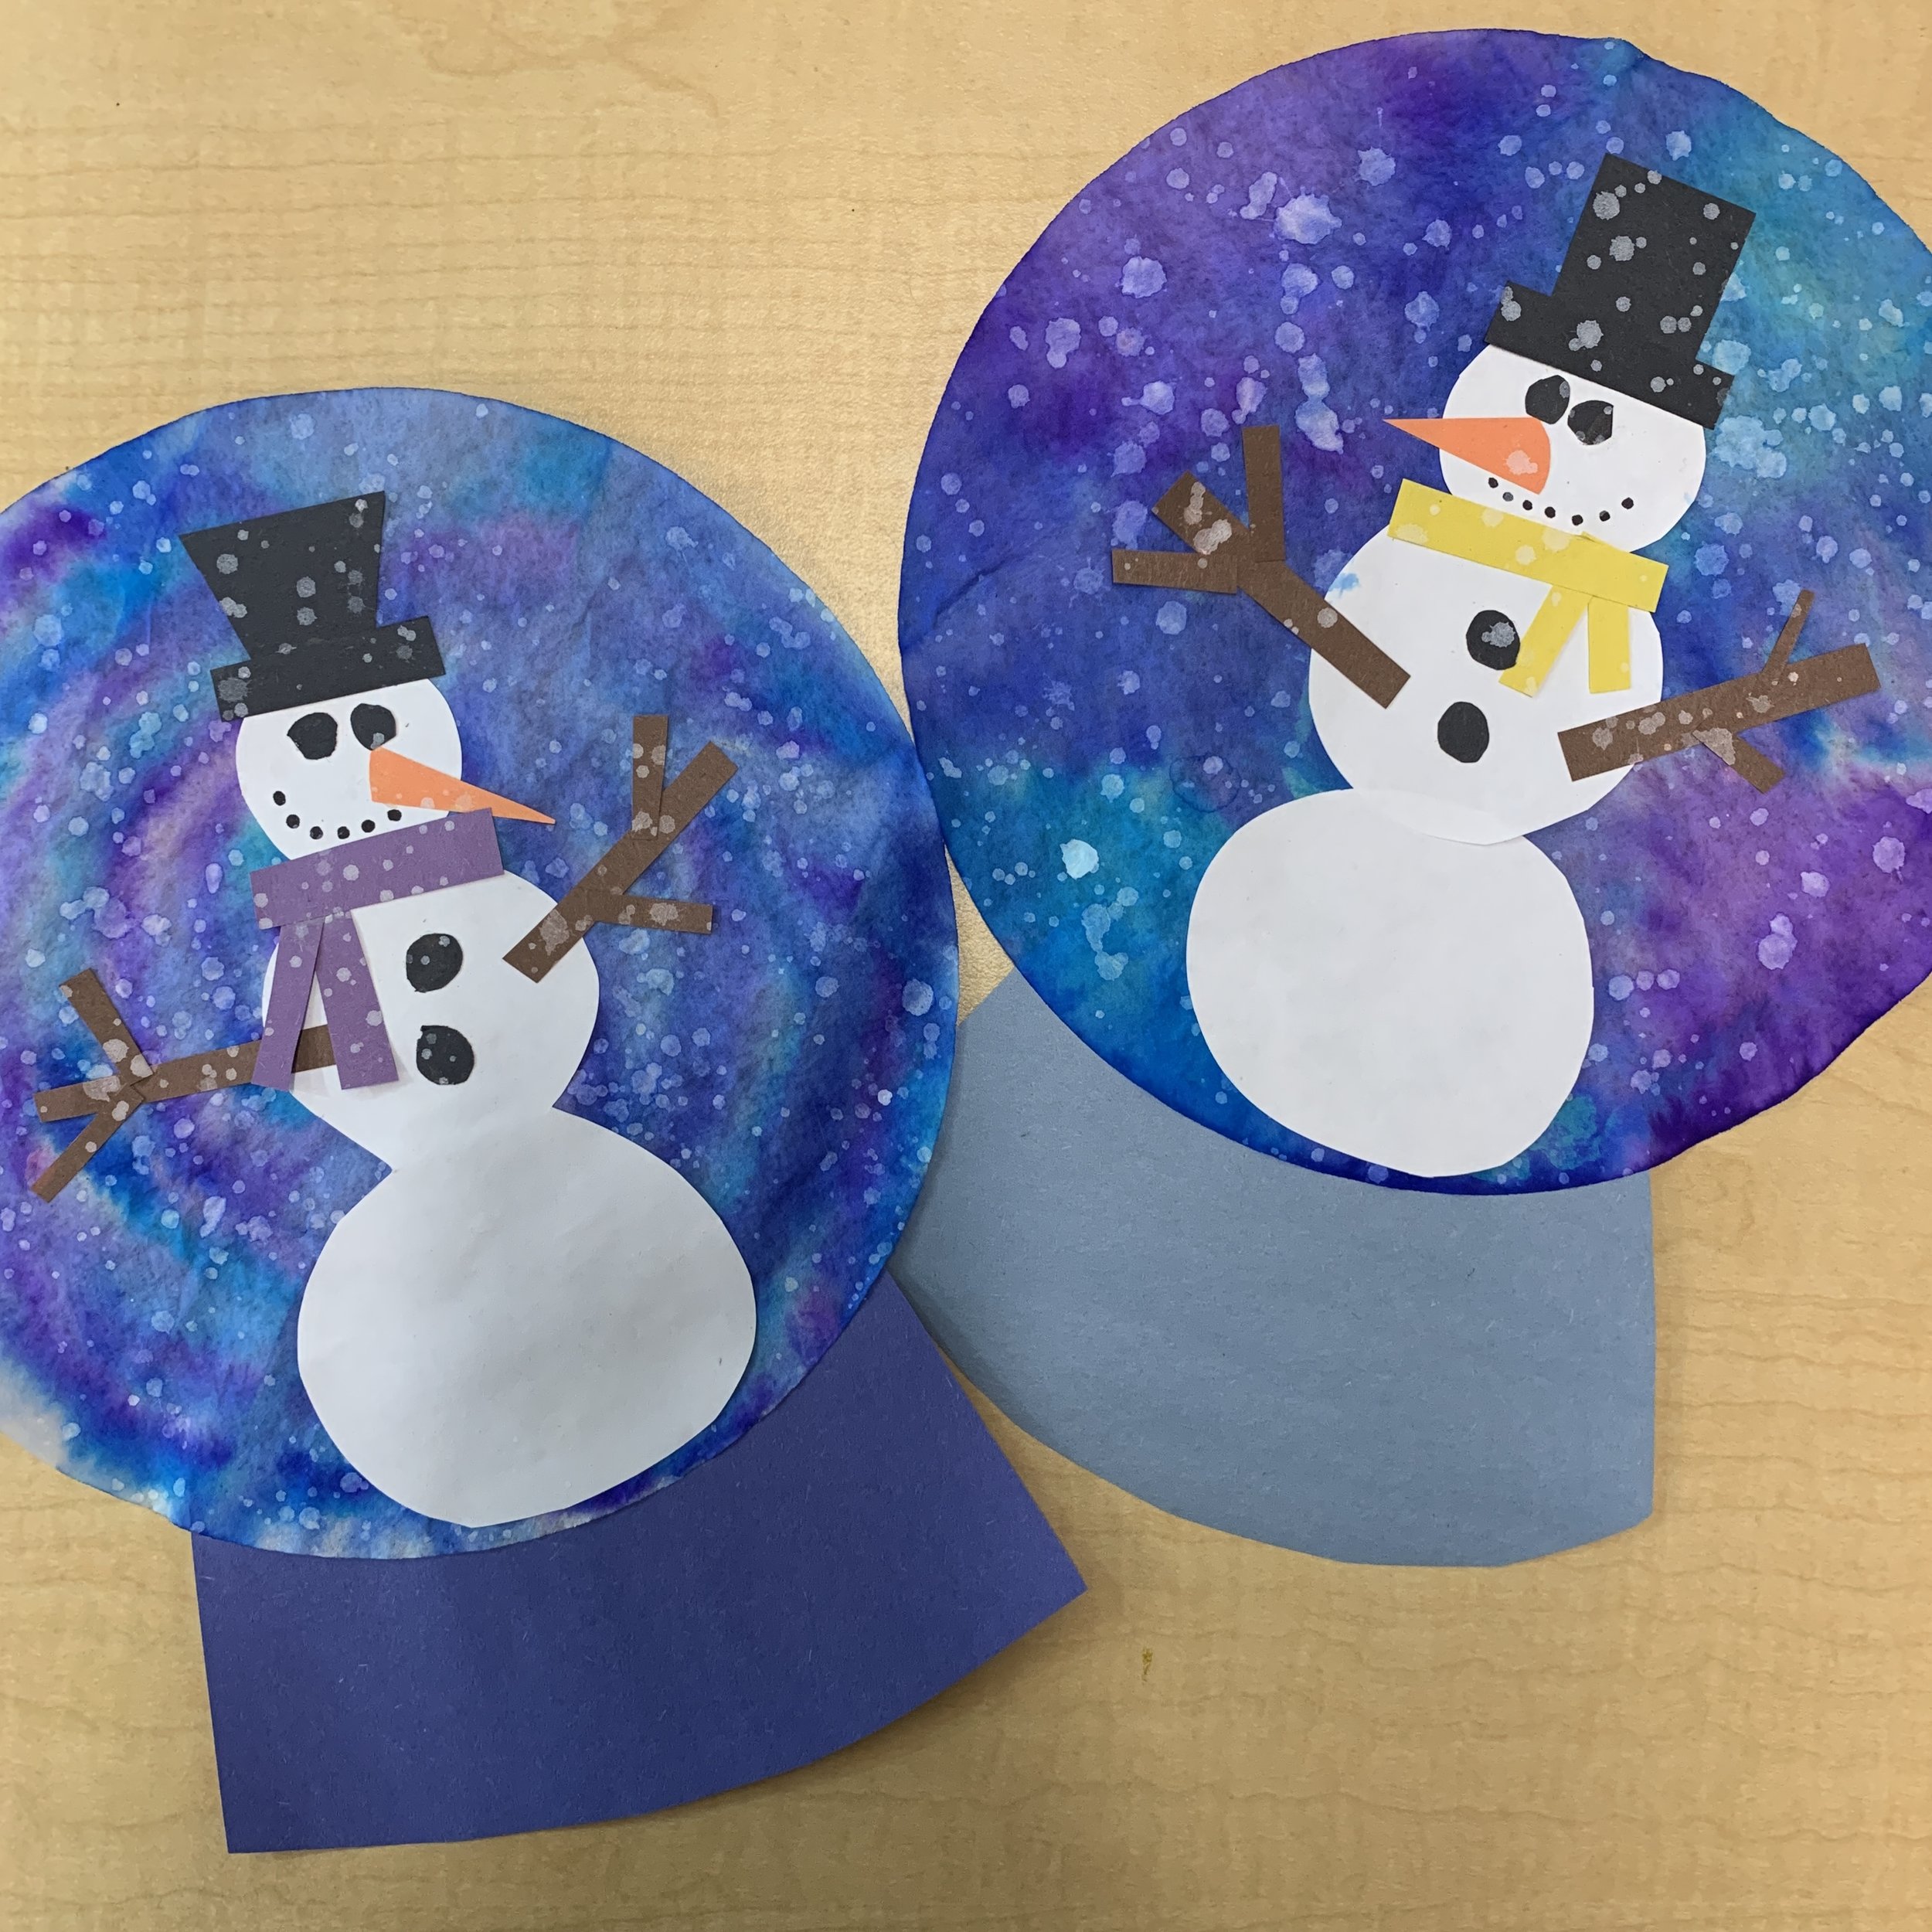
Snowman Snow Globe Art Project
Suggested grades: 1-4

Time required: 2 blocks (10 minutes + 30 minutes)
Materials step 1:
Coffee filters
Washable markers
Spray bottle with water
Tin foil, cookie sheet etc (something to put it on while you spray to avoid messy tables)
Materials step 2:
Dyed coffee filter from step 1
White paper (1/2 page per student)
Construction paper in various colours
Scissors
Glue stick
Pencil
Sharpie
Optional snow - white acrylic paint, a touch of water and a large bristle paint brush
alternatively use white pastel
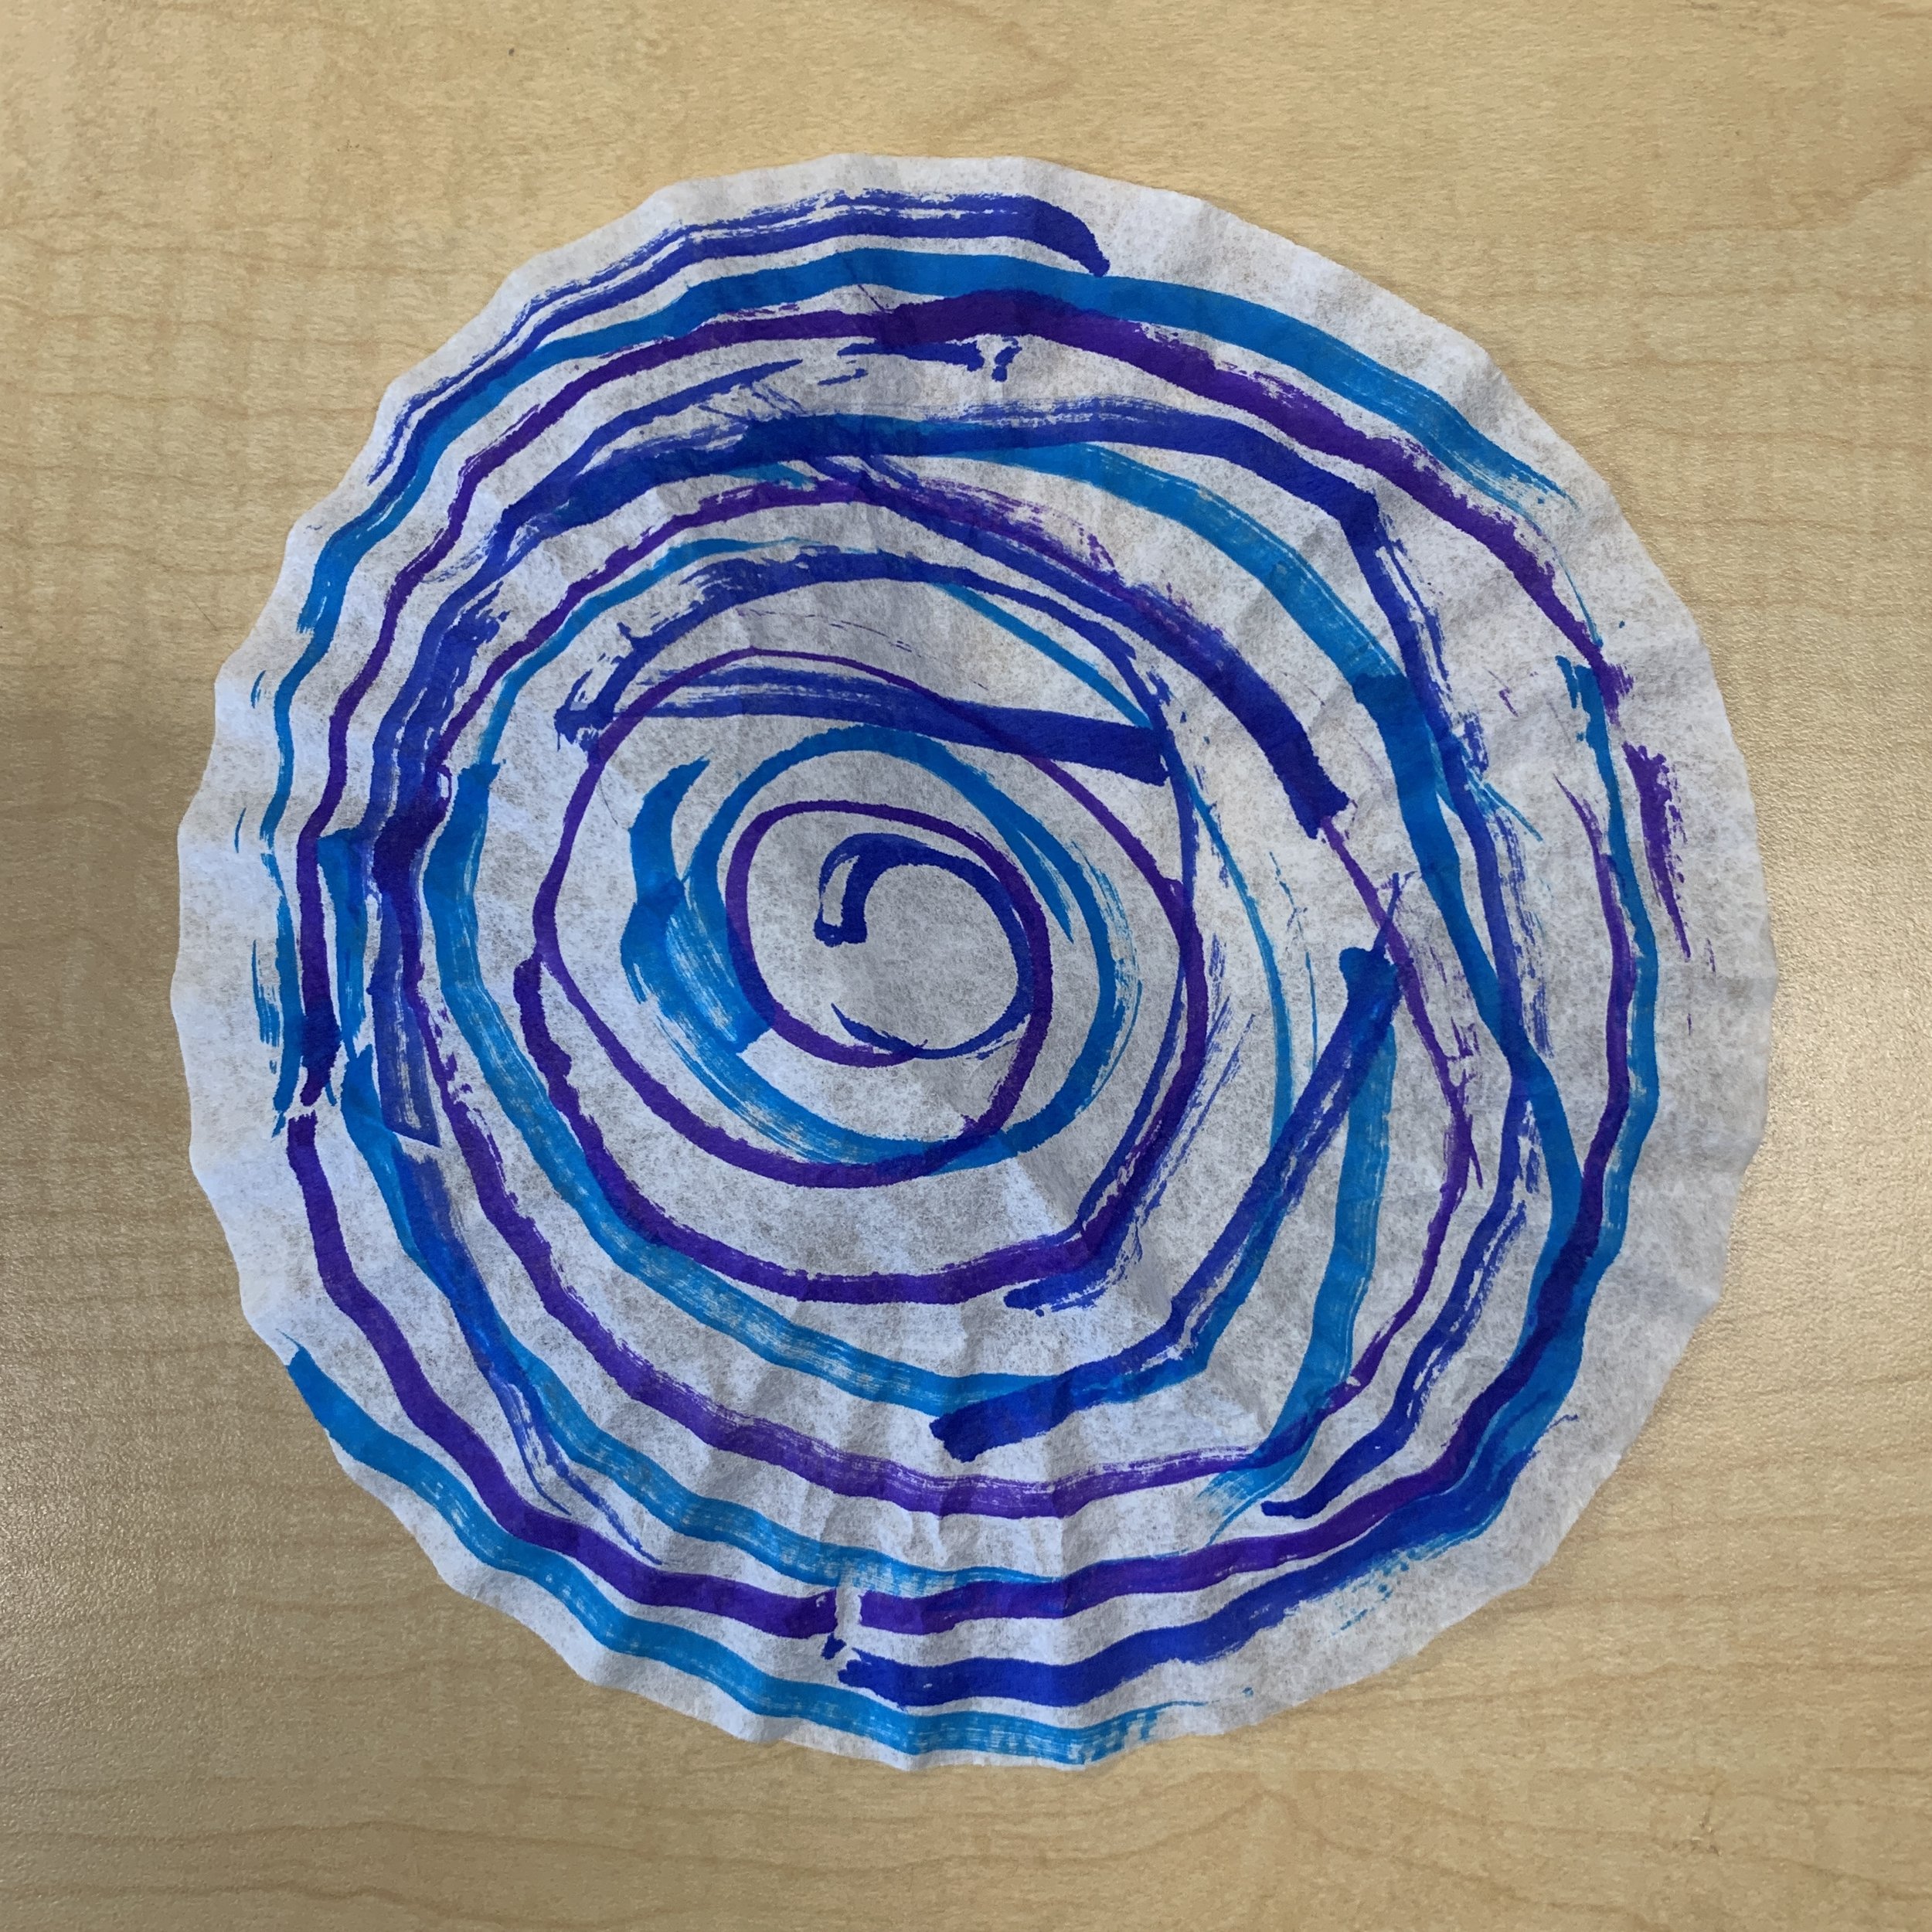
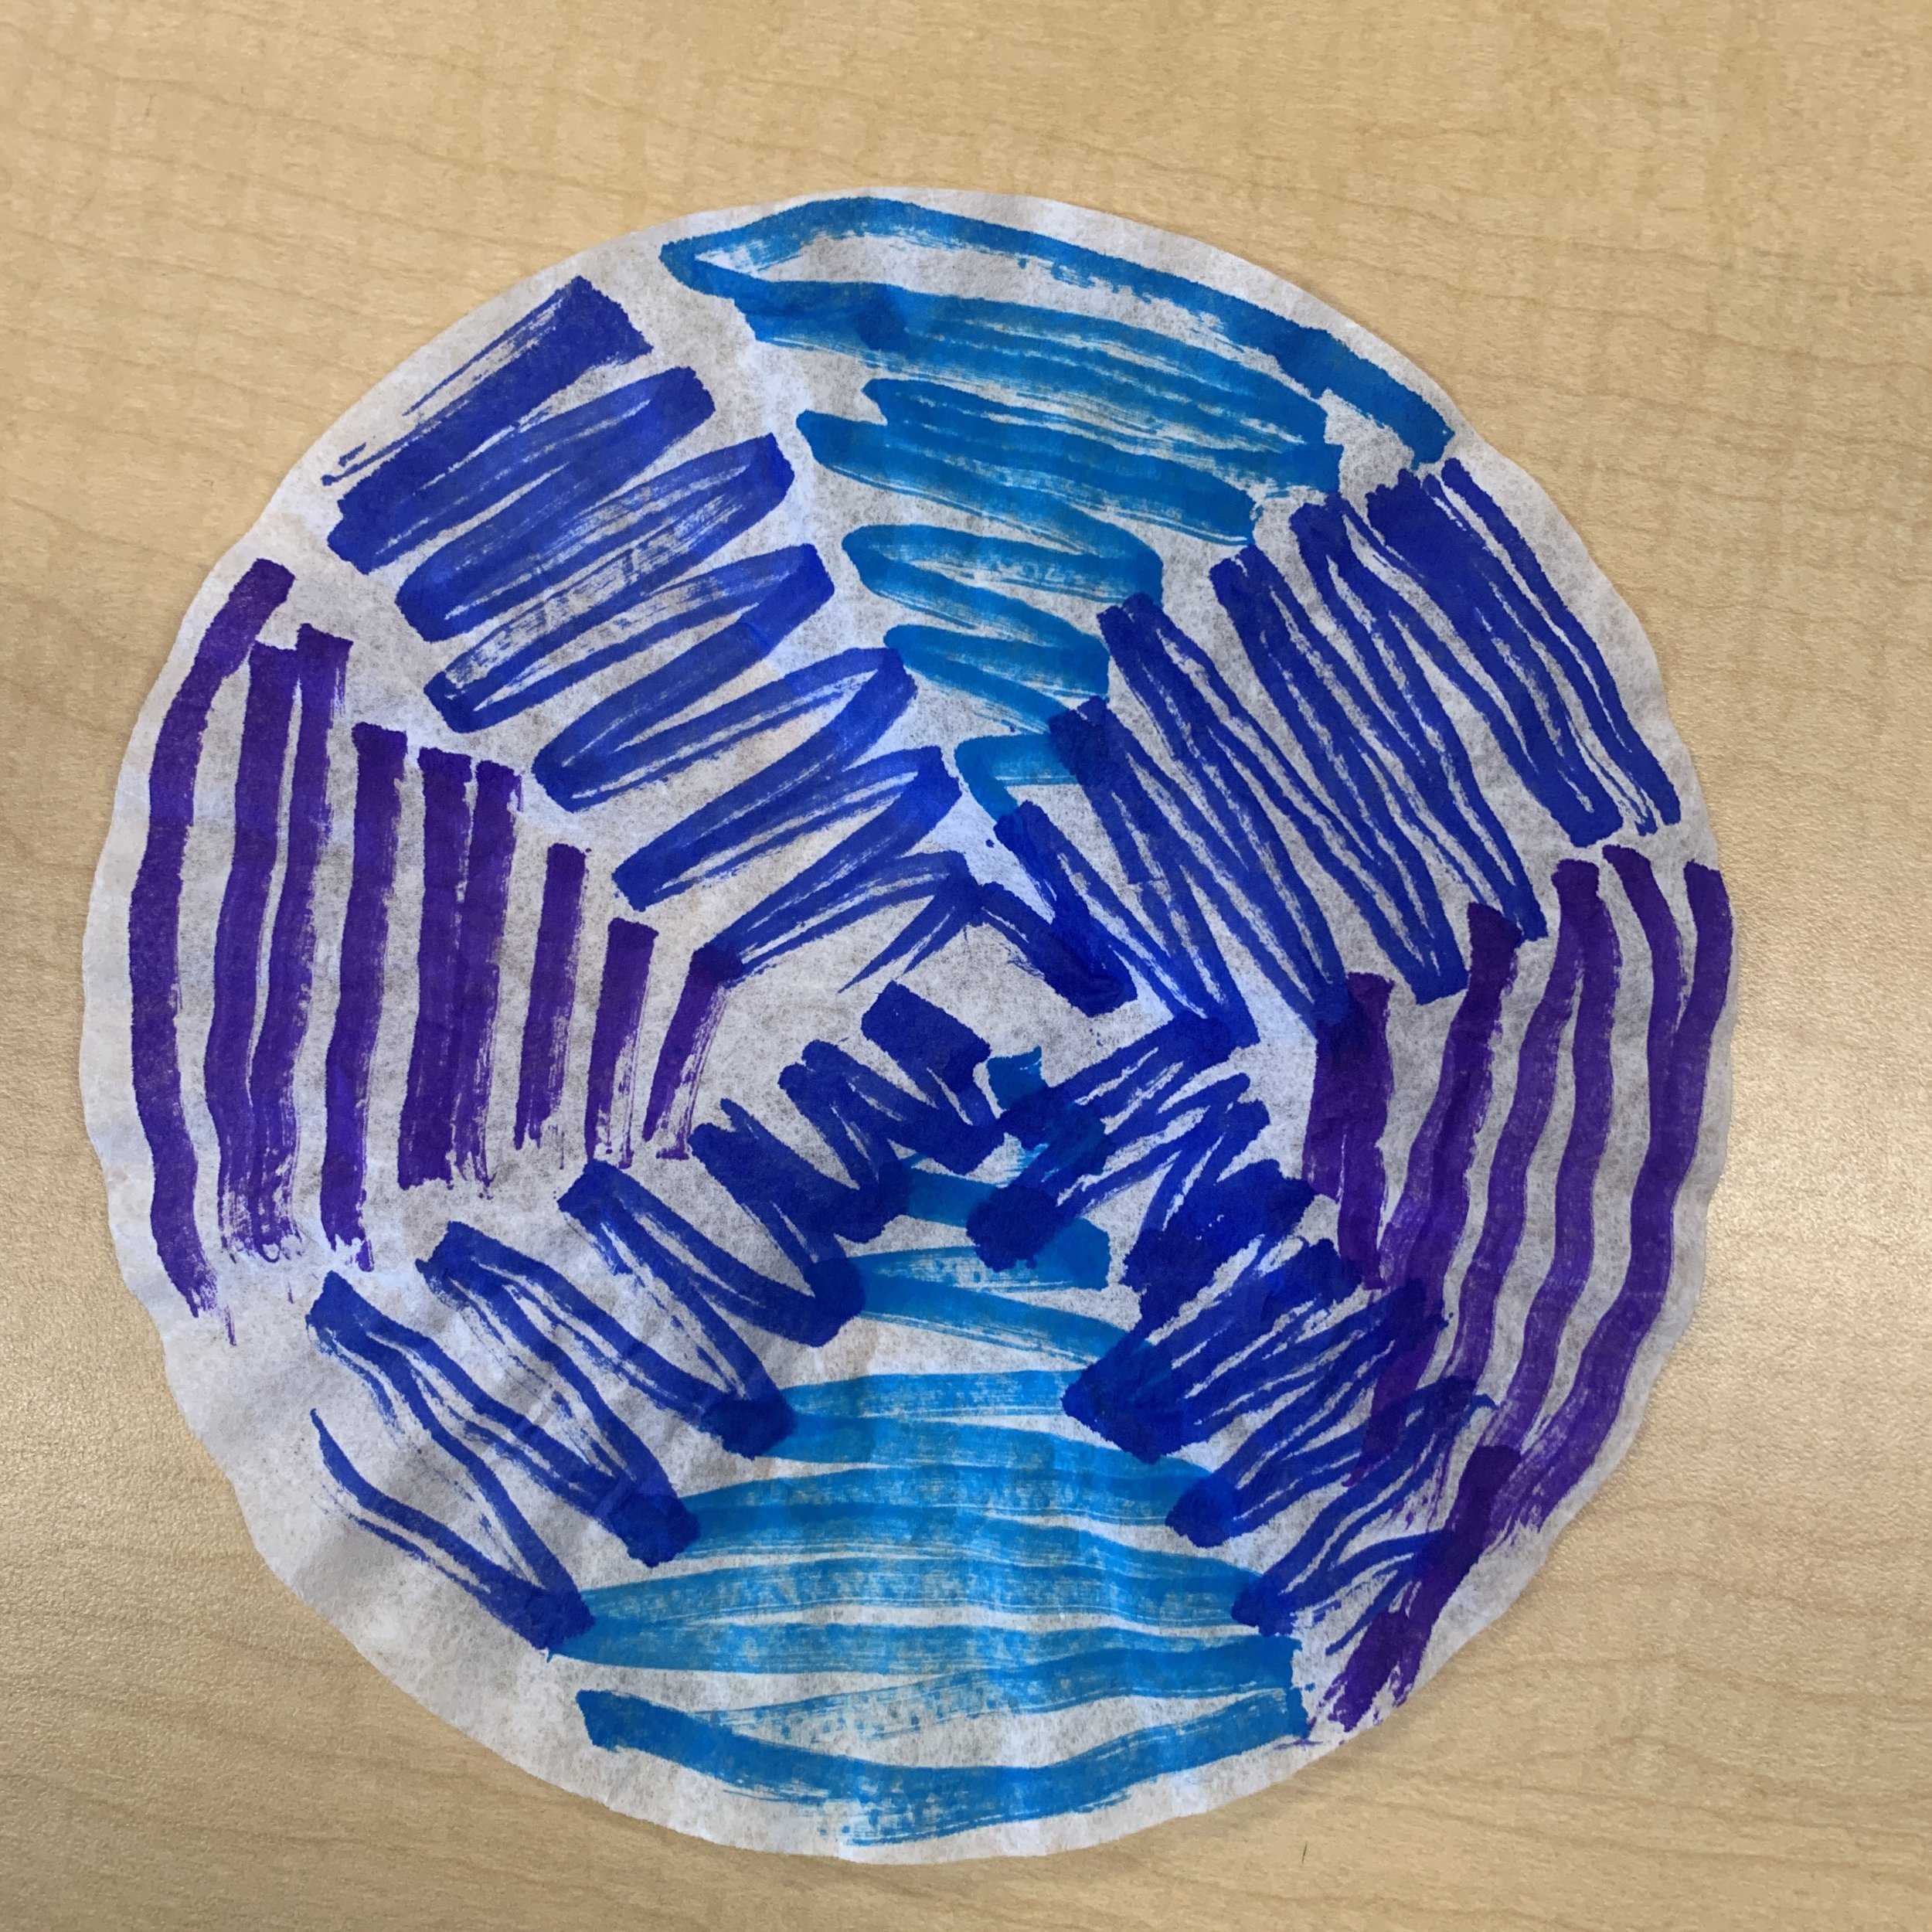
Step 1:
Use washable markers to draw on your coffee filter.
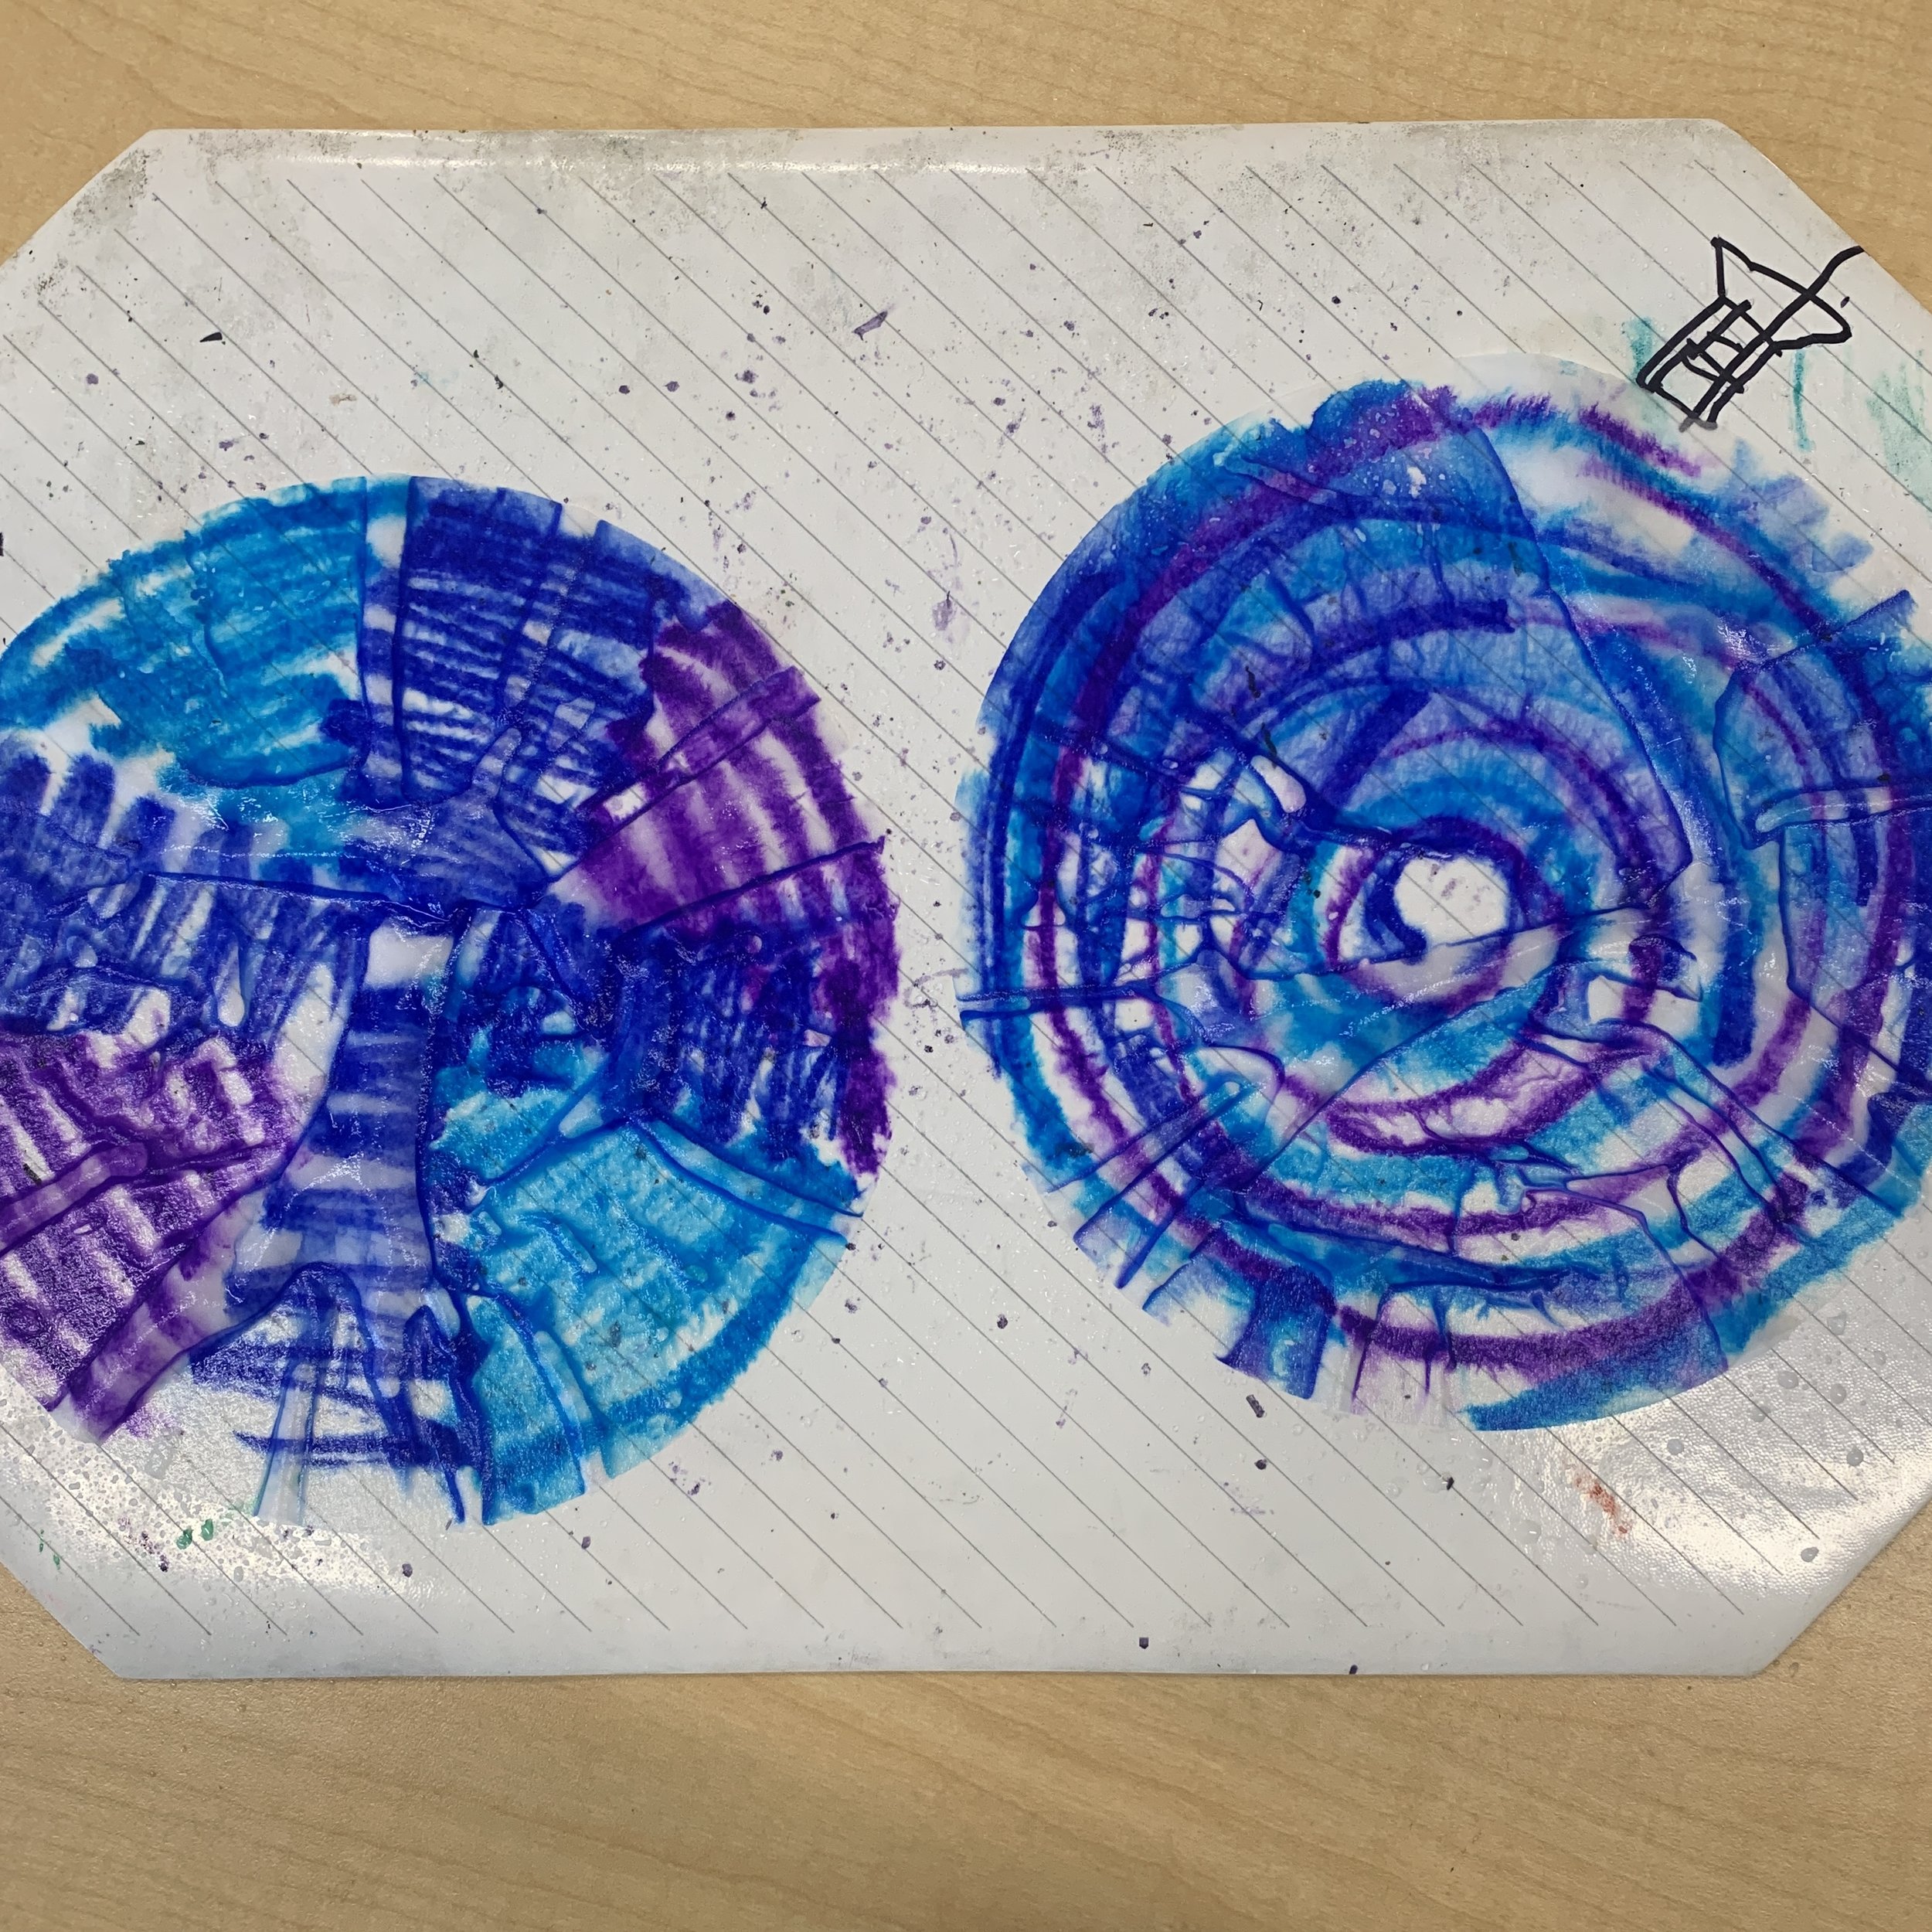
Spray the coffee filter with a spray bottle and watch the colours start to bleed.
If there’s a lot of ink, I recommend doing this on a cookie sheet or a piece of tin foil.
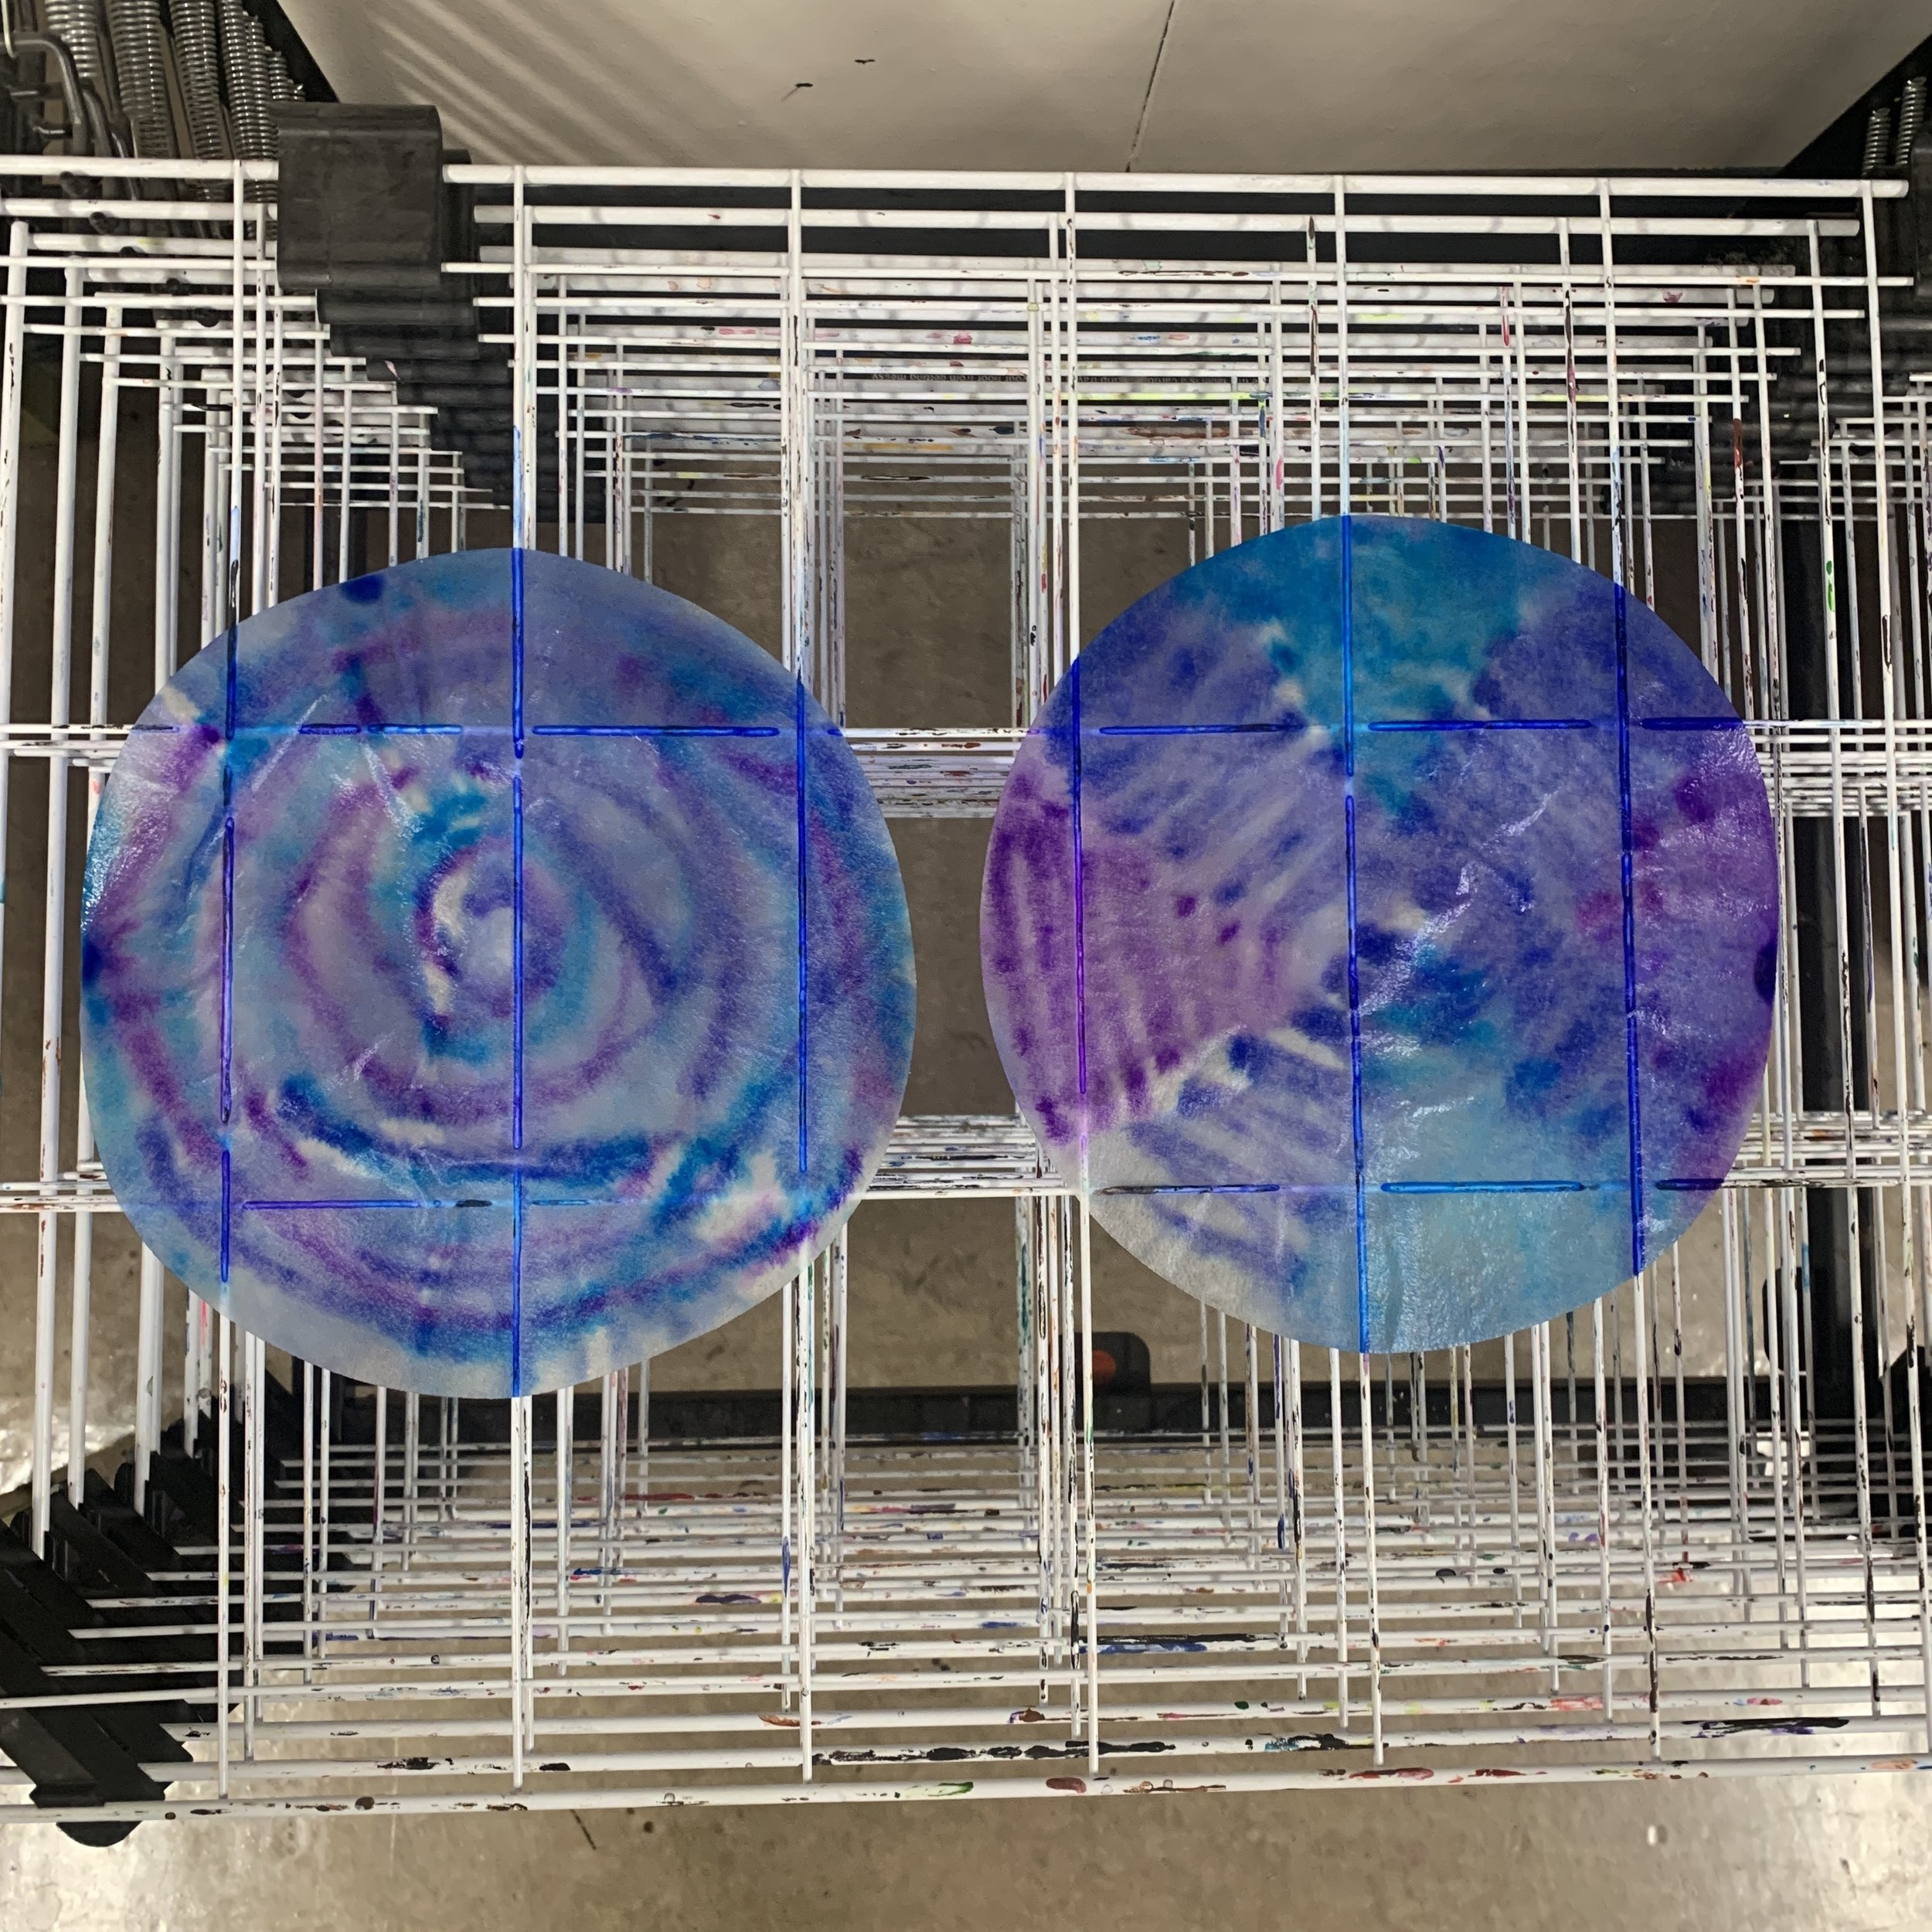
Dry on a drying rack of possible. If not possible, leave to dry on something that you’re not worried about staining (table cloth, cookie sheet, tinfoil etc.)

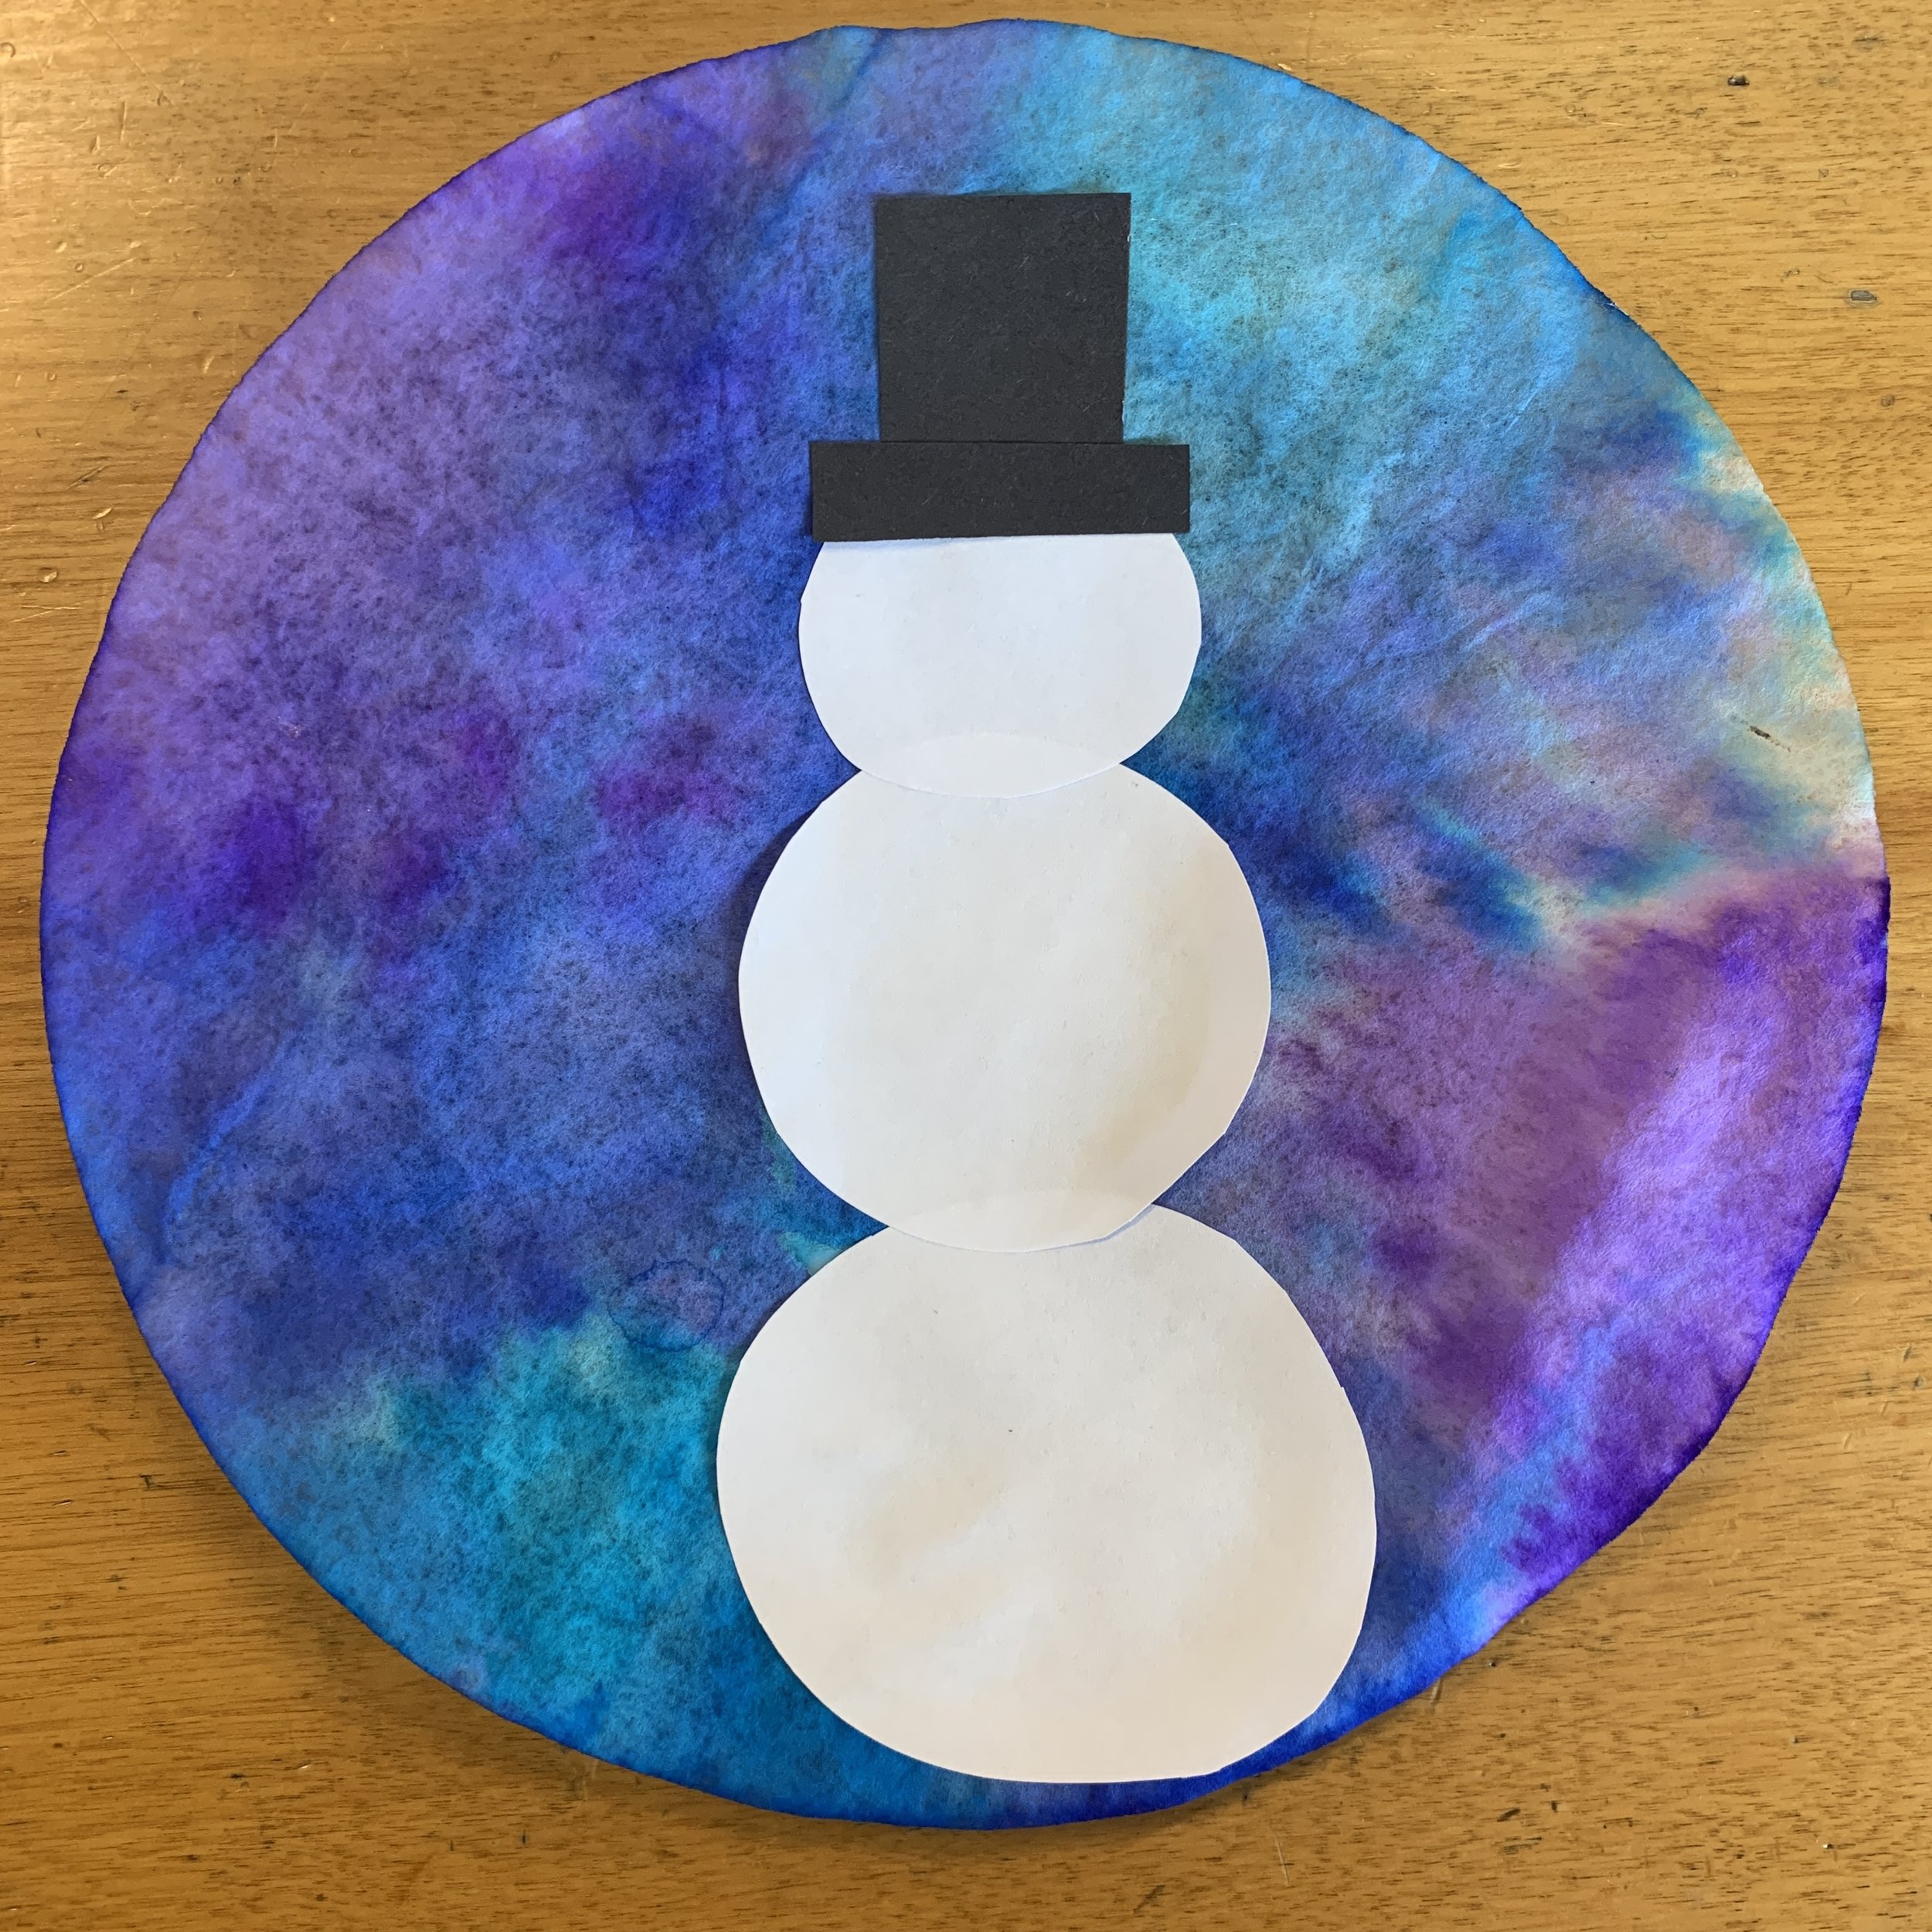
Step 2:
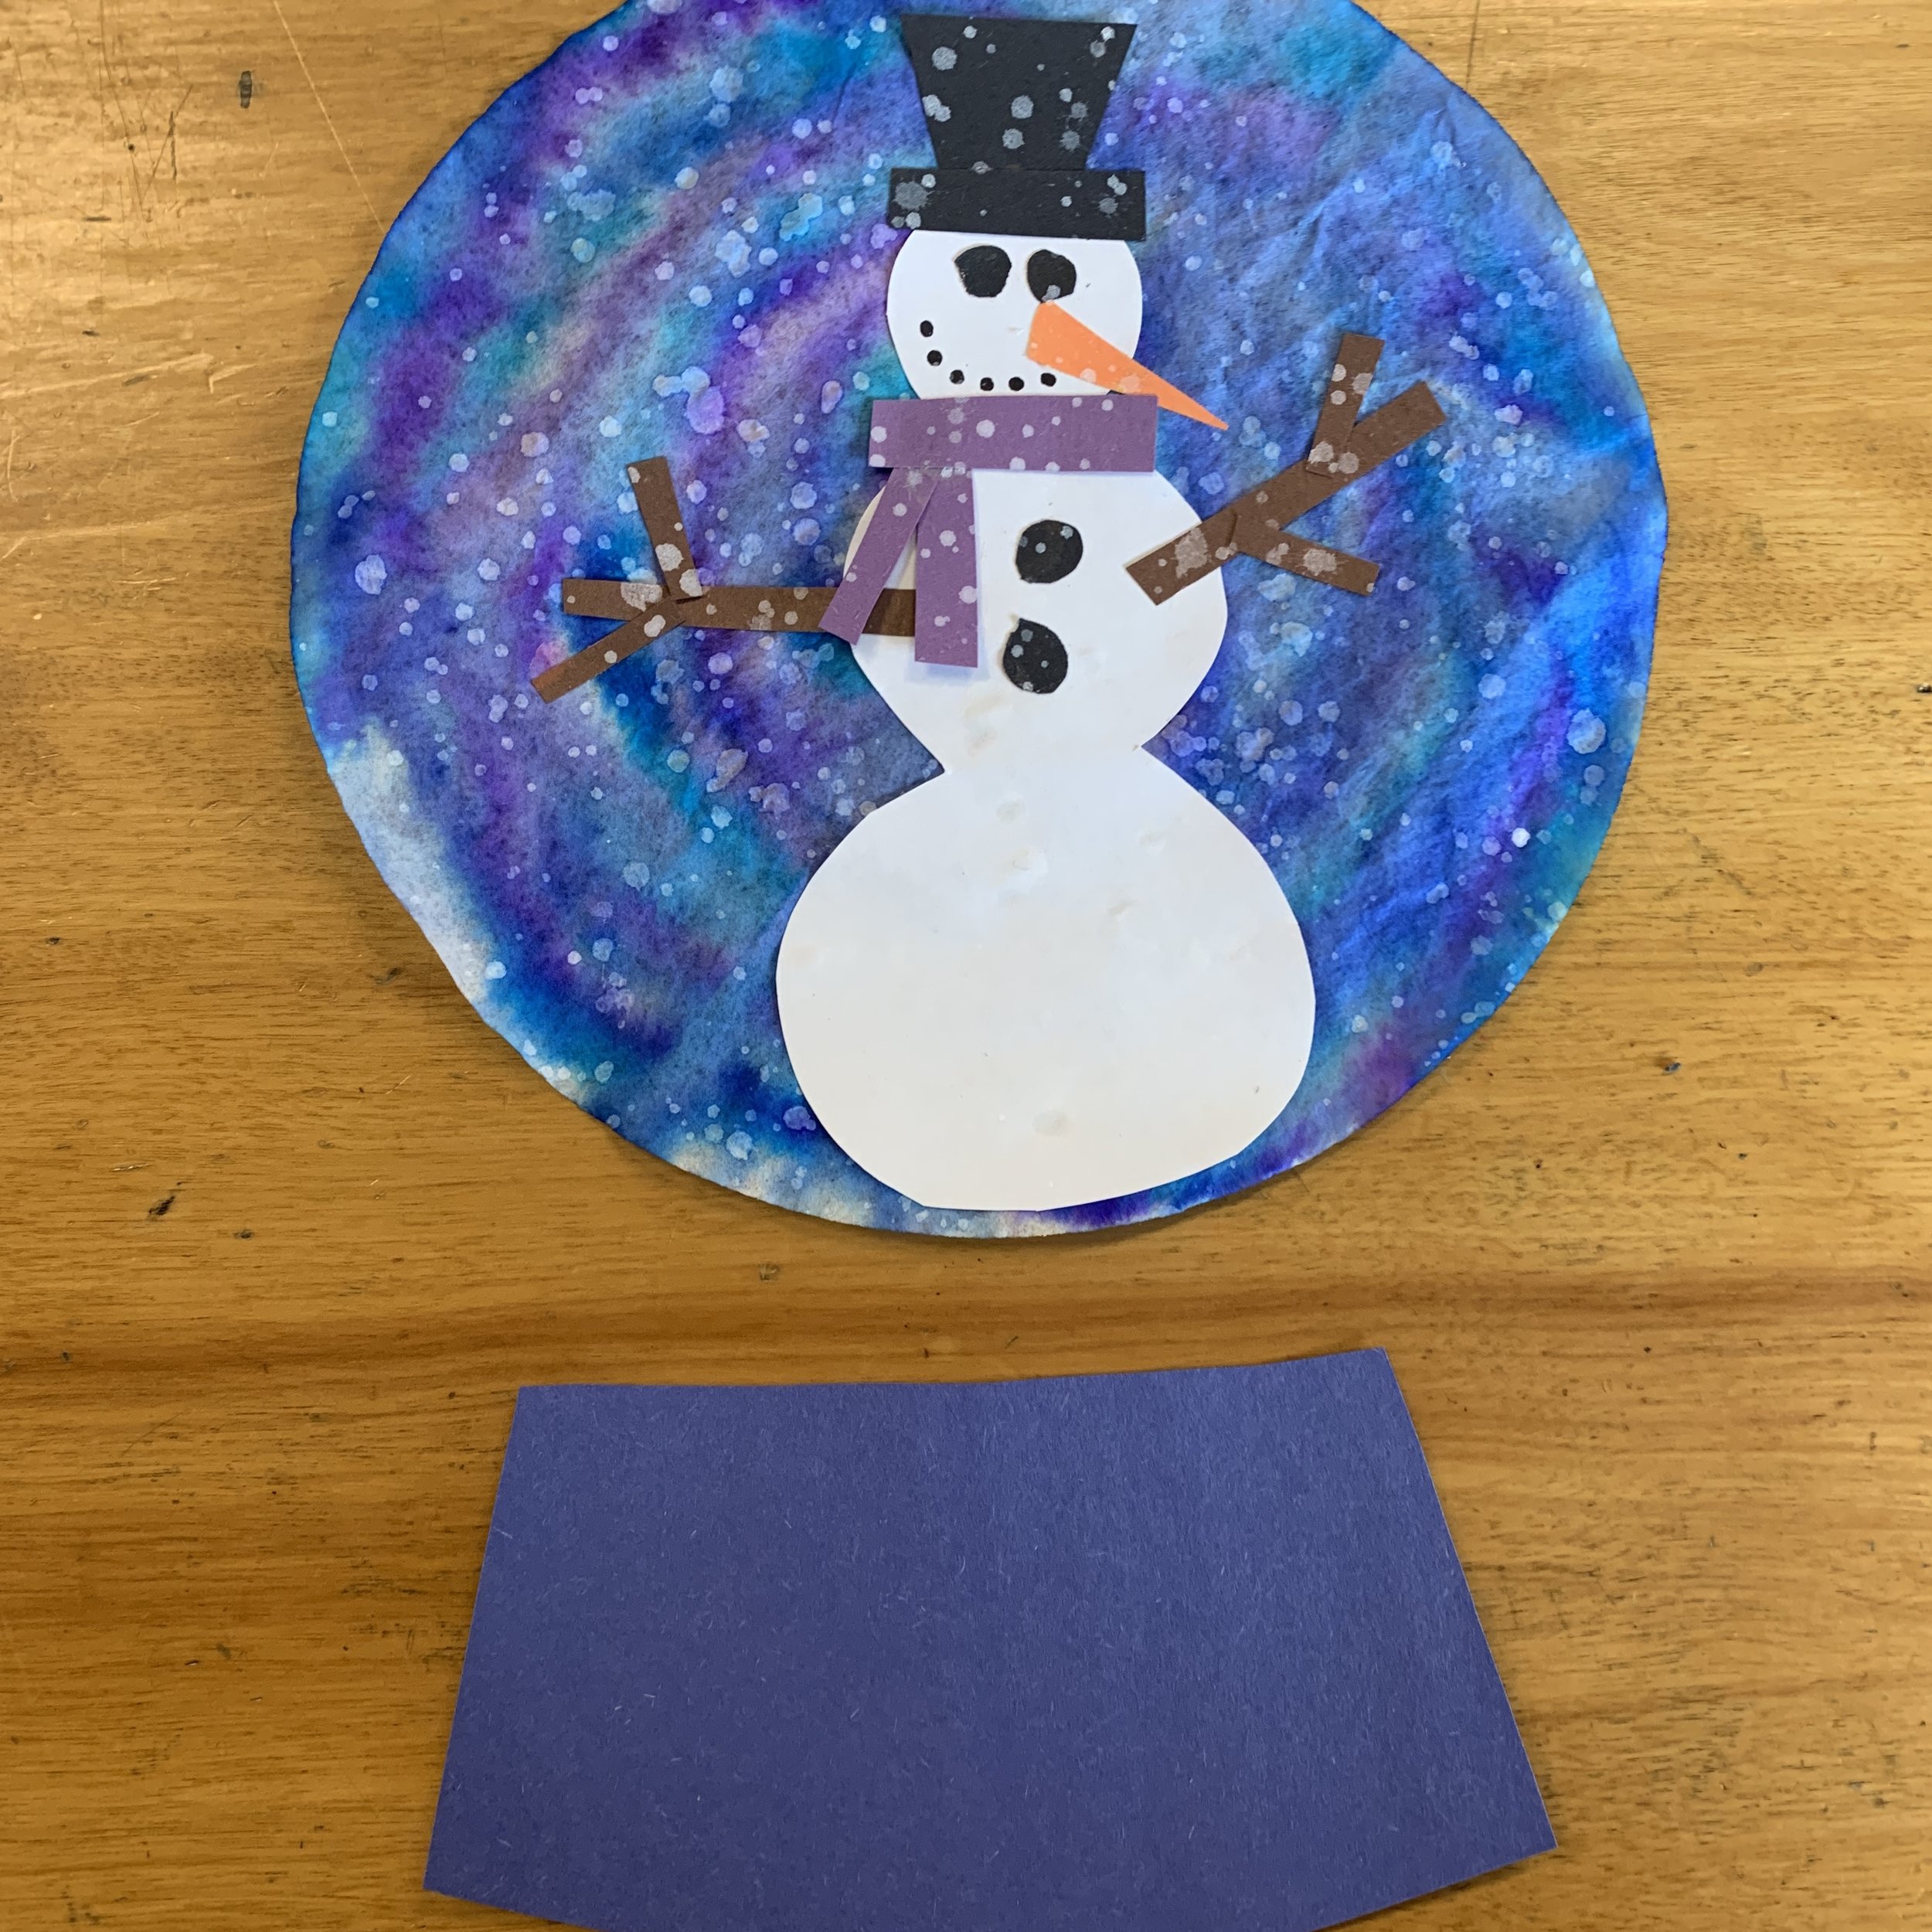
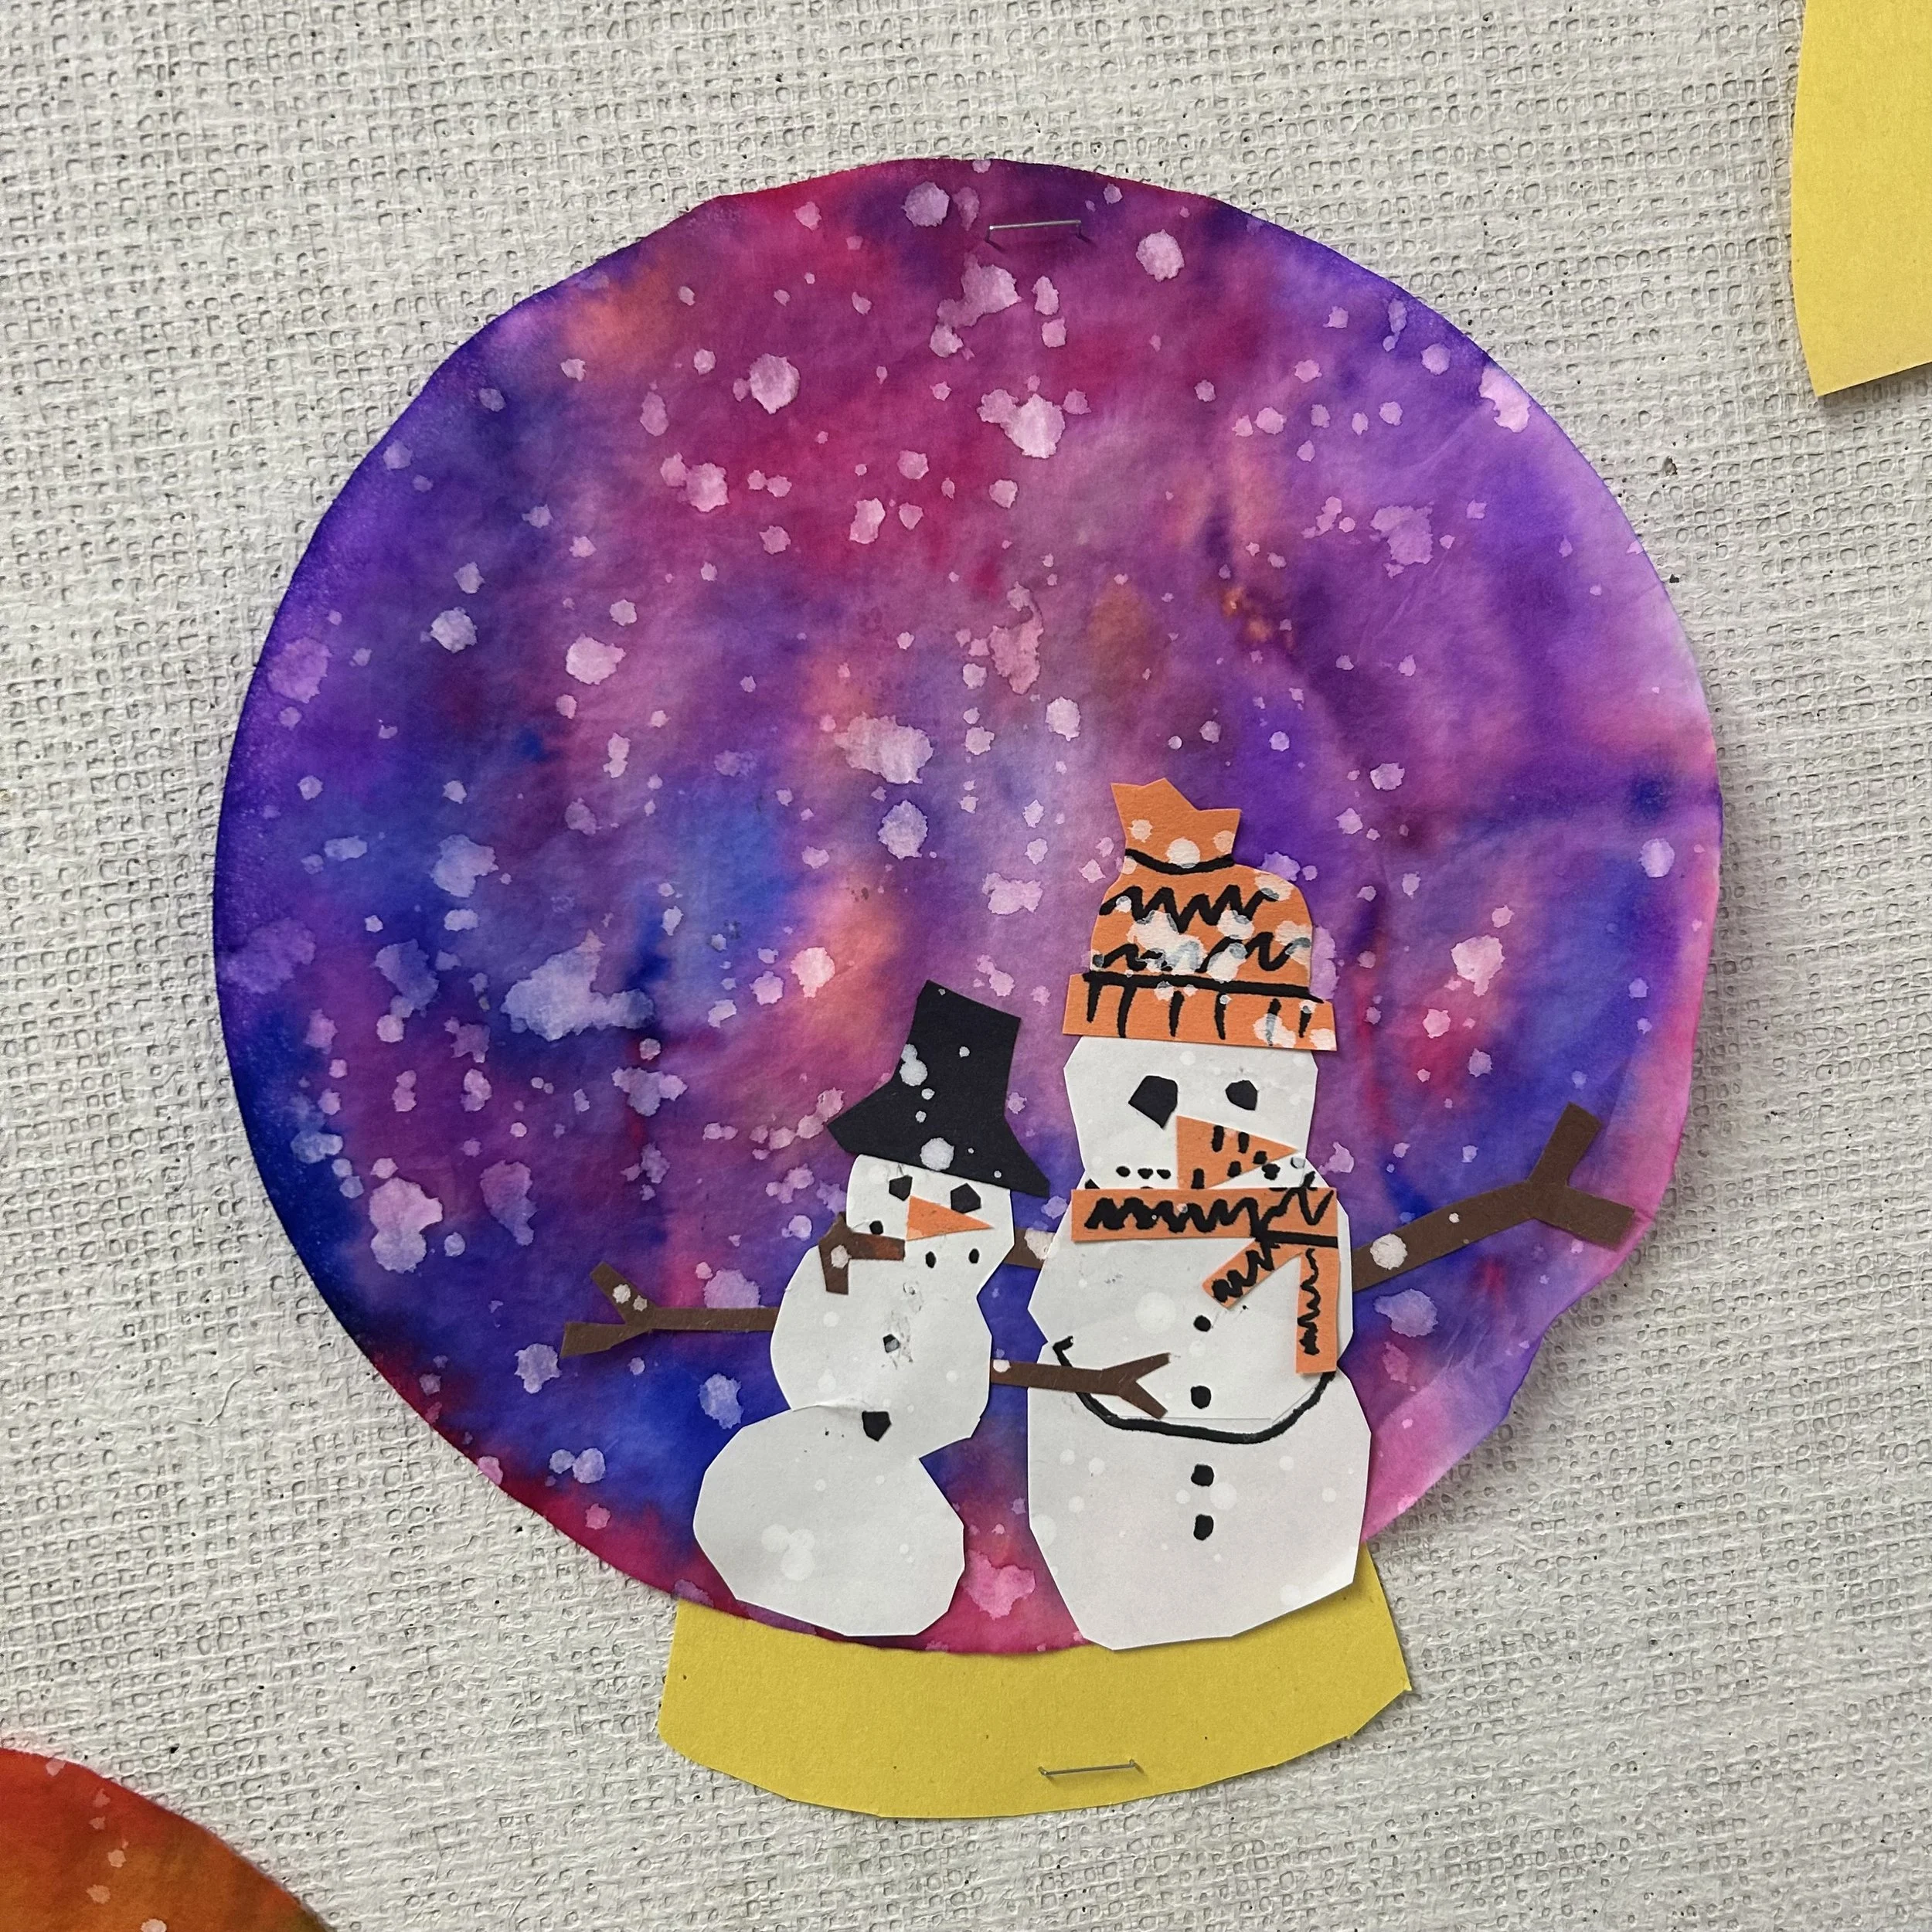
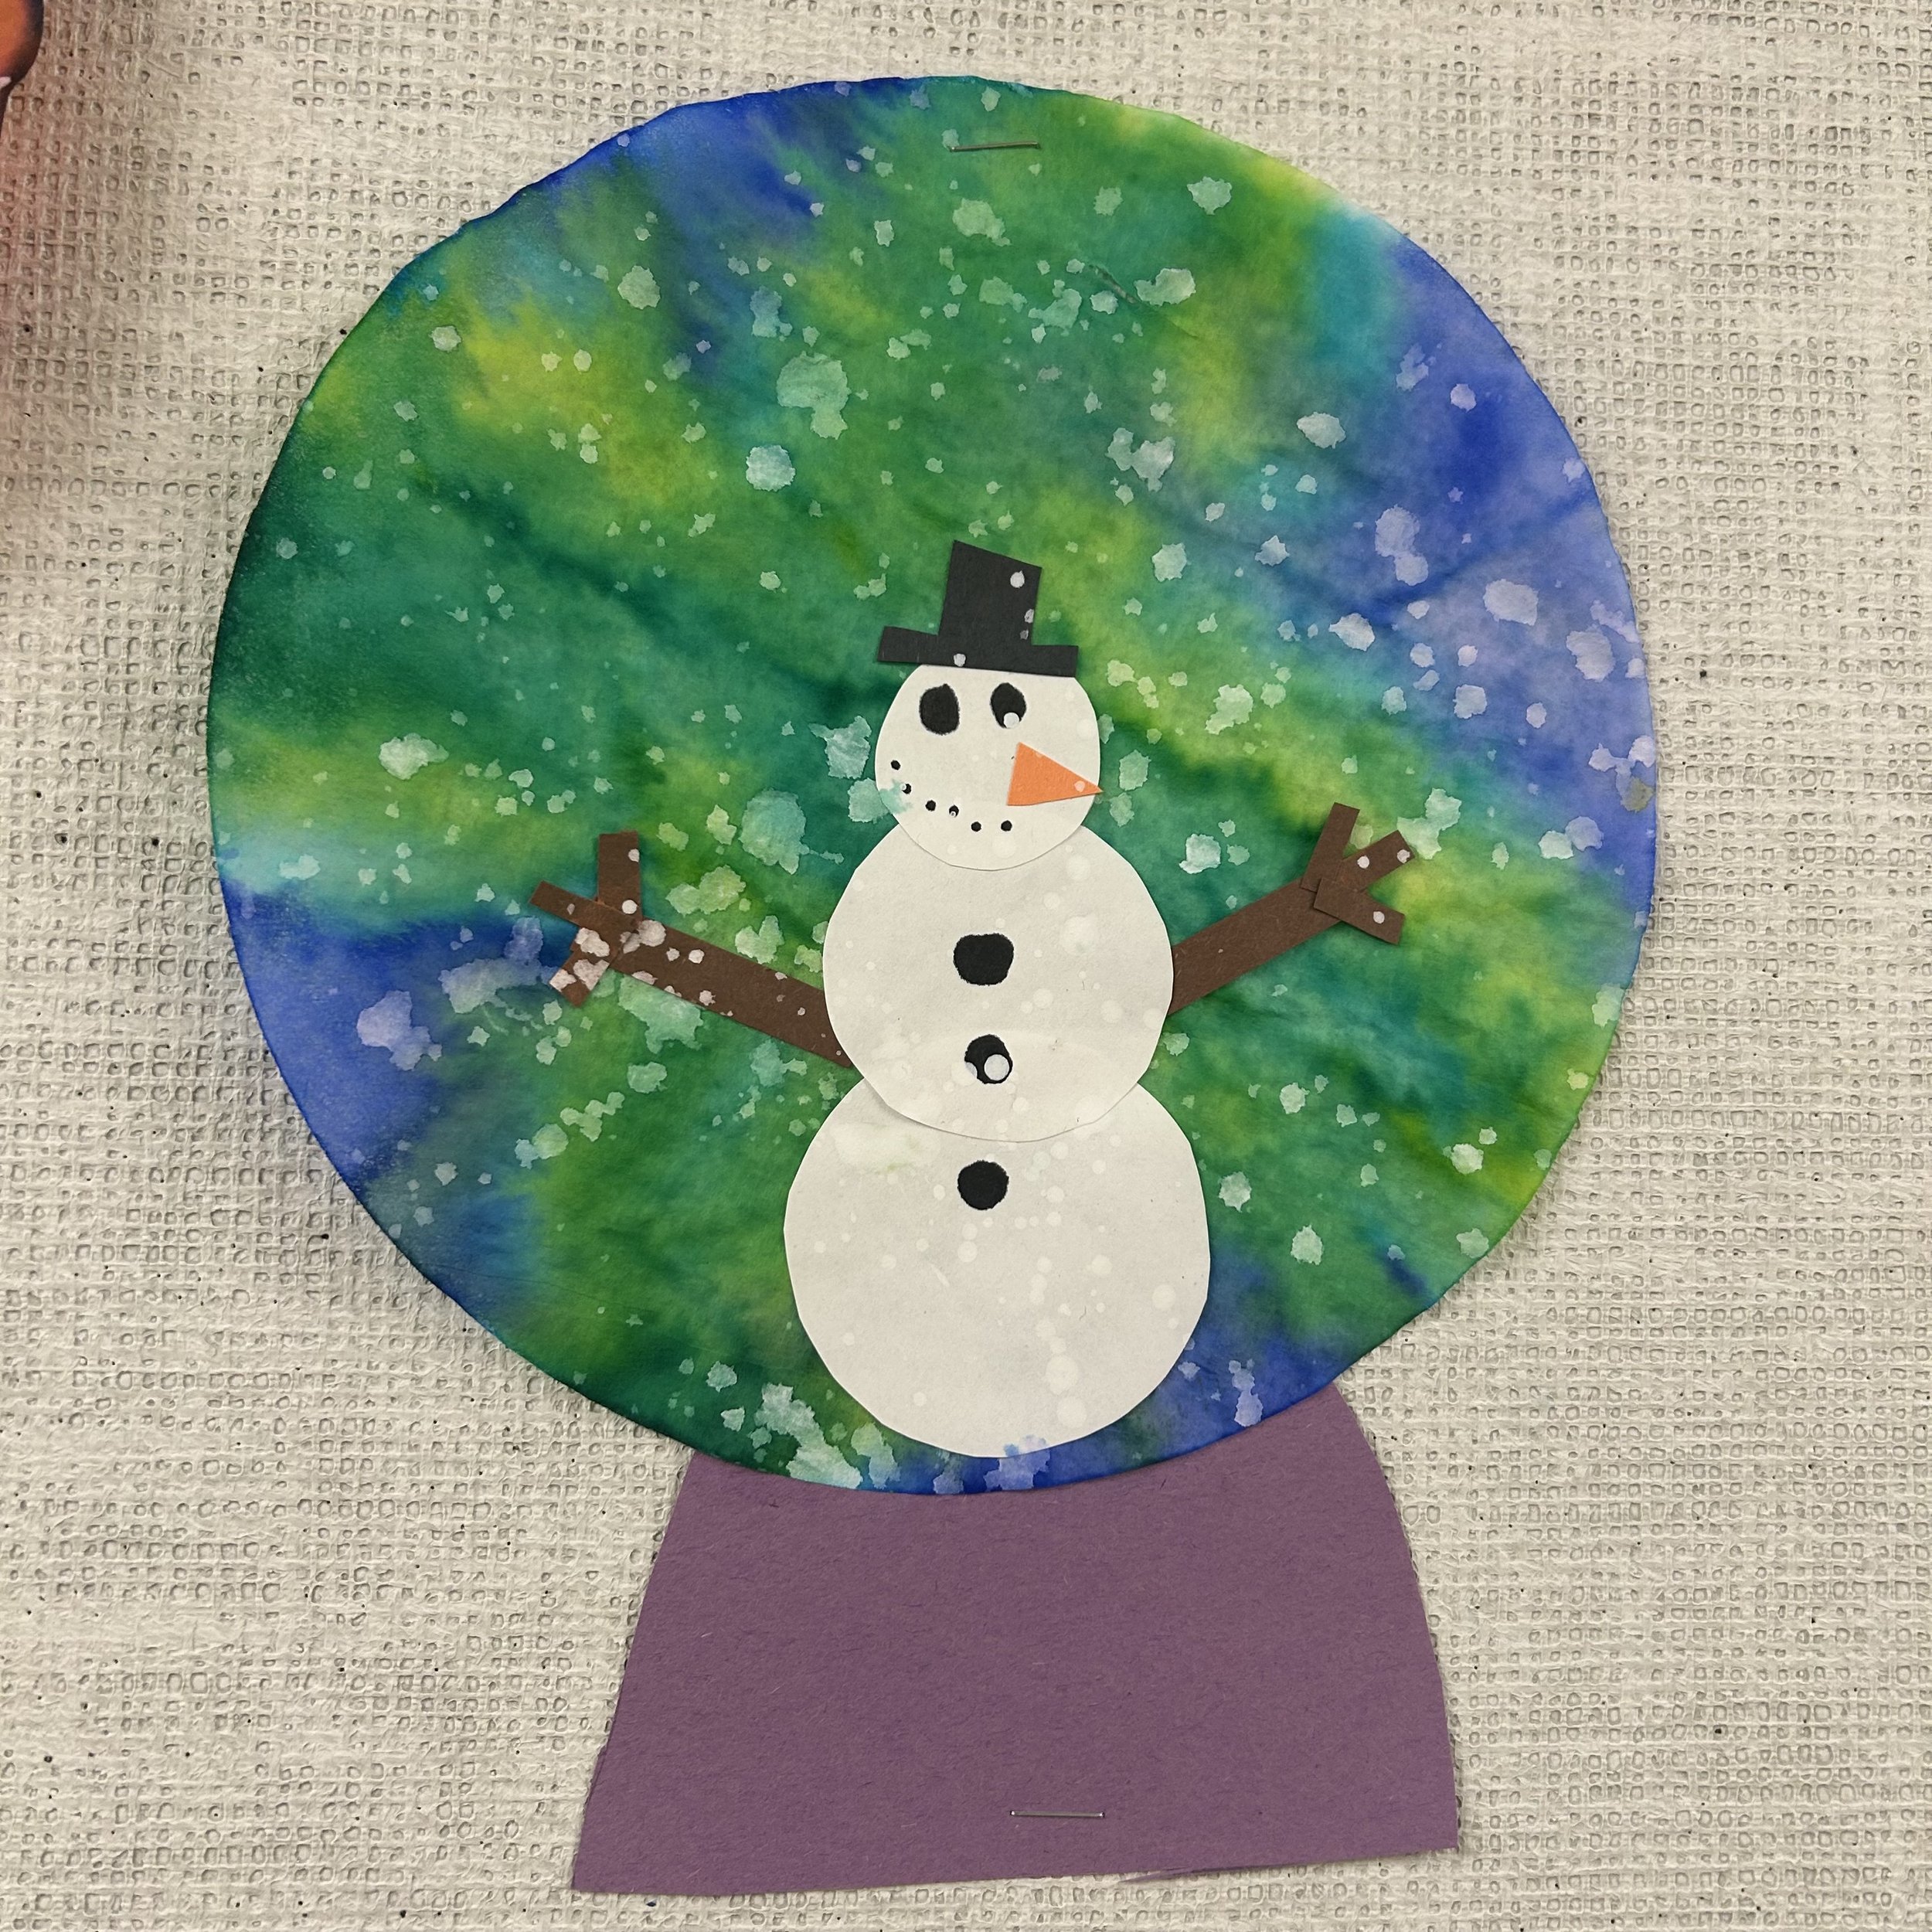
Cut out a snowman to place inside your snow globe. Can be done with three separate balls that are glued together or a single snowman shape.
Glue the snowman onto the dyed coffee filter.
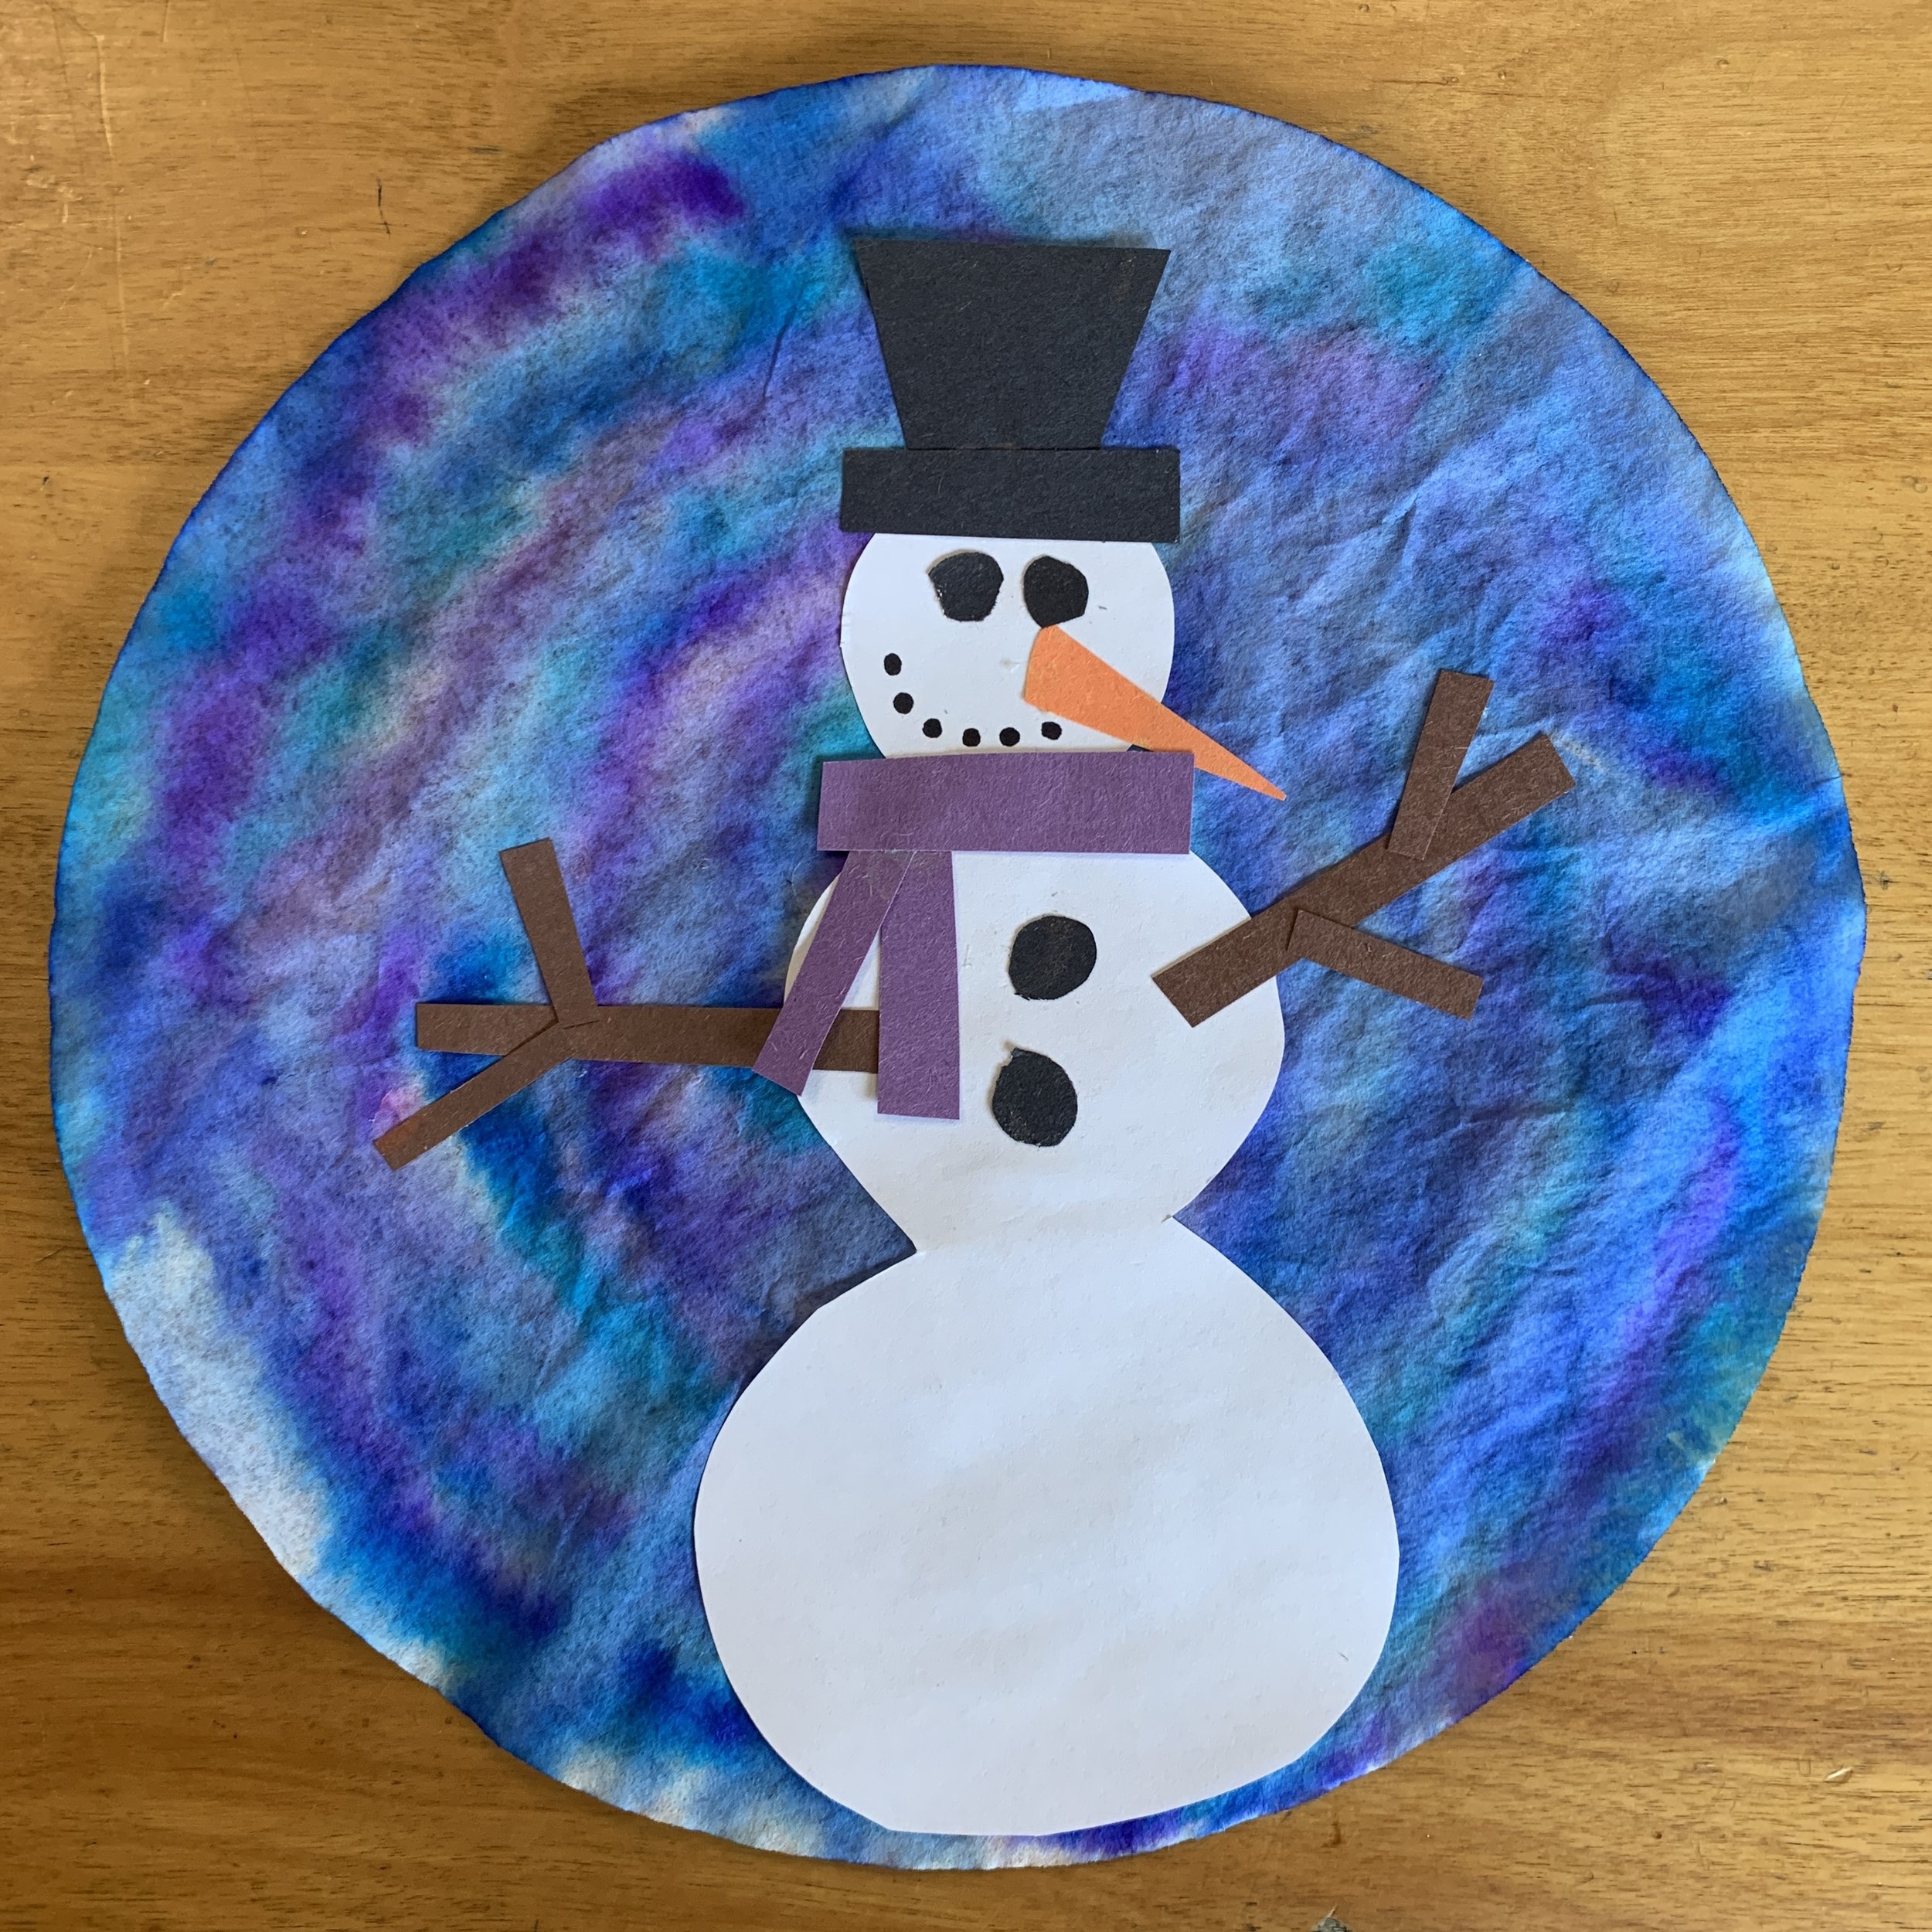
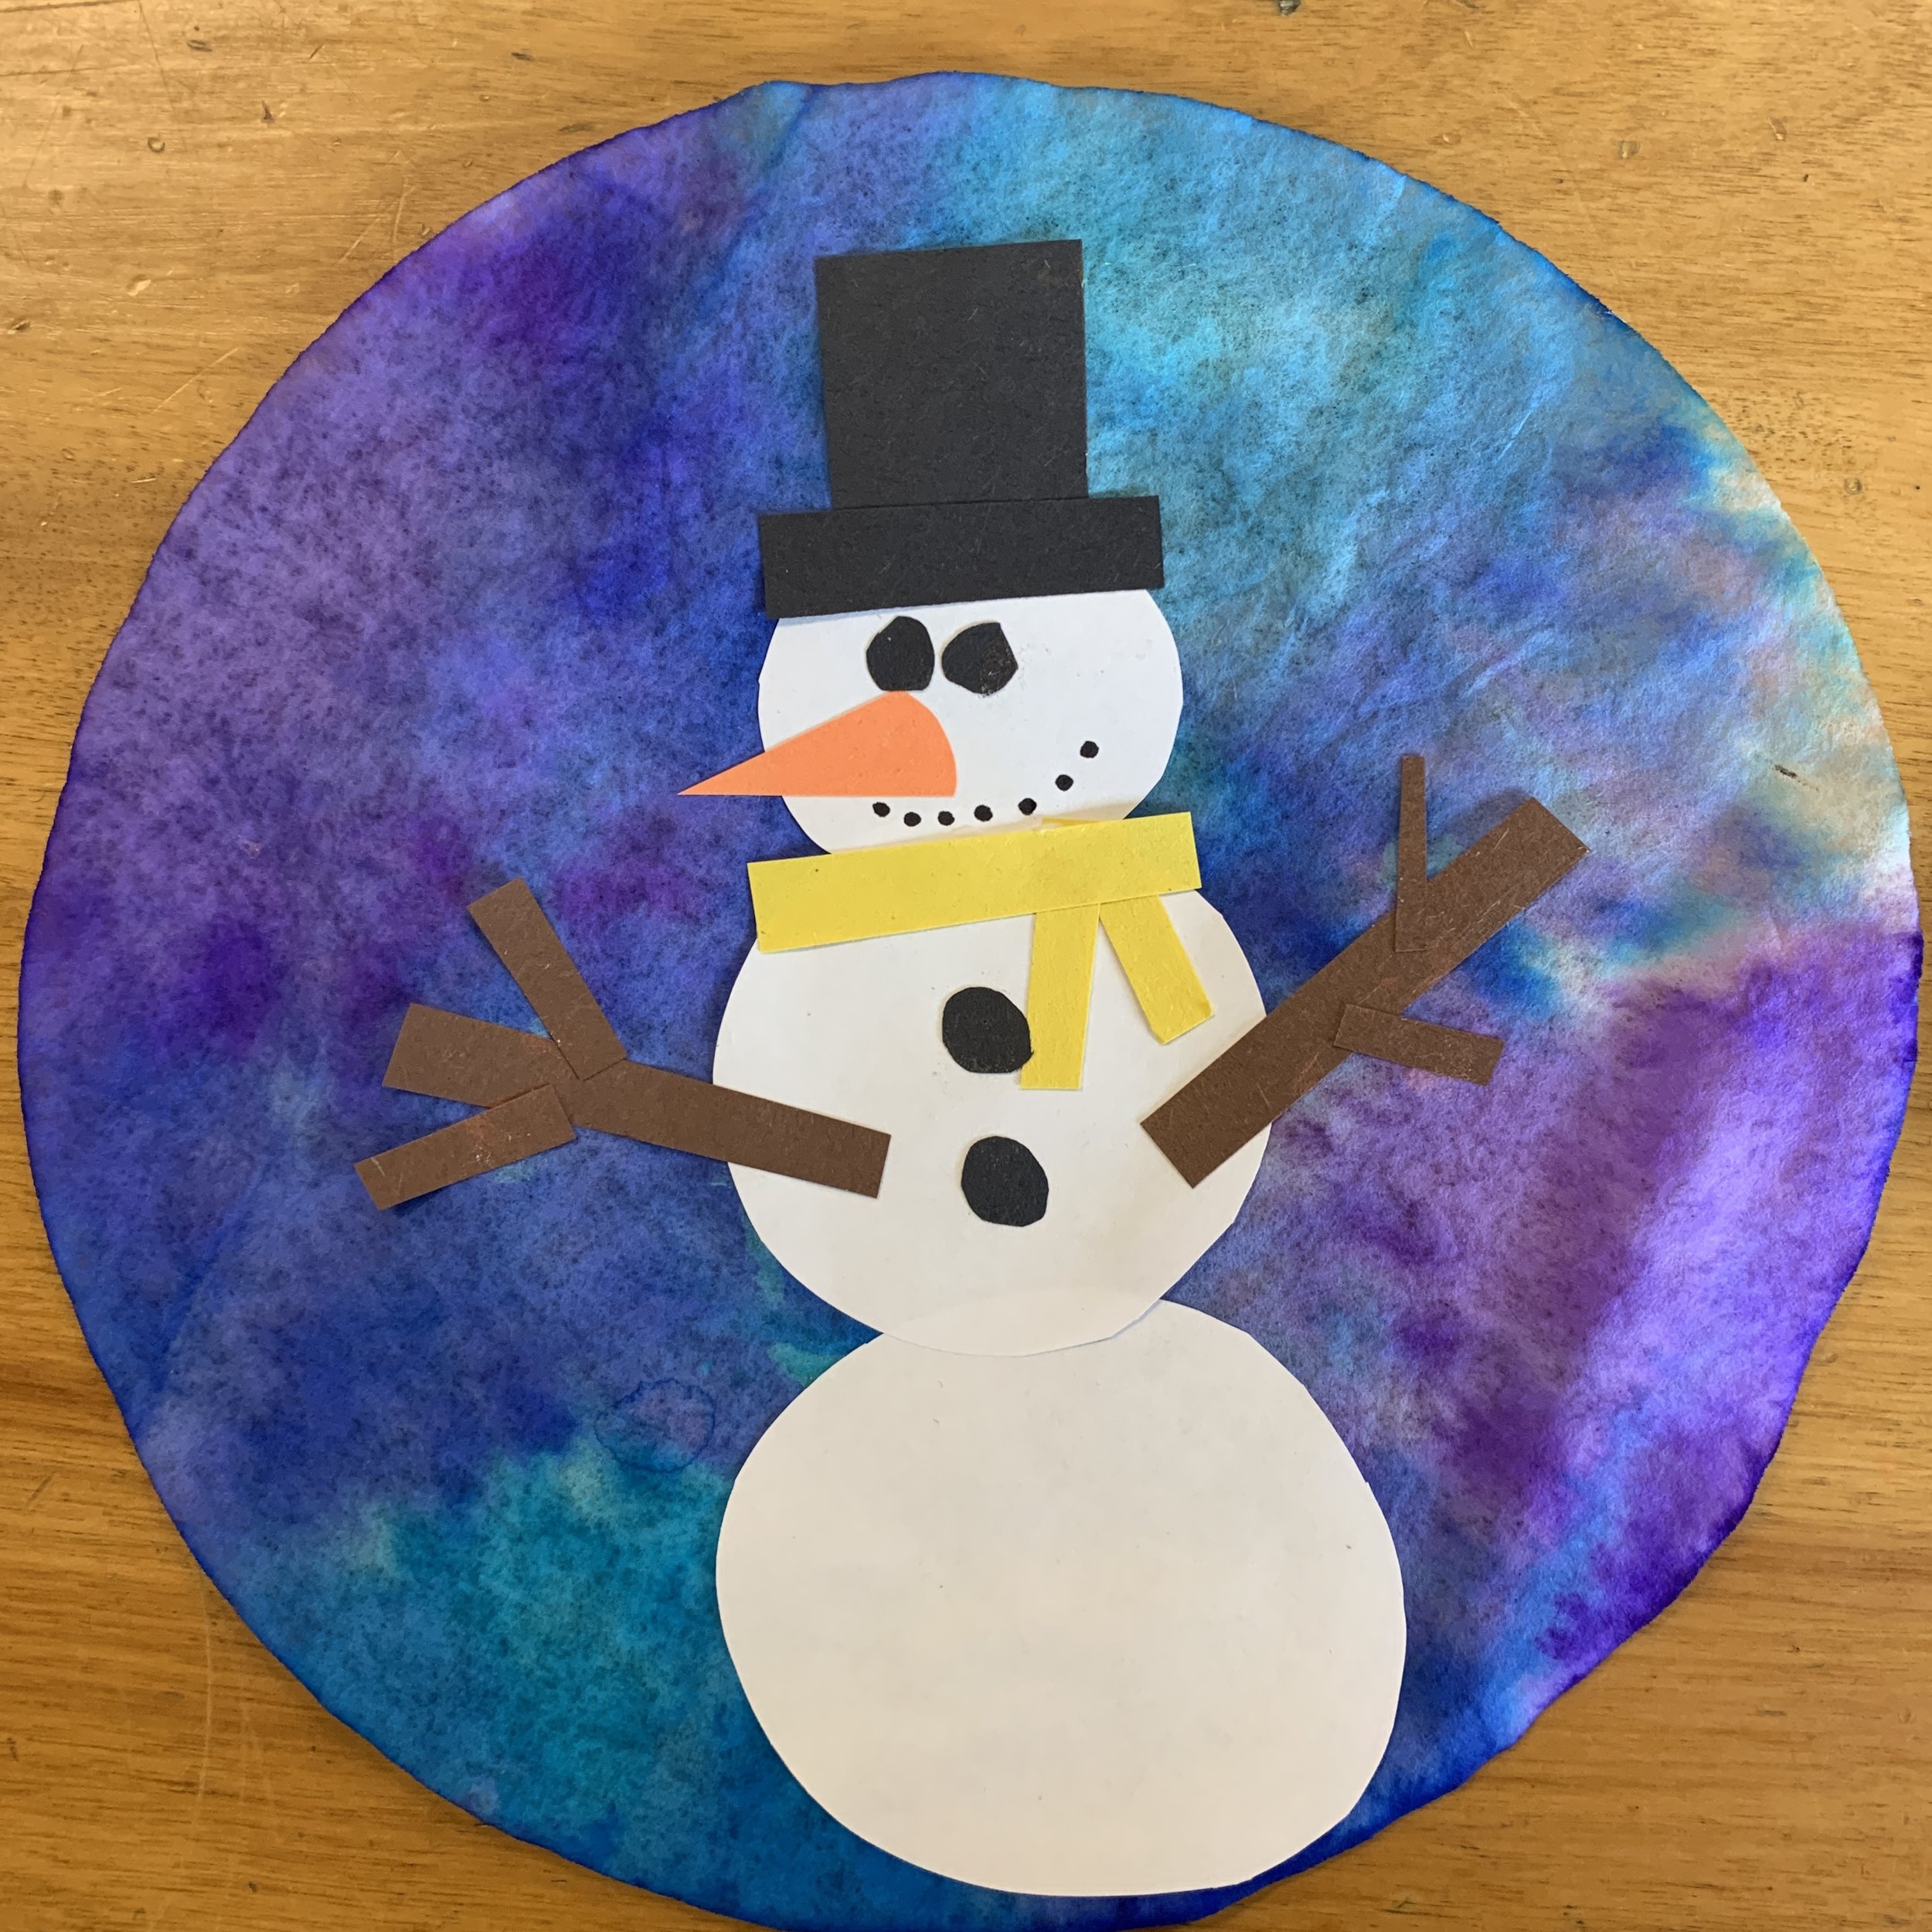
Use construction paper and/or markers to add details like the hat, eyes, nose, mouth, scarf, arms, buttons etc.
Choose a snow globe base colour and cut one out.
Glue the base onto the globe.
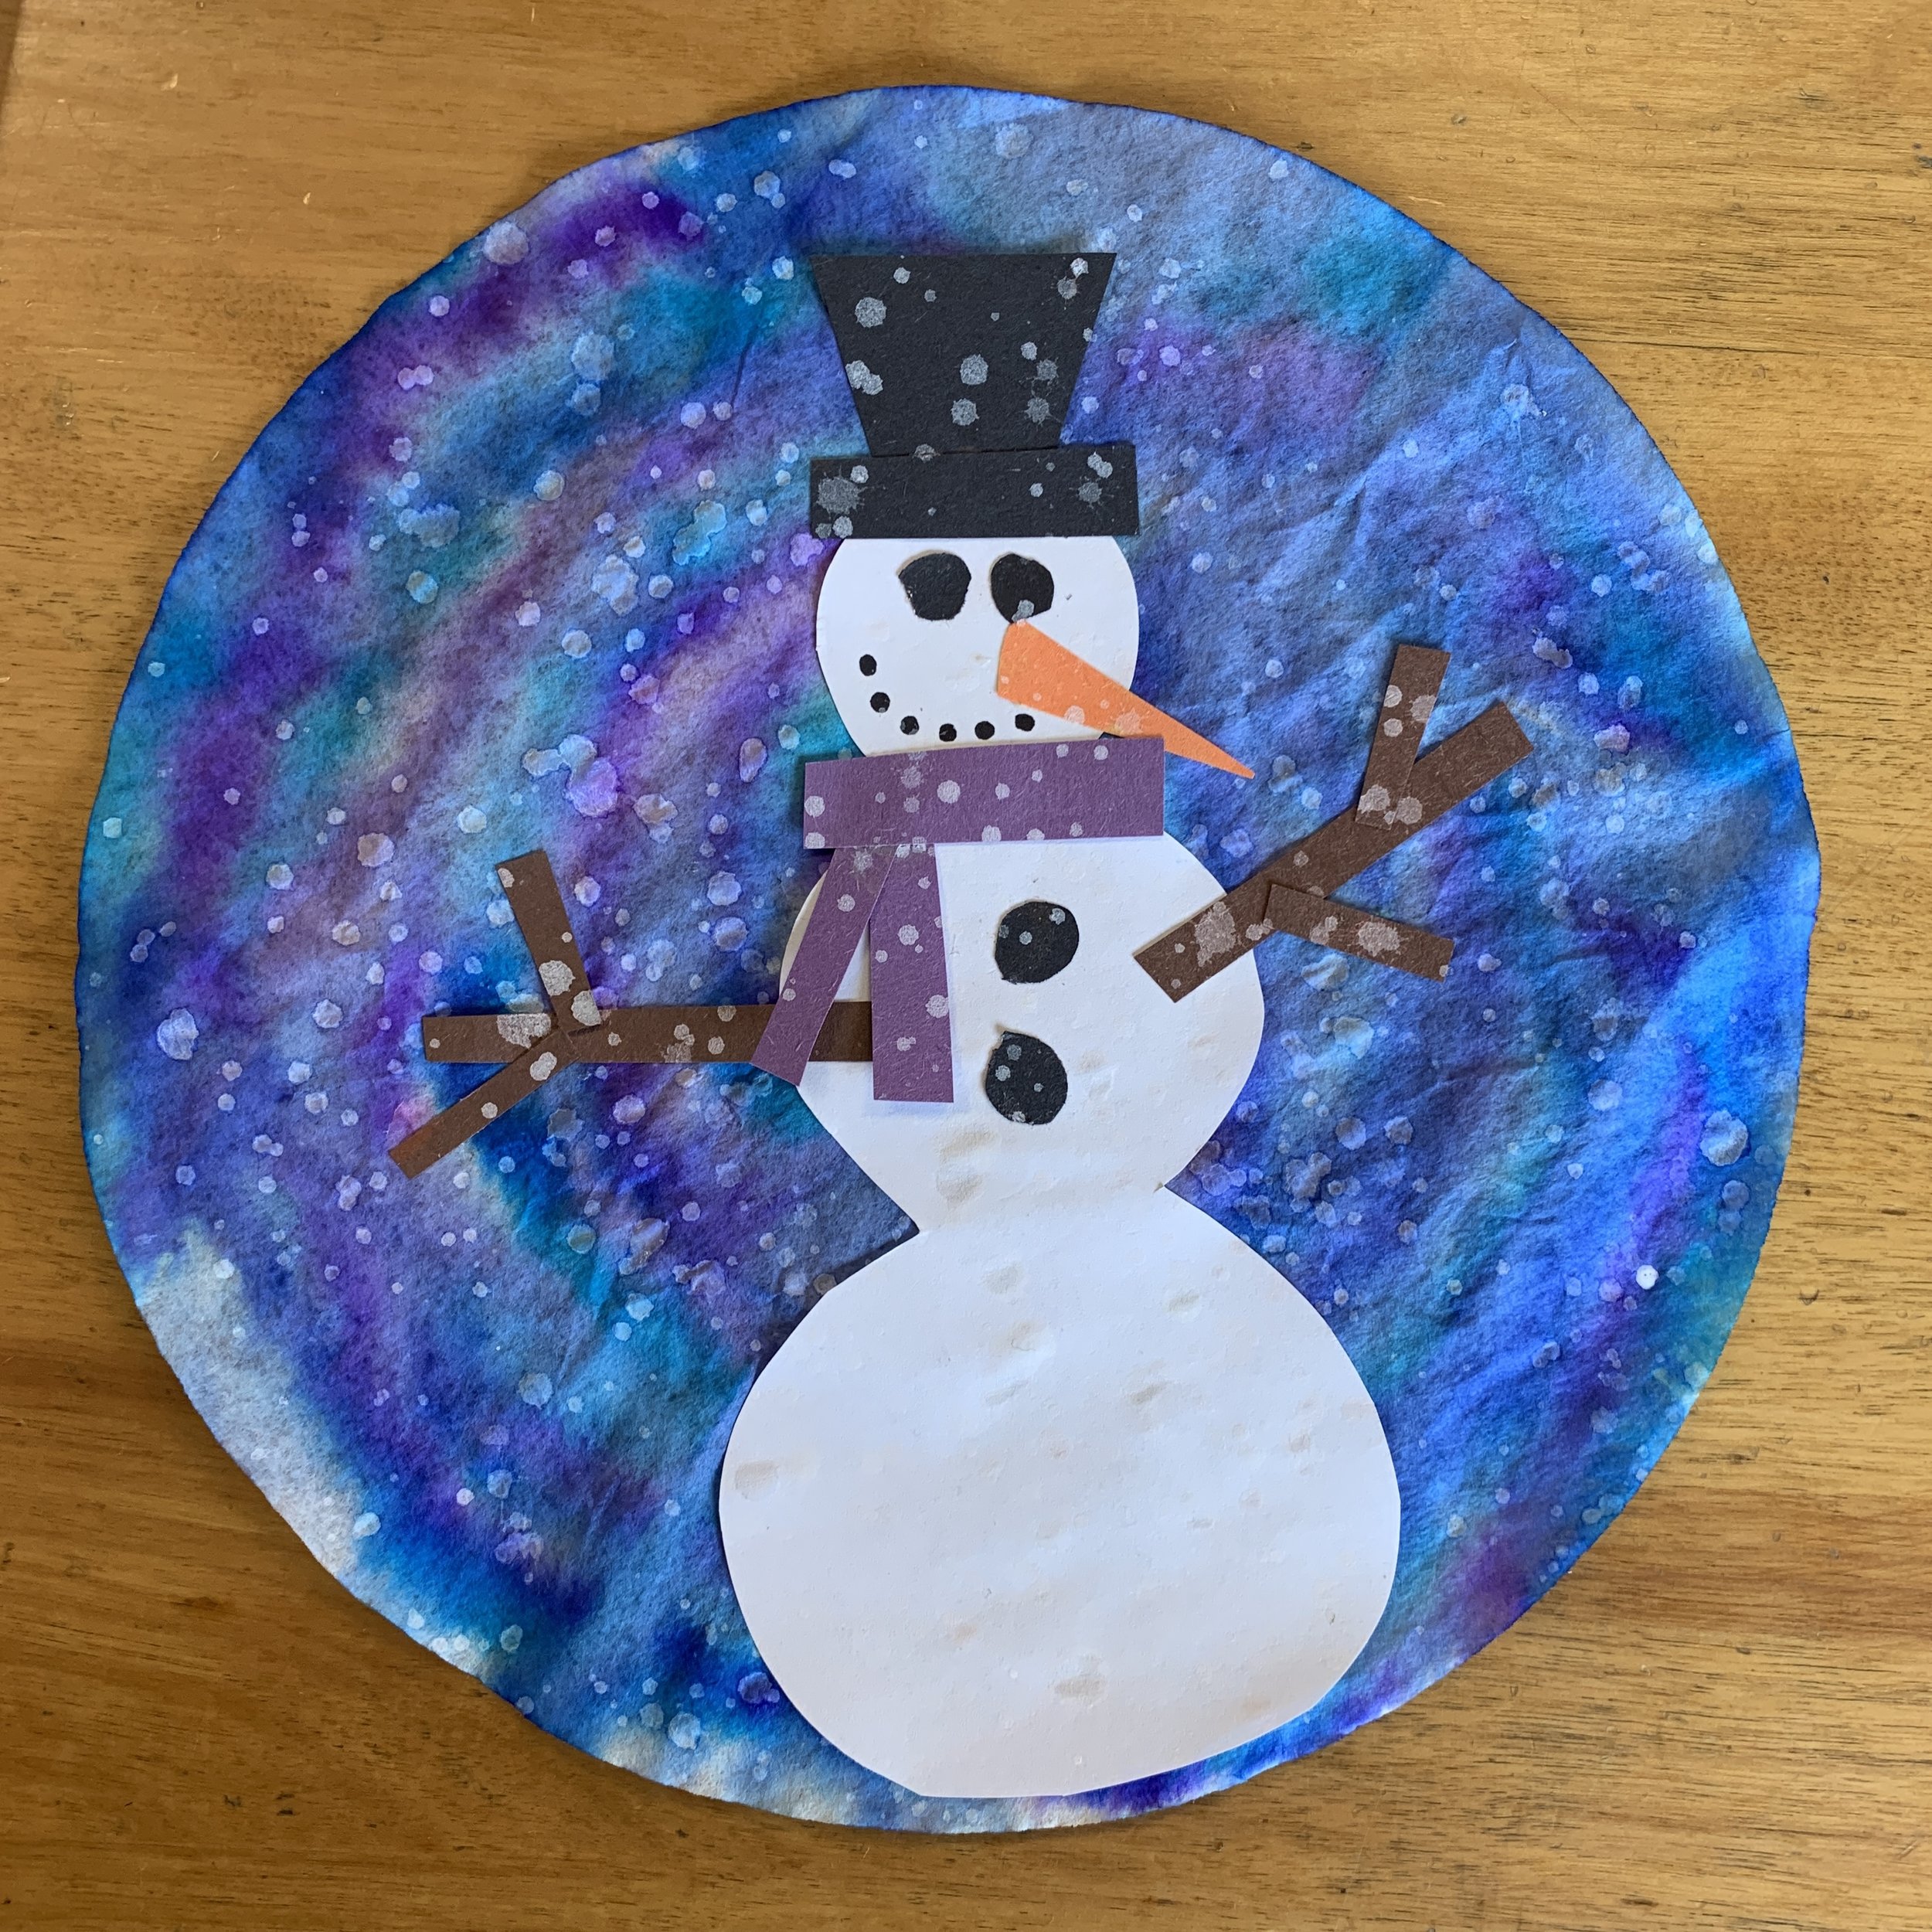
To add snow, I like to mix a tiny bit of water with white acrylic paint to loosen it up. Then we go outside and splatter it. Alternatively you can just draw on the snow or use a Q-tip to dot it on.