

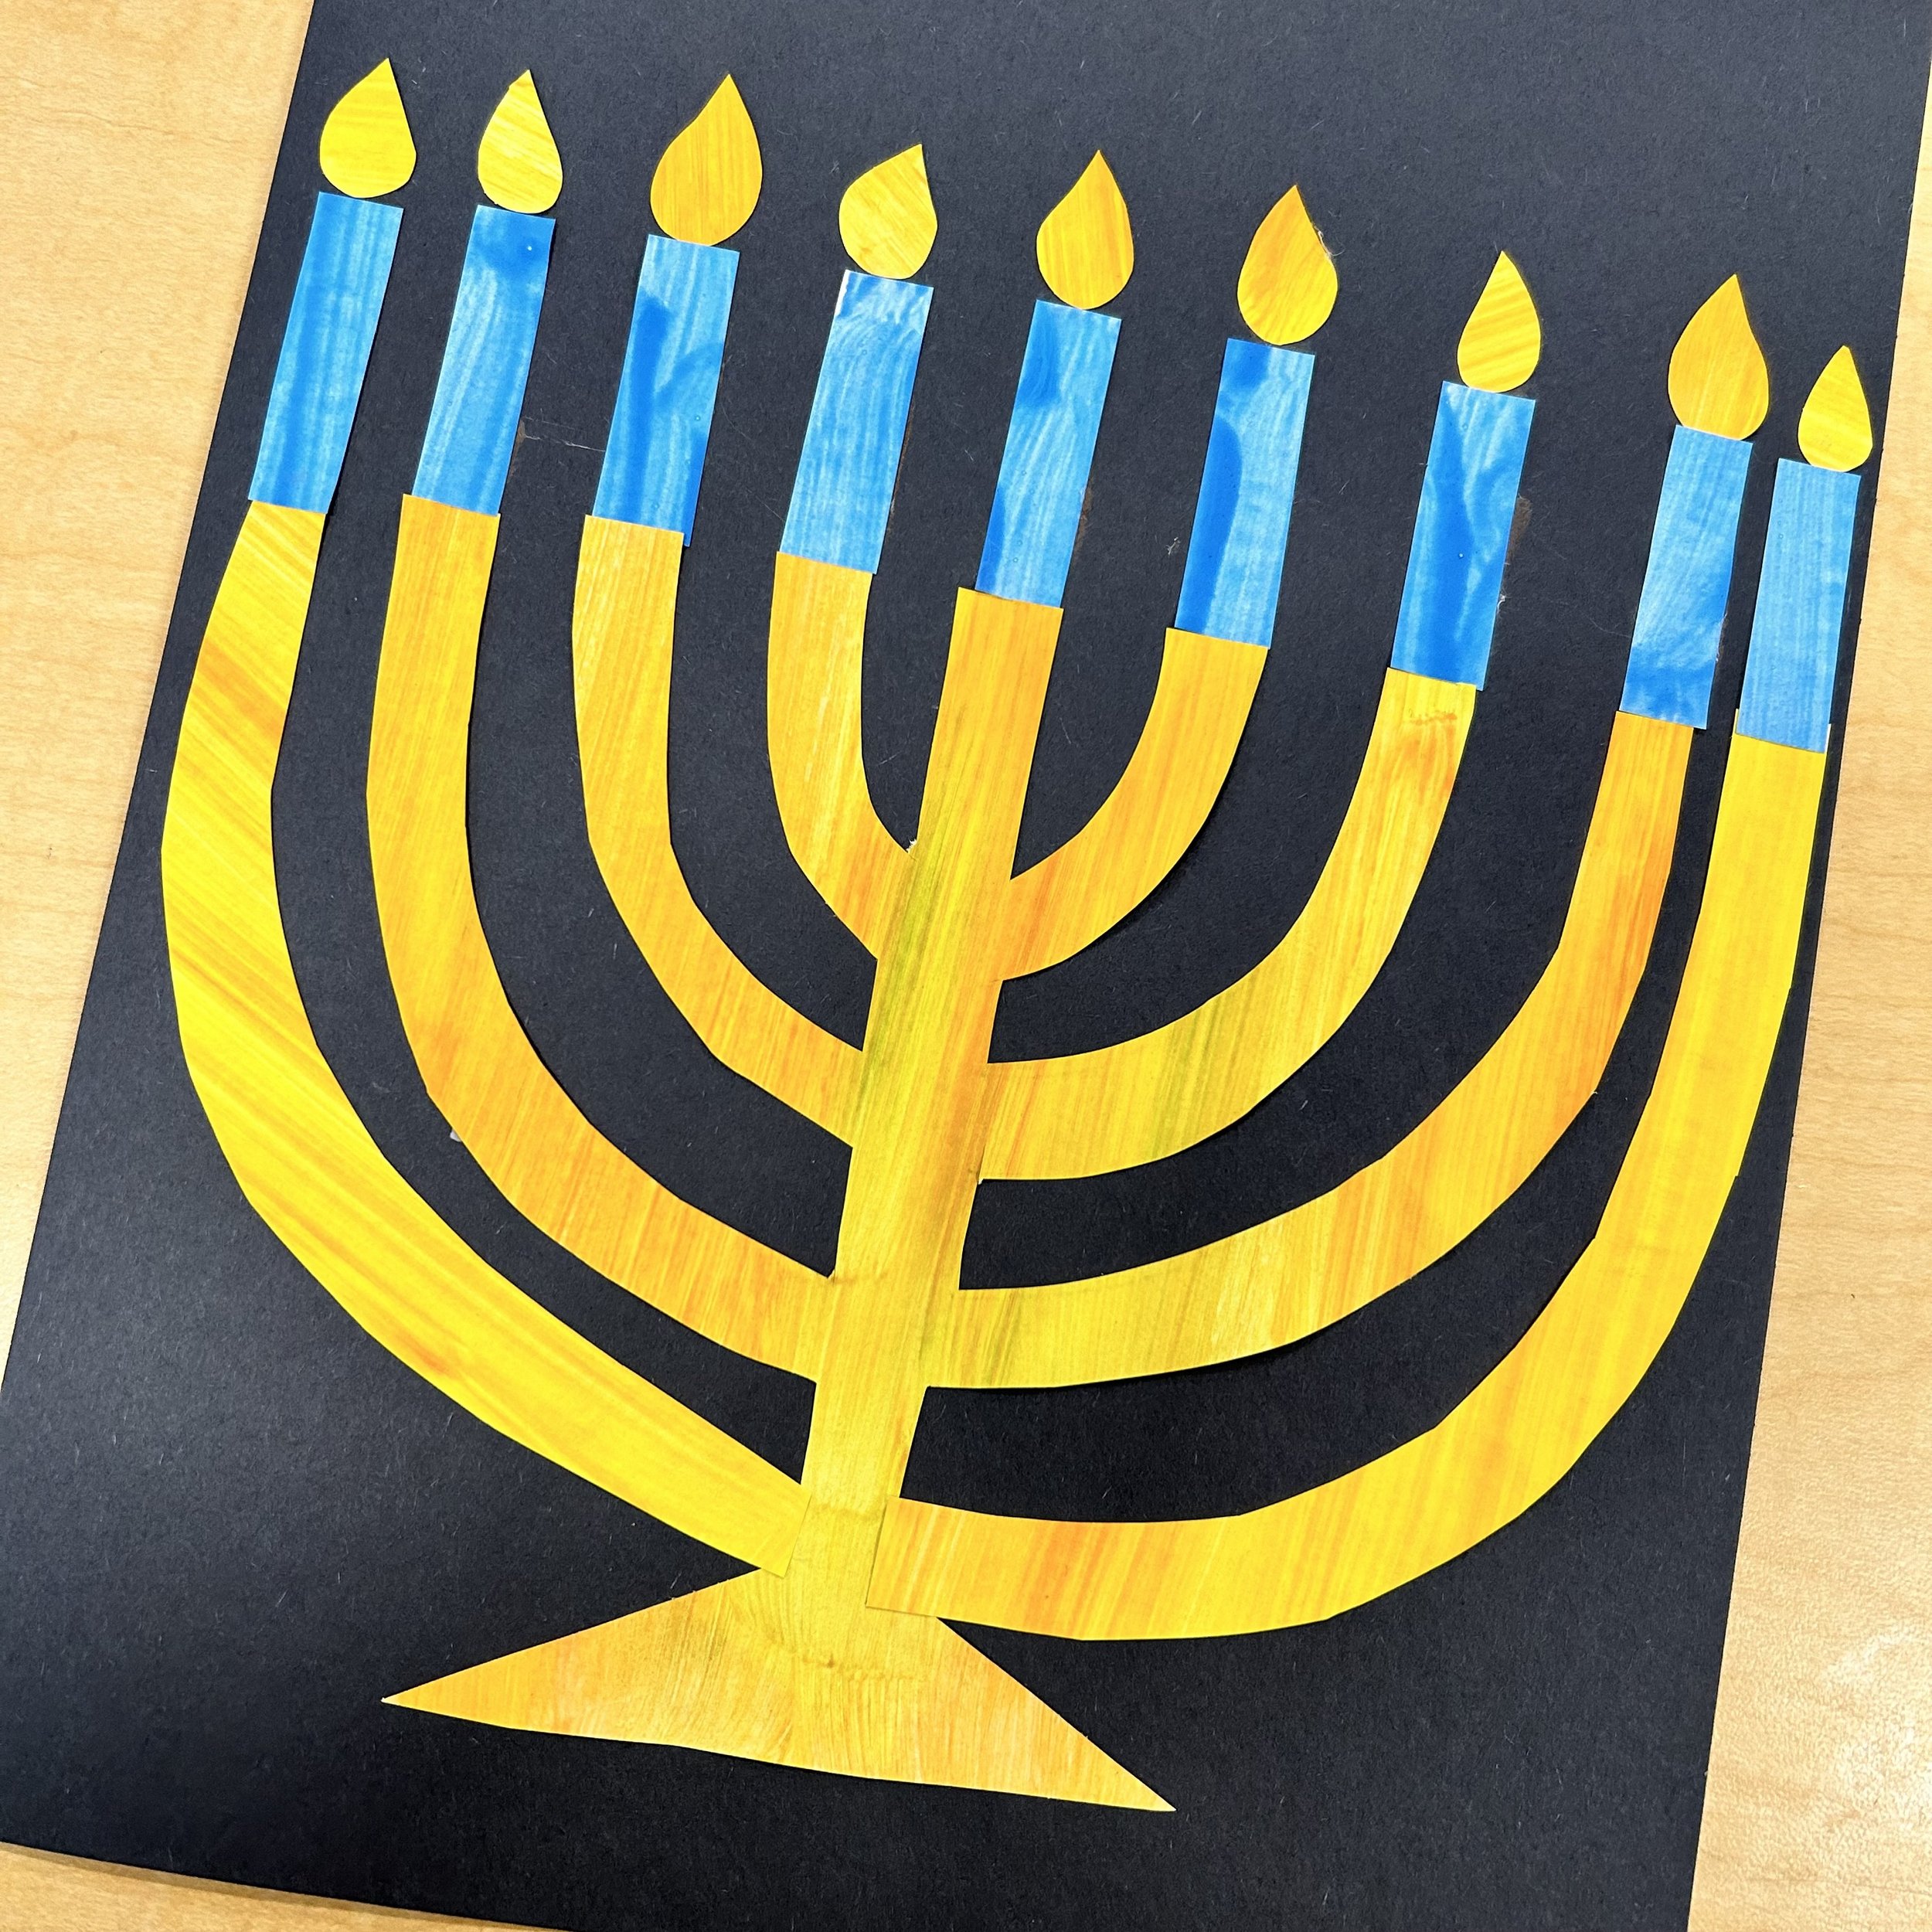
Painted Paper Menorah Hanukkah Art Project
Suggested grade: 2-4
Time required: 2 sessions (1 = 15 minutes, 2 = 30 minutes)
You will need to account for dry time in between steps.
Materials session 1:
White paper (each student needs 1 page with the menorah template)
Each student needs 1 page with the menorah template (download below)
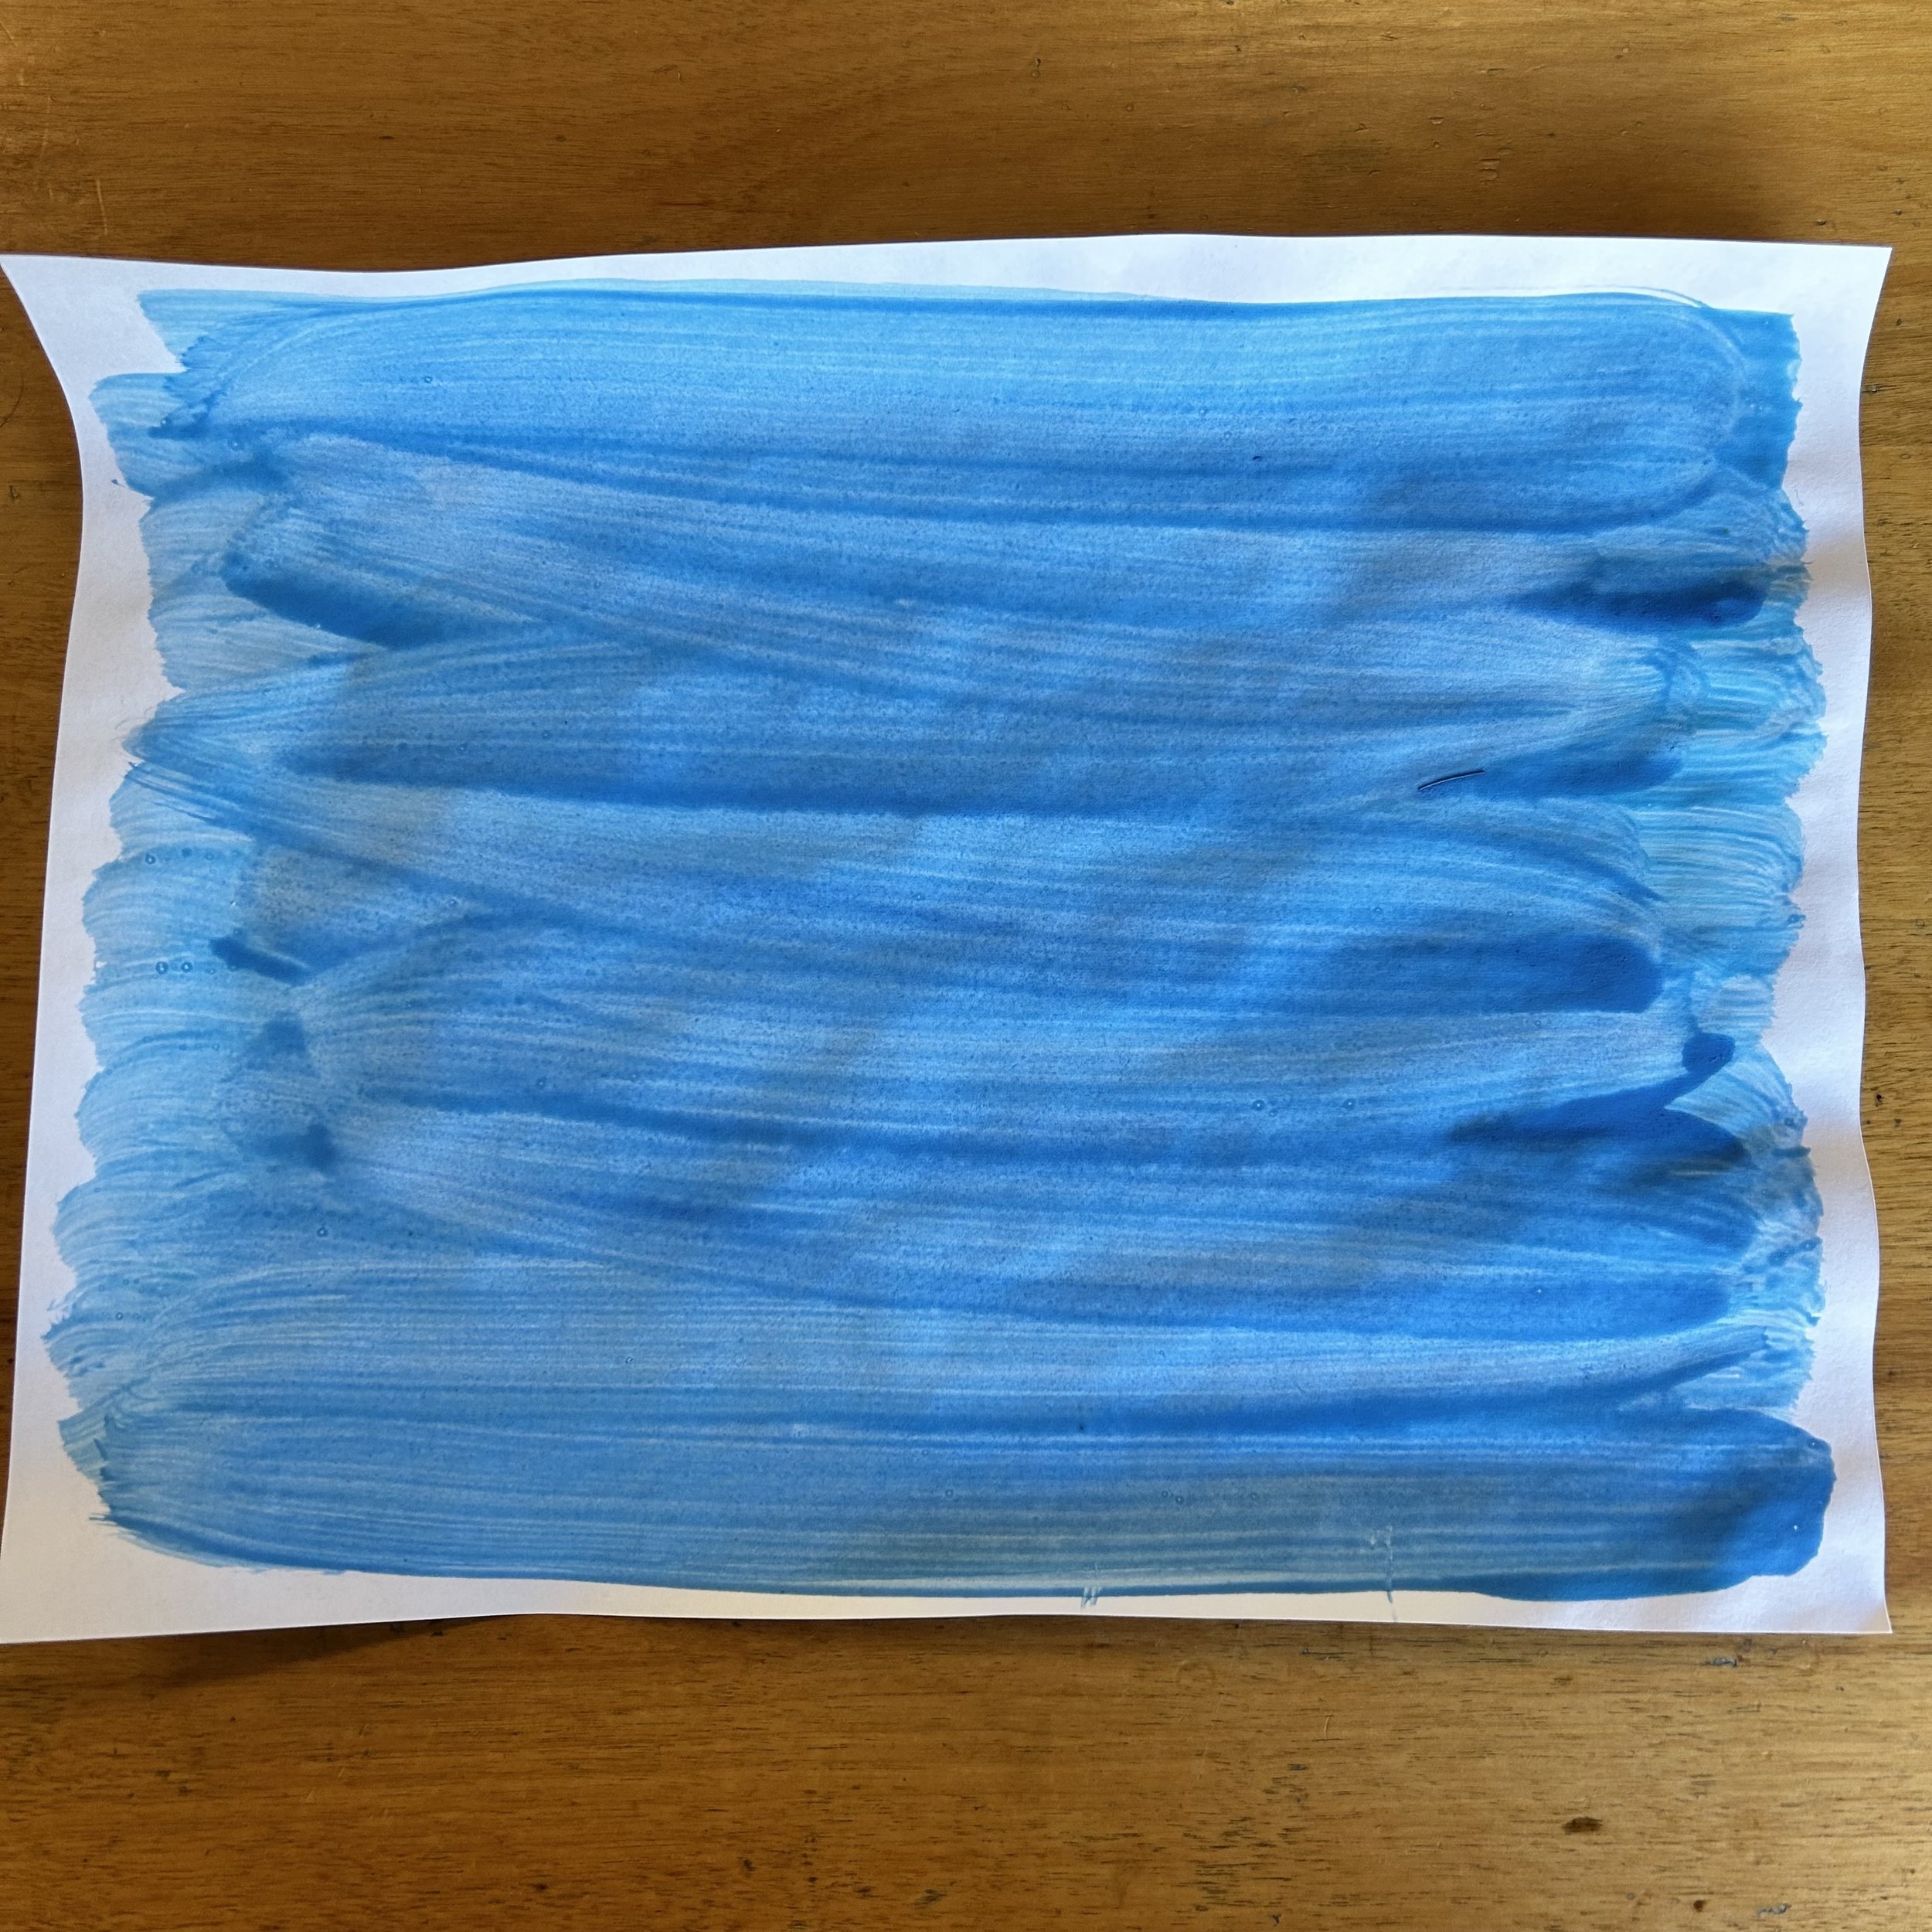
Each student will need 1/4 of a blue page so paint enough for each student to have their piece plus a couple extra just in case
Blue, yellow and orange liquid tempera paint
Large paint brush
Materials session 2:
Black construction paper
Yellow painted paper (with menorah)
Blue painted paper
Scissors
Glue stick


Step 1:
Print a menorah template onto a page for each student.
On the back of the menorah page, students will paint their paper using yellow and orange paint. Use a large brush and make large straight strokes, instead of swirly ones. Make sure that the painted area will cover the entire menorah on the back.
I recommend painting a few extras yourself just in case step 2 goes sideways for some students and they need a new sheet.
Each student will use about 1/4 sheet of blue so those who finish their yellow early can paint some blue sheets.
As with the yellow, you may want to paint a few more than you need, just in case.
Set aside to dry.
Step 2:
Each student will cut out the menorah on their yellow painted page. You’ll want to use the scraps for the flames so try to keep a section for that.
Put glue on the white (template) side and glue the menorah onto a black background.
Cut 8 blue candles from the blue sheet. Glue onto the menorah.
Cut 8 flames from the scraps of yellow. Glue onto the candles.