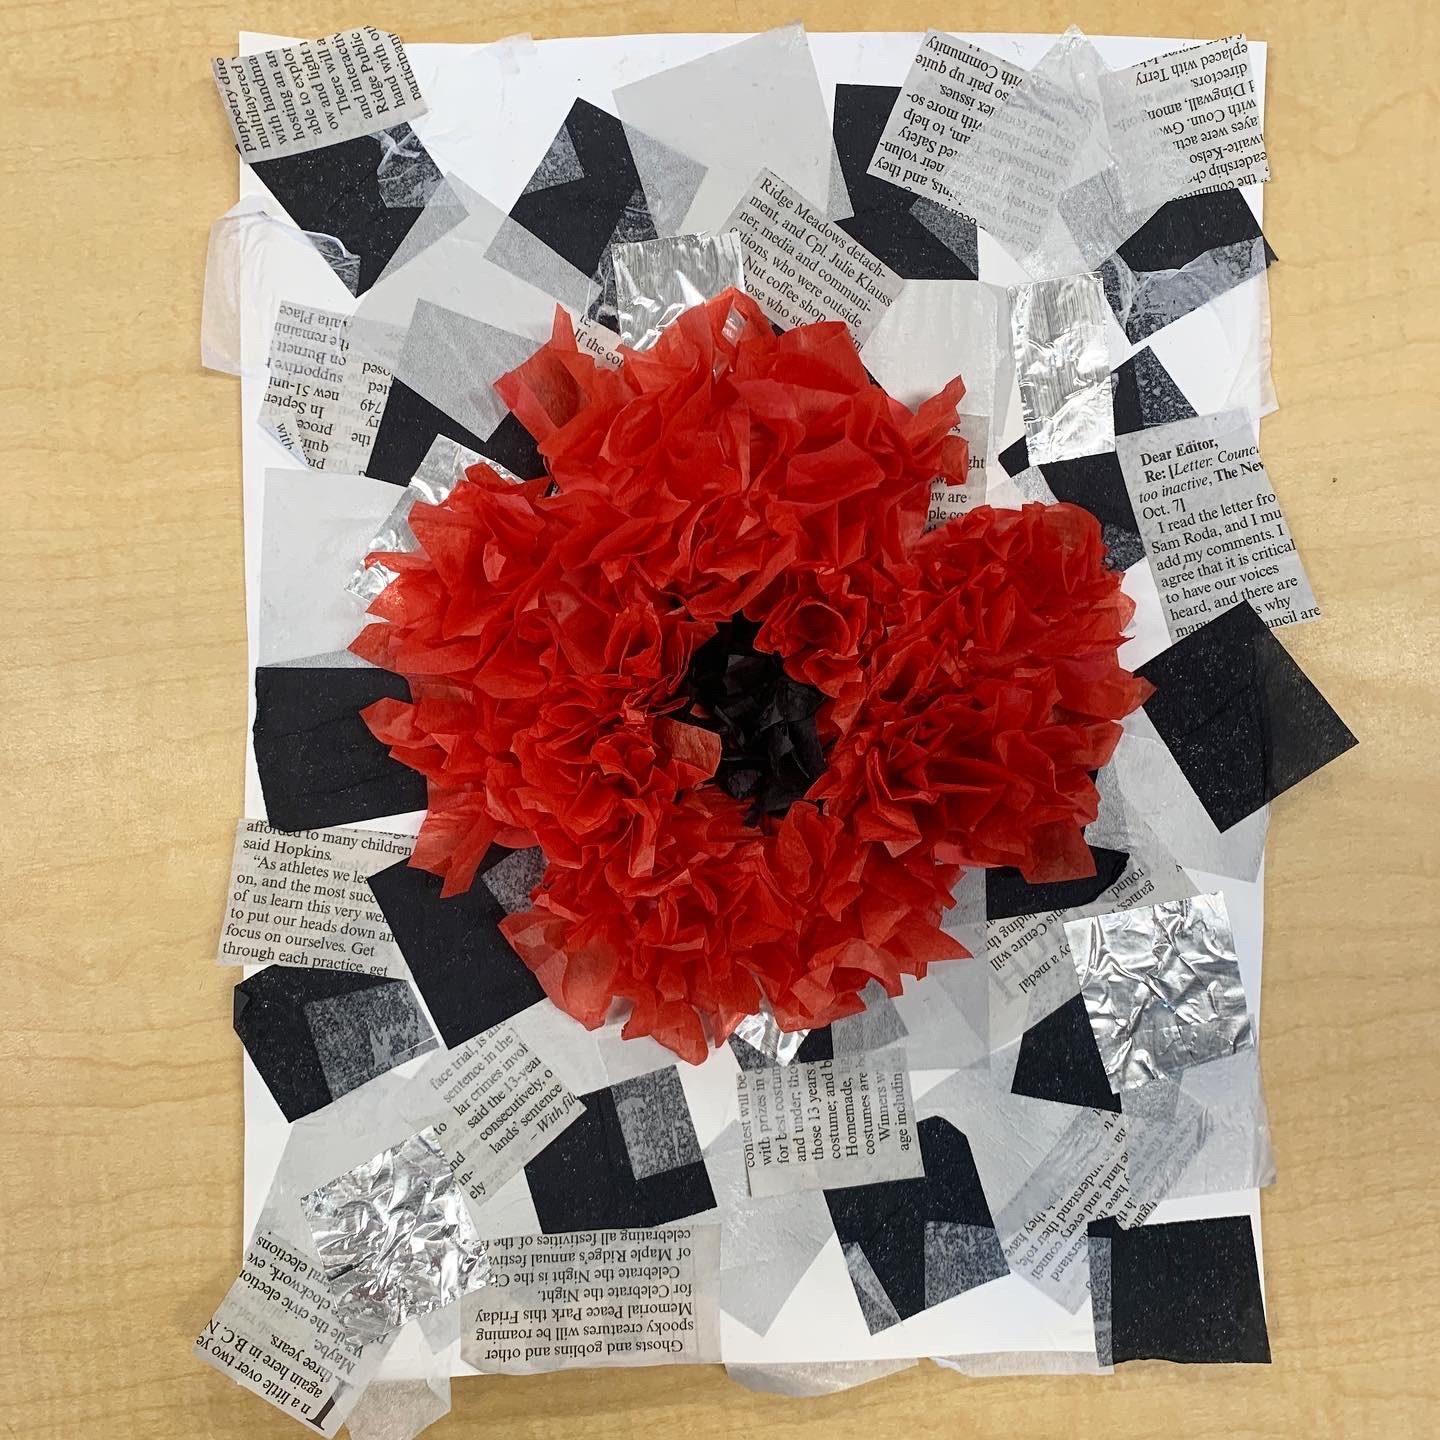
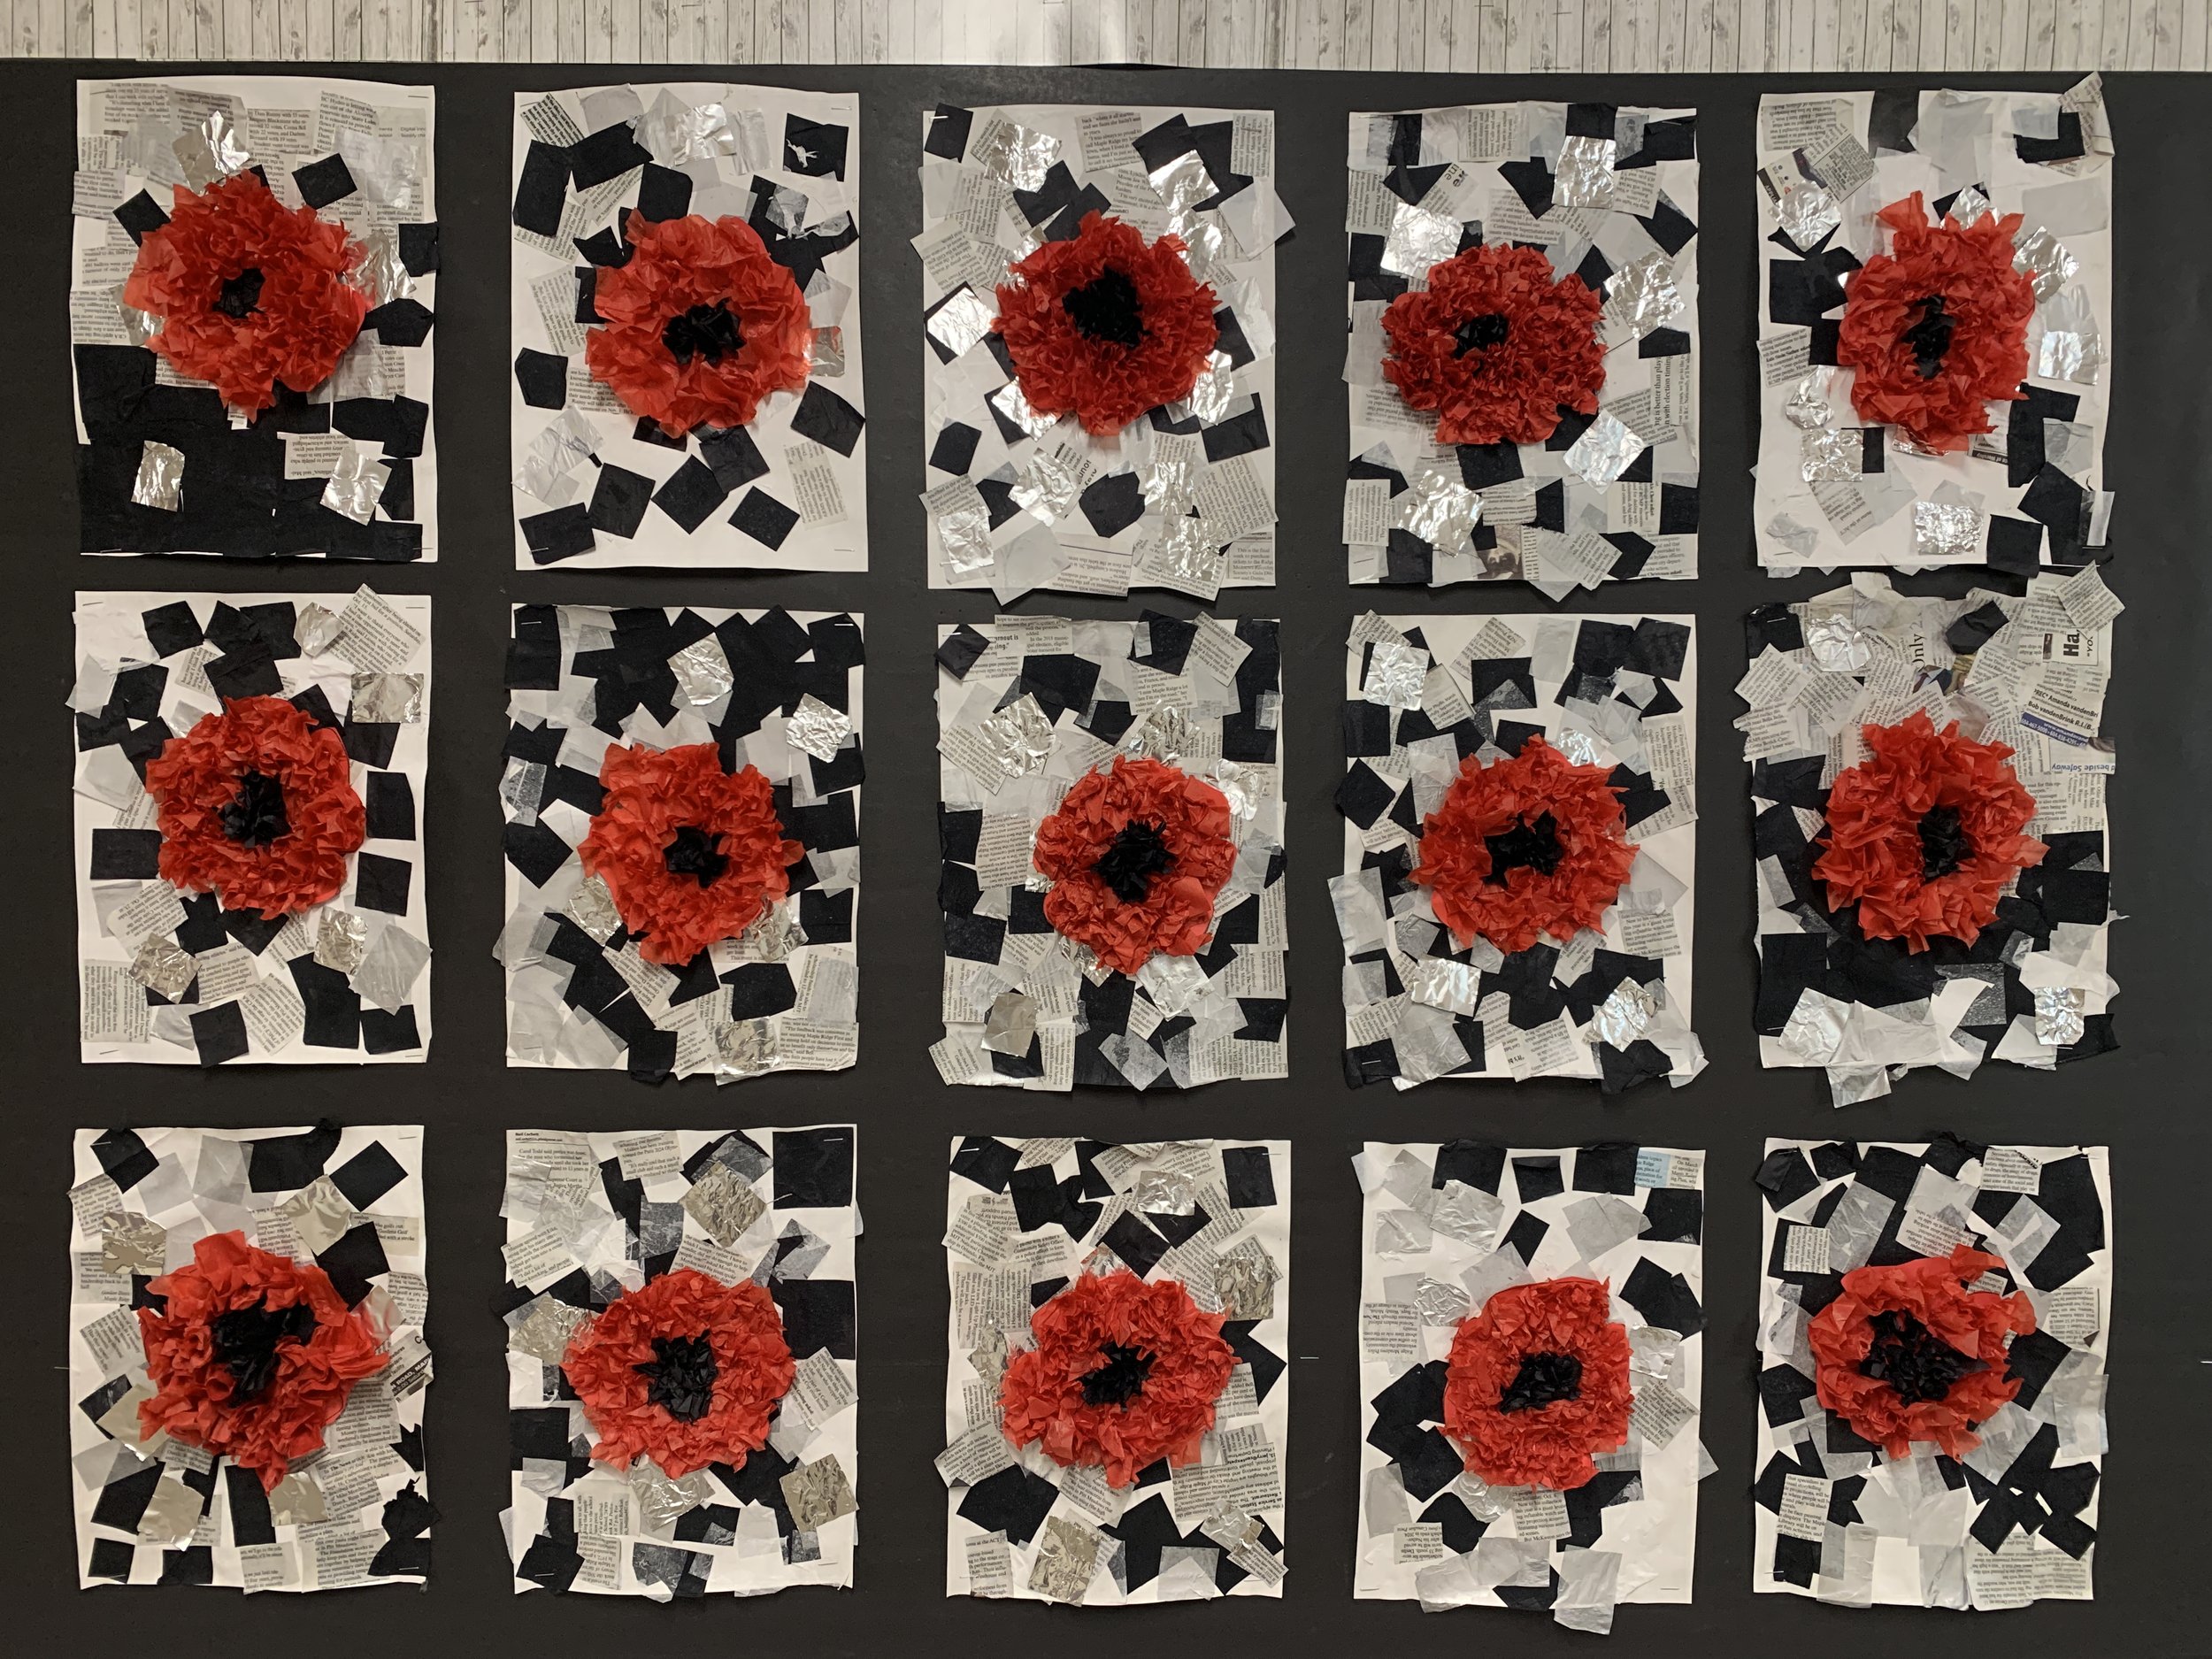
Remembrance Day Poppy Art Project
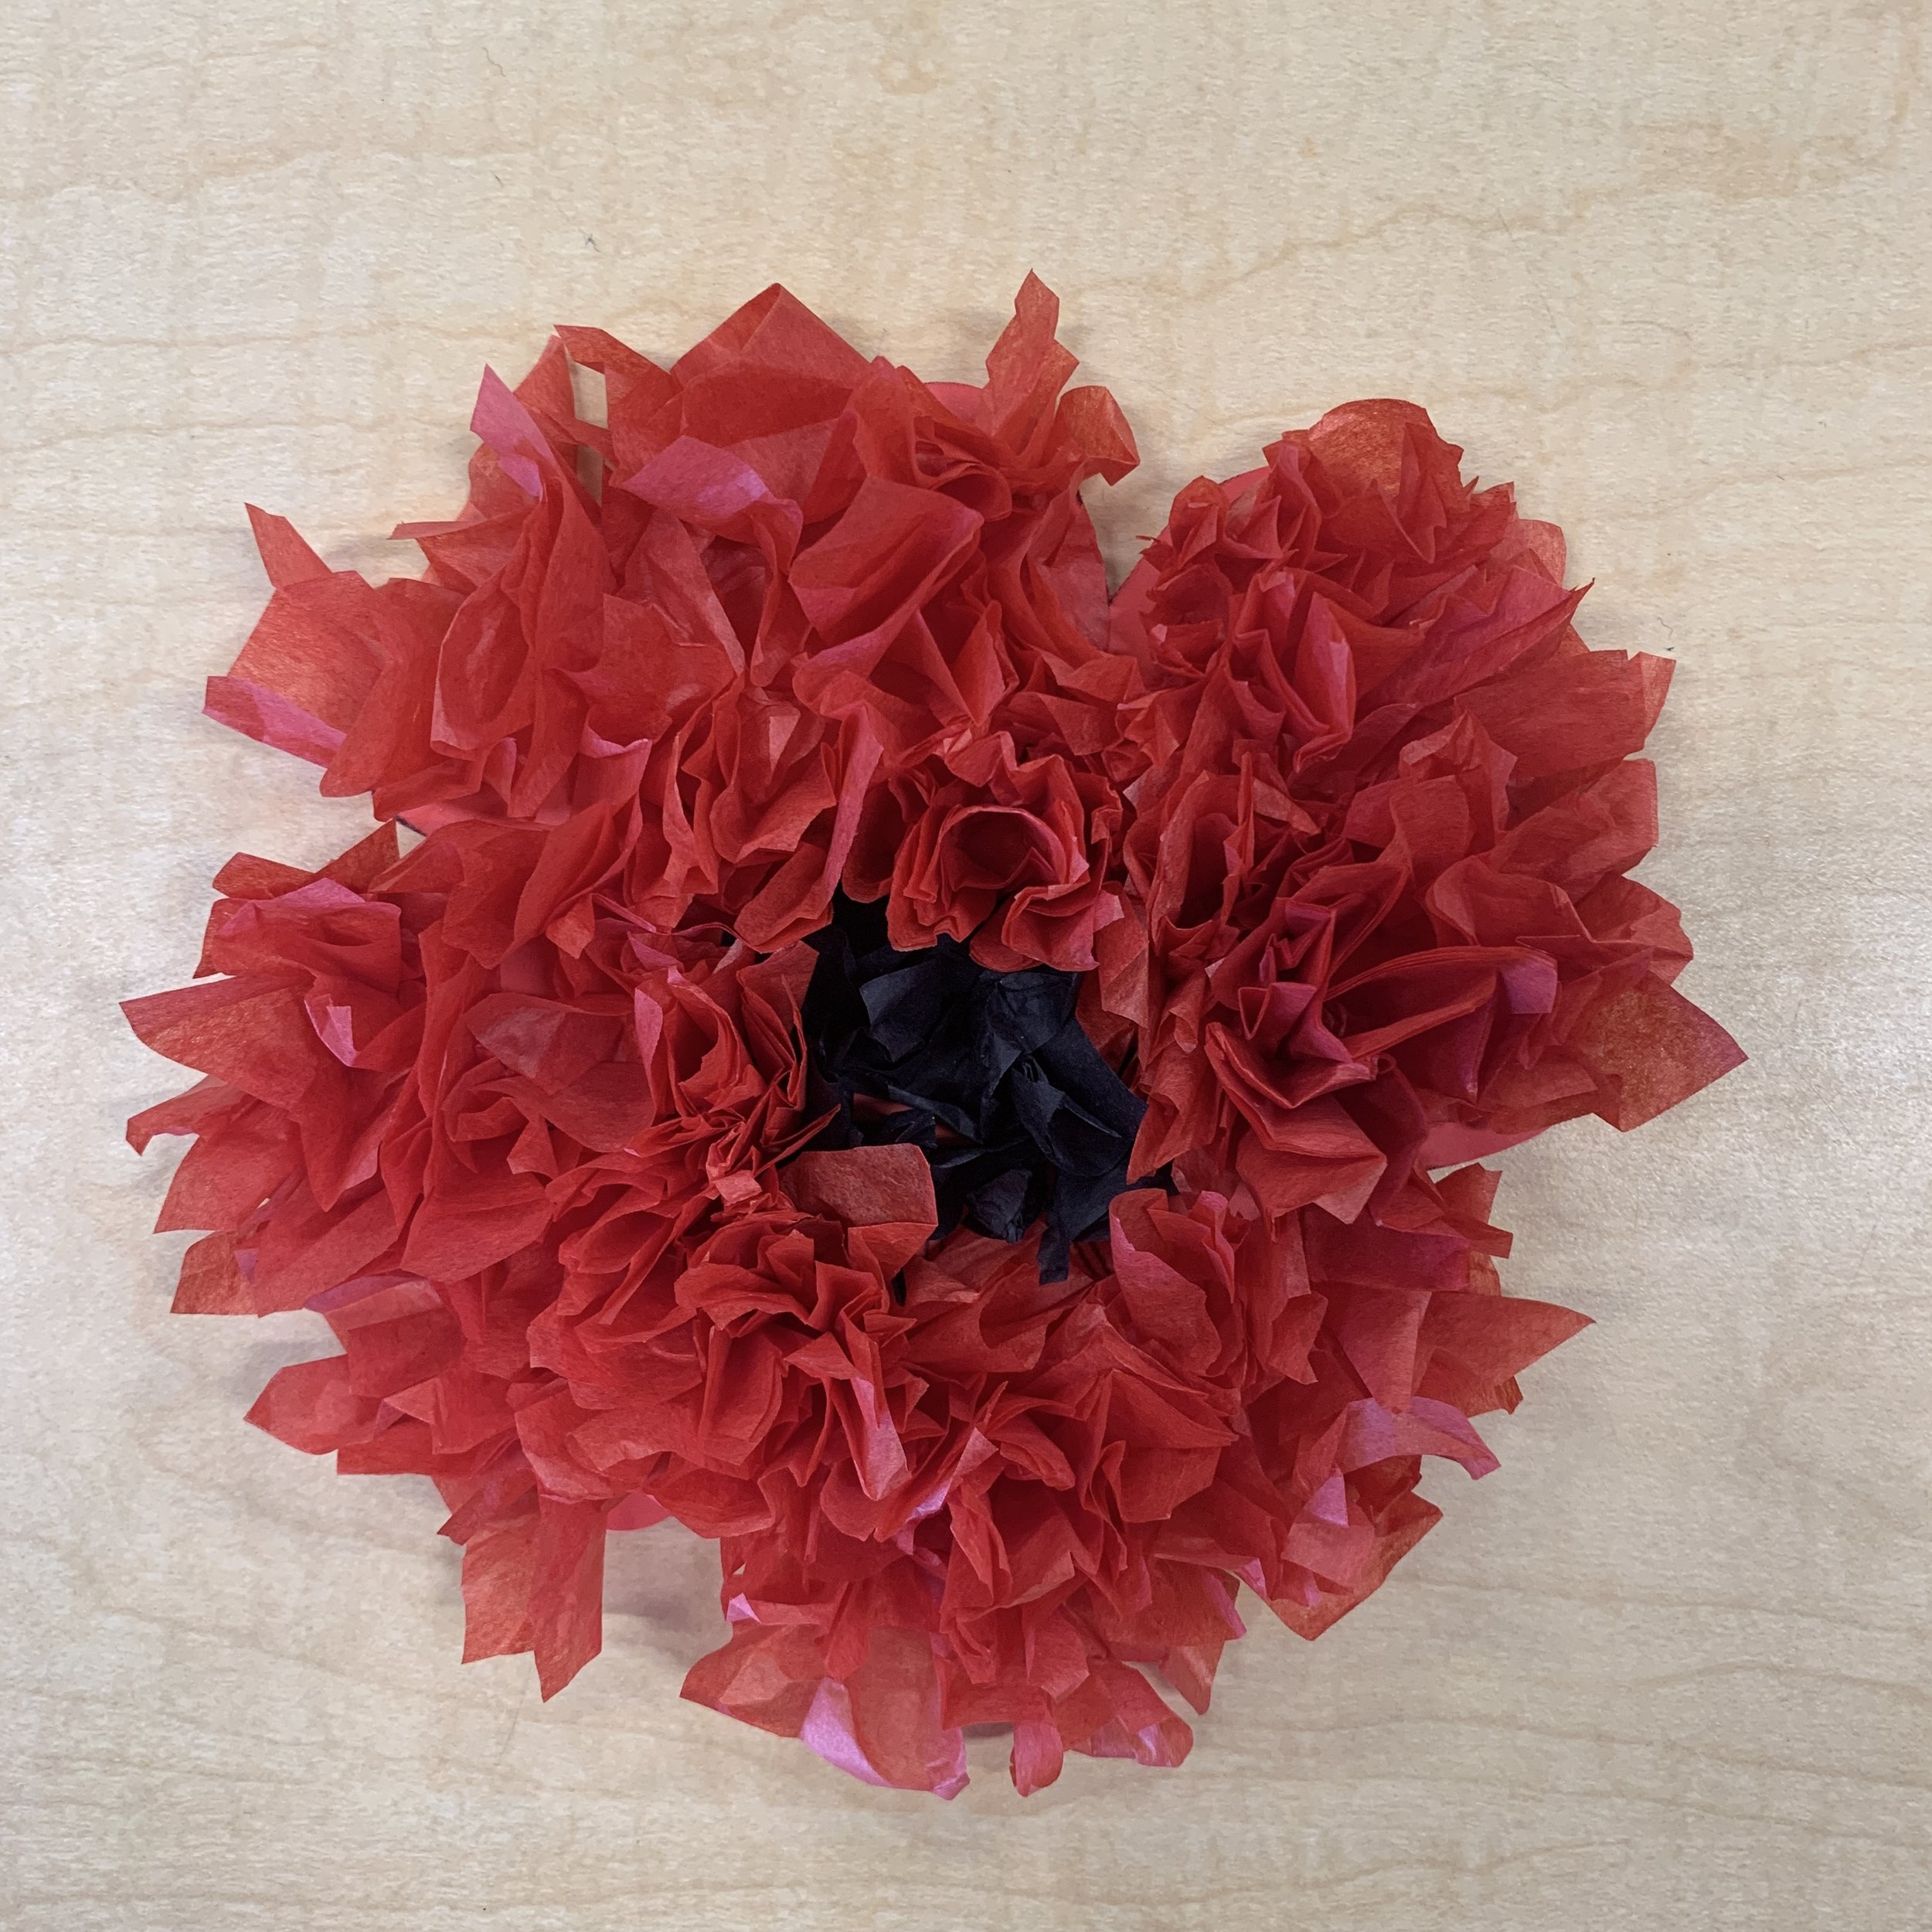
This is not my art project design. I originally found this project here. I love the contrast that it has, it really makes the poppy pop!
Timeline: You will need 2 sessions, but you may only need a quick one on your second day to glue the poppy on if you were able to get both steps done during the first session and are just waiting on dry time. Alternatively, you can do the background one day and the poppy another. It will depend on your students and how long your art block is.
The background can take up to 30 minutes. The poppy can take anywhere from 30-45 minutes.
Materials/supplies:
White construction paper or white card stock
Tissue paper (black, white, grey or silver, red)
Newspaper (black and white text only)
Aluminum foil (optional)
Liquid glue
Glue stick
Scissors
Water
Foam brush
Poppy stencil (printed or on provide tracer) - suggested to be on red paper if possible.
*optional - Modge Podge. You can use liquid glue and a touch of water to make a similar consistency. It will work just fine.
Teacher prep:
Cut tissue paper into squares (red, black, grey/silver, white)
Cut newspaper into squares/rectangles. Only the black and white text, not coloured text or images.
Print a poppy outline or make tracers to use on red paper. I had red paper to copy my outline on, so do that if you can with your photocopier. If not, white works fine.
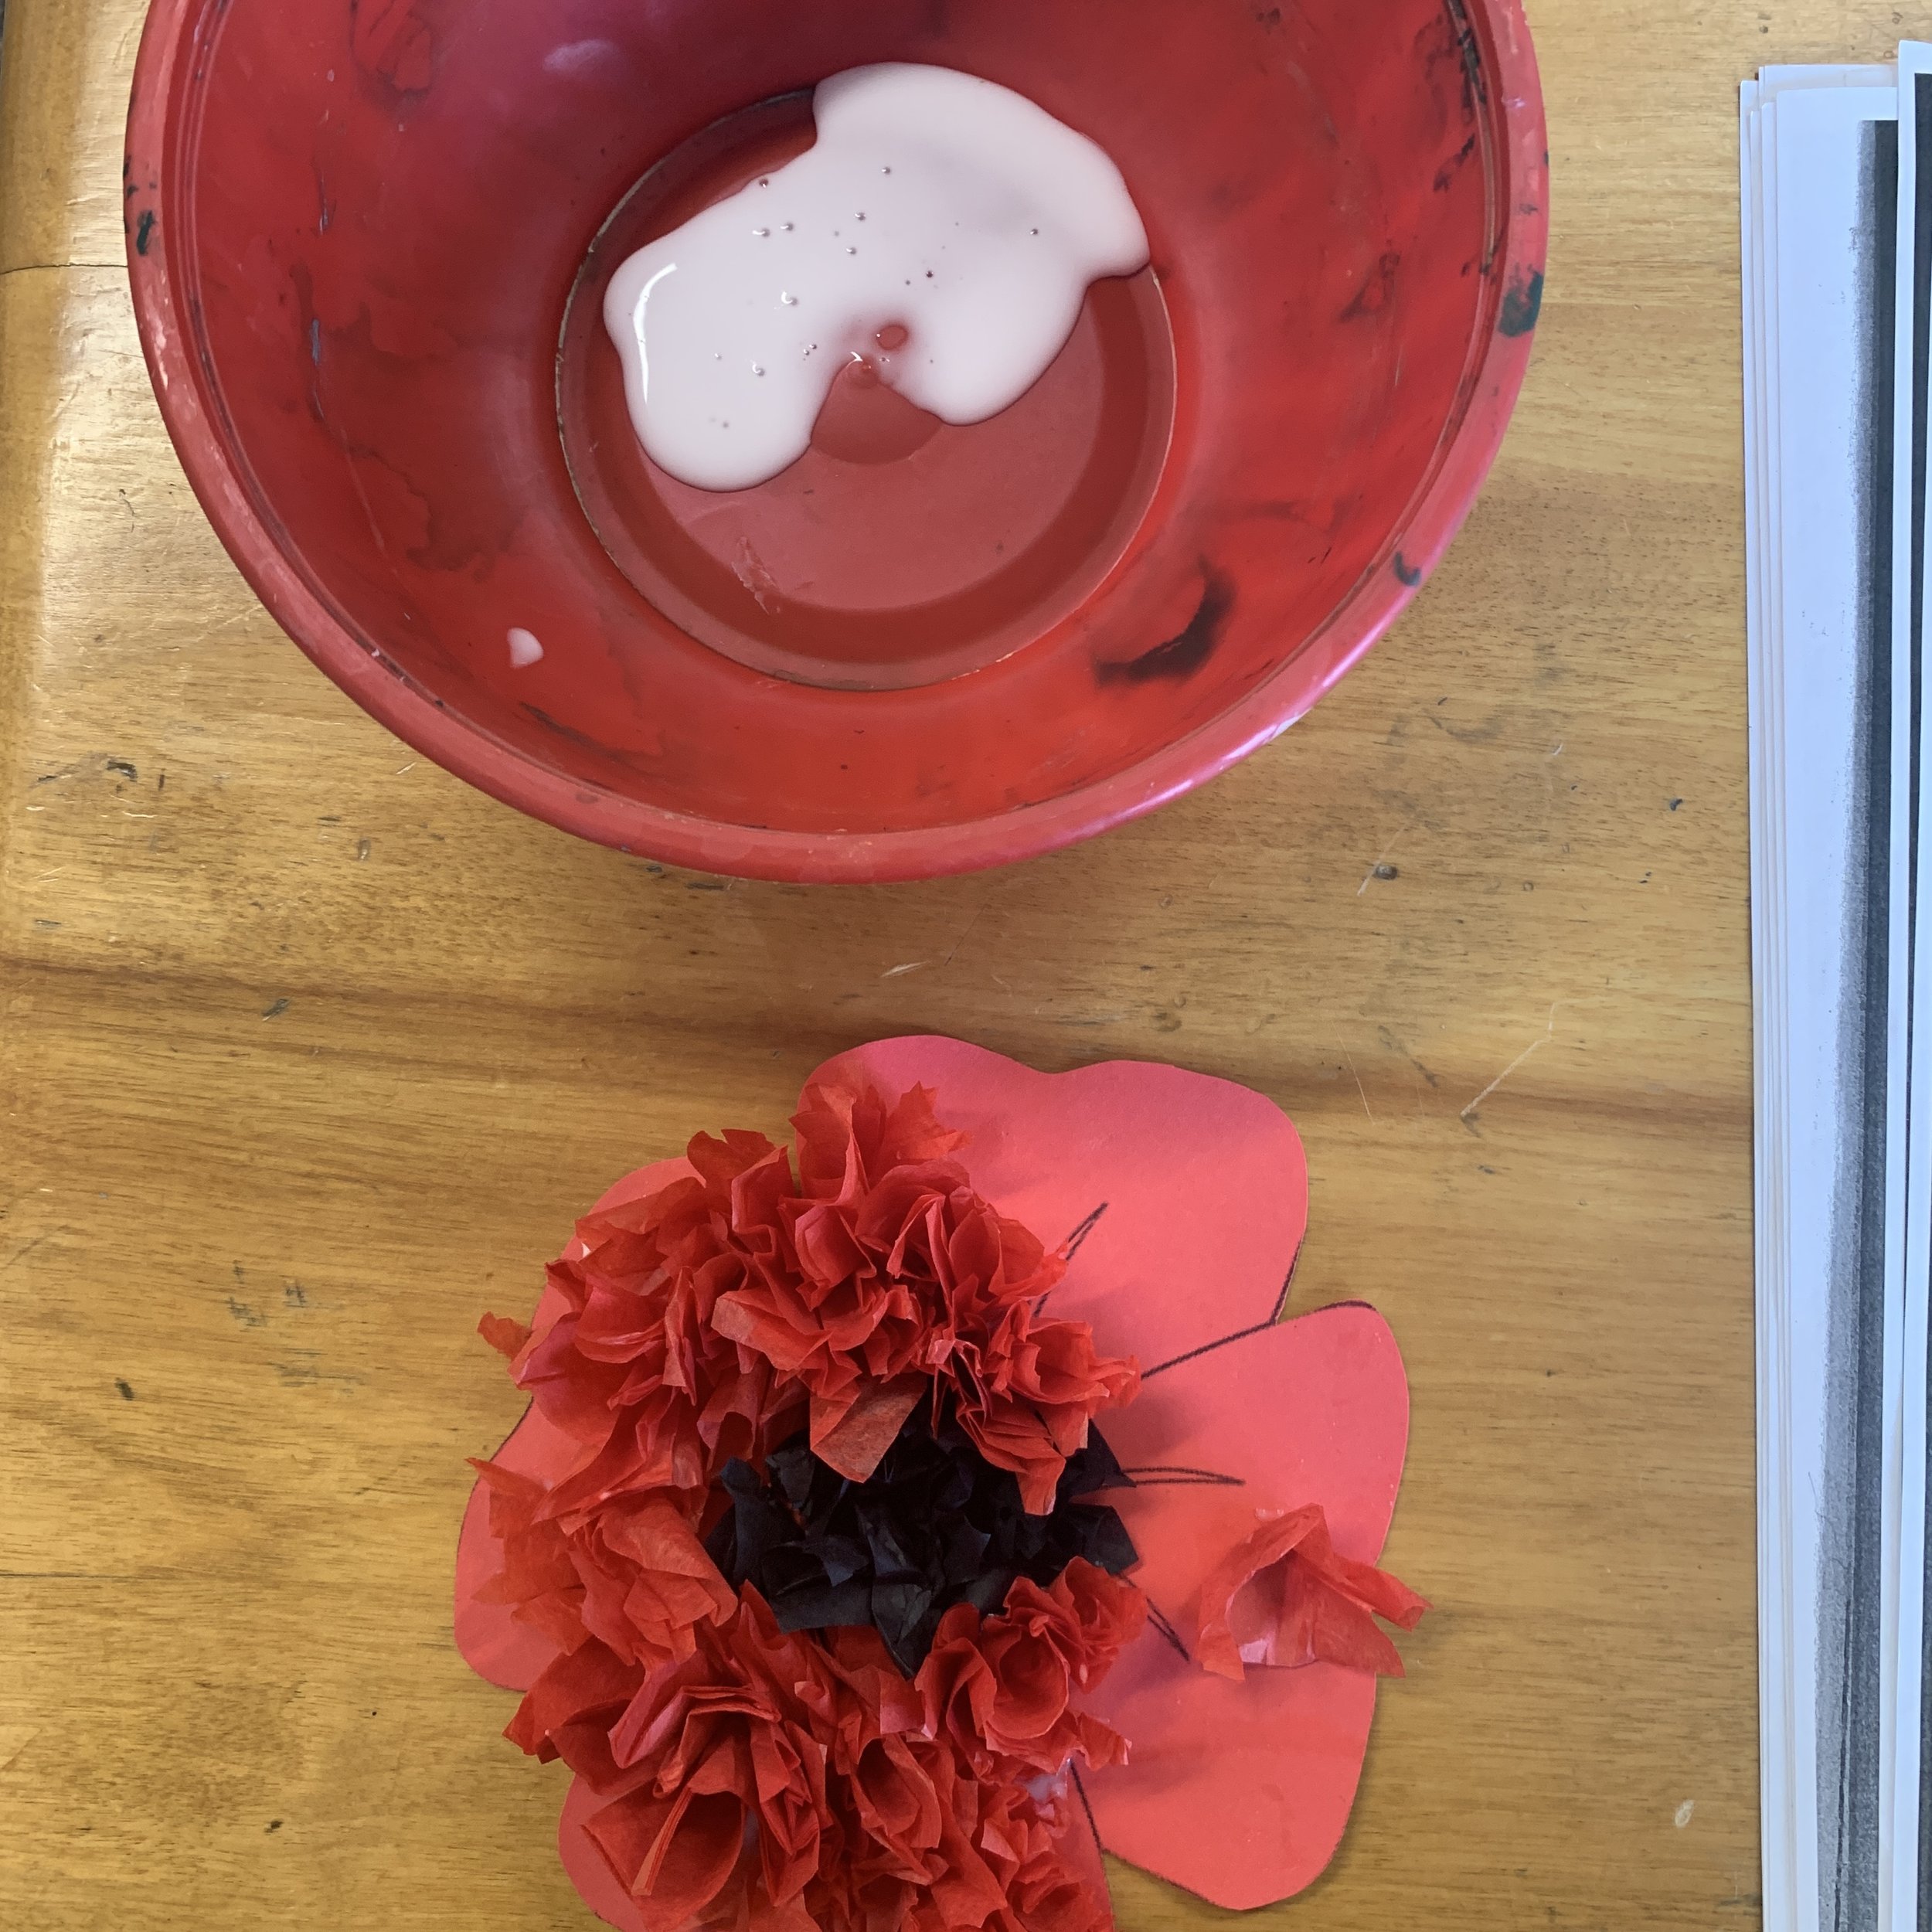
Right before starting, you’ll need to mix up a glue mixture. Mostly glue with just a tiny bit of water to thin it out.
Instructions (STEP 1 - background)

Using your sponge brush, apply a thin layer of the glue mixture onto a small section of your card stock.
Now lay pieces of tissue paper (black, white, grey) and newspaper onto the card stock one at a time. They can overlap, but we don’t want thick sections. Go slow, if you go too fast you’ll end up ripping the paper.
Note: we will not be sticking foil down yet.
Dip your sponge brush back into the glue mixture and seal your pieces down. The paper should look shiny.
Now continue onto another section, glue mixture on card stock first, then apply tissue paper, then seal it.
Continue until the background is fully filled.
Set aside to dry.
Optional step: Once dry, add a few bits of aluminium foil with a bit of glue on the back. You don’t want to use your glue mixture to paint overtop as it will cloud the shiny side. A glue stick works just fine here.
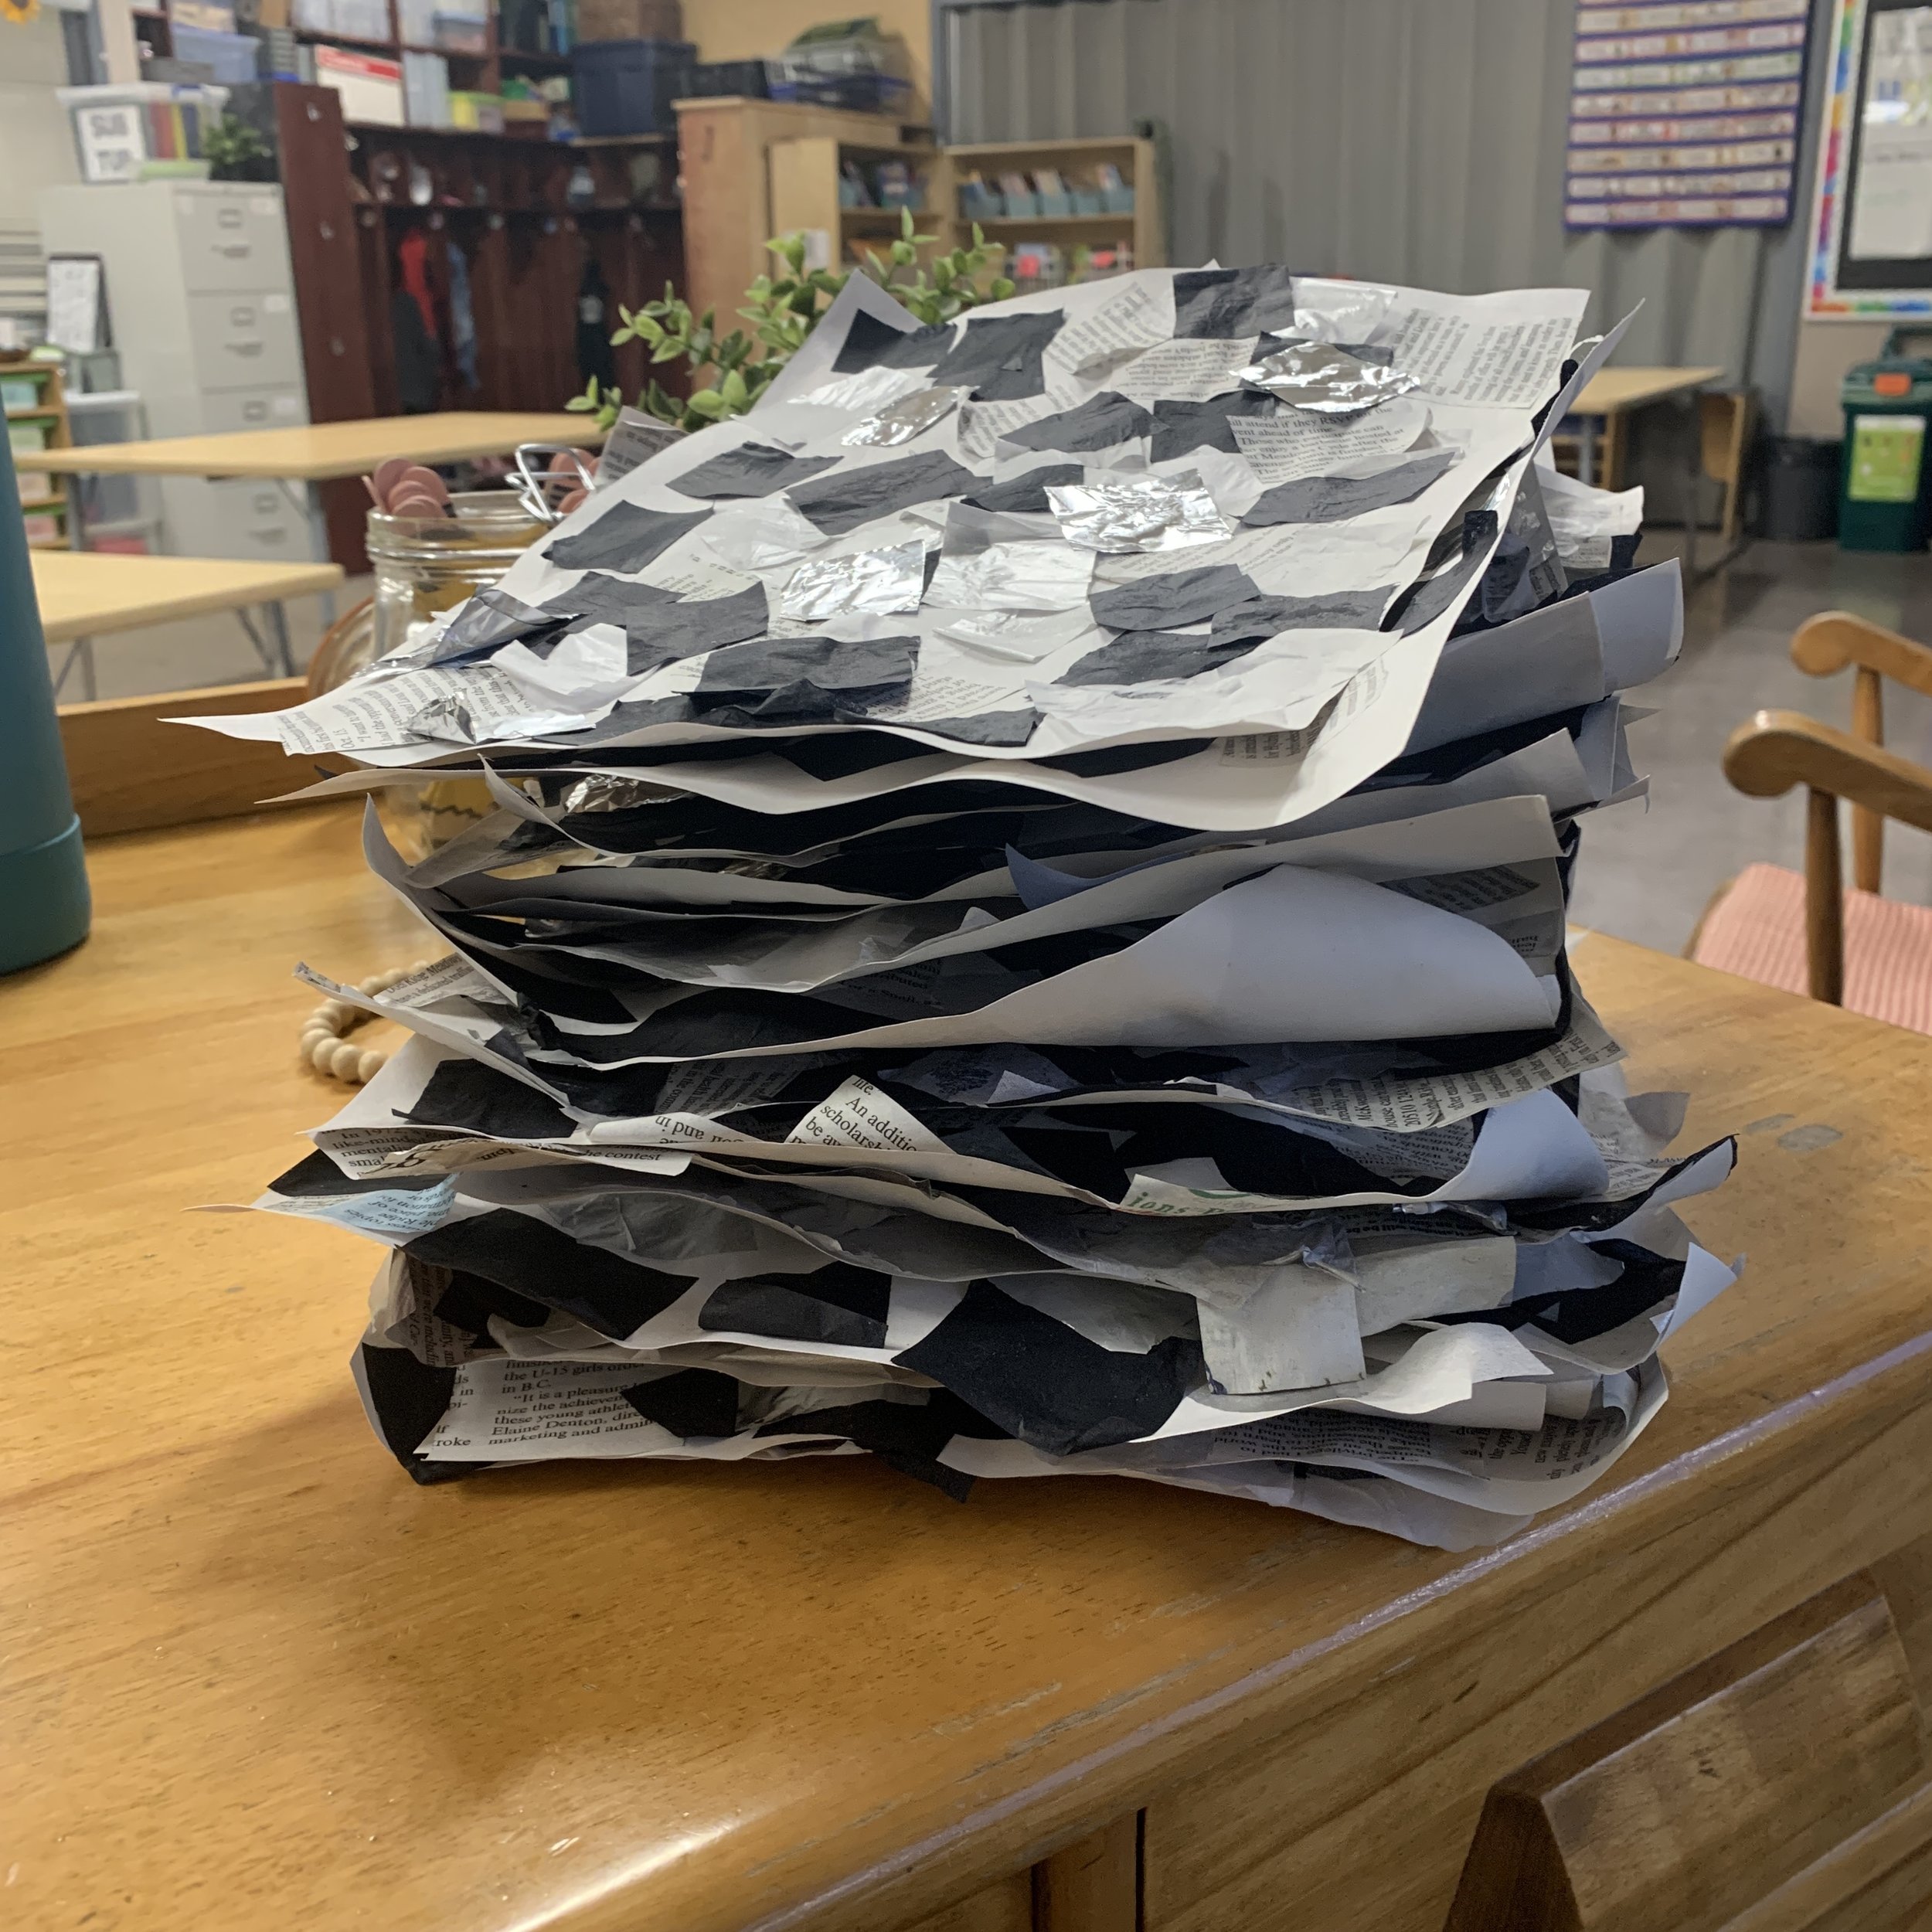
Once your work is dry, it’ll likely be all curled up on the edges. Press it under something heavy before adding your poppy from the step 2.
Instructions (STEP 2 - Poppy)
Cut out your poppy outline or trace it on red paper.
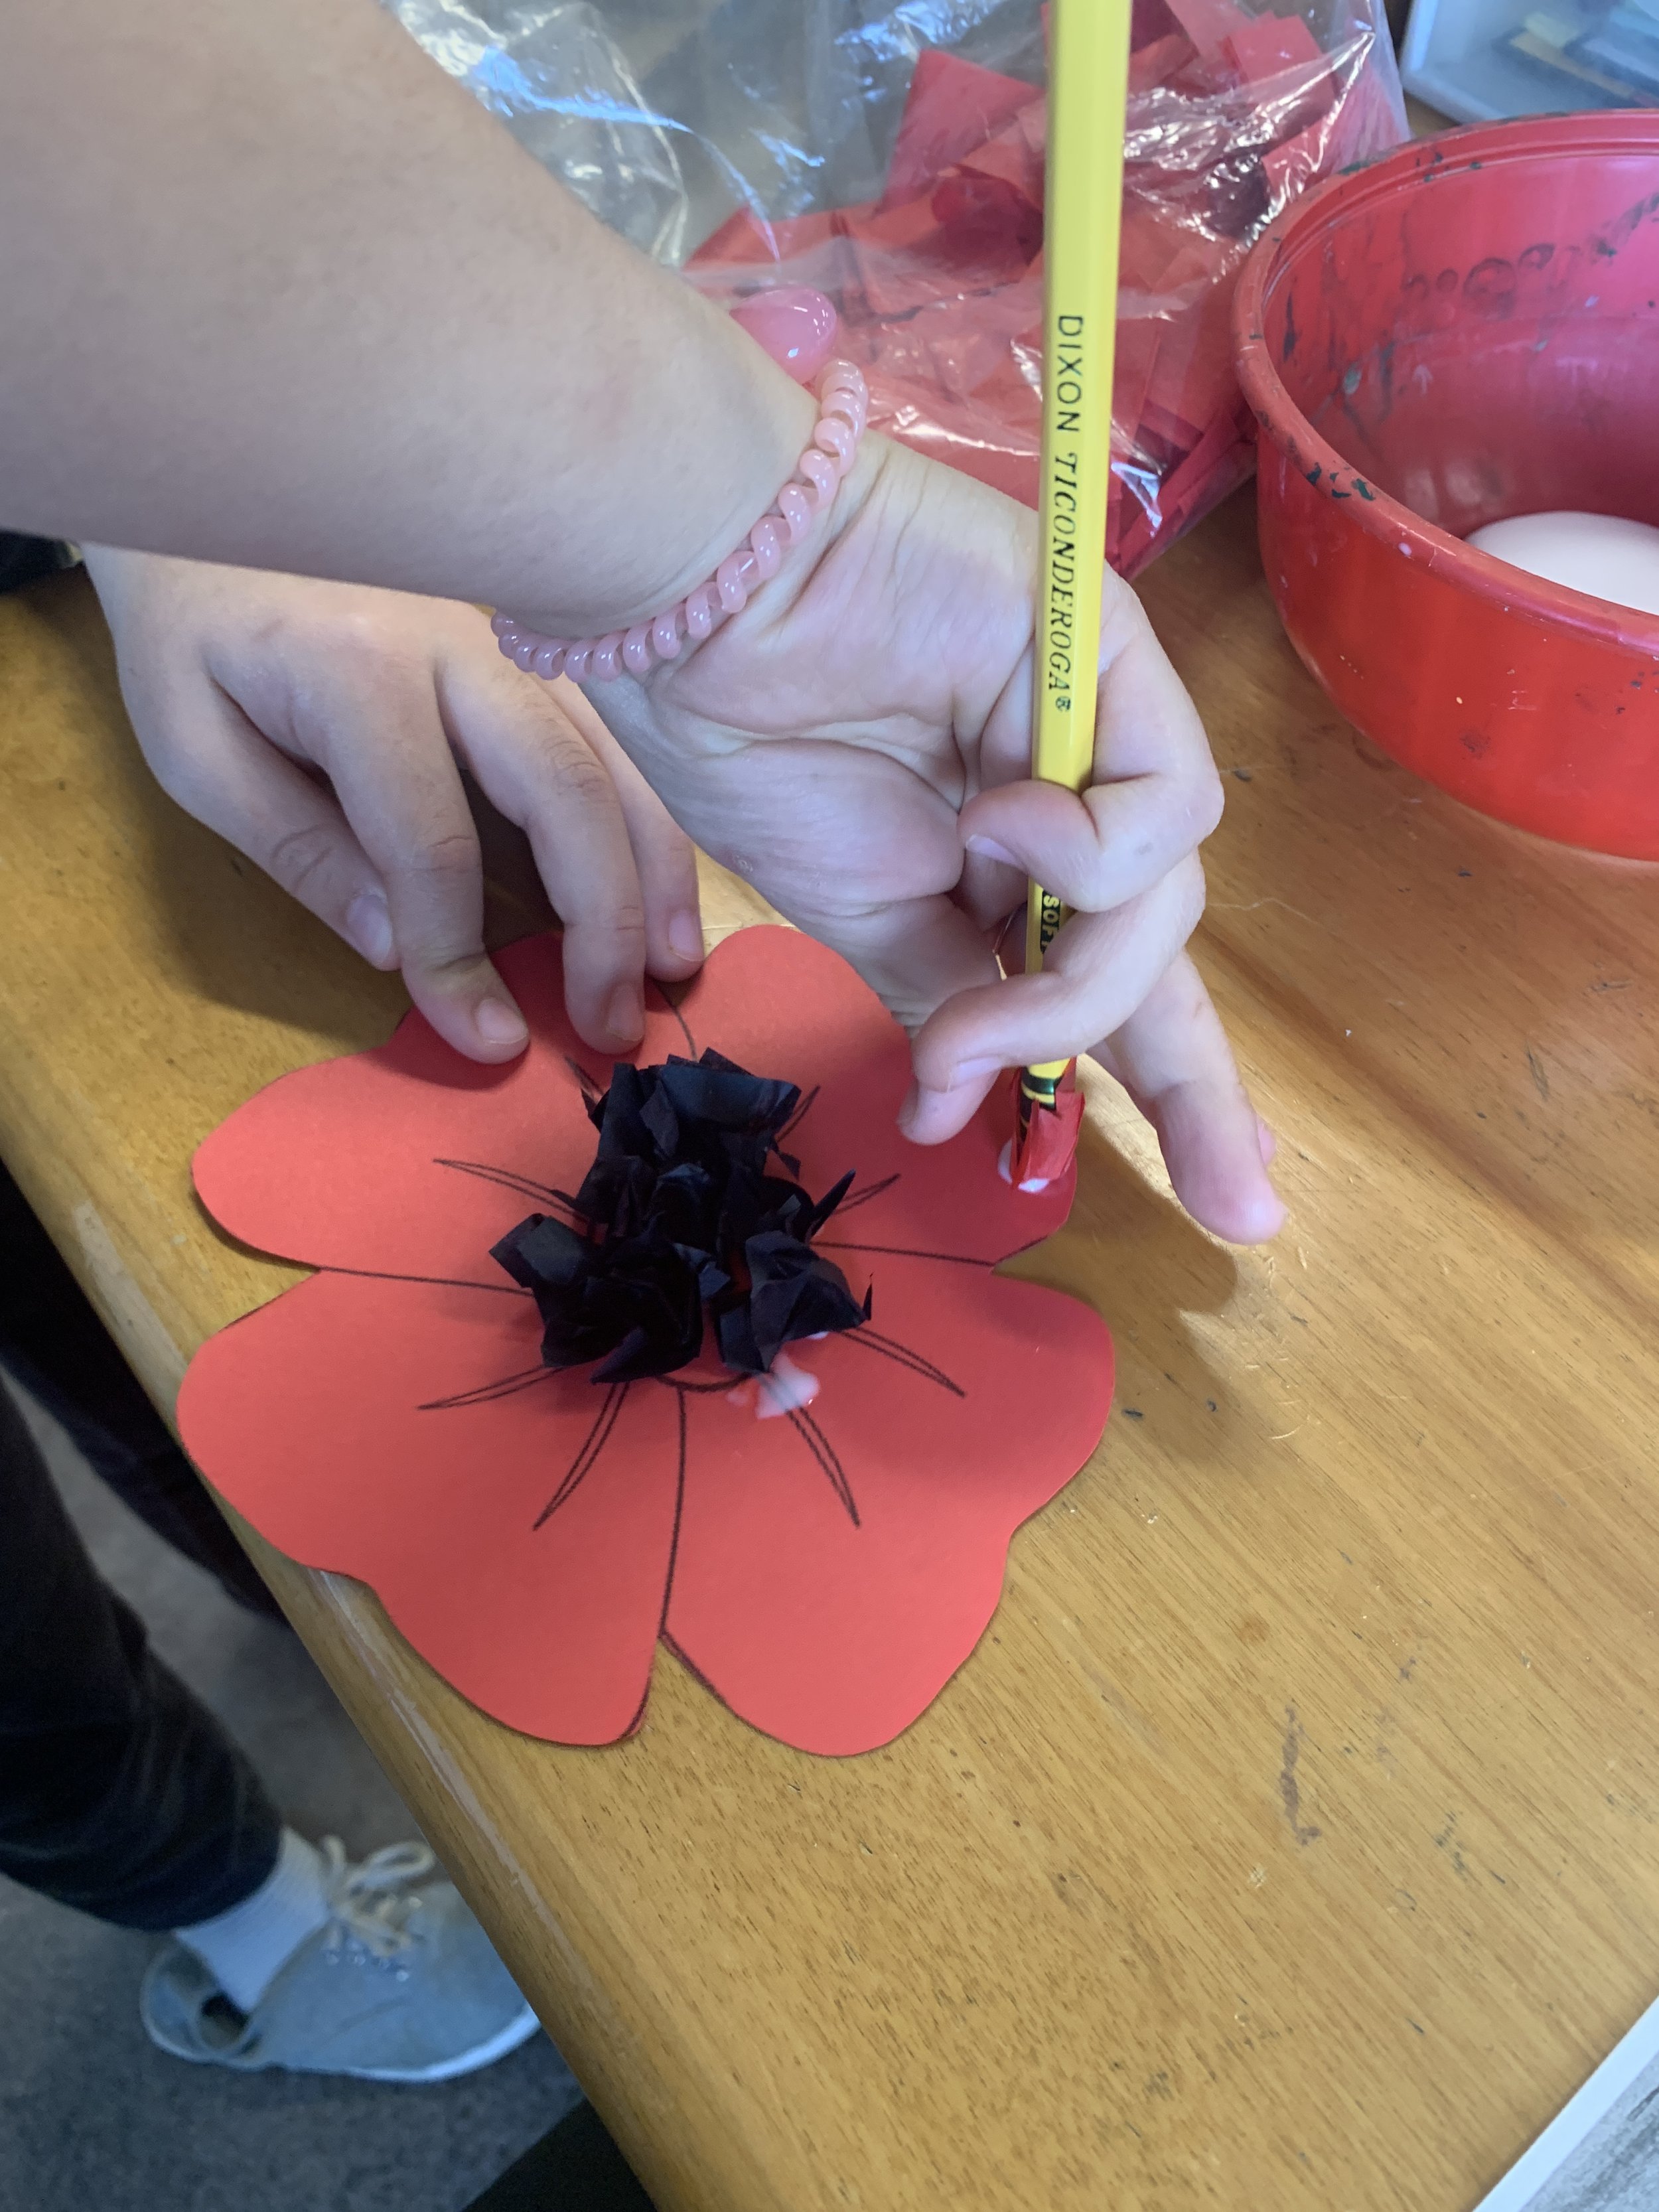
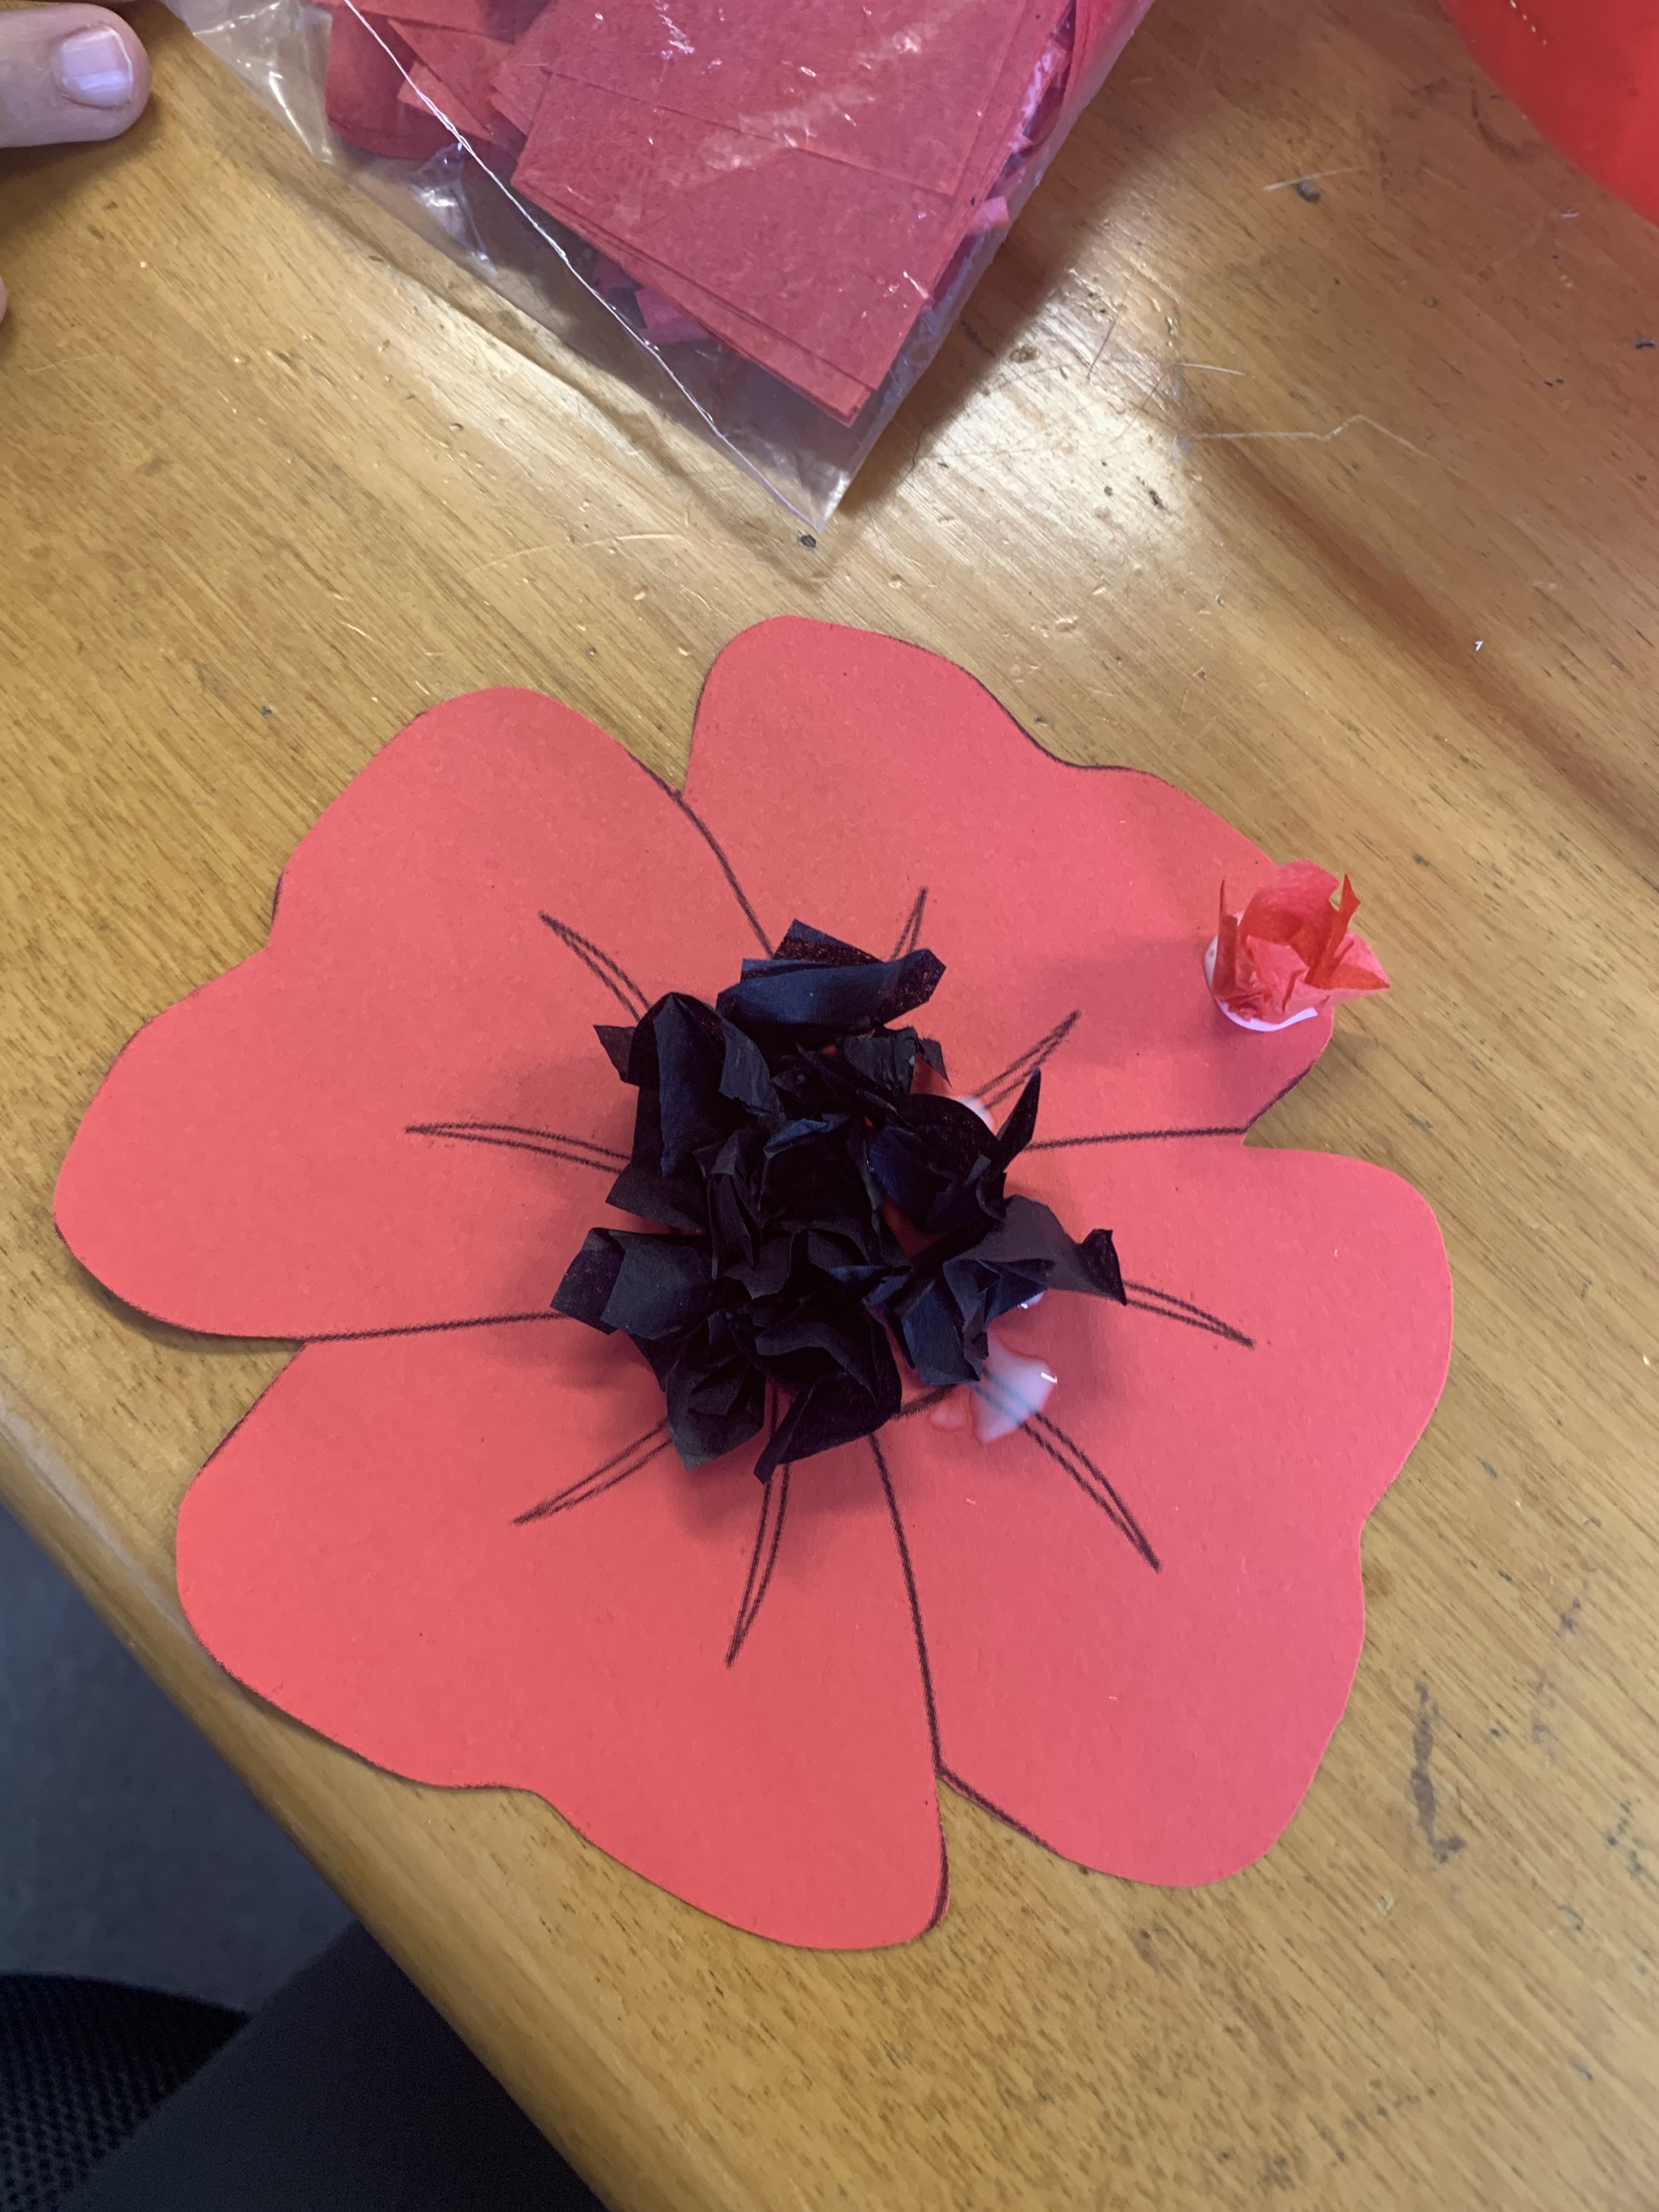
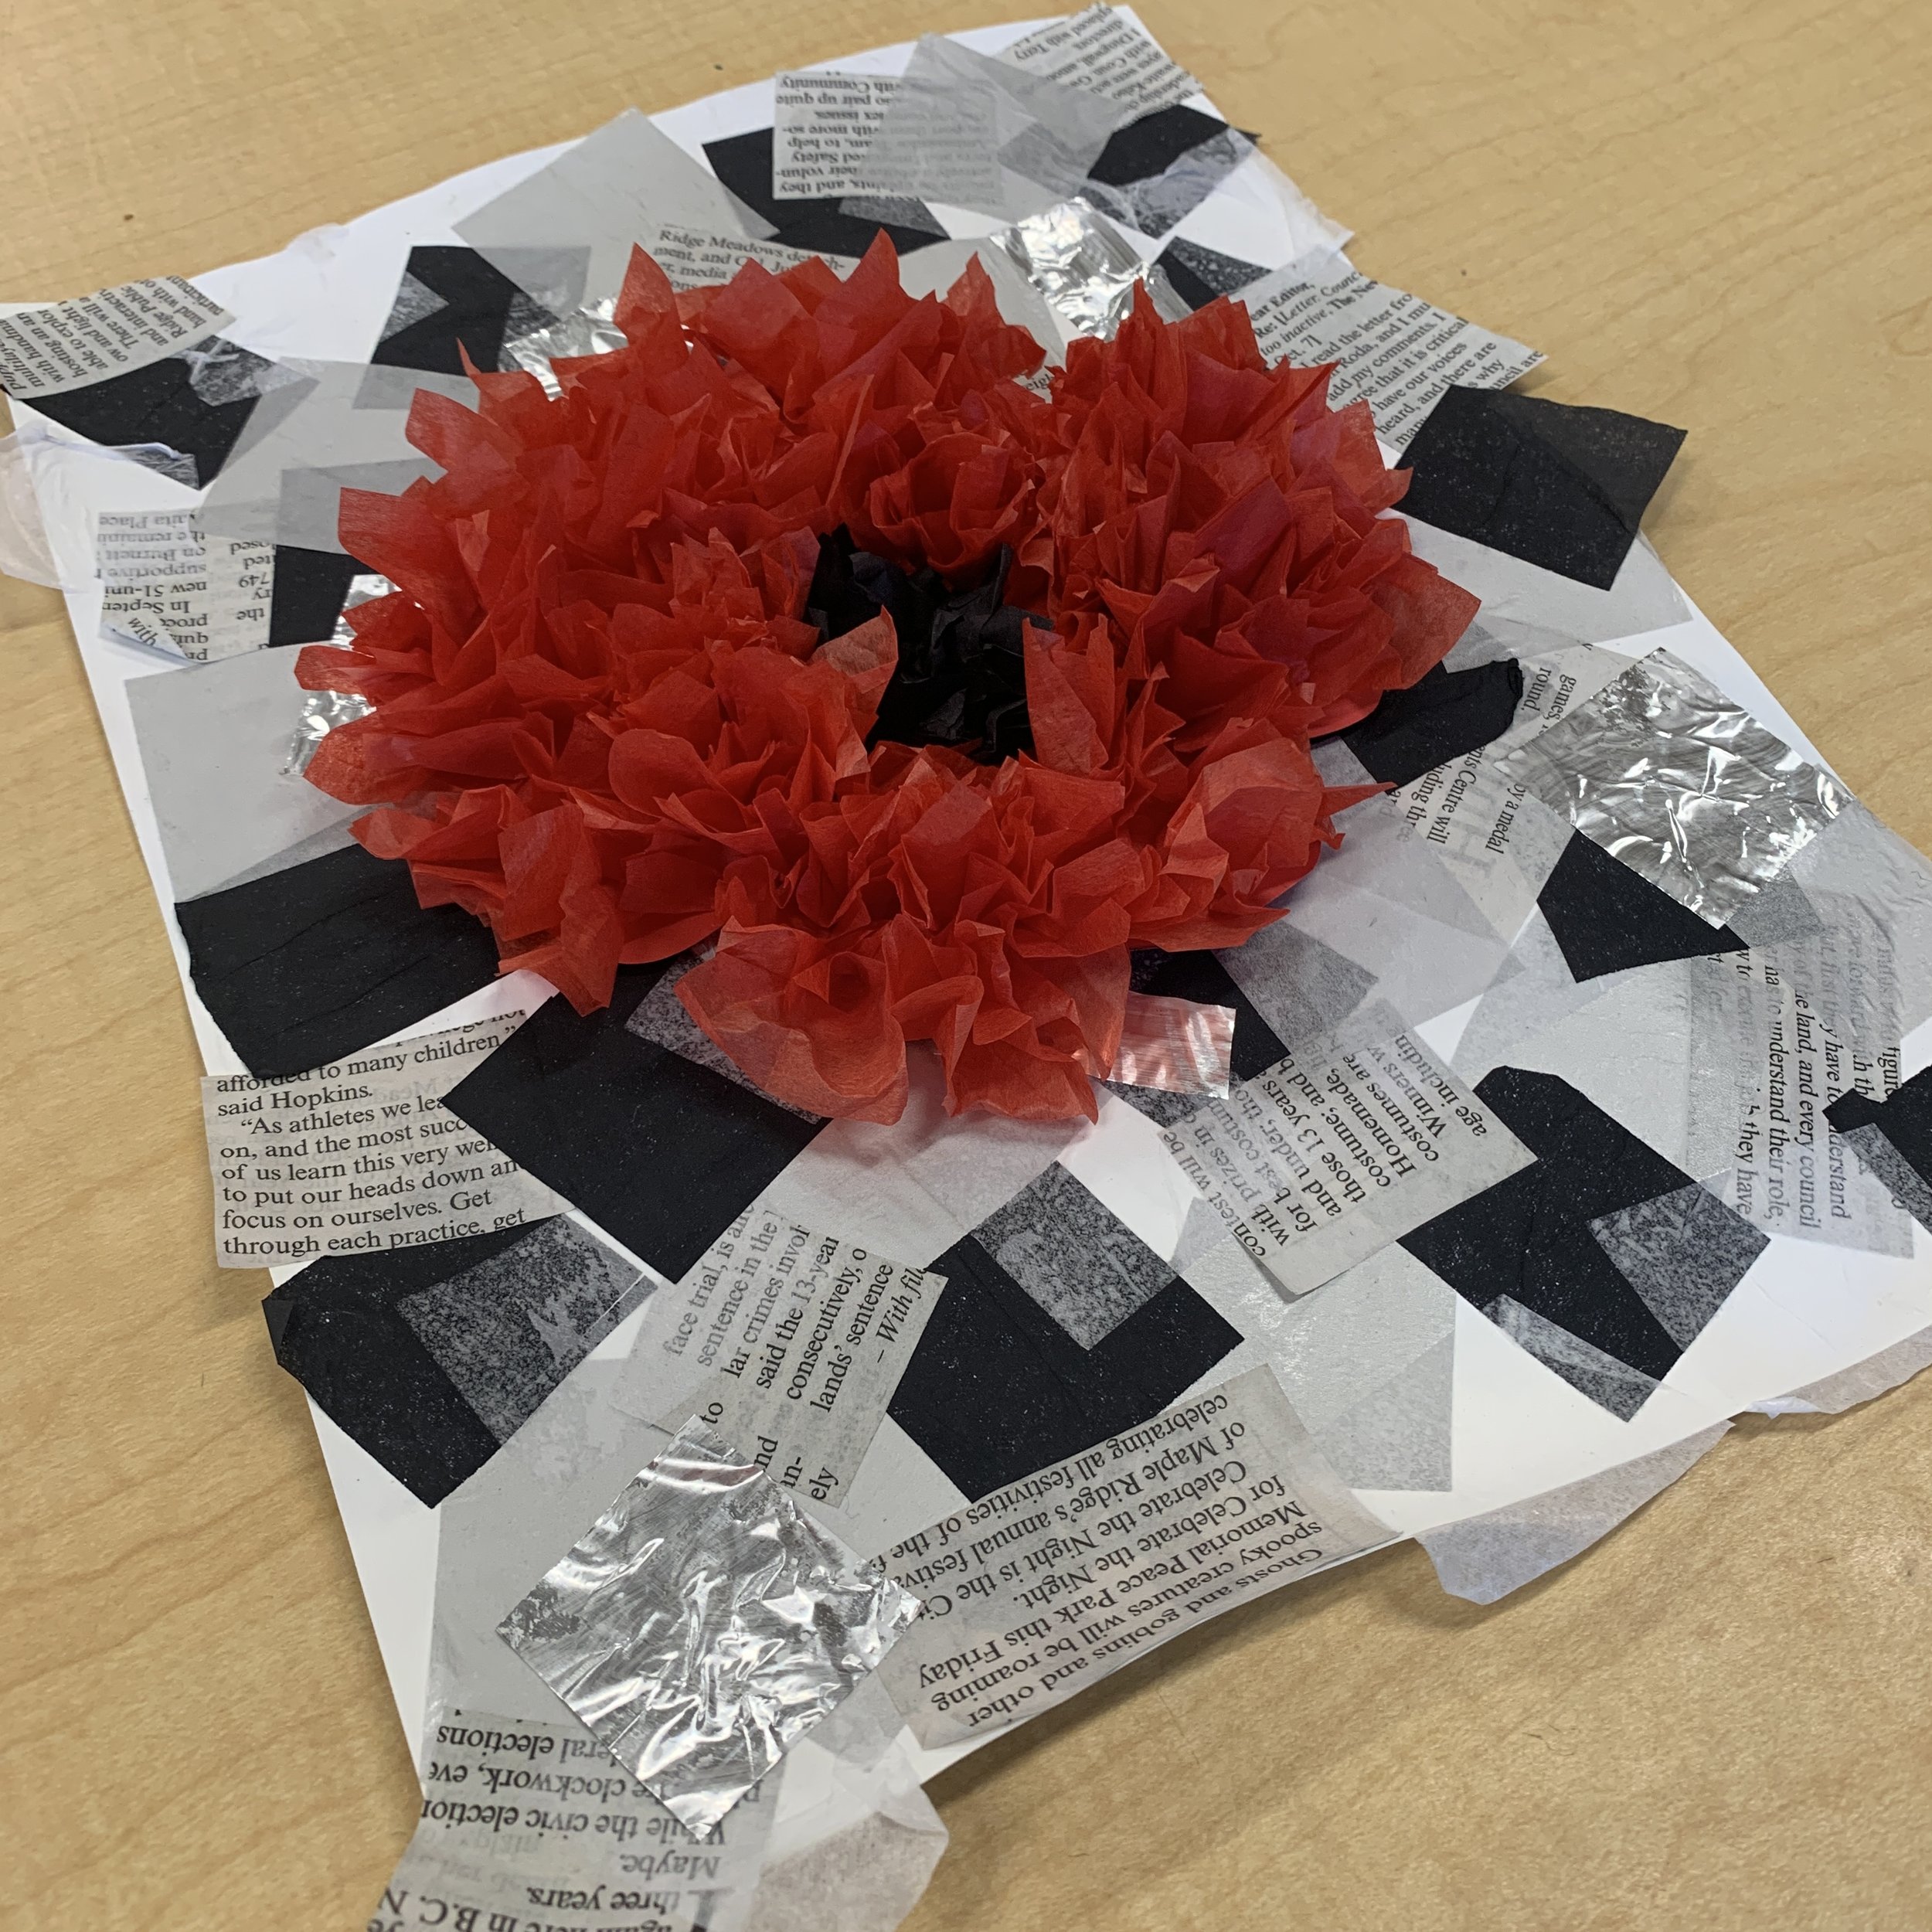
Begin with the middle of the poppy. Pinch the black tissue paper and dip the end into white glue. To make this easier, you can use a pencil to help stick it down (see image).
Once done with the black, move onto the red and fill the entire flower.
Once complete, glue your poppy onto your background.