

“Presenting Me” Self Portrait Art Project
Portraits are a common occurence for back to school. The problem is, they can be pretty tricky and it’s not always a great place to start your art journey with new students. This is a great alternative that isn’t too complicated but will still give you a great display to showcase your students.
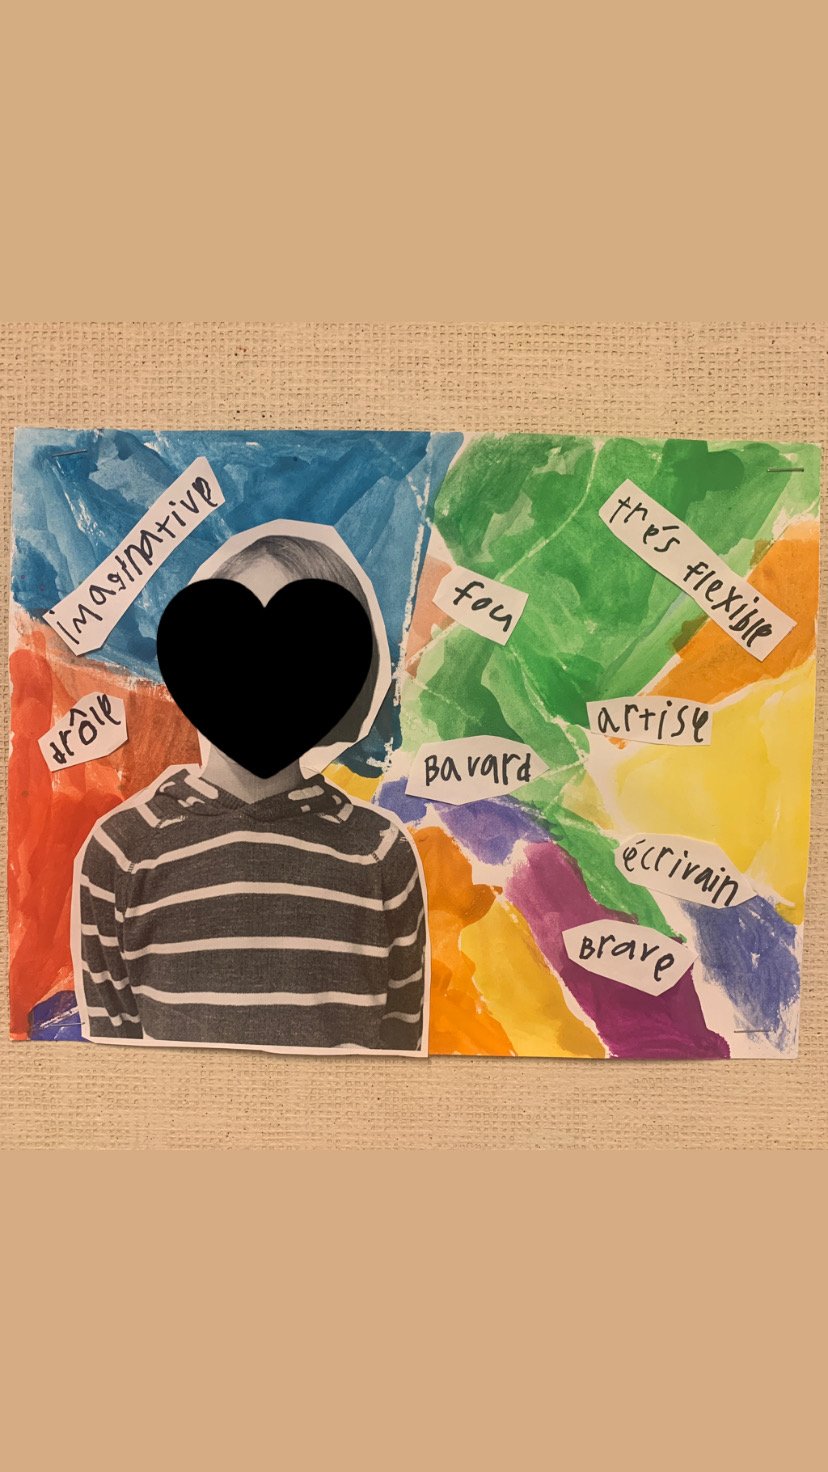
While my example is in French, you can do this in English. If students speak other languages, perhaps they want to add a few words of their own too.
There is a little teacher prep involved with this, make sure to read the teacher step.

Timeline:
With my grade 3s, this took two blocks.
1 - 40 minutes (explanation of the project, drawing the lines and painting sections)
2 - 40 minutes (brainstorming words, writing words, cutting words & picture and gluing to background)
Materials:
Card stock (white or beige)
Black crayon (Sharpie would also work but you won’t get the wax resist that the crayon provides, so will need to be careful when painting)
Ruler
Watercolour paint (we use tempera pucks) - various colours
Small paintbrush
Water cups
Printed photos of your students (chest up) *this should be done BEFORE starting the project
Sharpie
Glues stick
Scissors
**WANT TO AVOID PAINT? Use a colouring tool for the coloured sections instead.**
Steps:
***IMPORTANT TEACHER PREP STEP***
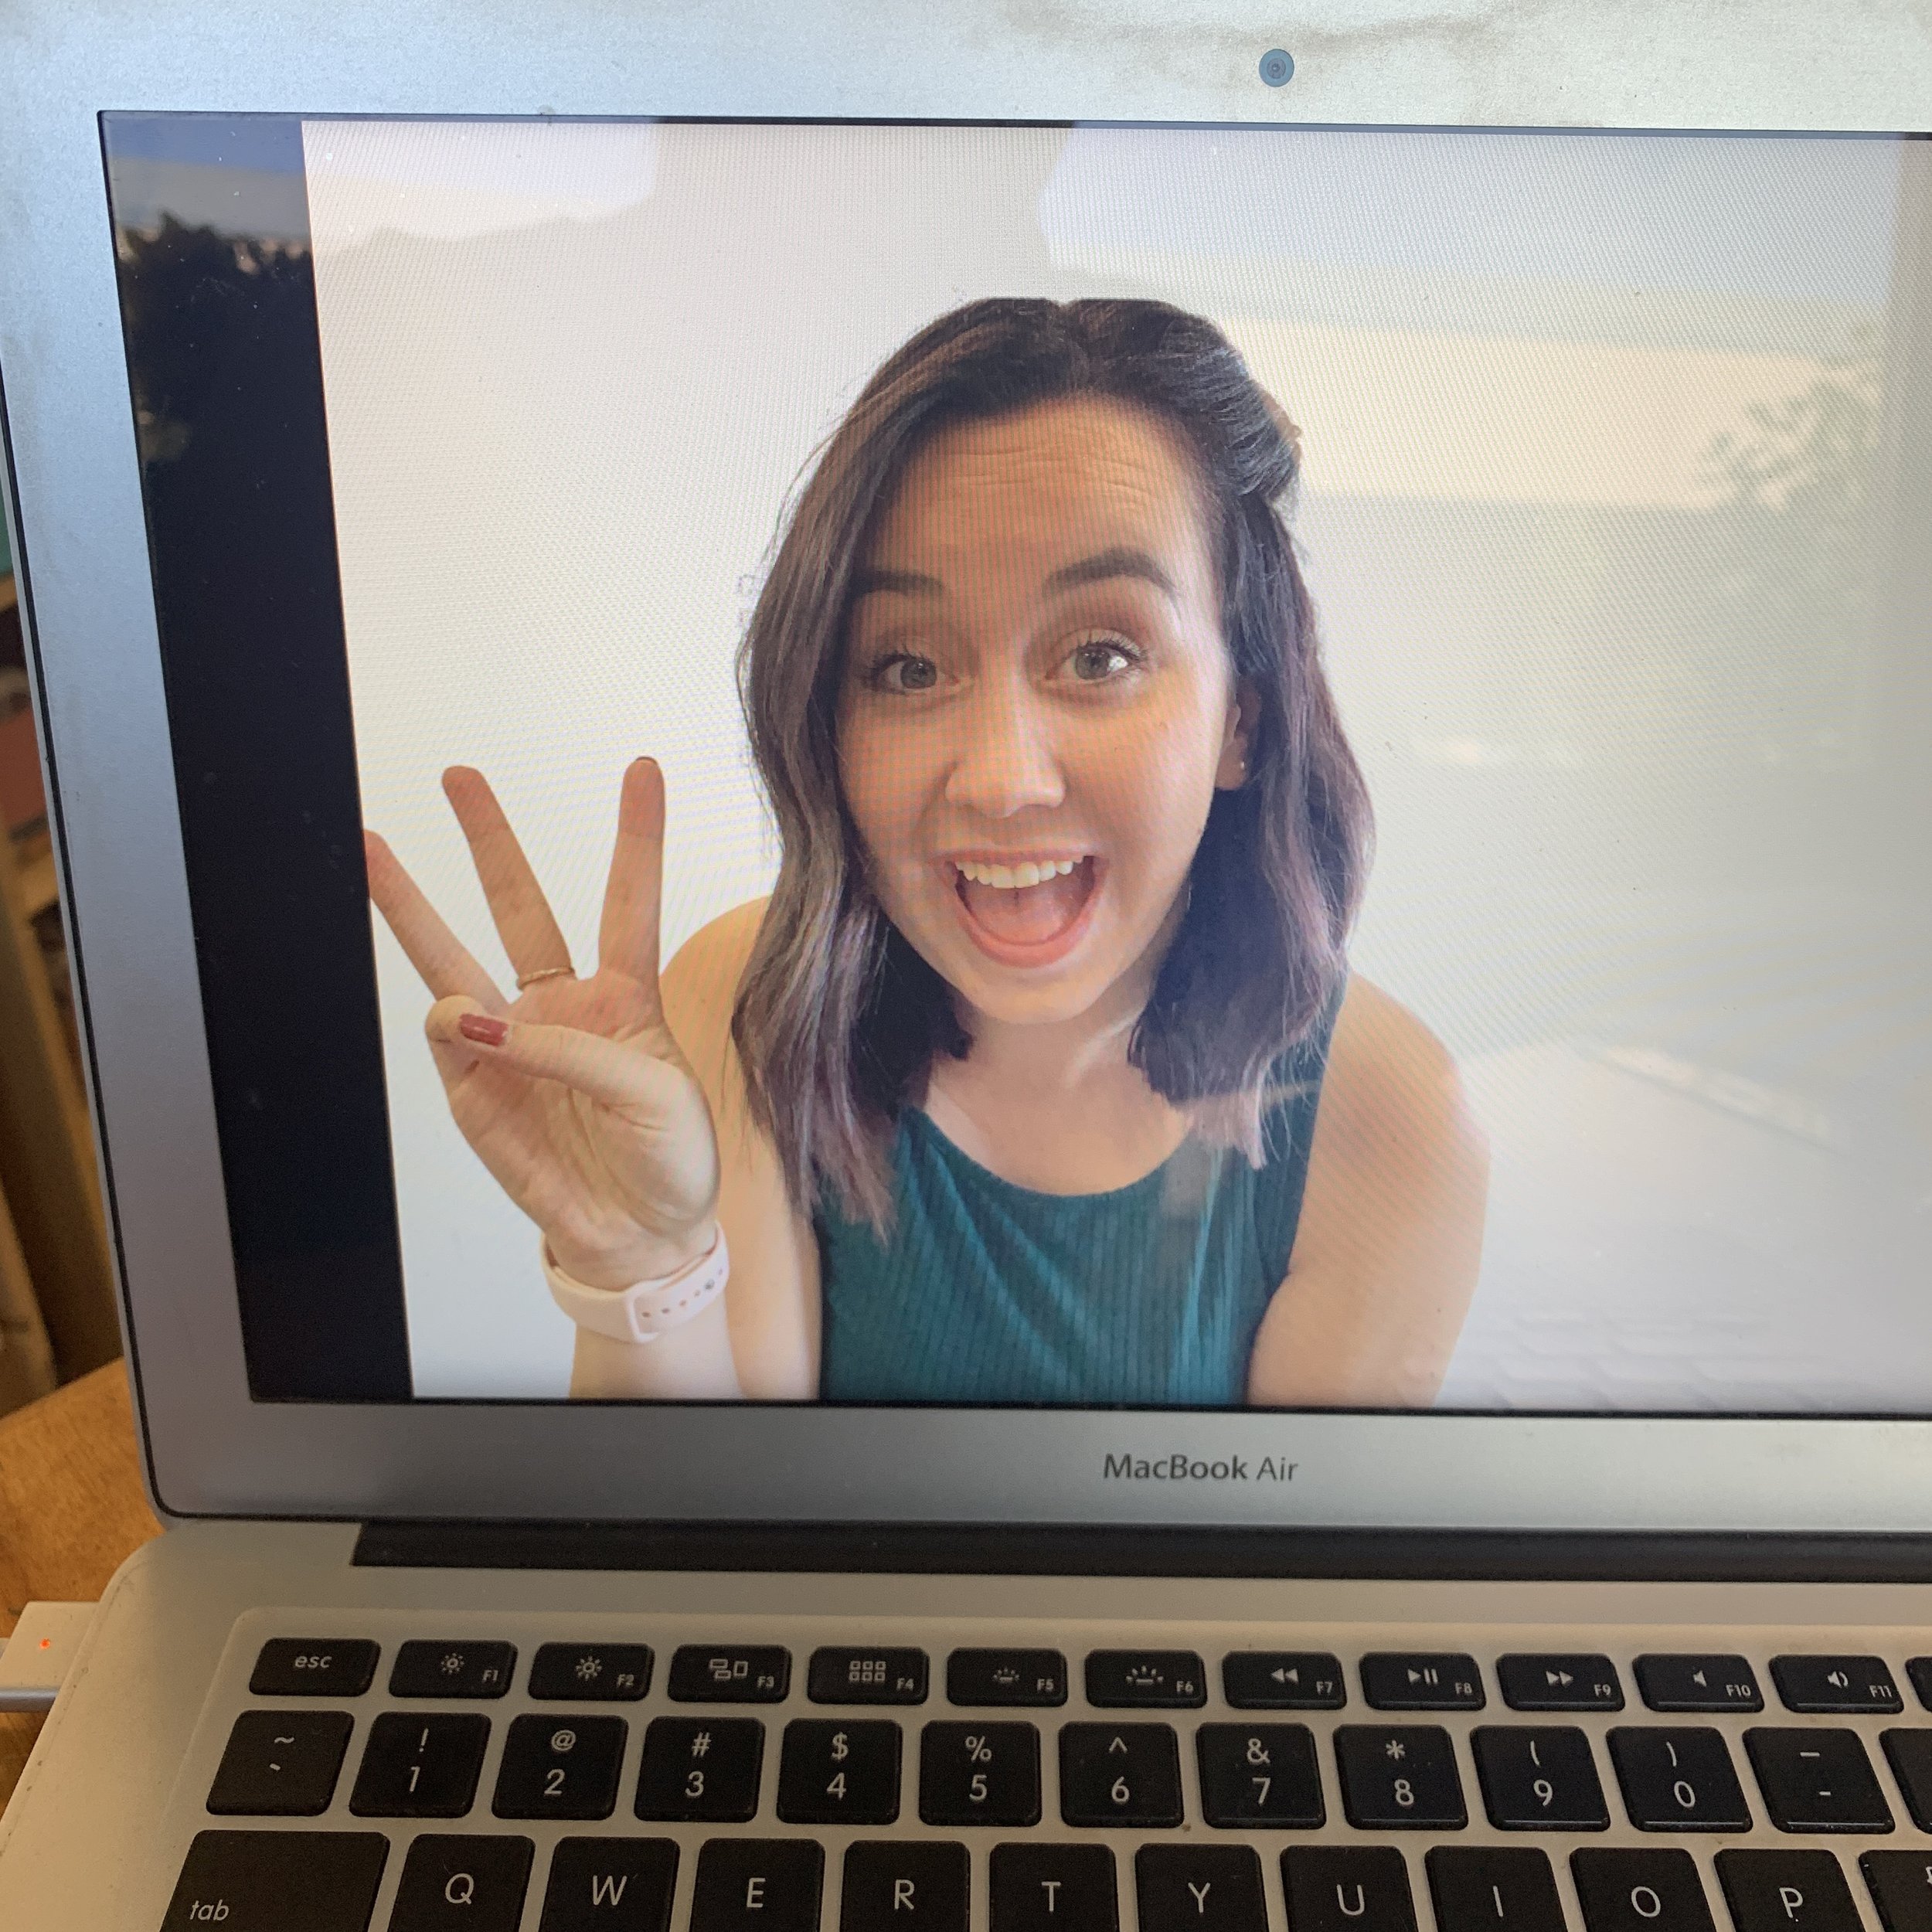
BEFORE starting this project with your students, take a photo of them showing their personality. Ideally it’s chest and head. I told them they can do any pose with any face.
I used Canva plus (free for educators) to remove the background of my sample photo but if you don’t have Canva or another background remover tool, you can take your photos of students against a white wall, it should work out just fine.
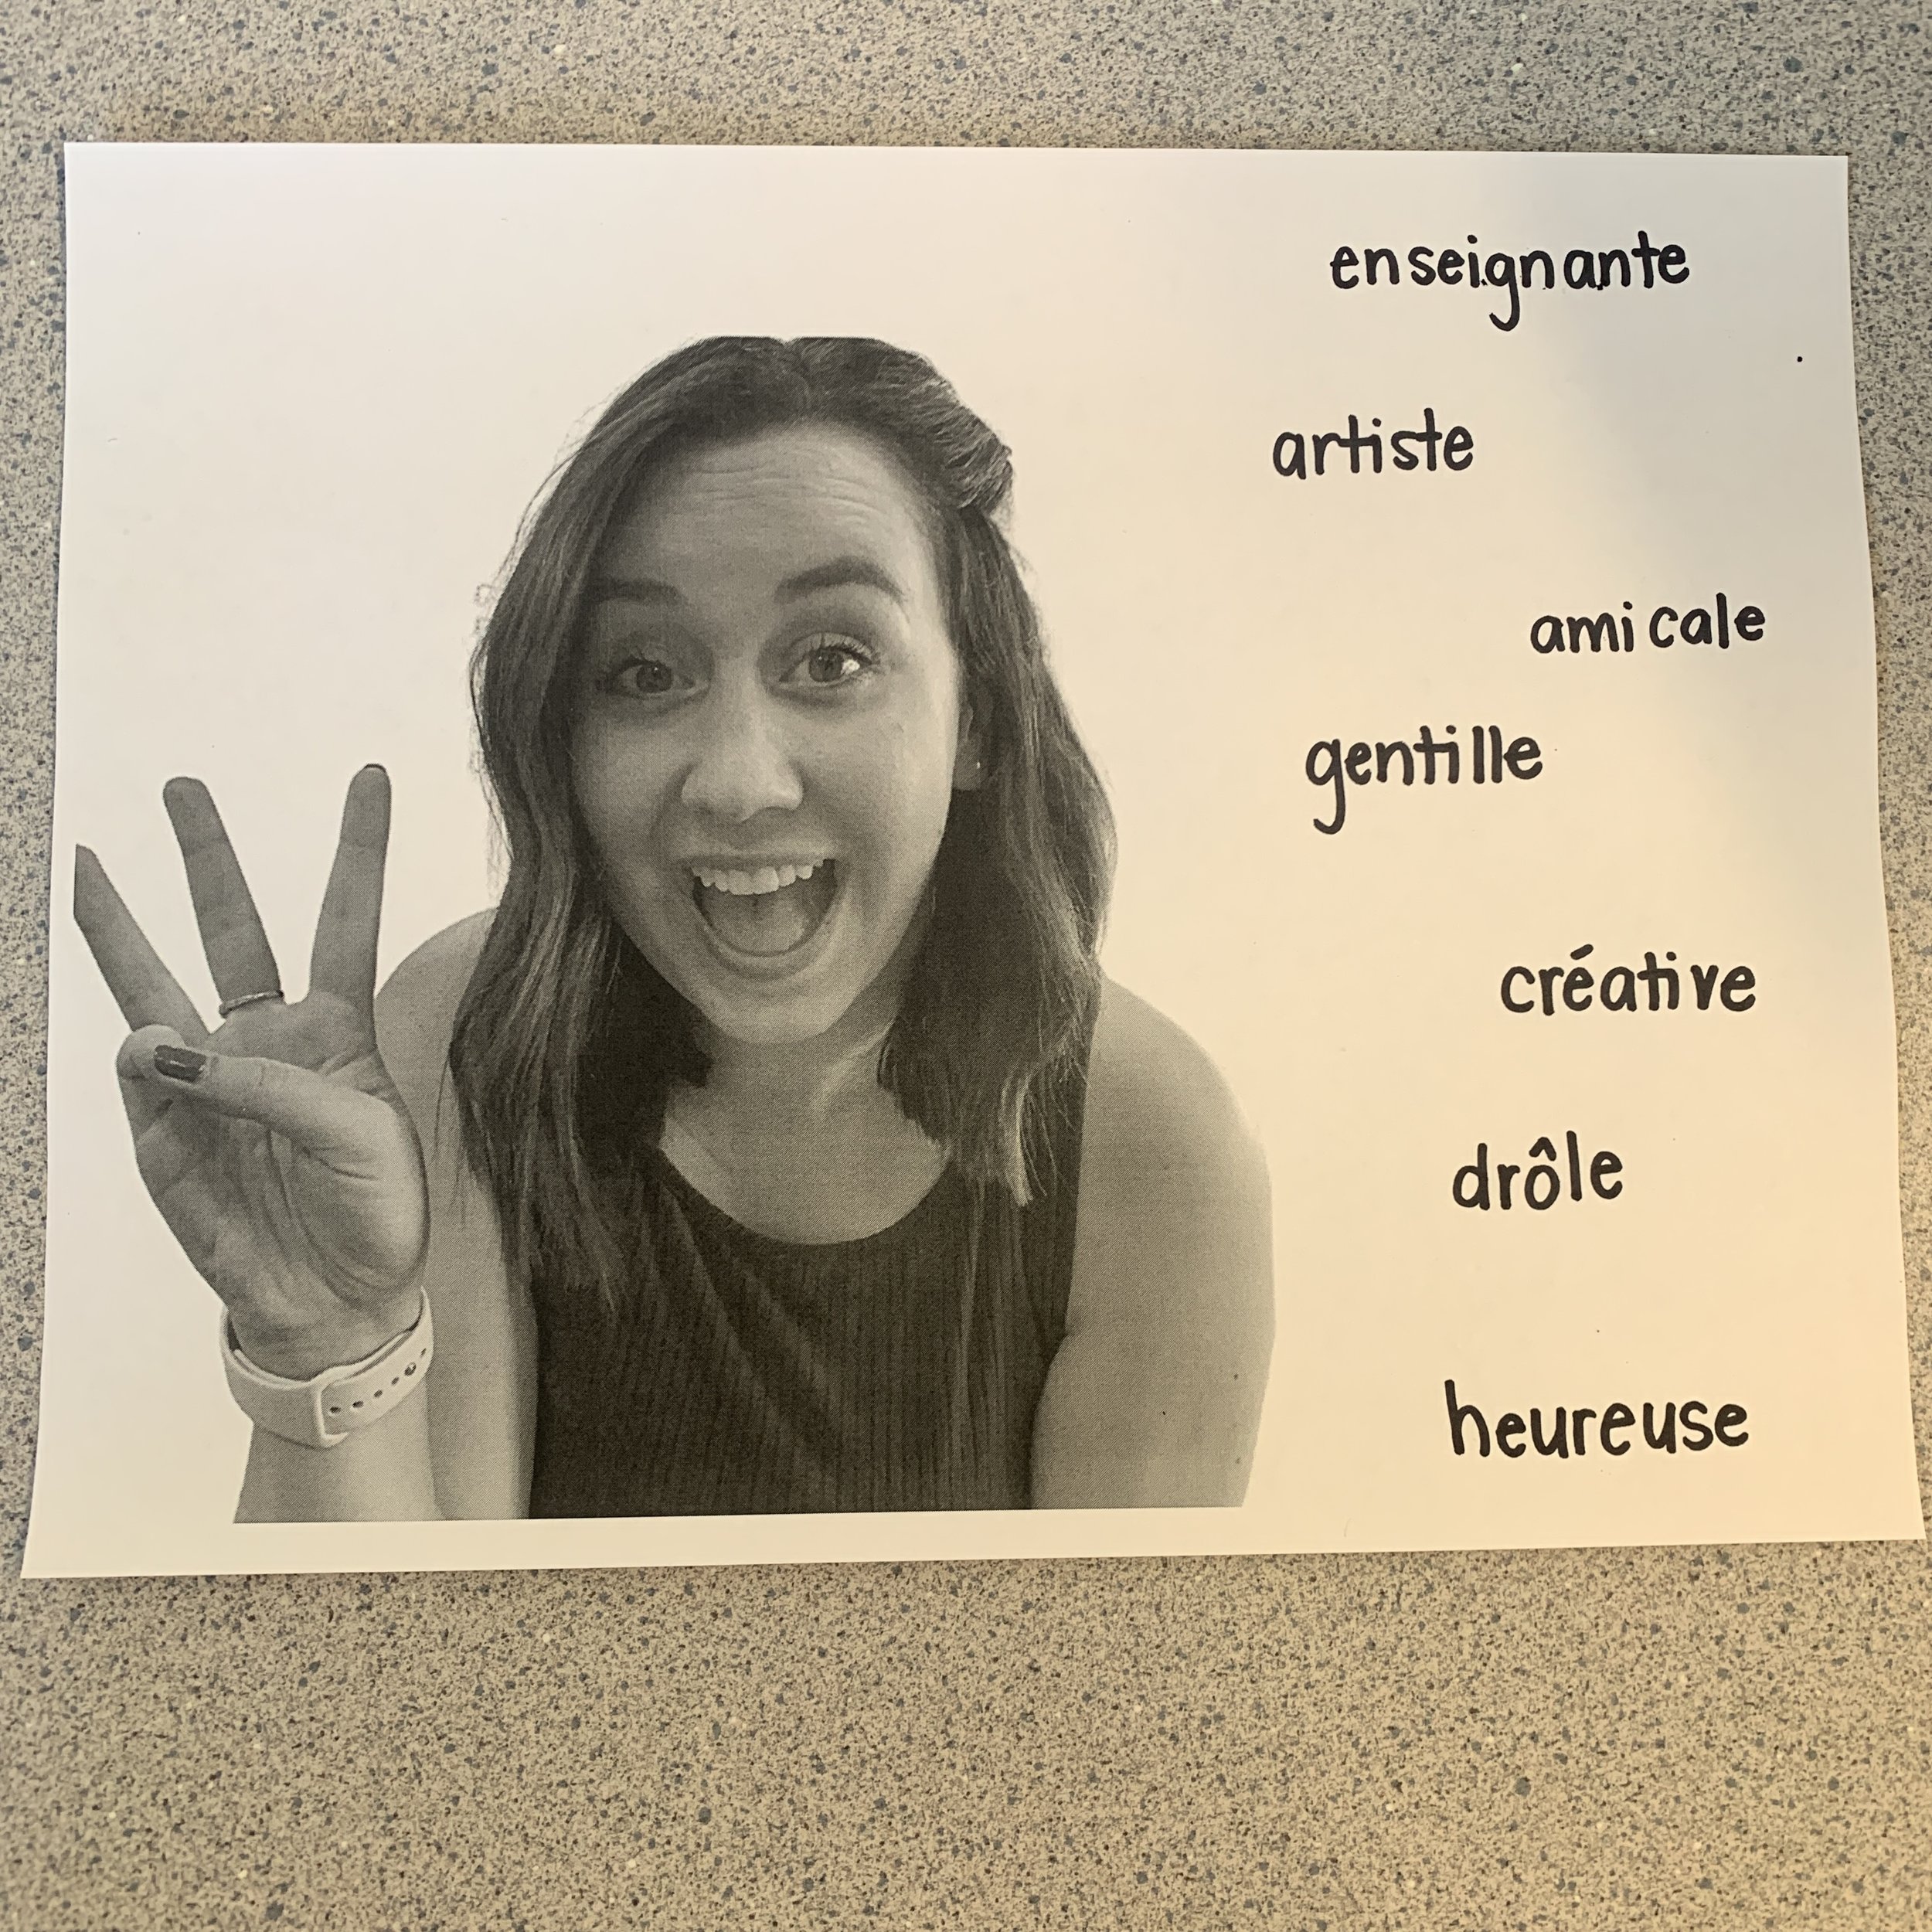
Put each student picture on a slide and adjust it to the size you want. Leave room for the words (student steps). Print in black and white.
Student steps
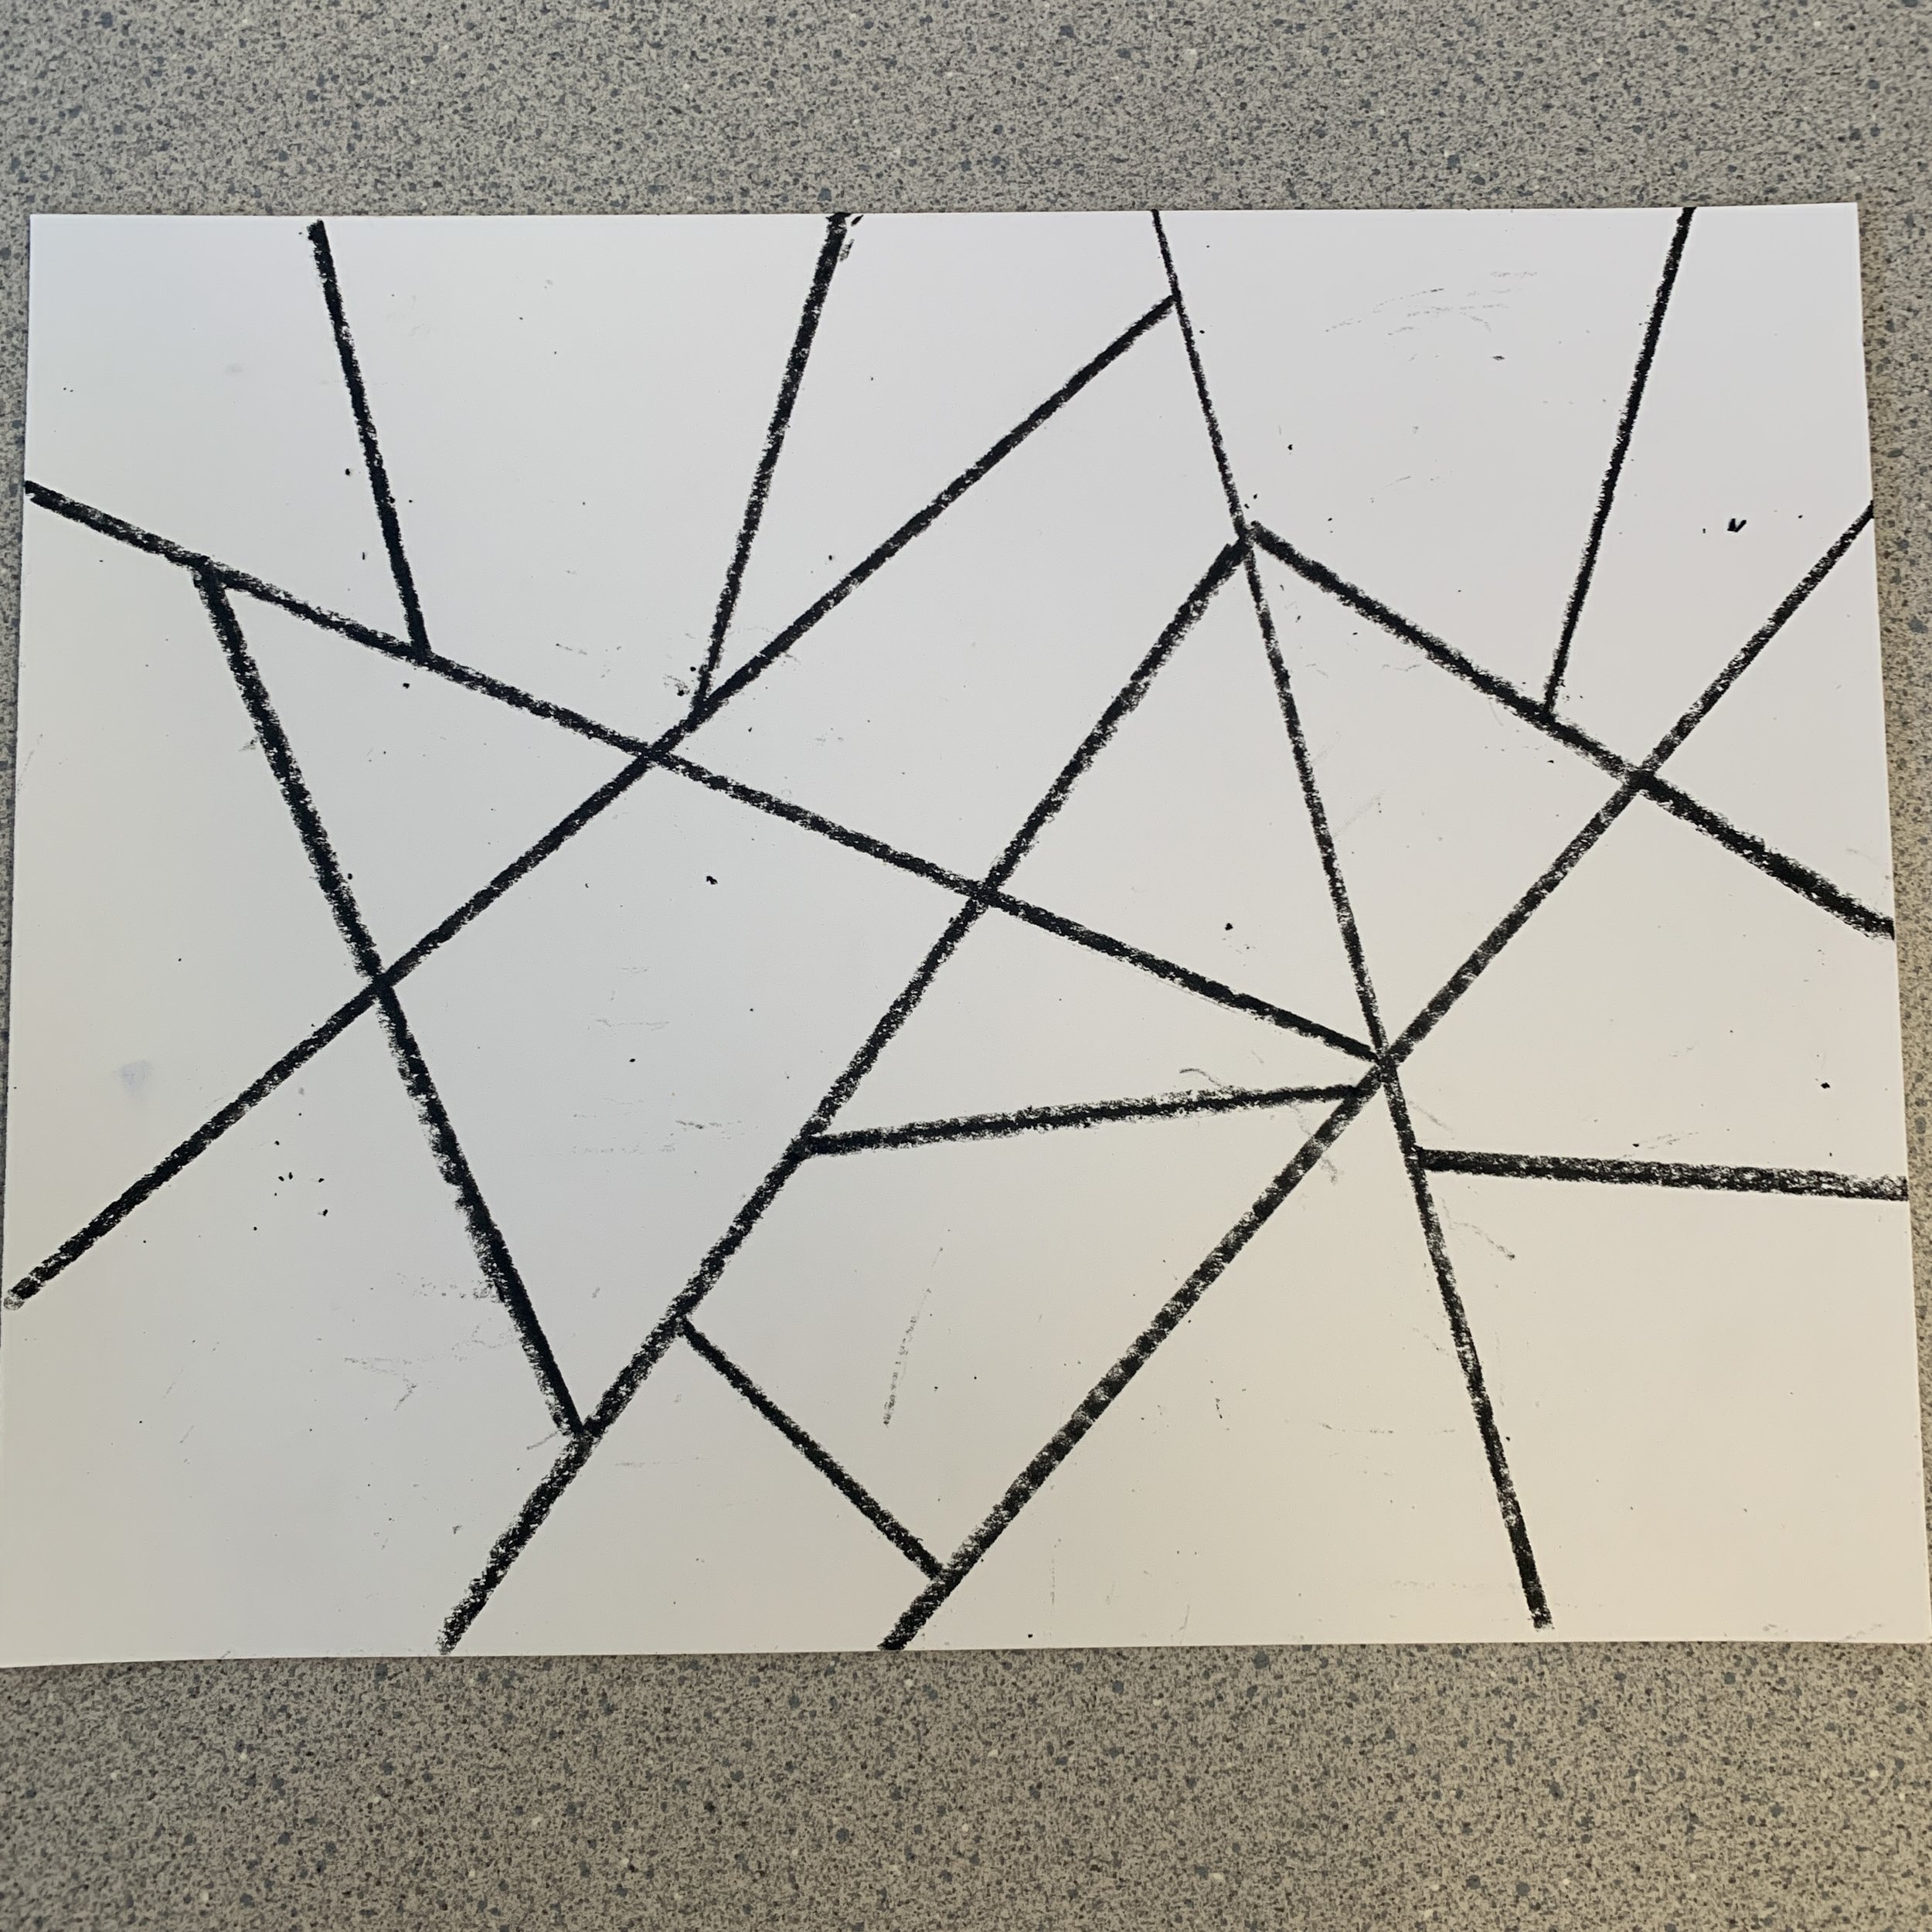
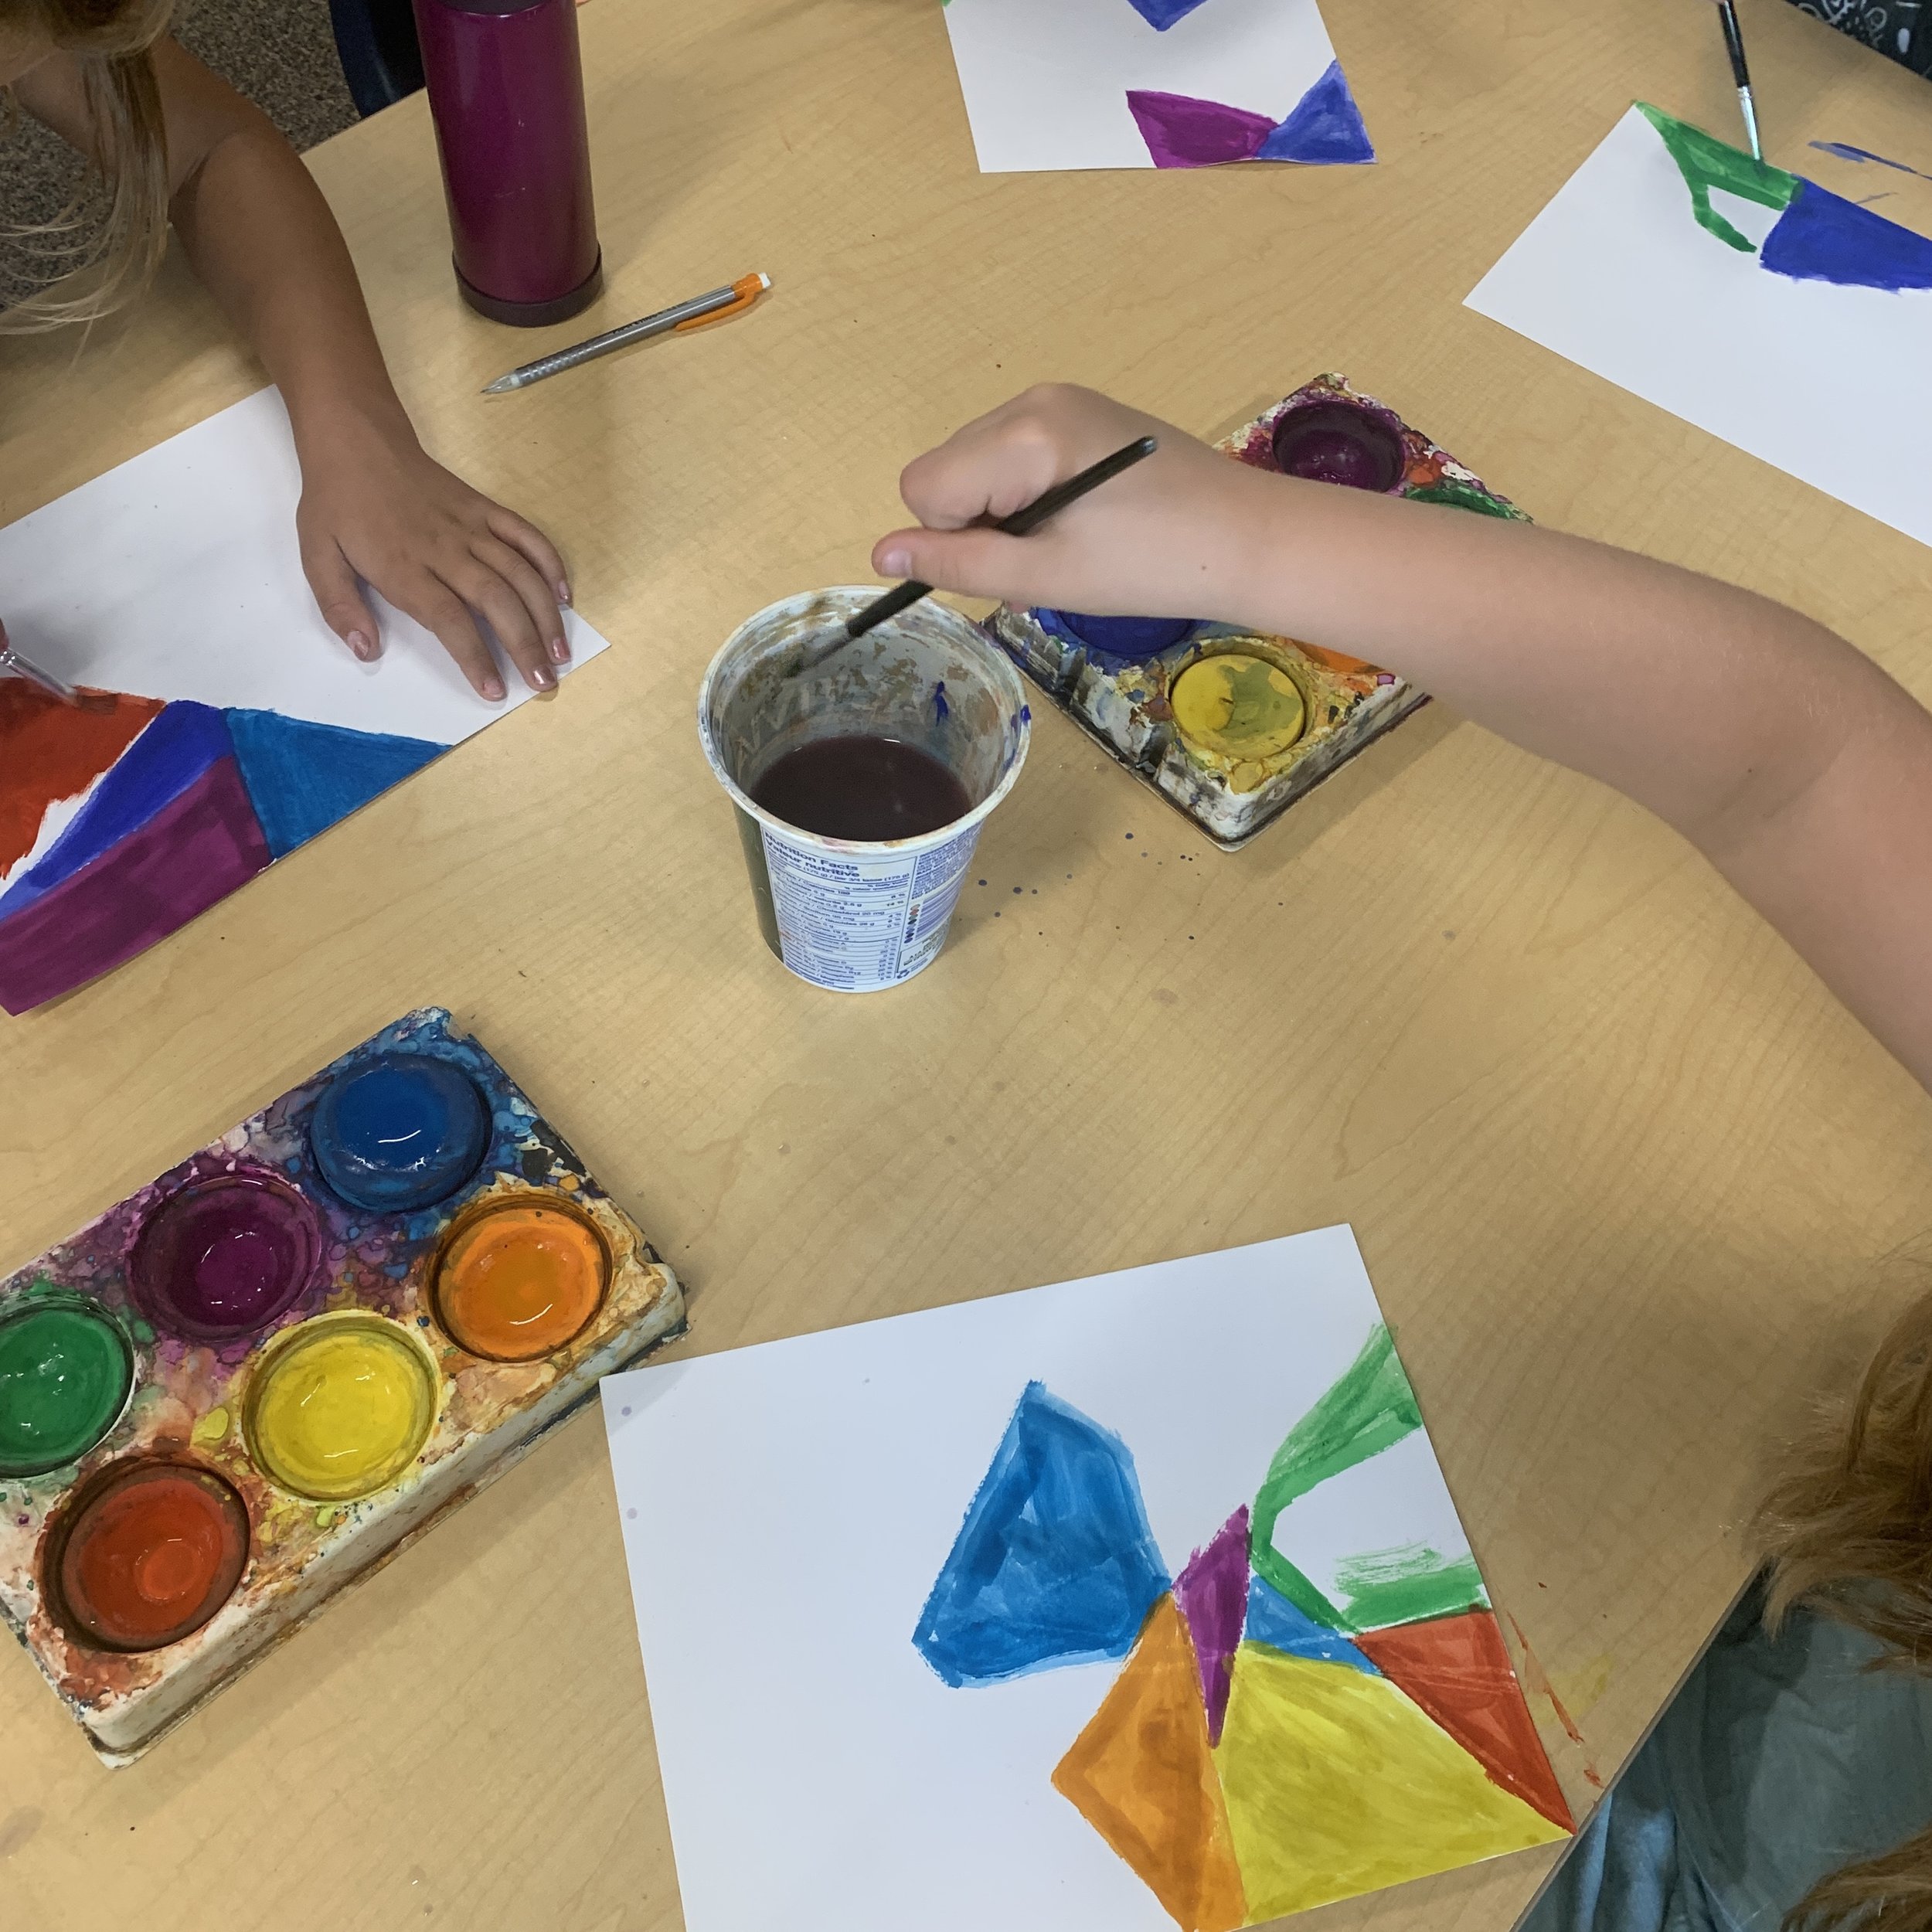
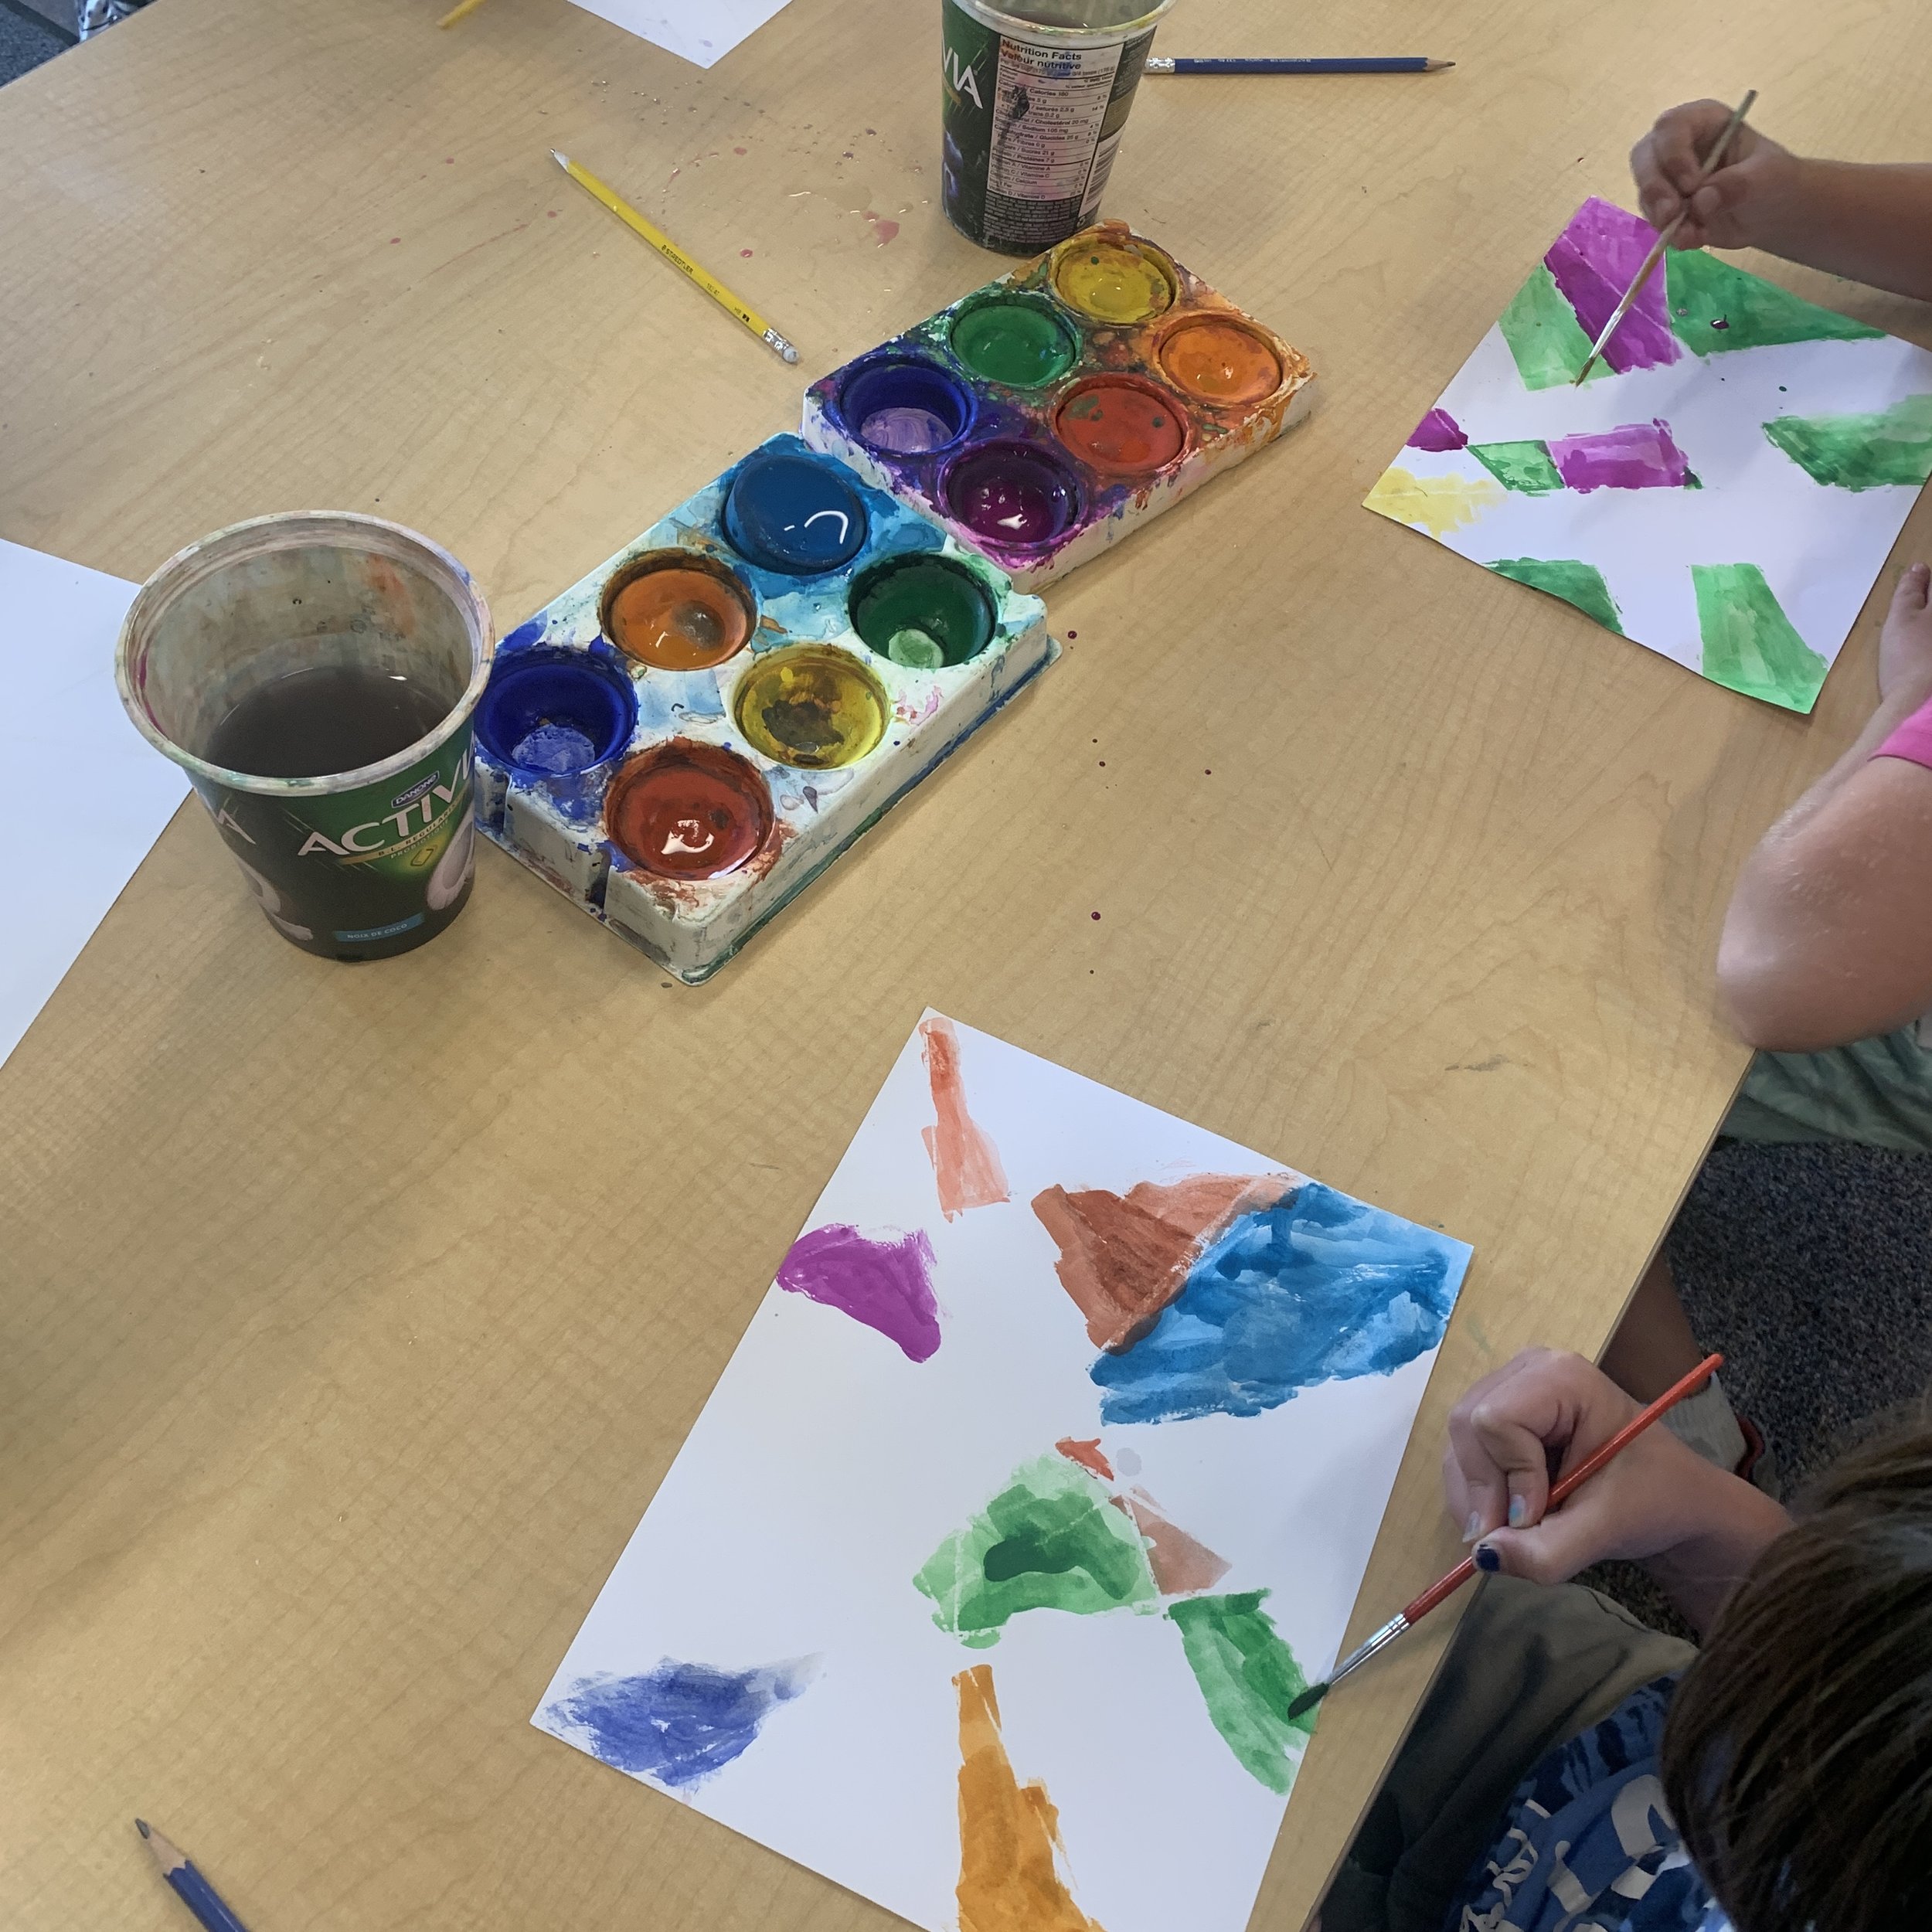
PAINTING STEP:
Students will need to create a background for their project. Here I’ve chosen to just use straight lines that make sections. Alternatively, you can so wavy lines. In this step, I always model how to make large sections and various line directions. It’s easy for students to go overboard and want to do a ton of lines very close together. LESS IS MORE! I used a black crayon and a ruler.
*in my student example photos below I had to use white crayon last minute as I didn’t have enough black crayons at the time. I do not recommend white on white paper…it was very challenging! Stick with black.
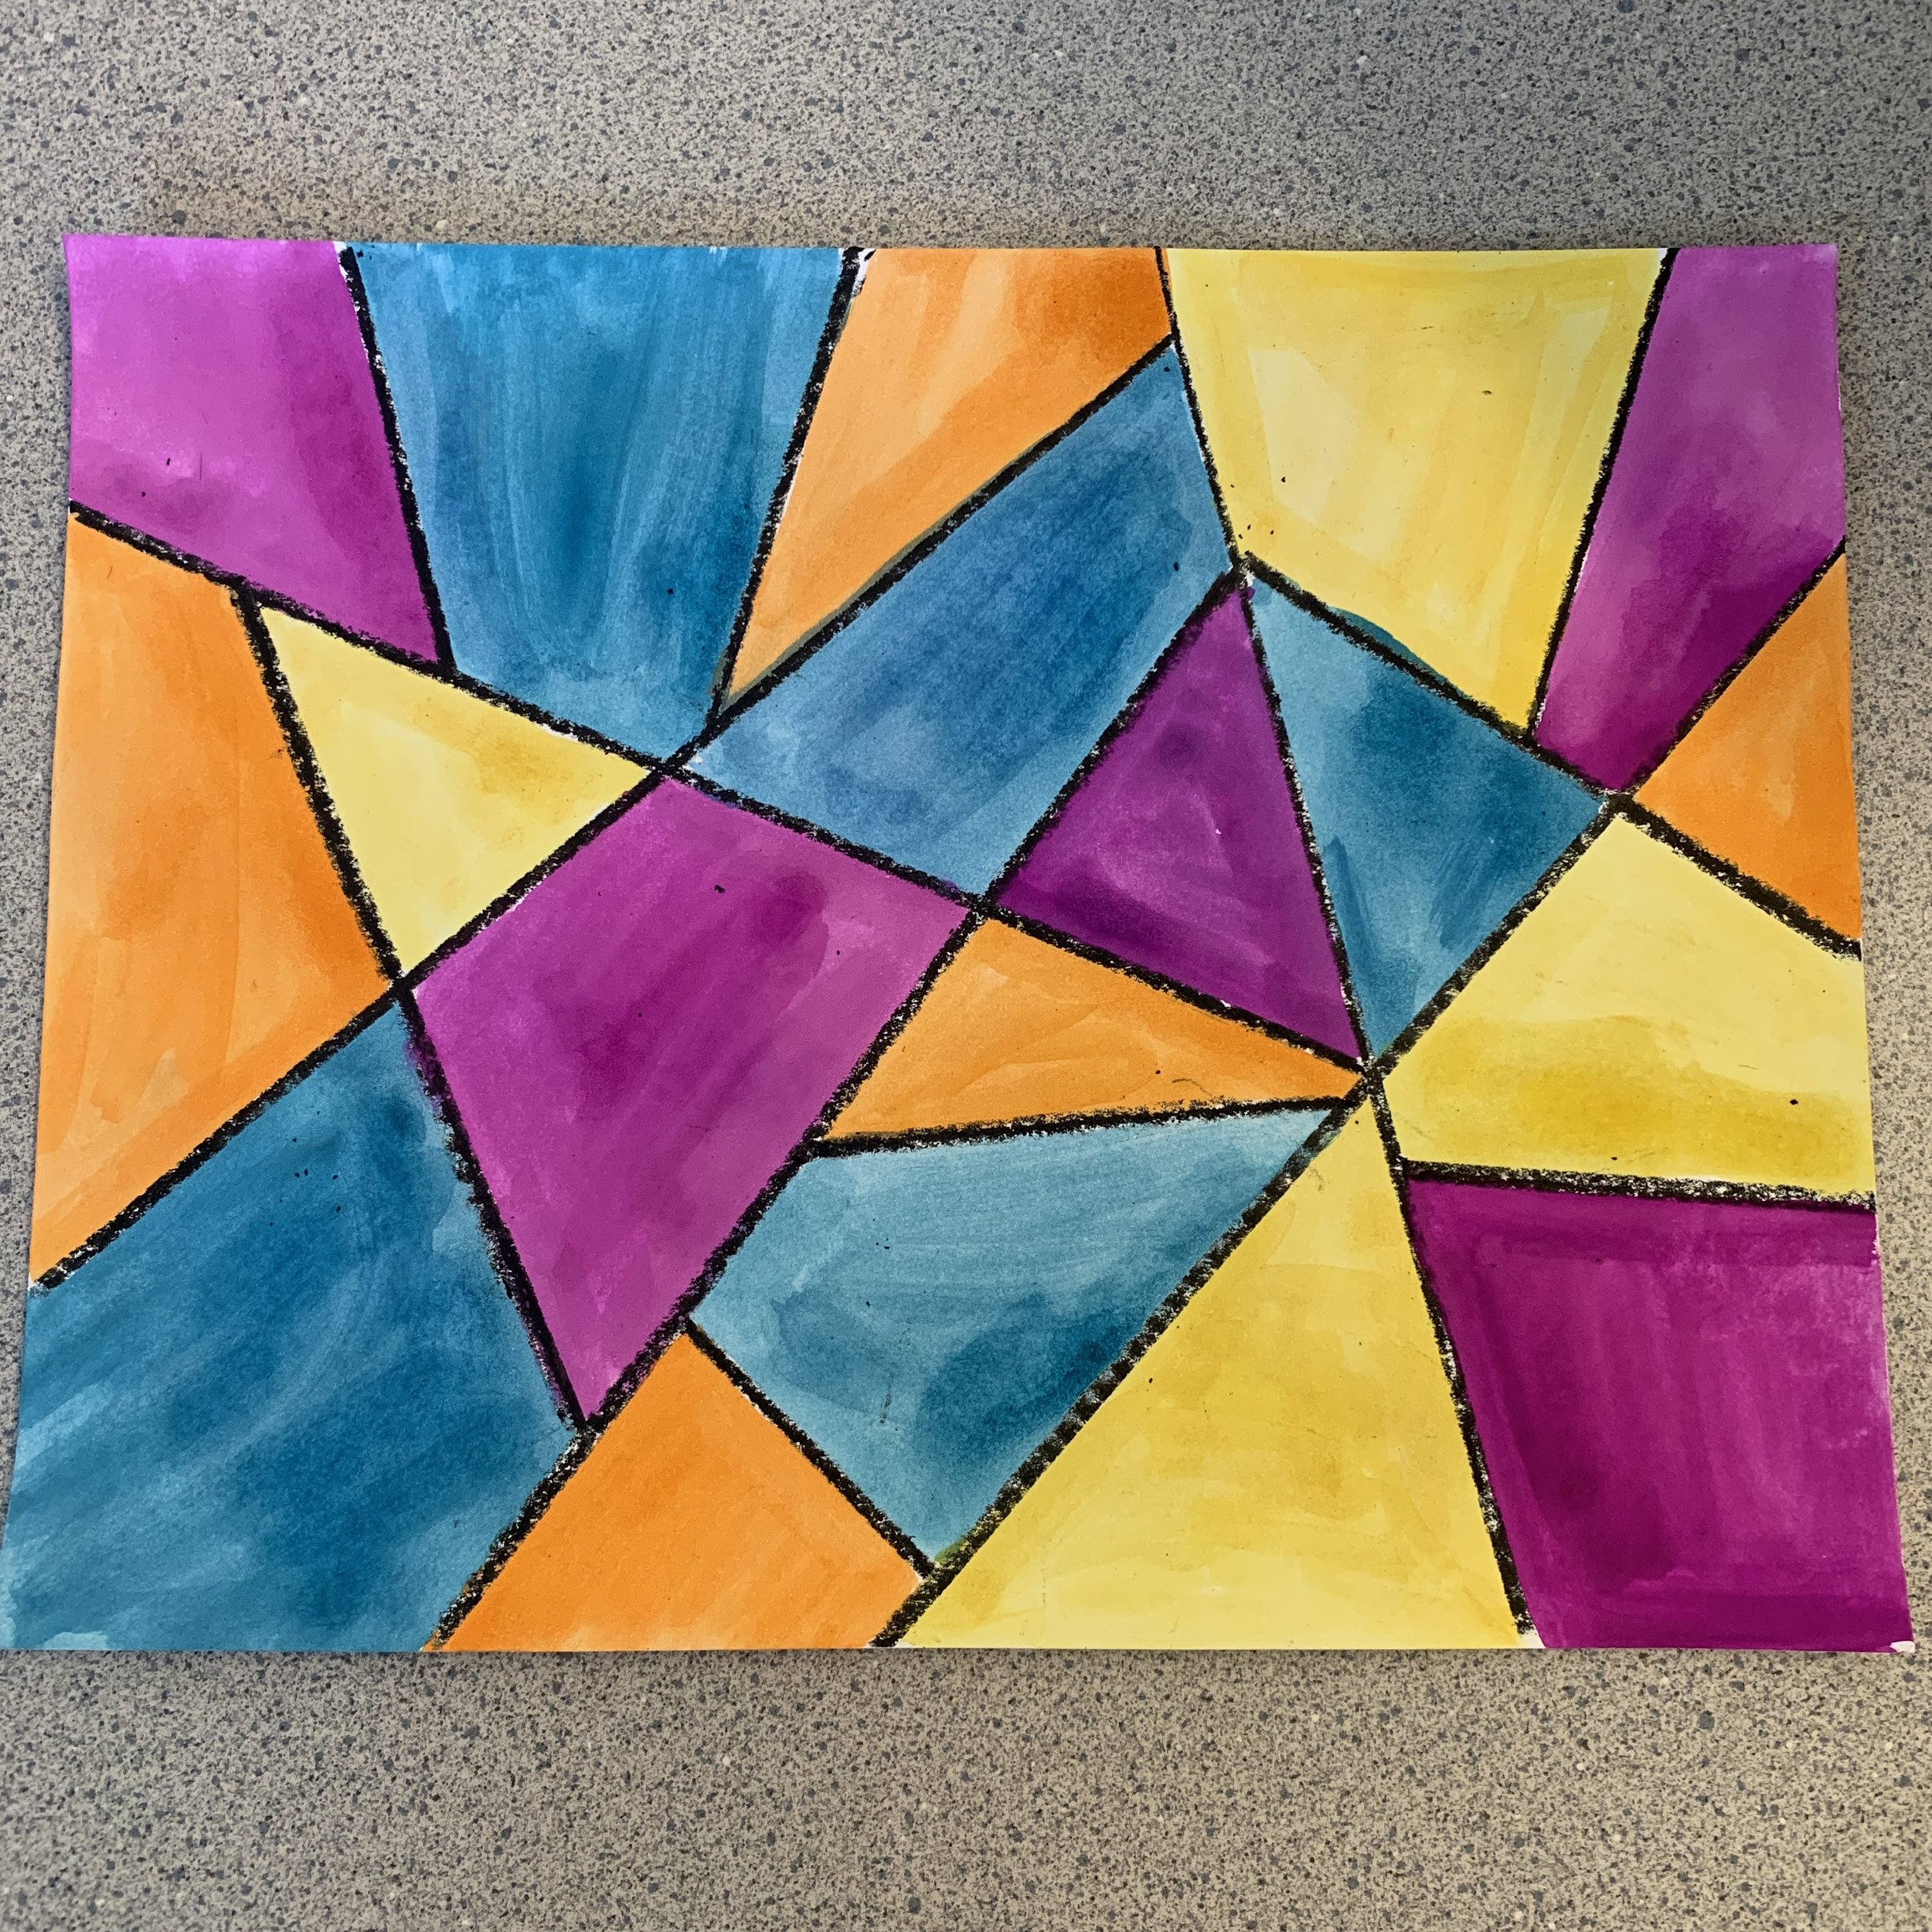
Paint the sections any colour you want. I encourage students to avoid painting two side-by-side sections the same colour. It may happen, but try to avoid it in general. Try not to make it too wet, we want it to dry fairly quickly. Leave to dry.
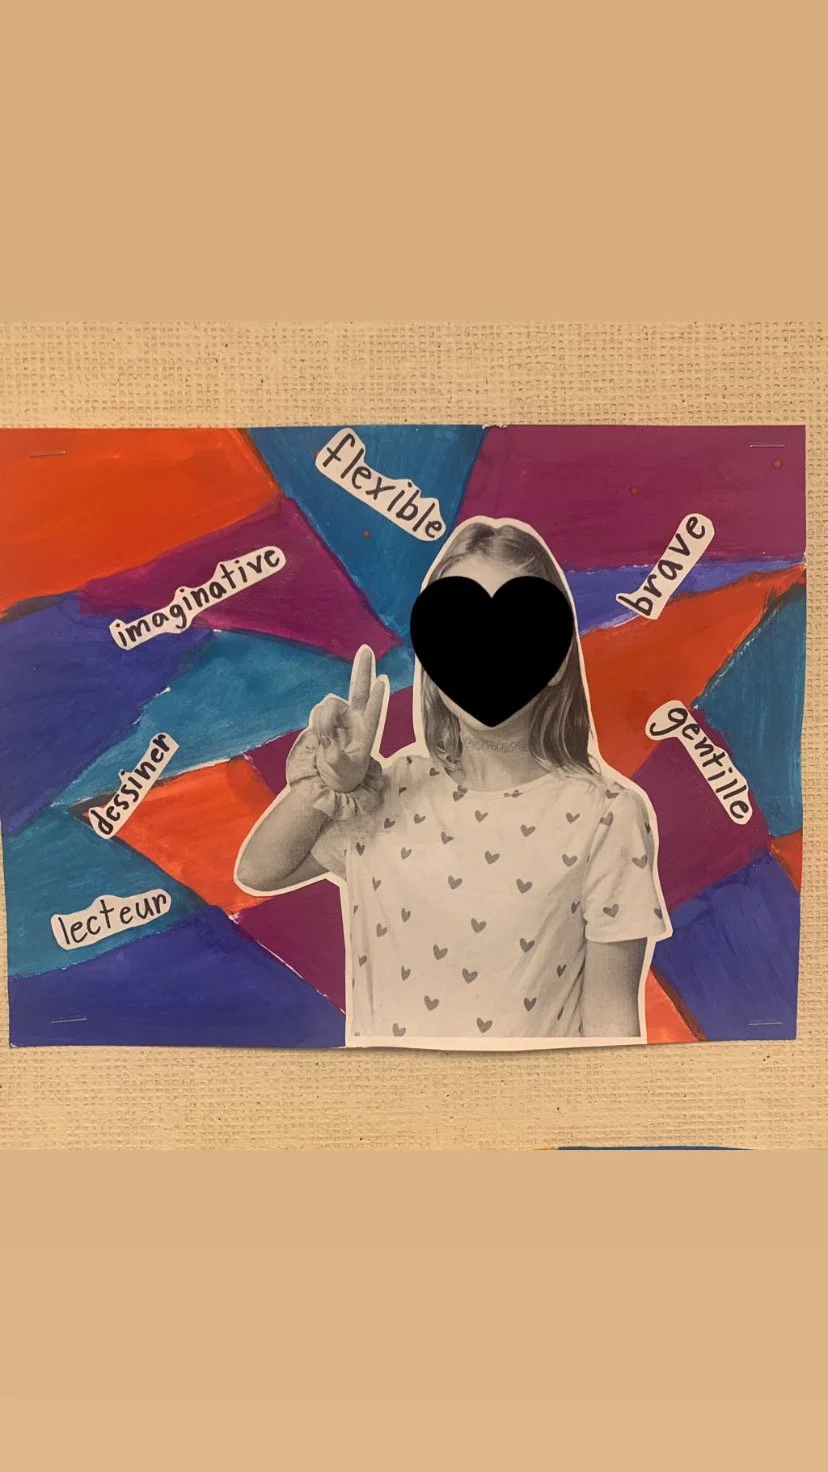
WORDS & PICTURE STEP:
Hand out the student photo papers.
Students will write either character traits or descriptors on their photo paper. It’s a good idea to brainstorm and write a big list on the board together, especially for language learners. It could be things like creative, athletic, calm, helpful or things like brother, soccer player, dancer, artist…
Students chose 6-8 words (depending on how big their handwriting is).
Use a Sharpie to write the words on the picture paper. Then, cut them out. They can be cut in any shape they want, wavy, straight or curved edges. Cut out the head. I like to leave a slight white edge so they don’t have to cut exactly on the lines.
TIP: use a Sharpie mat to avoid getting marker on your table. I use old plastic (non-textured) placemats that students put under their paper anytime we use thing printer weight paper. They’re easy enough to find at thrift stores or dollar stores.
Glue the head and the words around it. They can put it in any position, but I tell them to line up the bottom edge so they’re not floating ghosts with a cut off chest, it’s not Halloween yet!
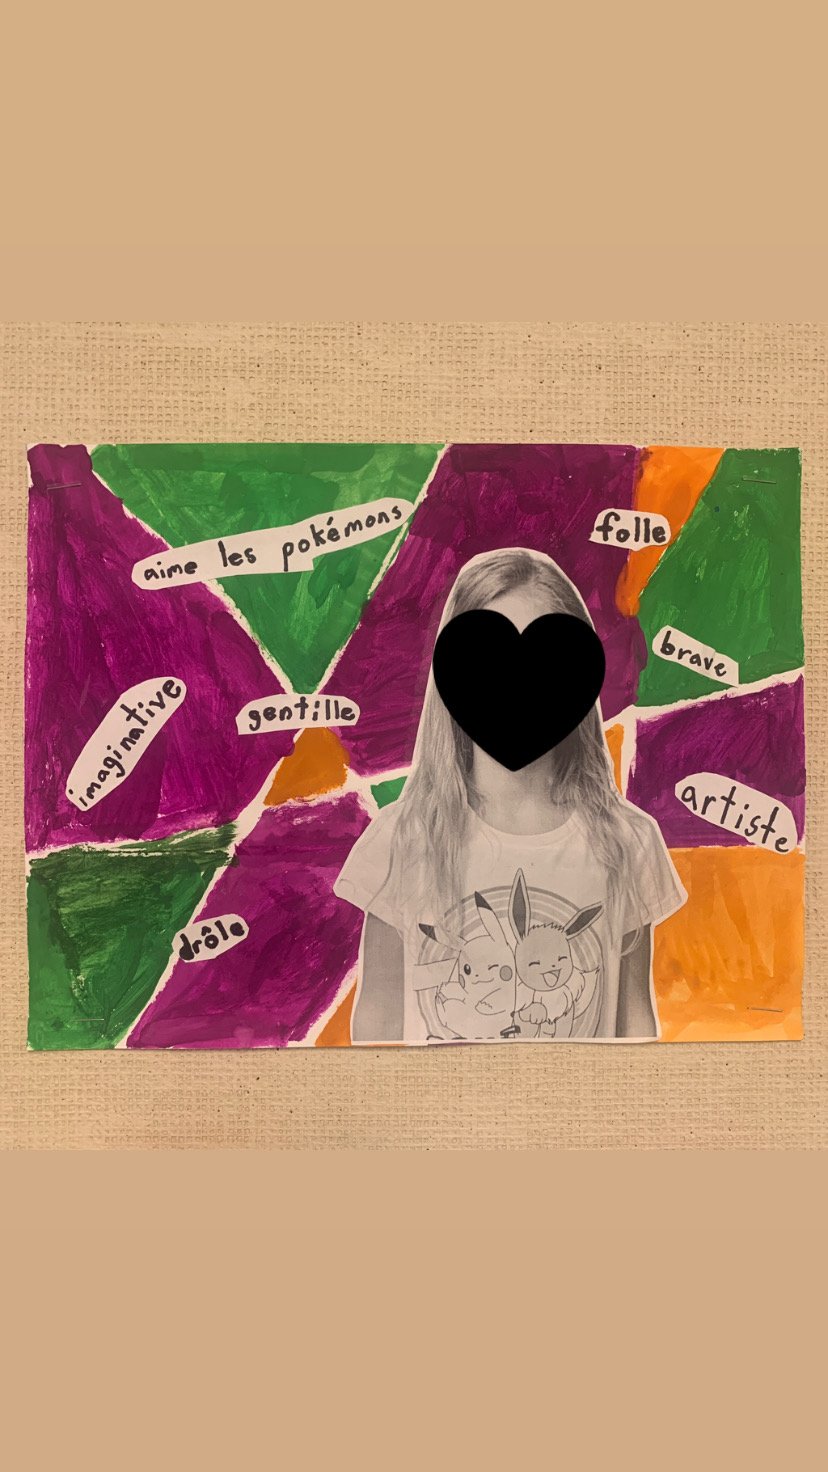
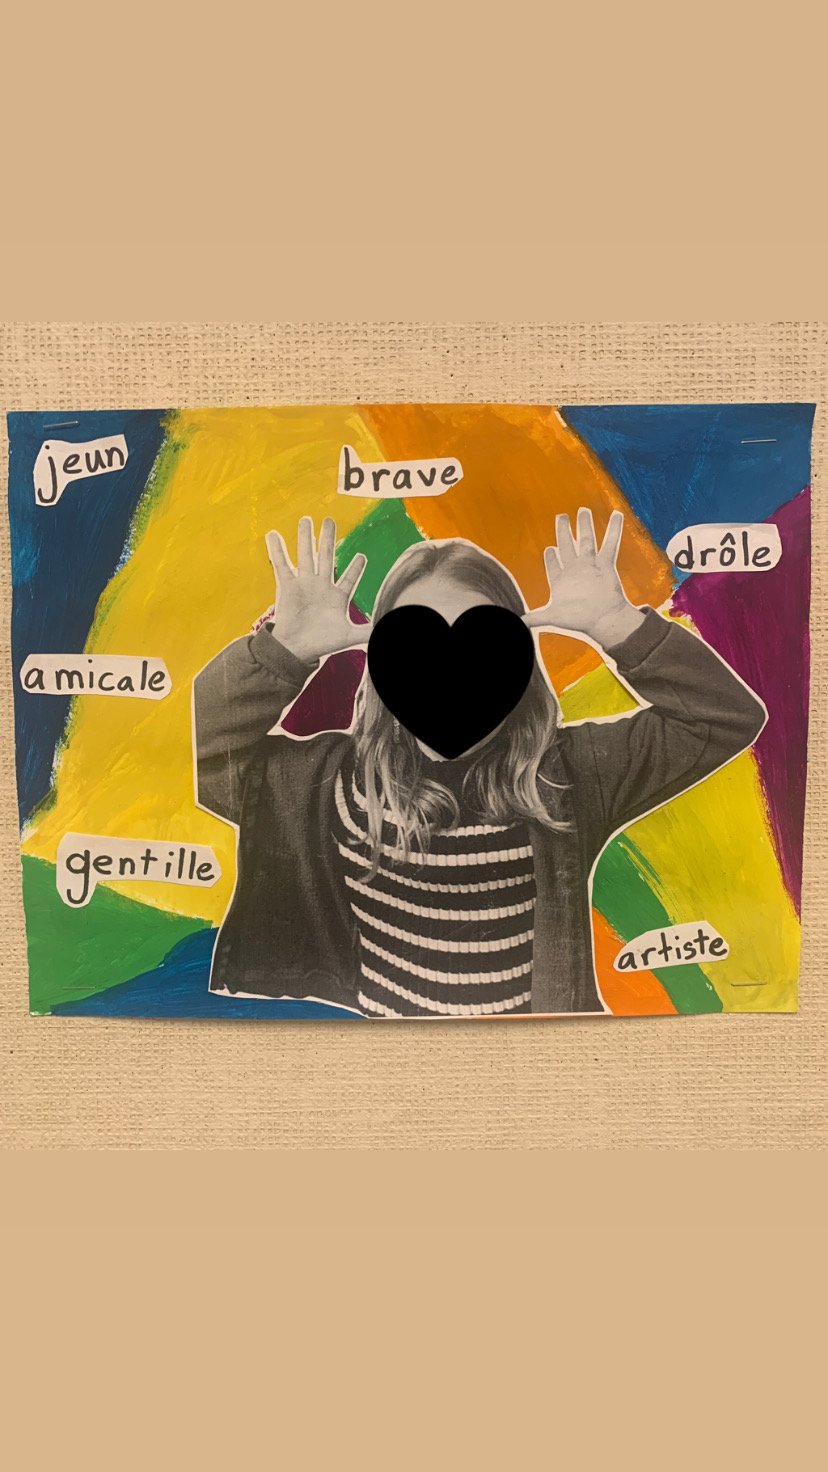


TIP: Sharpie mats
Here’s a student using a Sharpie mat. Inexpensive and not bulky to store, they save your tables or desks!