

Mr. Grinch Art Project
Watching How the Grinch Stole Christmas (the old animated one) is one of my family’s favourite December traditions. Despite access on DVDs and then now on streaming services, the tradition is to watch it on CBC whenever it airs live.

I have my brother to thank for this project. He created this design when he was very young. This is his original, no template design.
It still gets hung up every Christmas because it’s just too cute. He also made one without his Santa outfit on but we like the clothed version for school.
My mom and I now both use his design for our classes.
Duration: 60 minutes
Grade: K & up
*I did it with Ks, but I would suggest doing it in small groups because there are a lot of pieces that could get lost
*In 2/3 they can do it independently.
Materials:
Scissors
Glue
Cotton balls
Yellow paper
Sharpie
Pre-printed body pieces on green and red paper
If students will be doing it all themselves, either freehand or with stencils, you will also need:
Green paper
Red paper
Stencils (make out of card stock or thin cardboard)
Paper
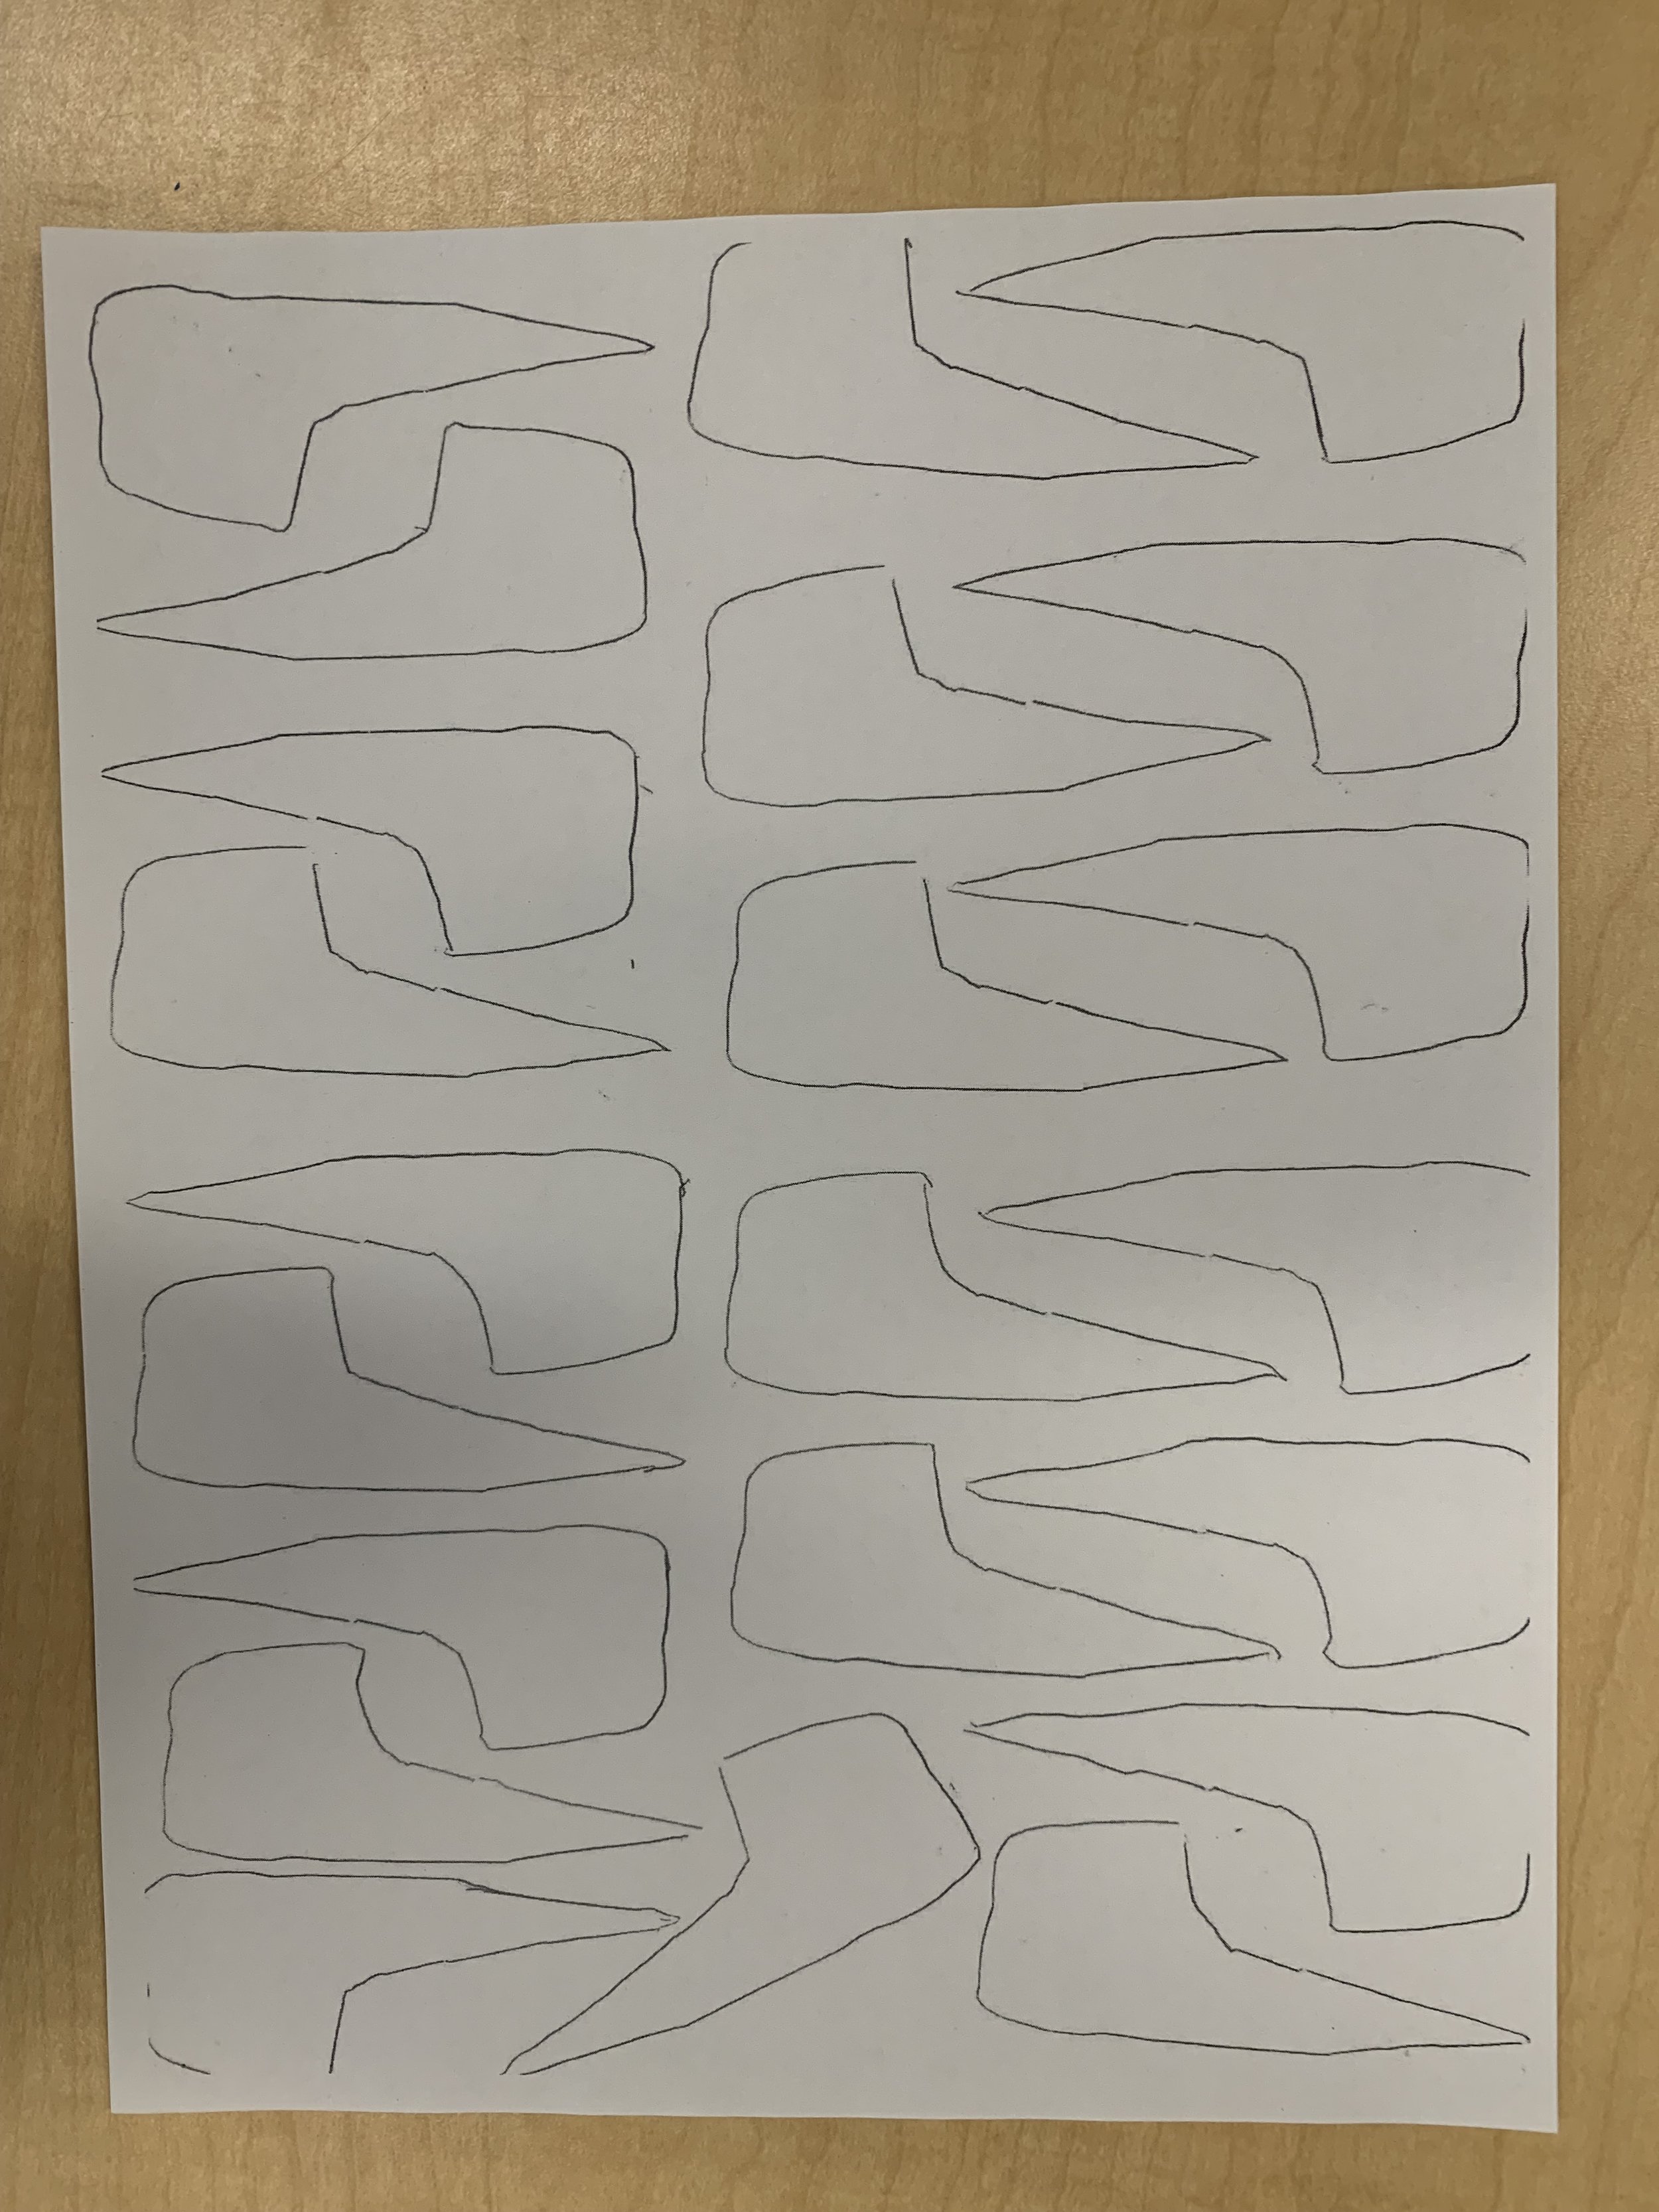
I do not have a template for you (my mom drew this one) but you can easily draw your own. I have the template on white paper and then run red and green paper through my printer. You can use coloured printer paper or construction paper, depending what your photocopier allows. If you can’t photocopy onto coloured paper, you could create stencils for students to trace.
If you have it pre-printed, it makes it very easy for students to assemble. It’s more work if they have to draw it out first. Up to you and level of students.
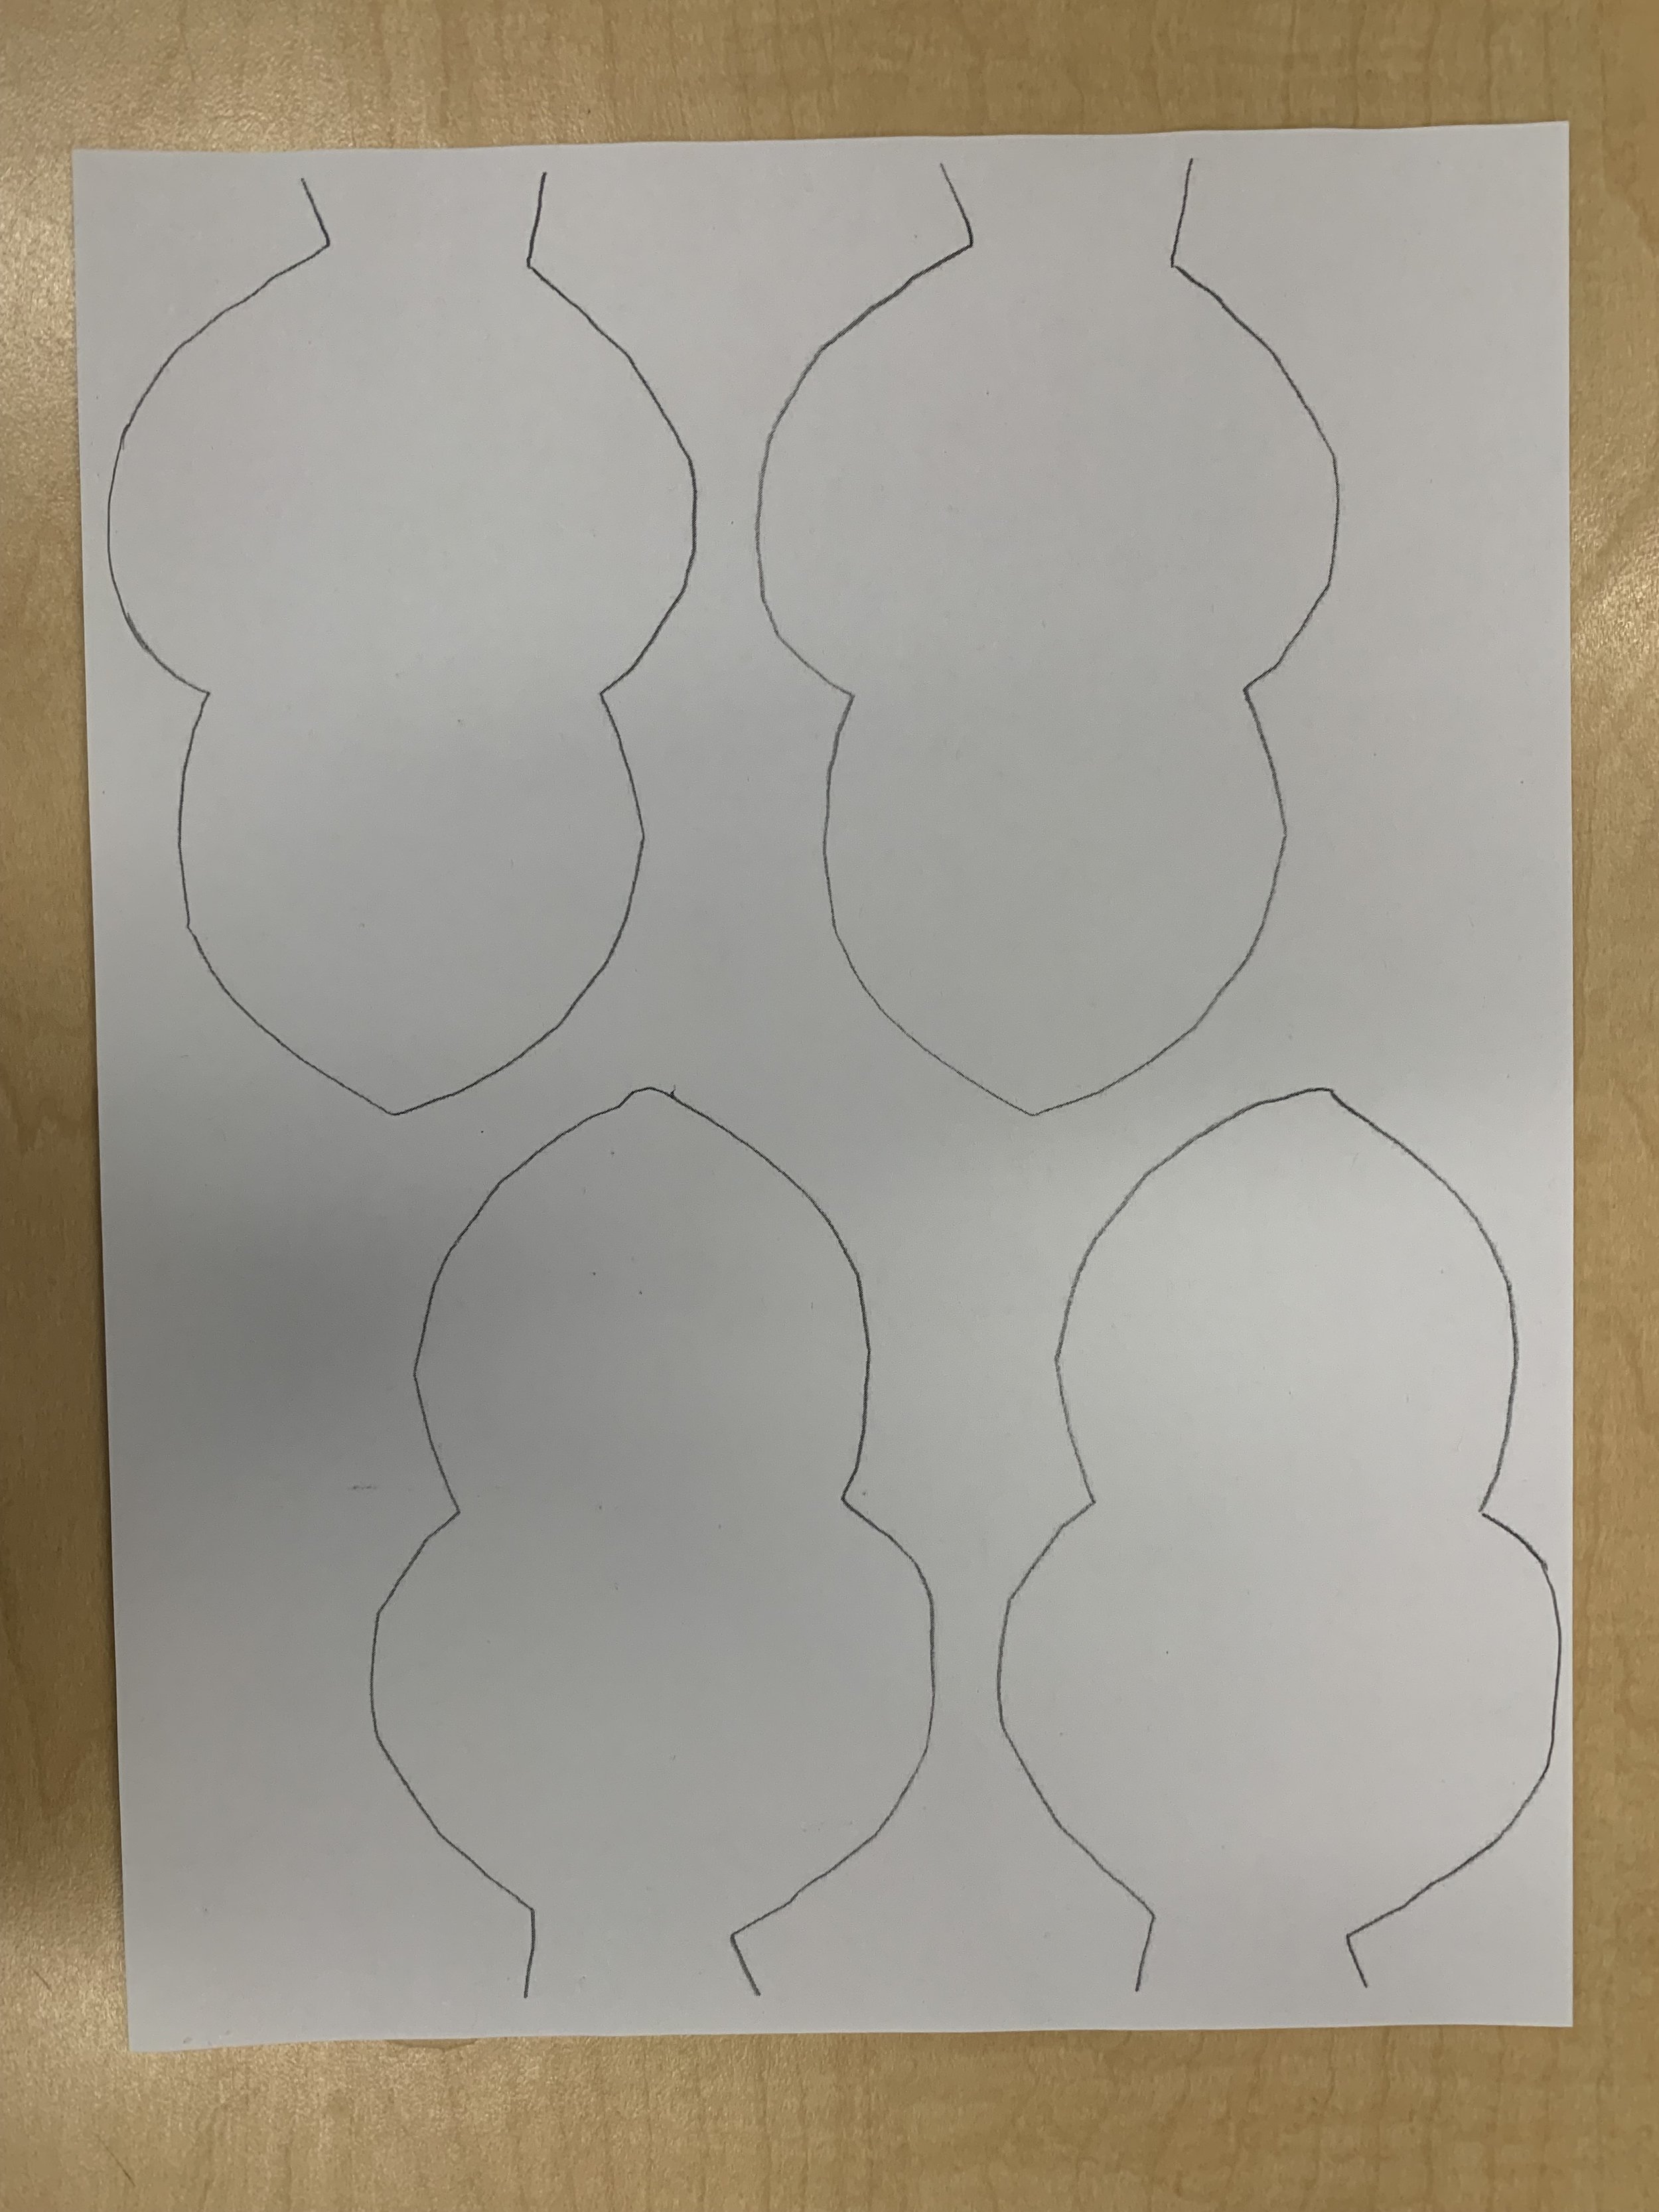
Green paper - lower body, hands and head
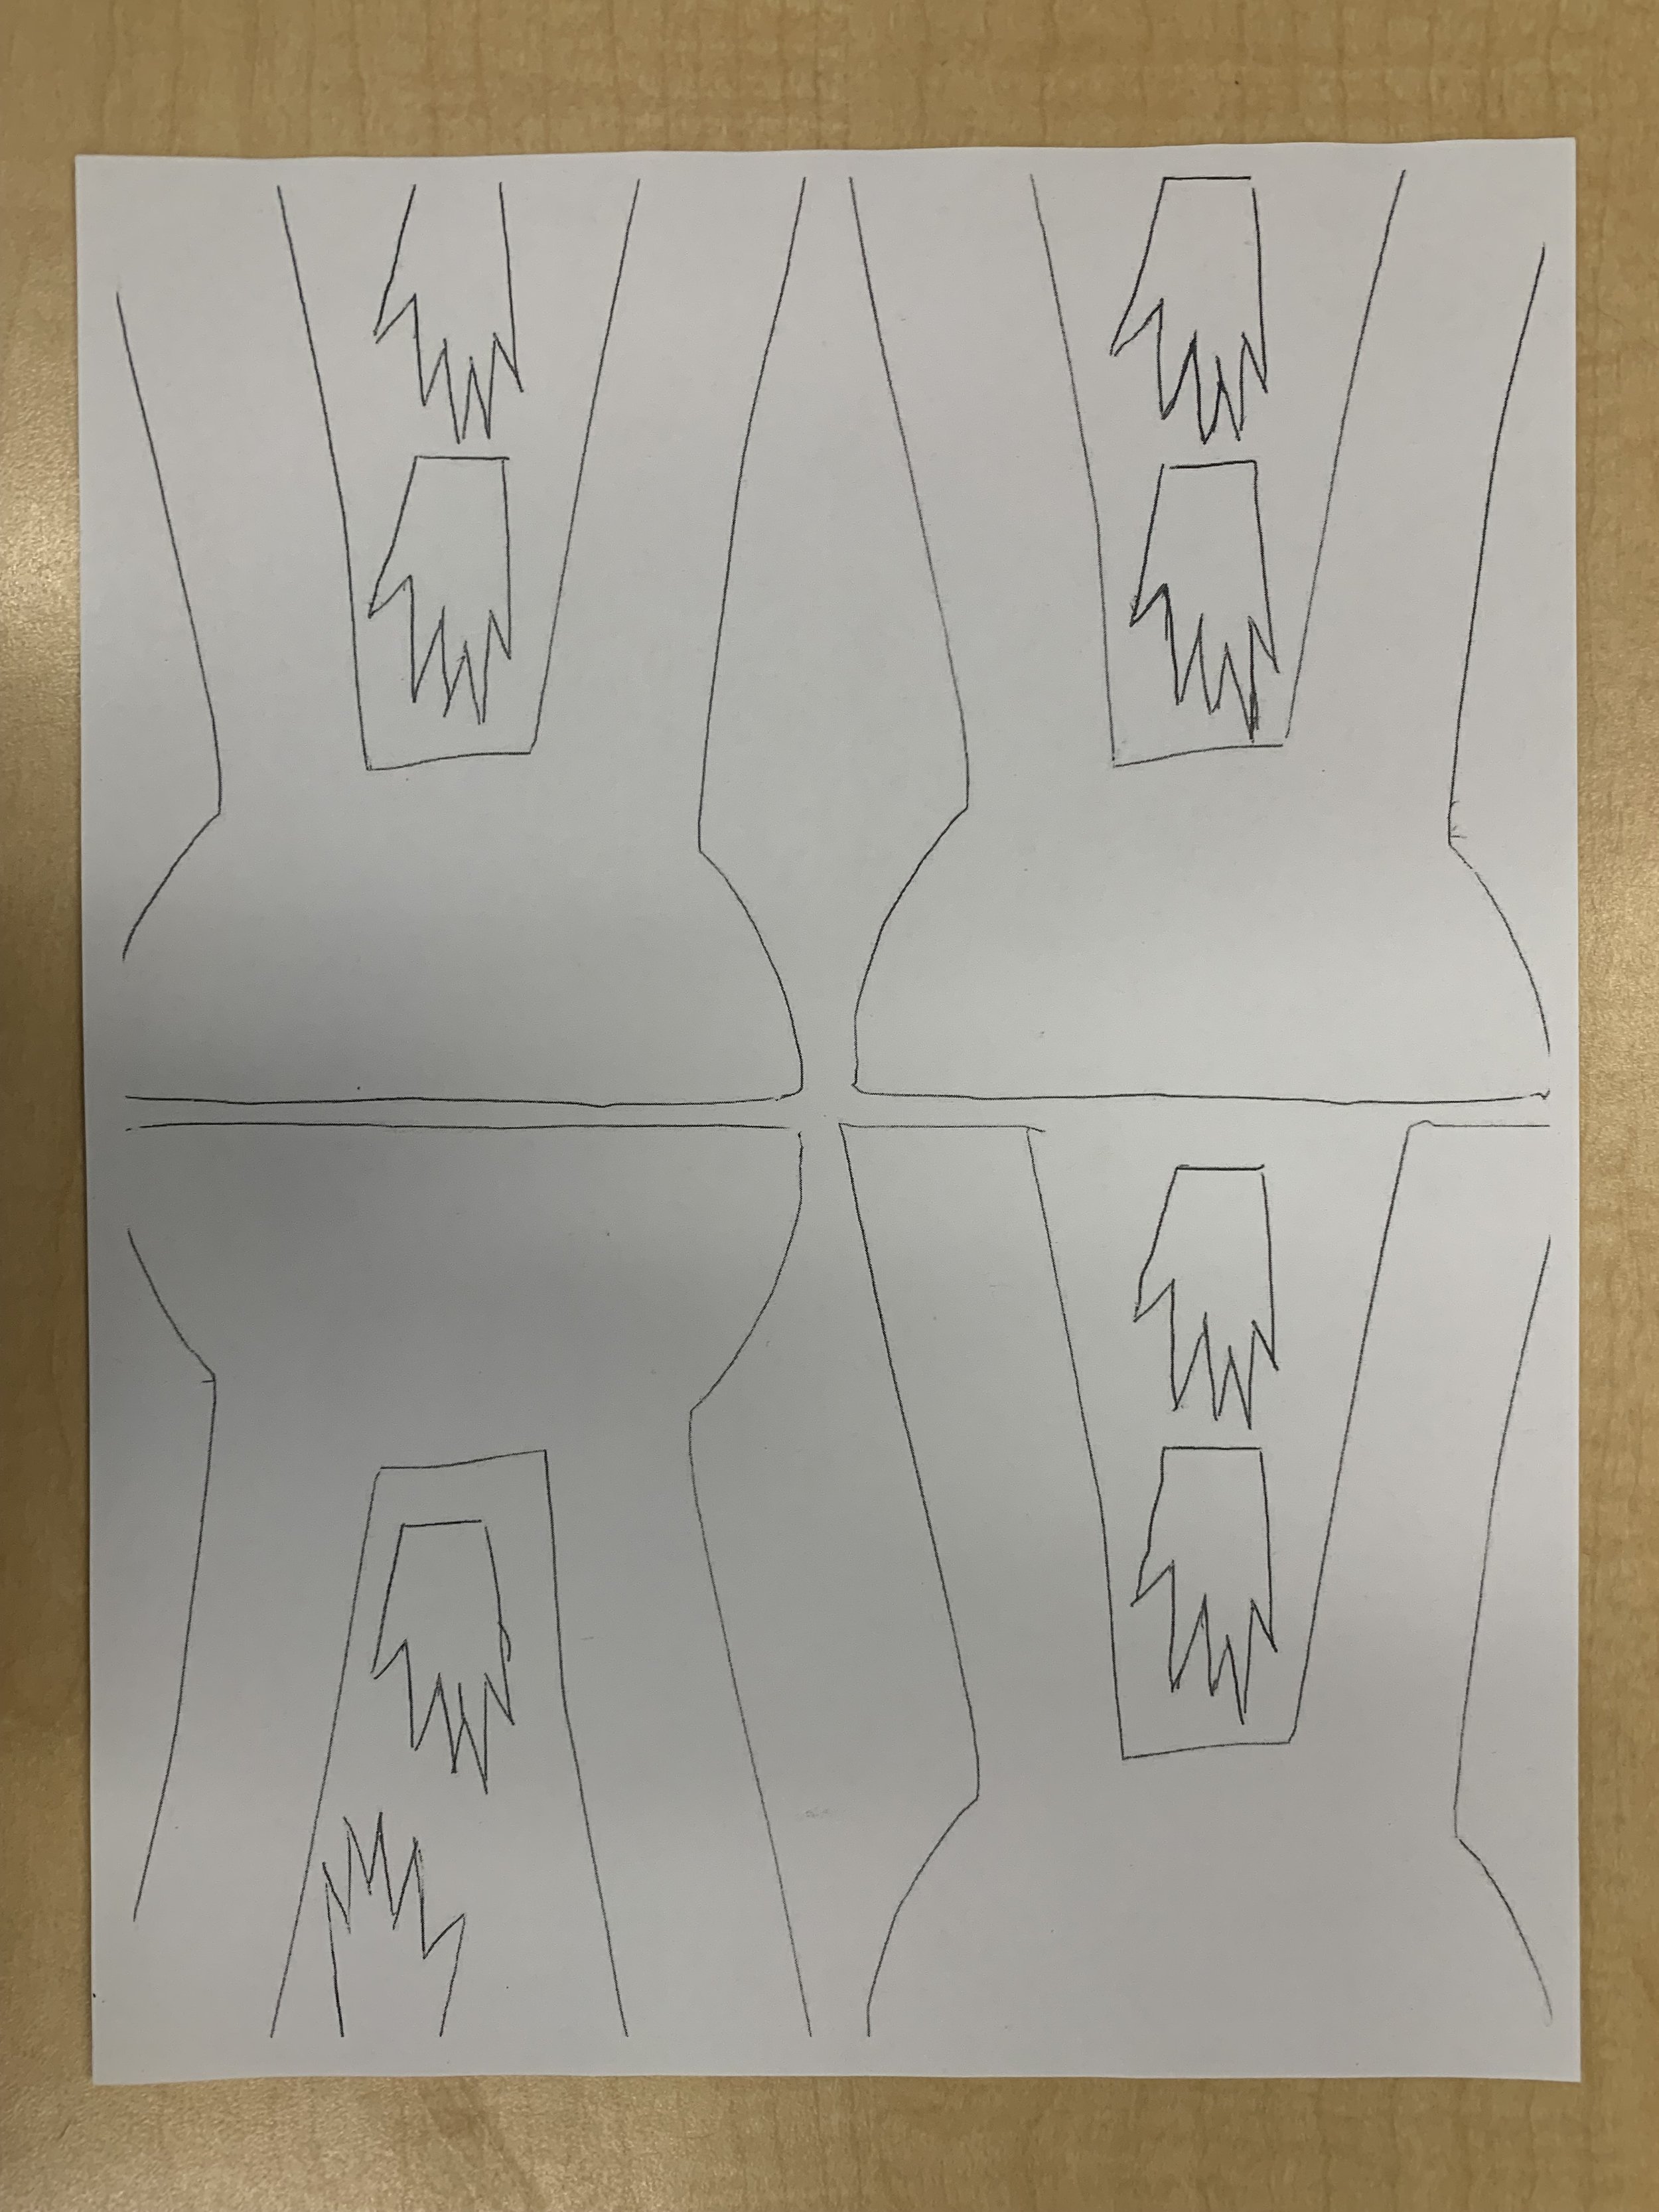
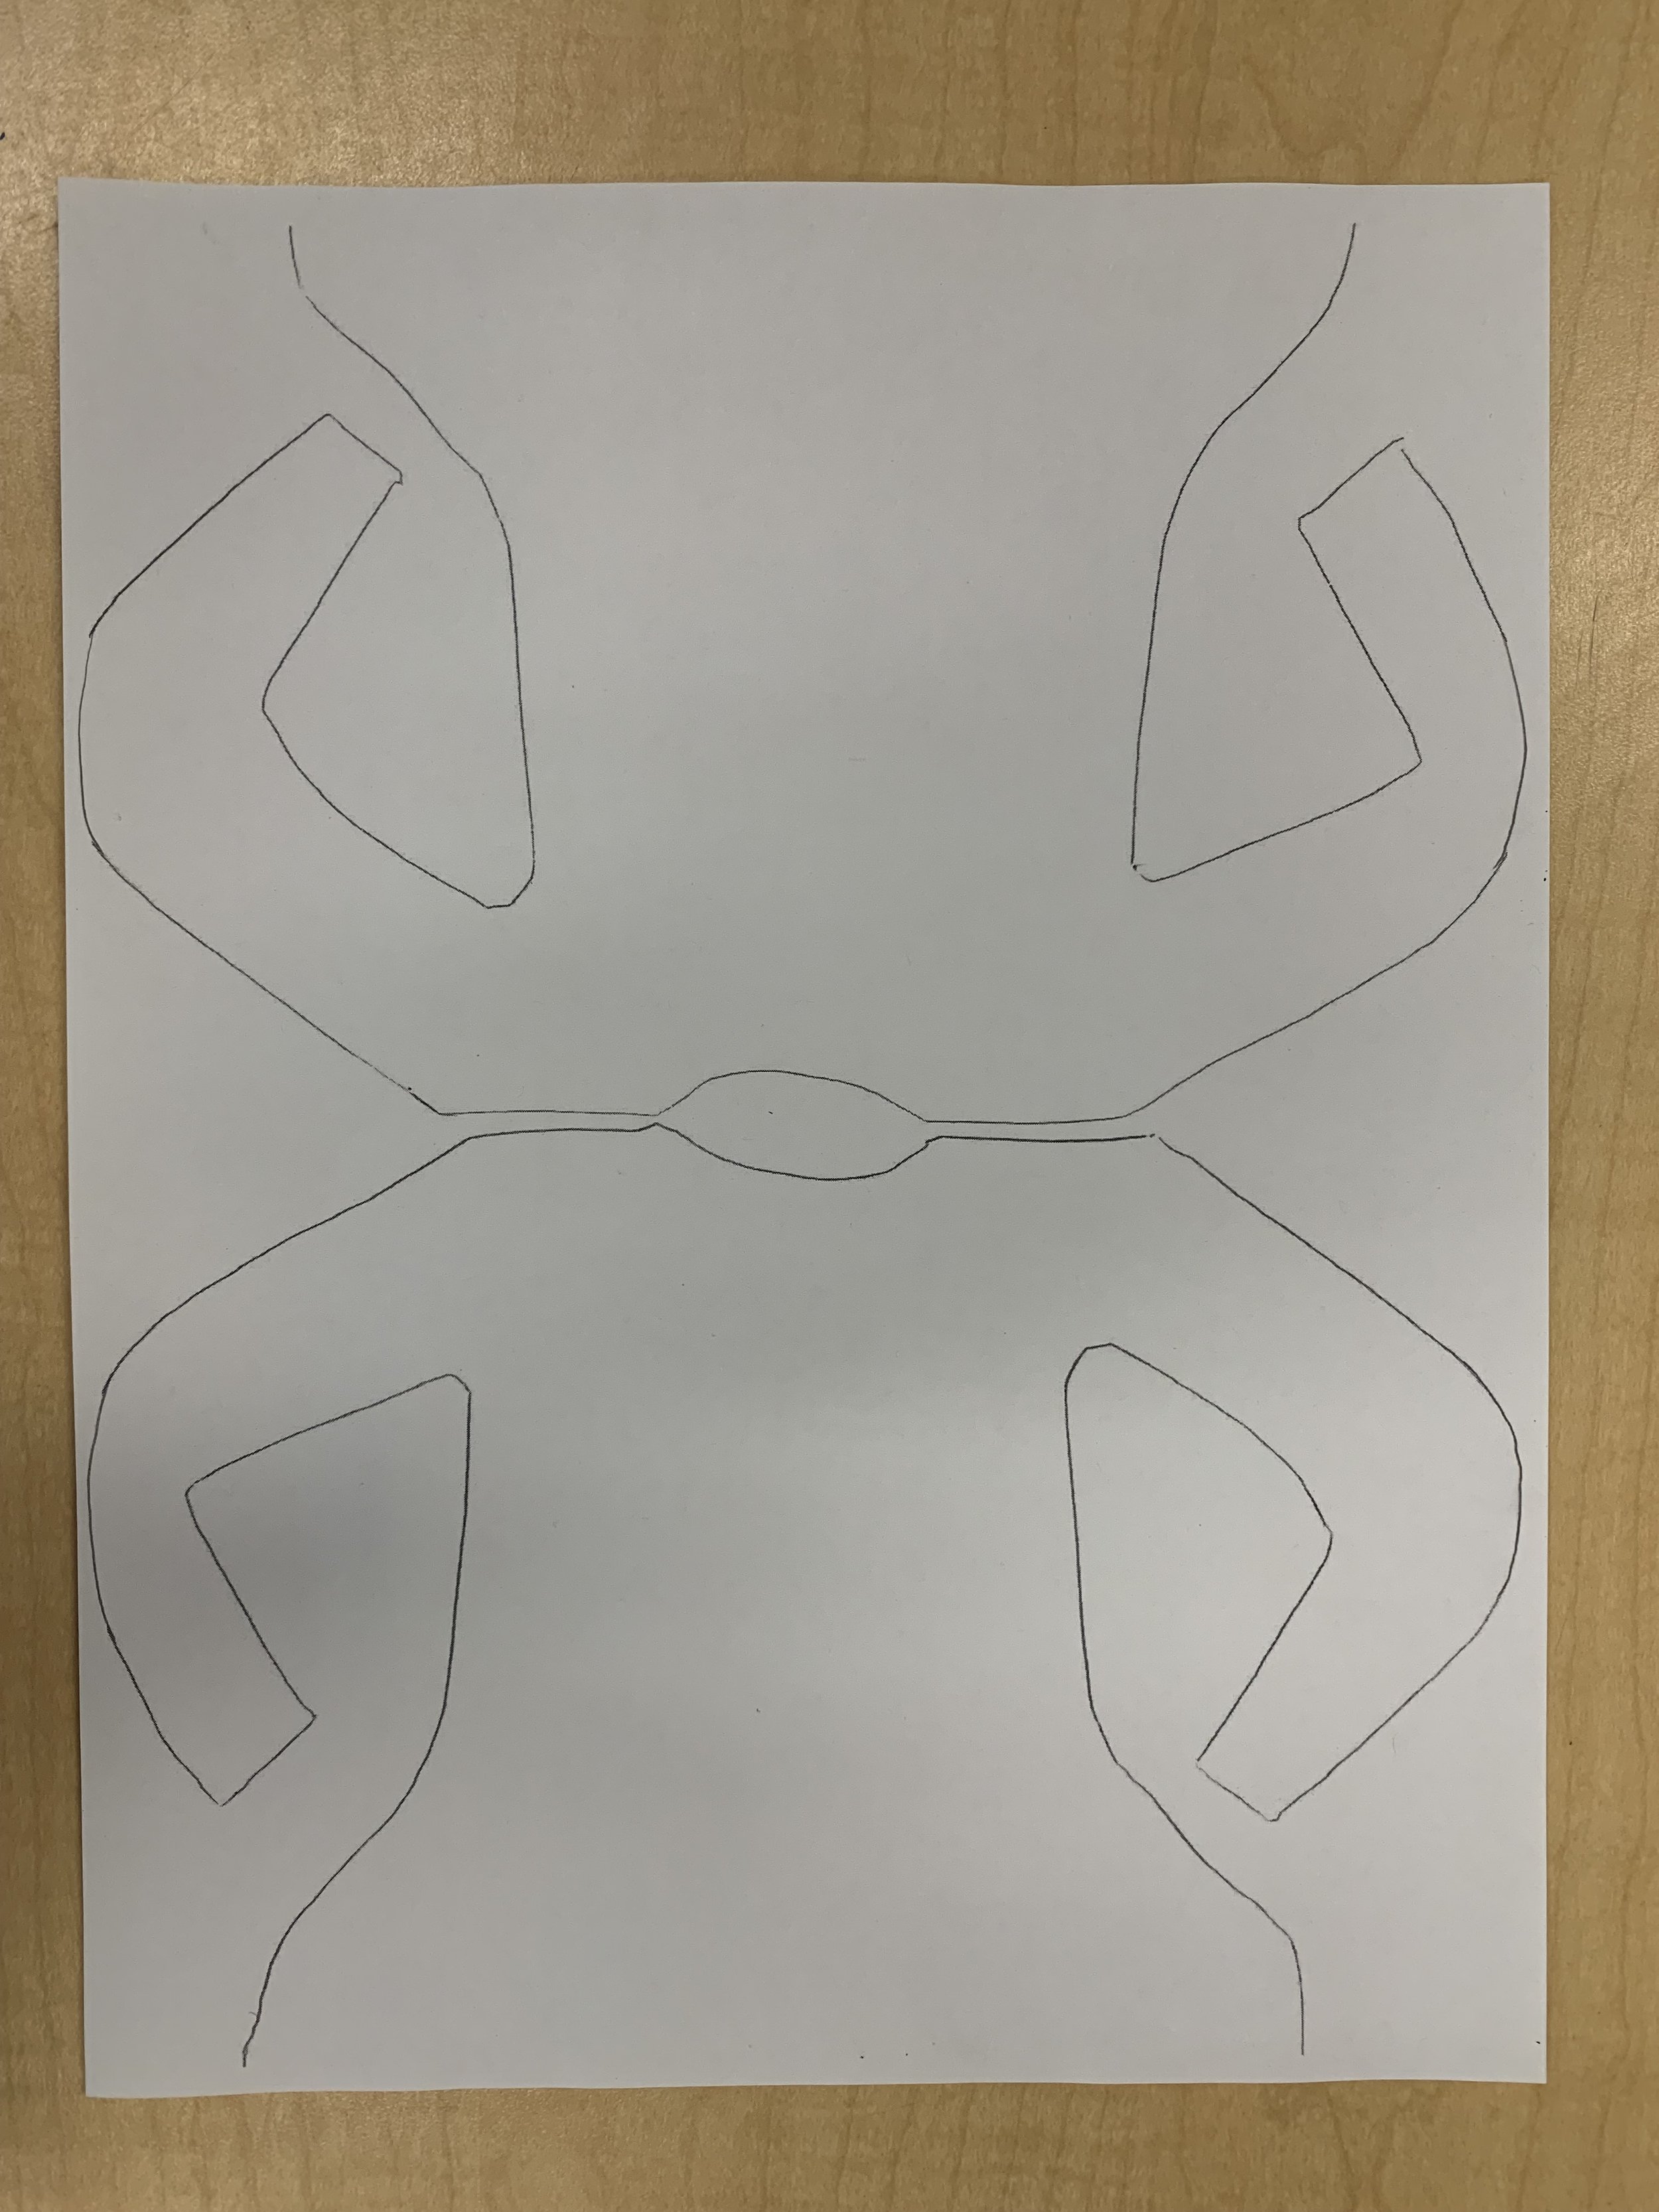
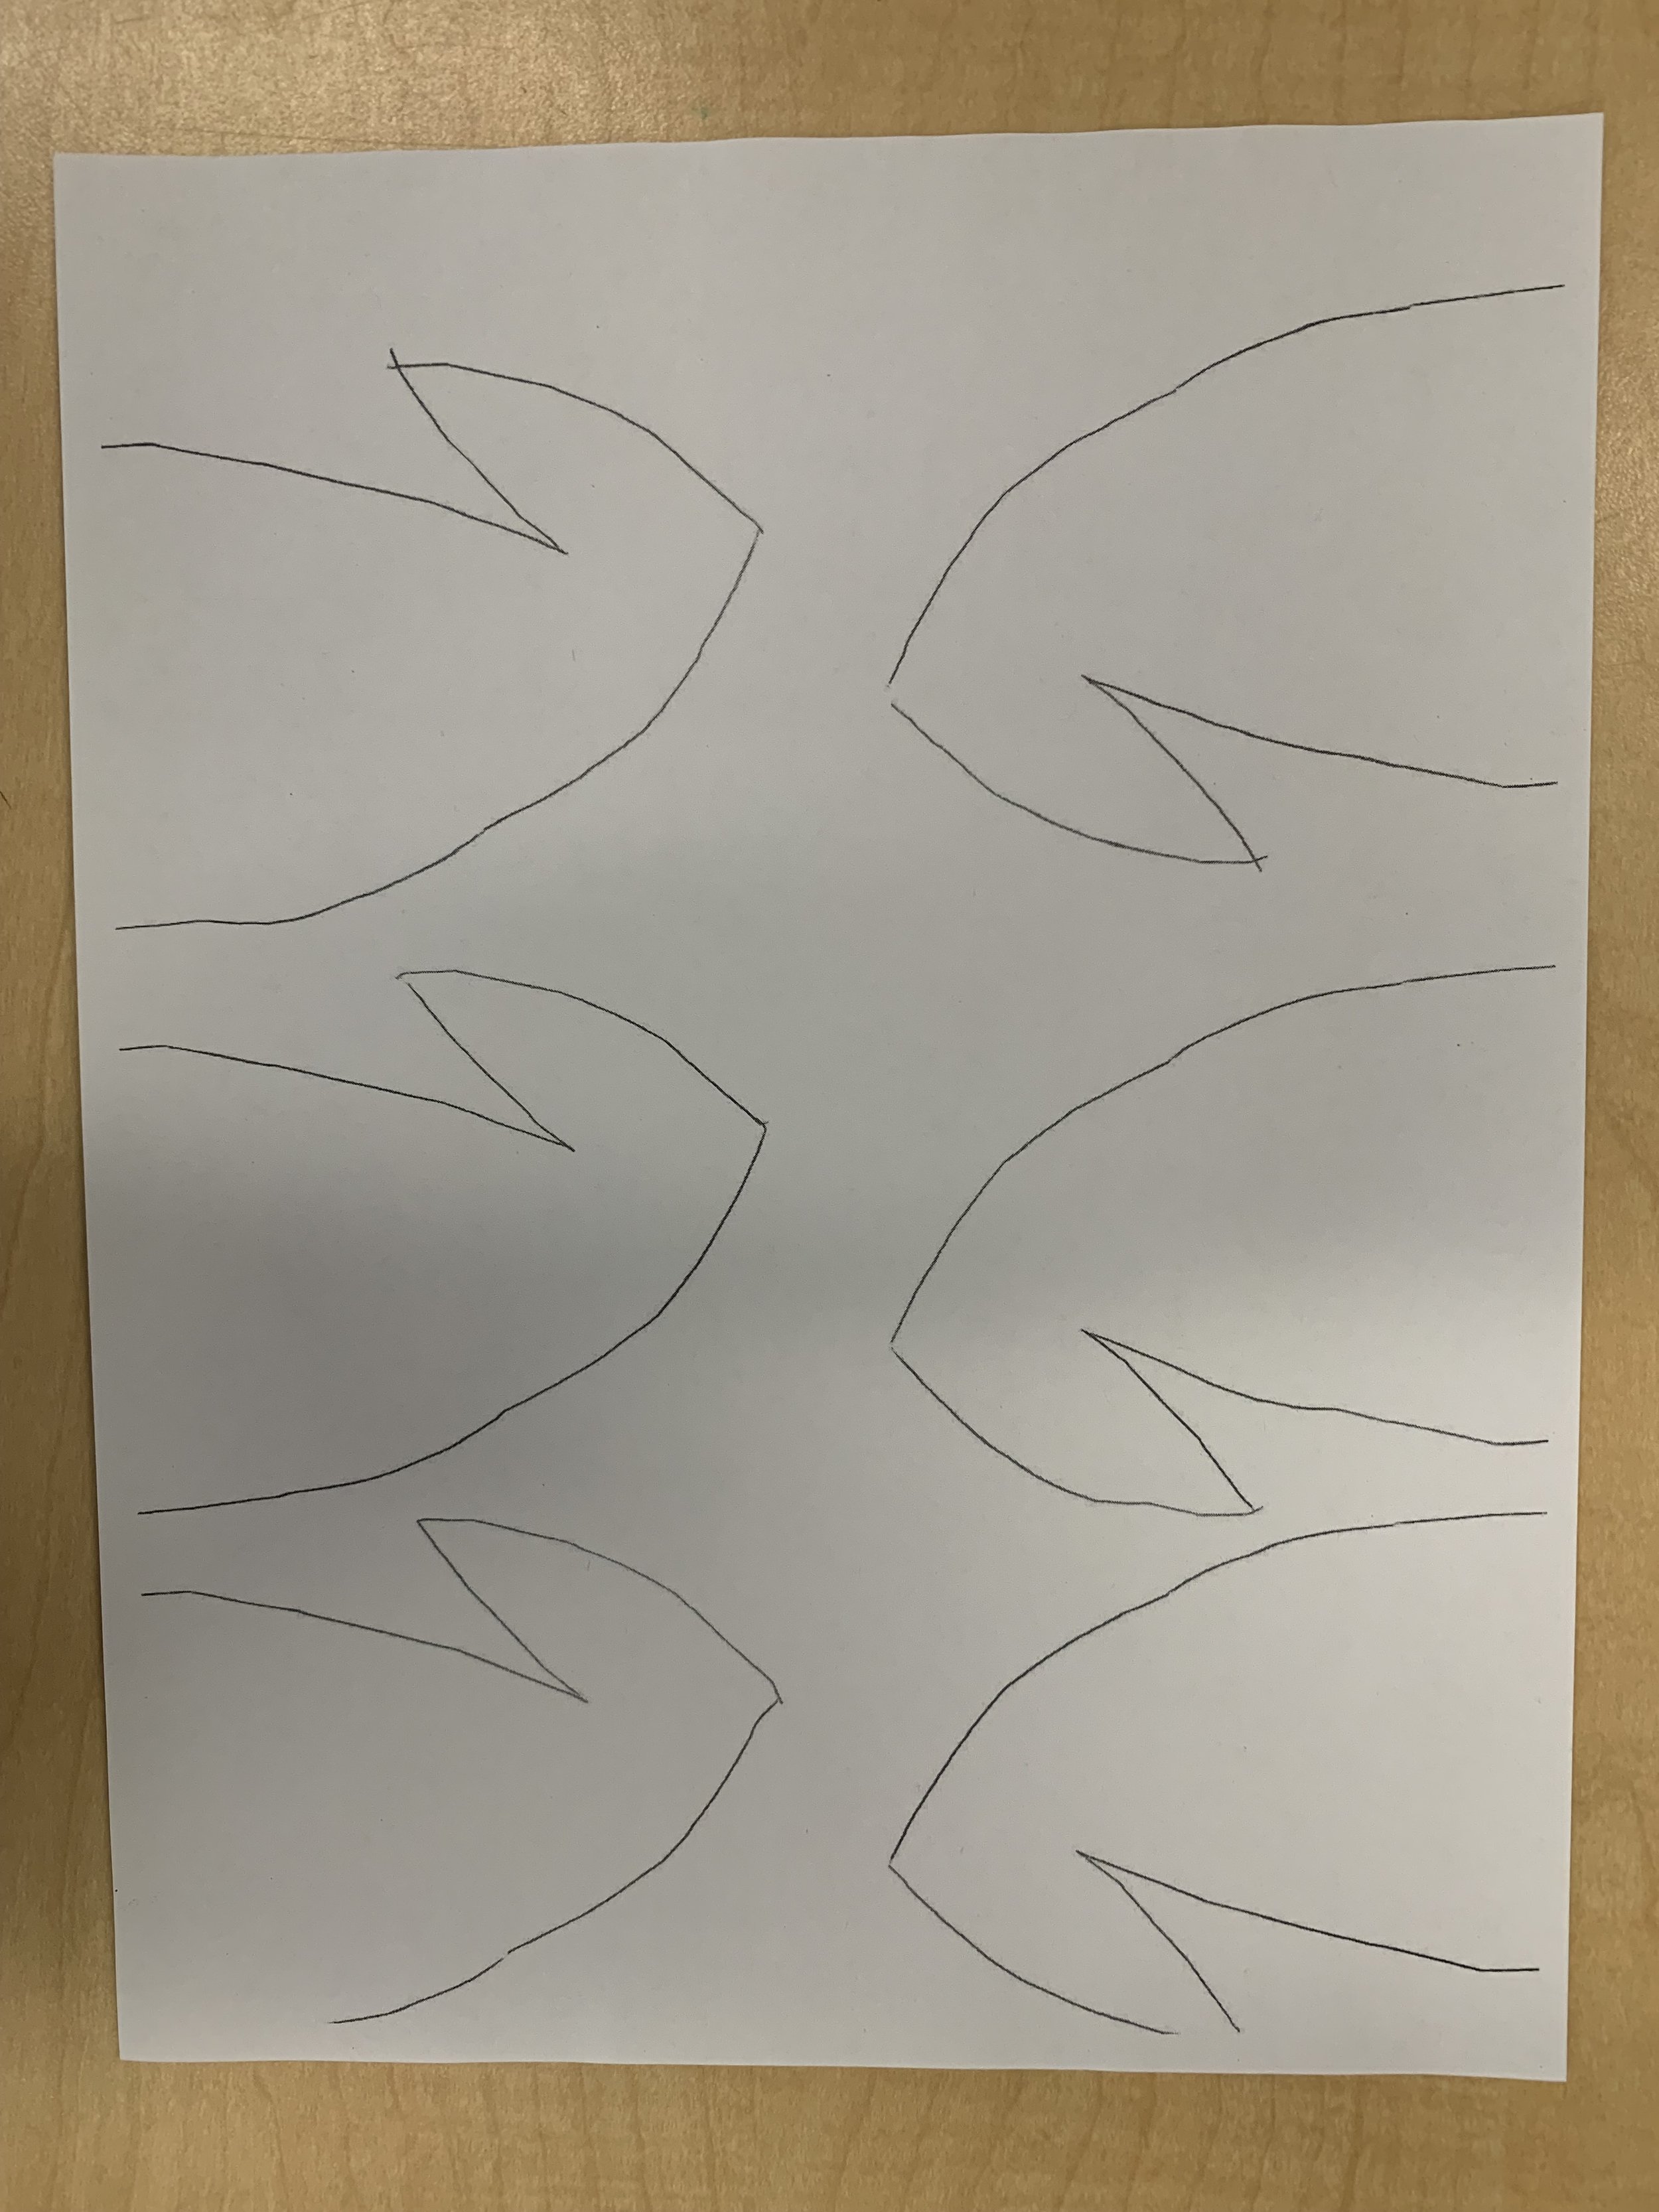
Red paper - shirt, hat and shoes

Procedure:
Cut out all the body pieces
To assemble, start top to bottom.
Put hat on the head
Tuck the hat behind the neck of the shirt
Attach the hands on the ends of the sleeves
Tuck the lower body behind the shirt
Attach shoes to the end of the legs
Cut out 2 yellow eyes and add to head. There is no template for this, they can just go wild with it.
Add facial details using a Sharpie.
Pull apart the cotton balls. Don’t put whole cotton balls on, it will be way too heavy. Put a bit of glue anywhere you want cotton, then press on. Make sure students don’t try to put glue on the cotton, it doesn’t work and just makes a mess of your glue stick. I suggest putting cotton on the brim and tip of the hat, on the collar and bottom of the shirt and the top of the shoe.
Optional extension activities:
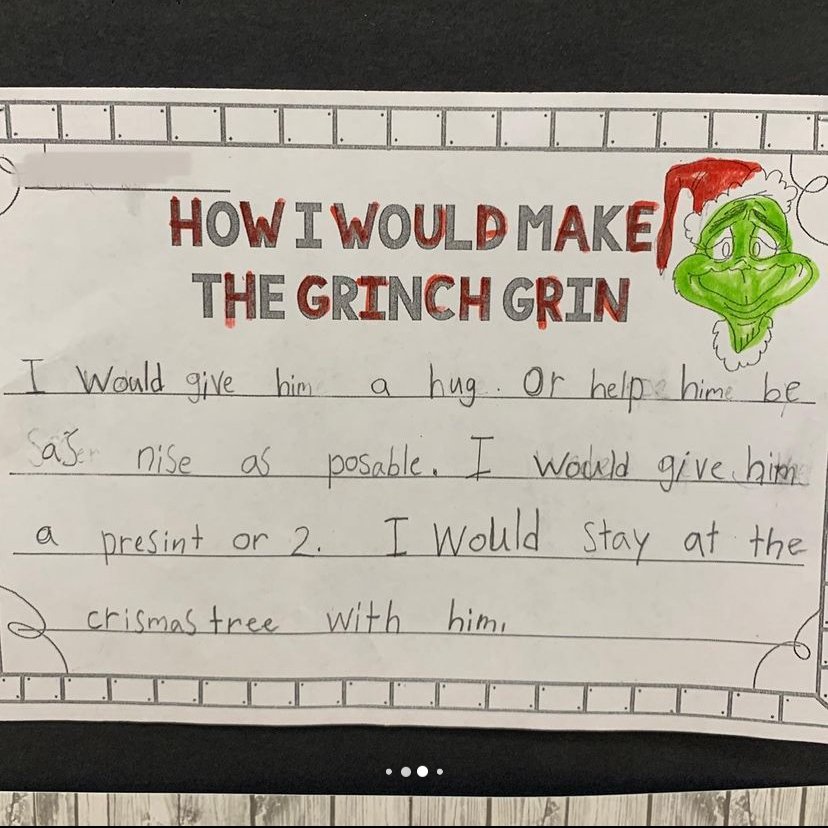
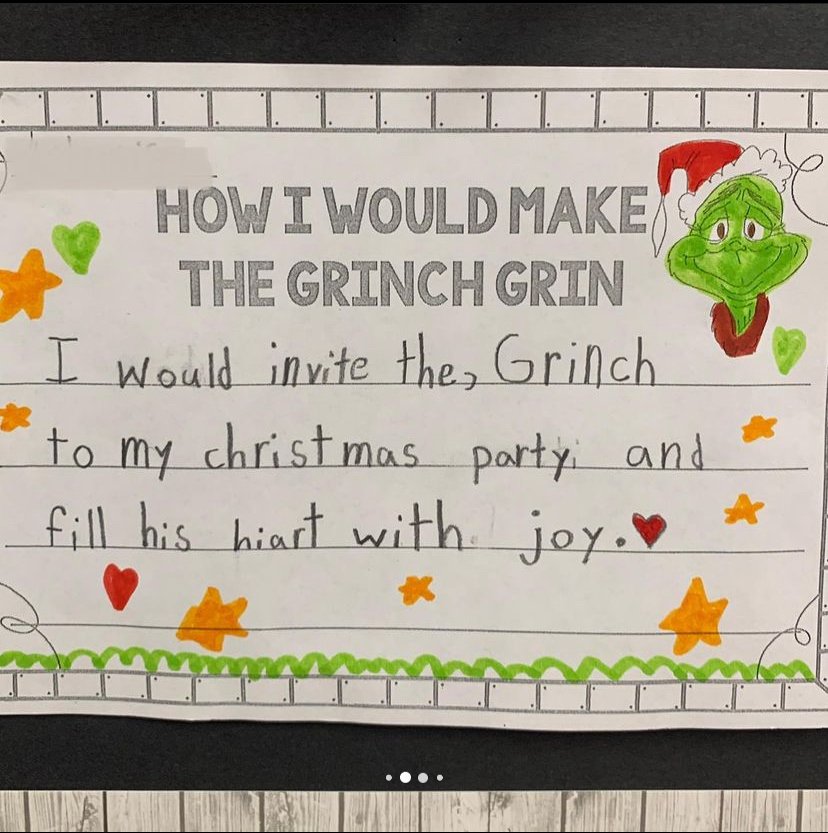
Add a writing component to your Grinch. Here are a few examples you can adapt to French or English or your grade level.
To make the Grinch grin I would…
Write a rhyming poem
Write an acrostic poem for G-R-I-N-C-H
Write a story about the Grinch and Max
Write a letter to the Grinch telling him why he shouldn’t steal Christmas
Write a letter to the Mayor of Whoville describing why the Grinch should be pardoned
Below are the last couple of years. I had bright green paper one year that was quite Grinch-y so I used that but then used a darker green the next year. Just use what you have, no need to buy special paper.


Here is my sample I show my kids with a few pointers. I used coloured printer paper for the sample but I often use construction paper for my kids, just use what you have!
