Easy Ripped Paper Christmas Cards
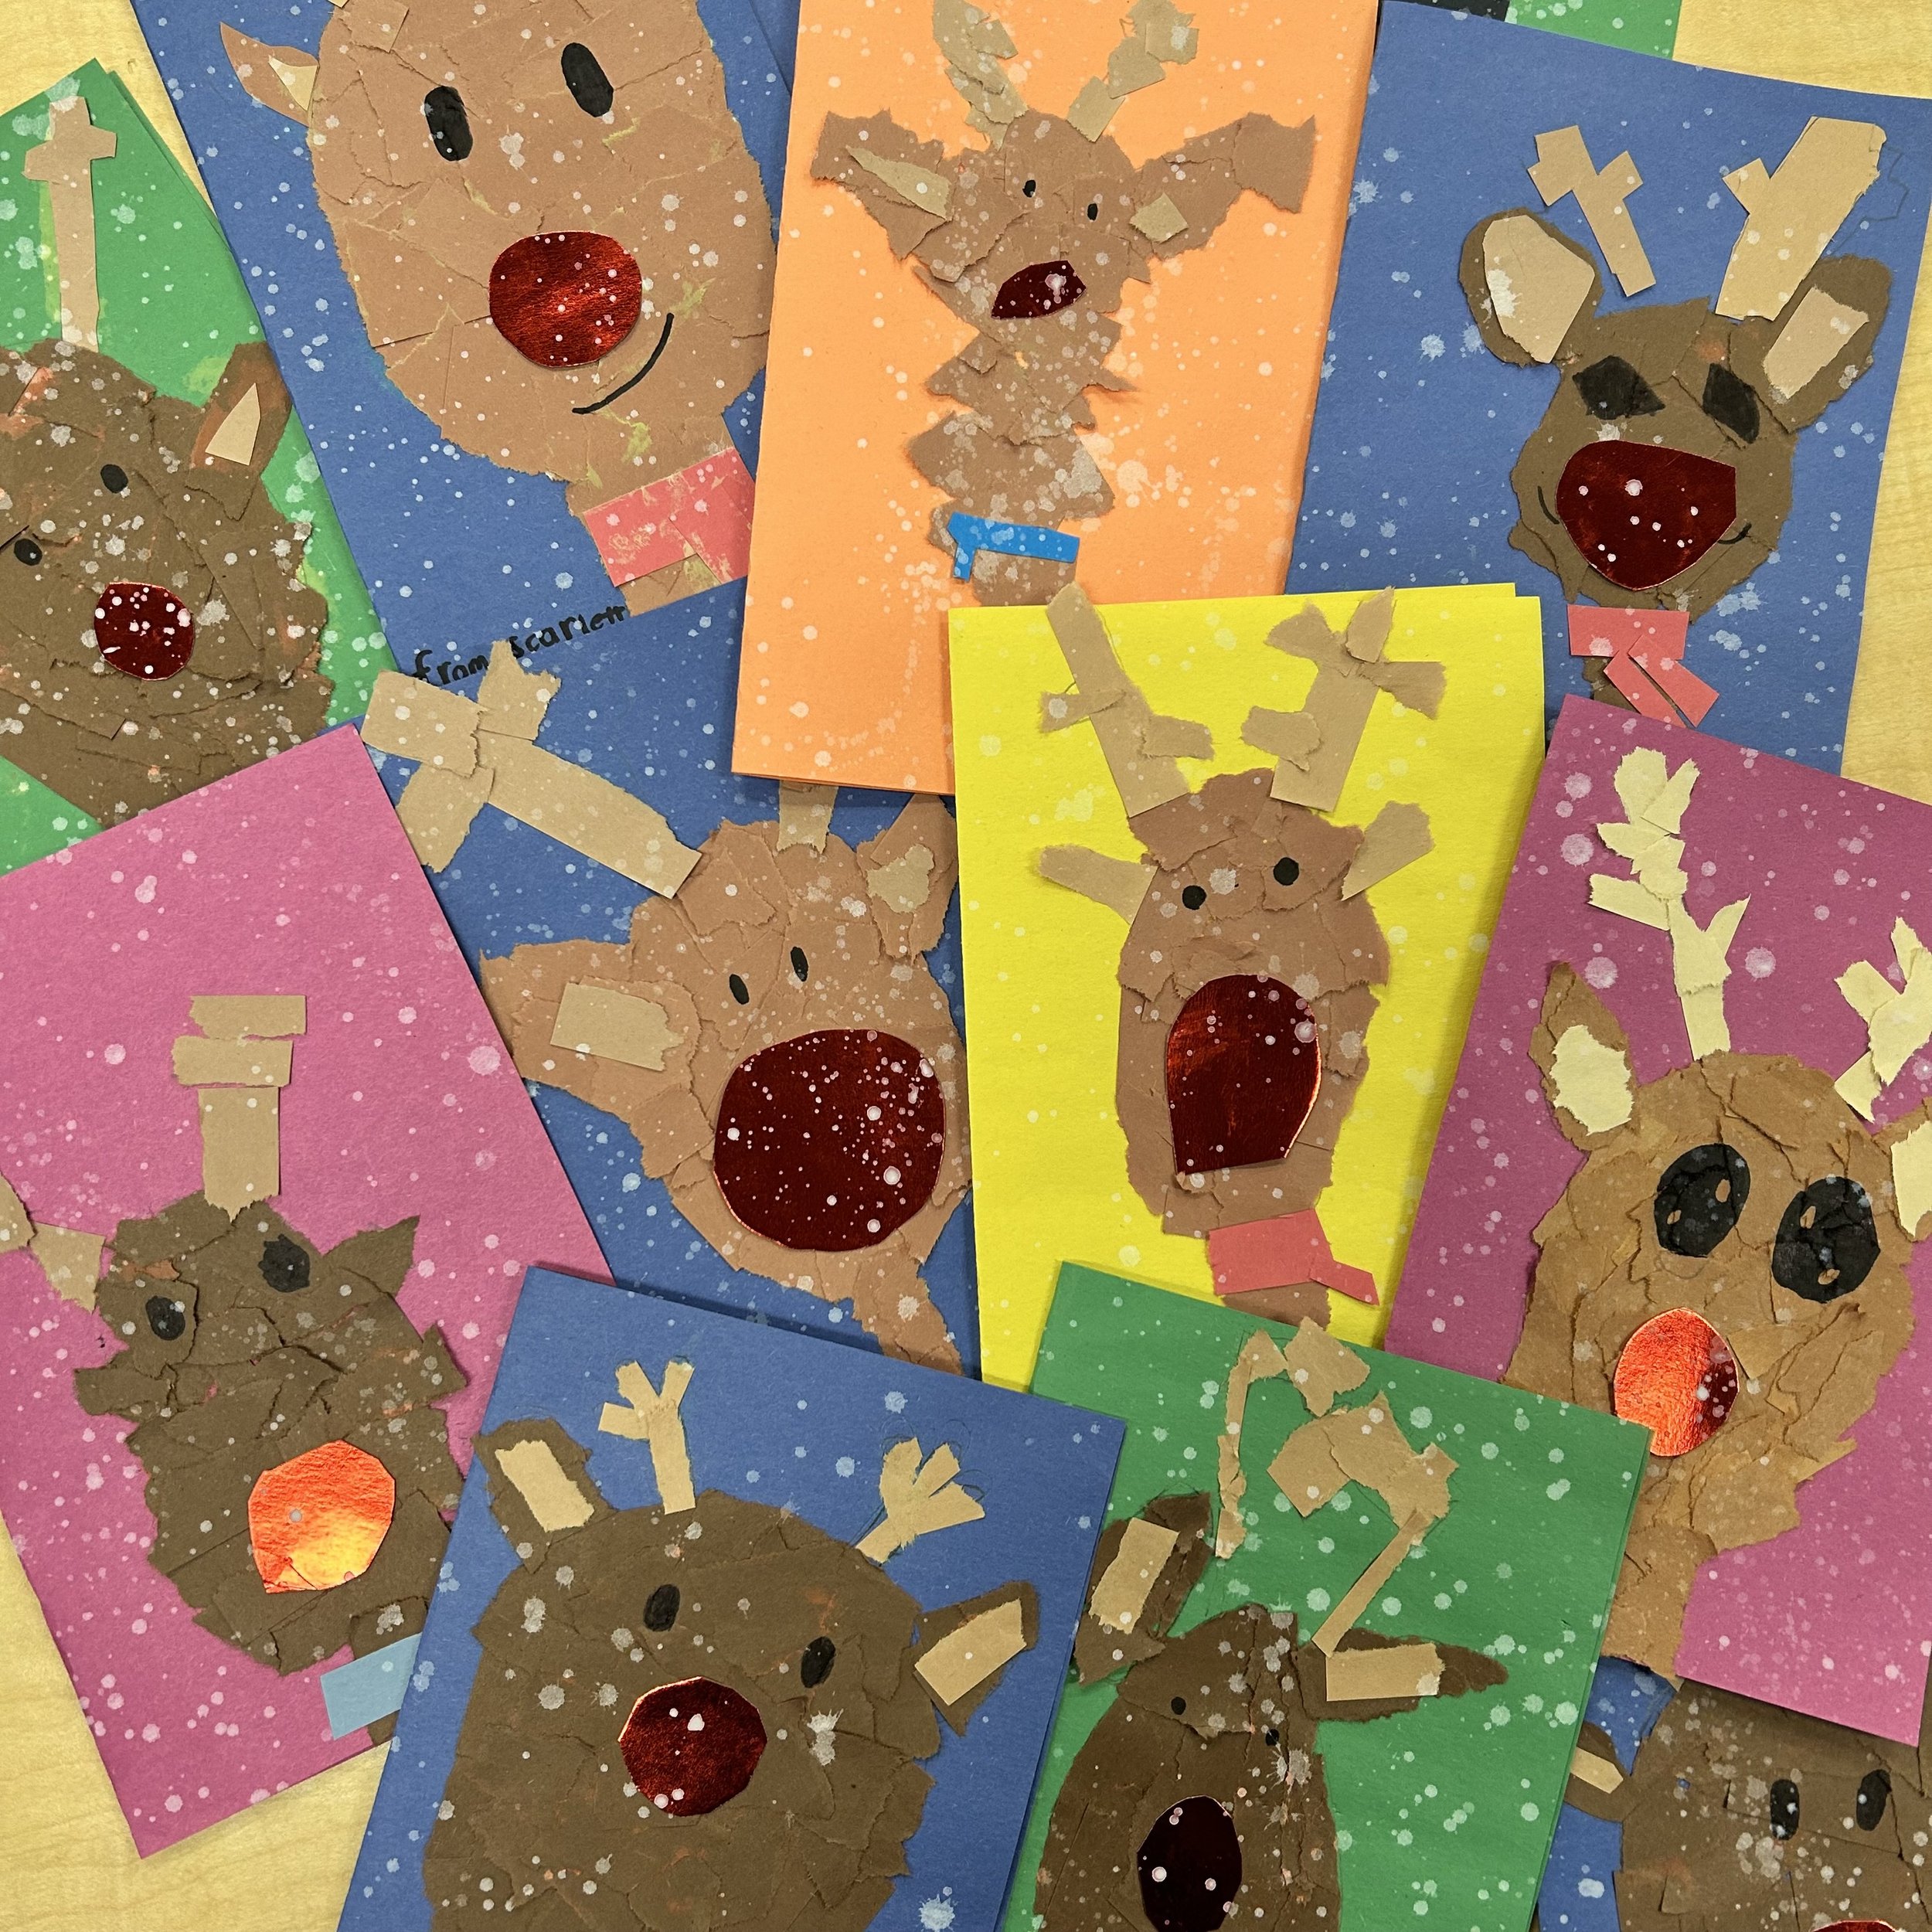
These easy paper reindeer cards are sure to bring a smile to anyone’s face. Quick to complete with no prep, this is a great activity to fill your last week before winter break.
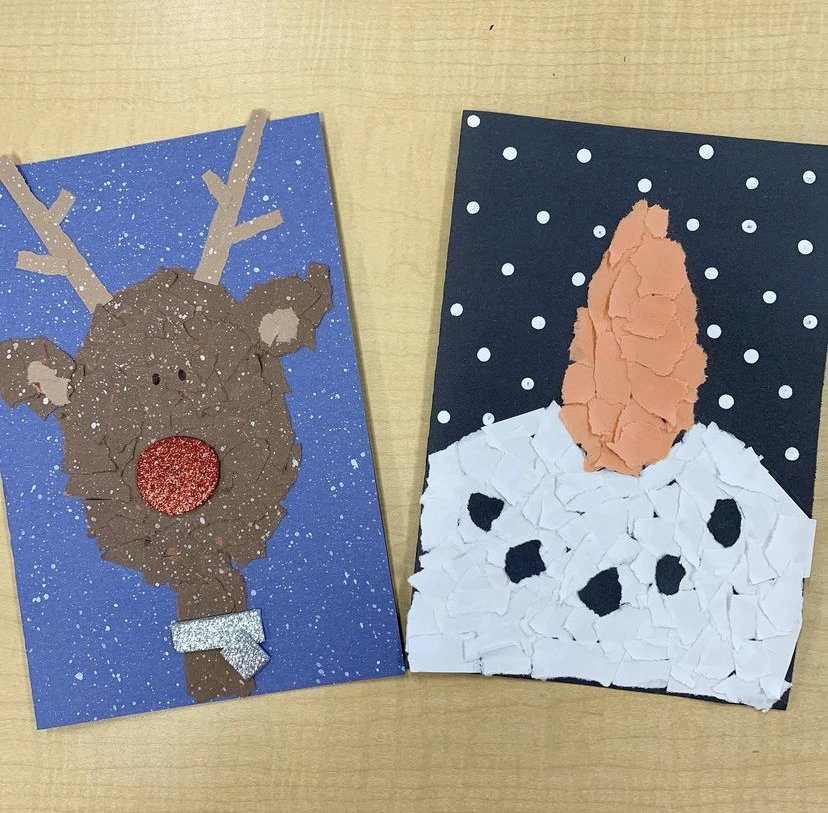
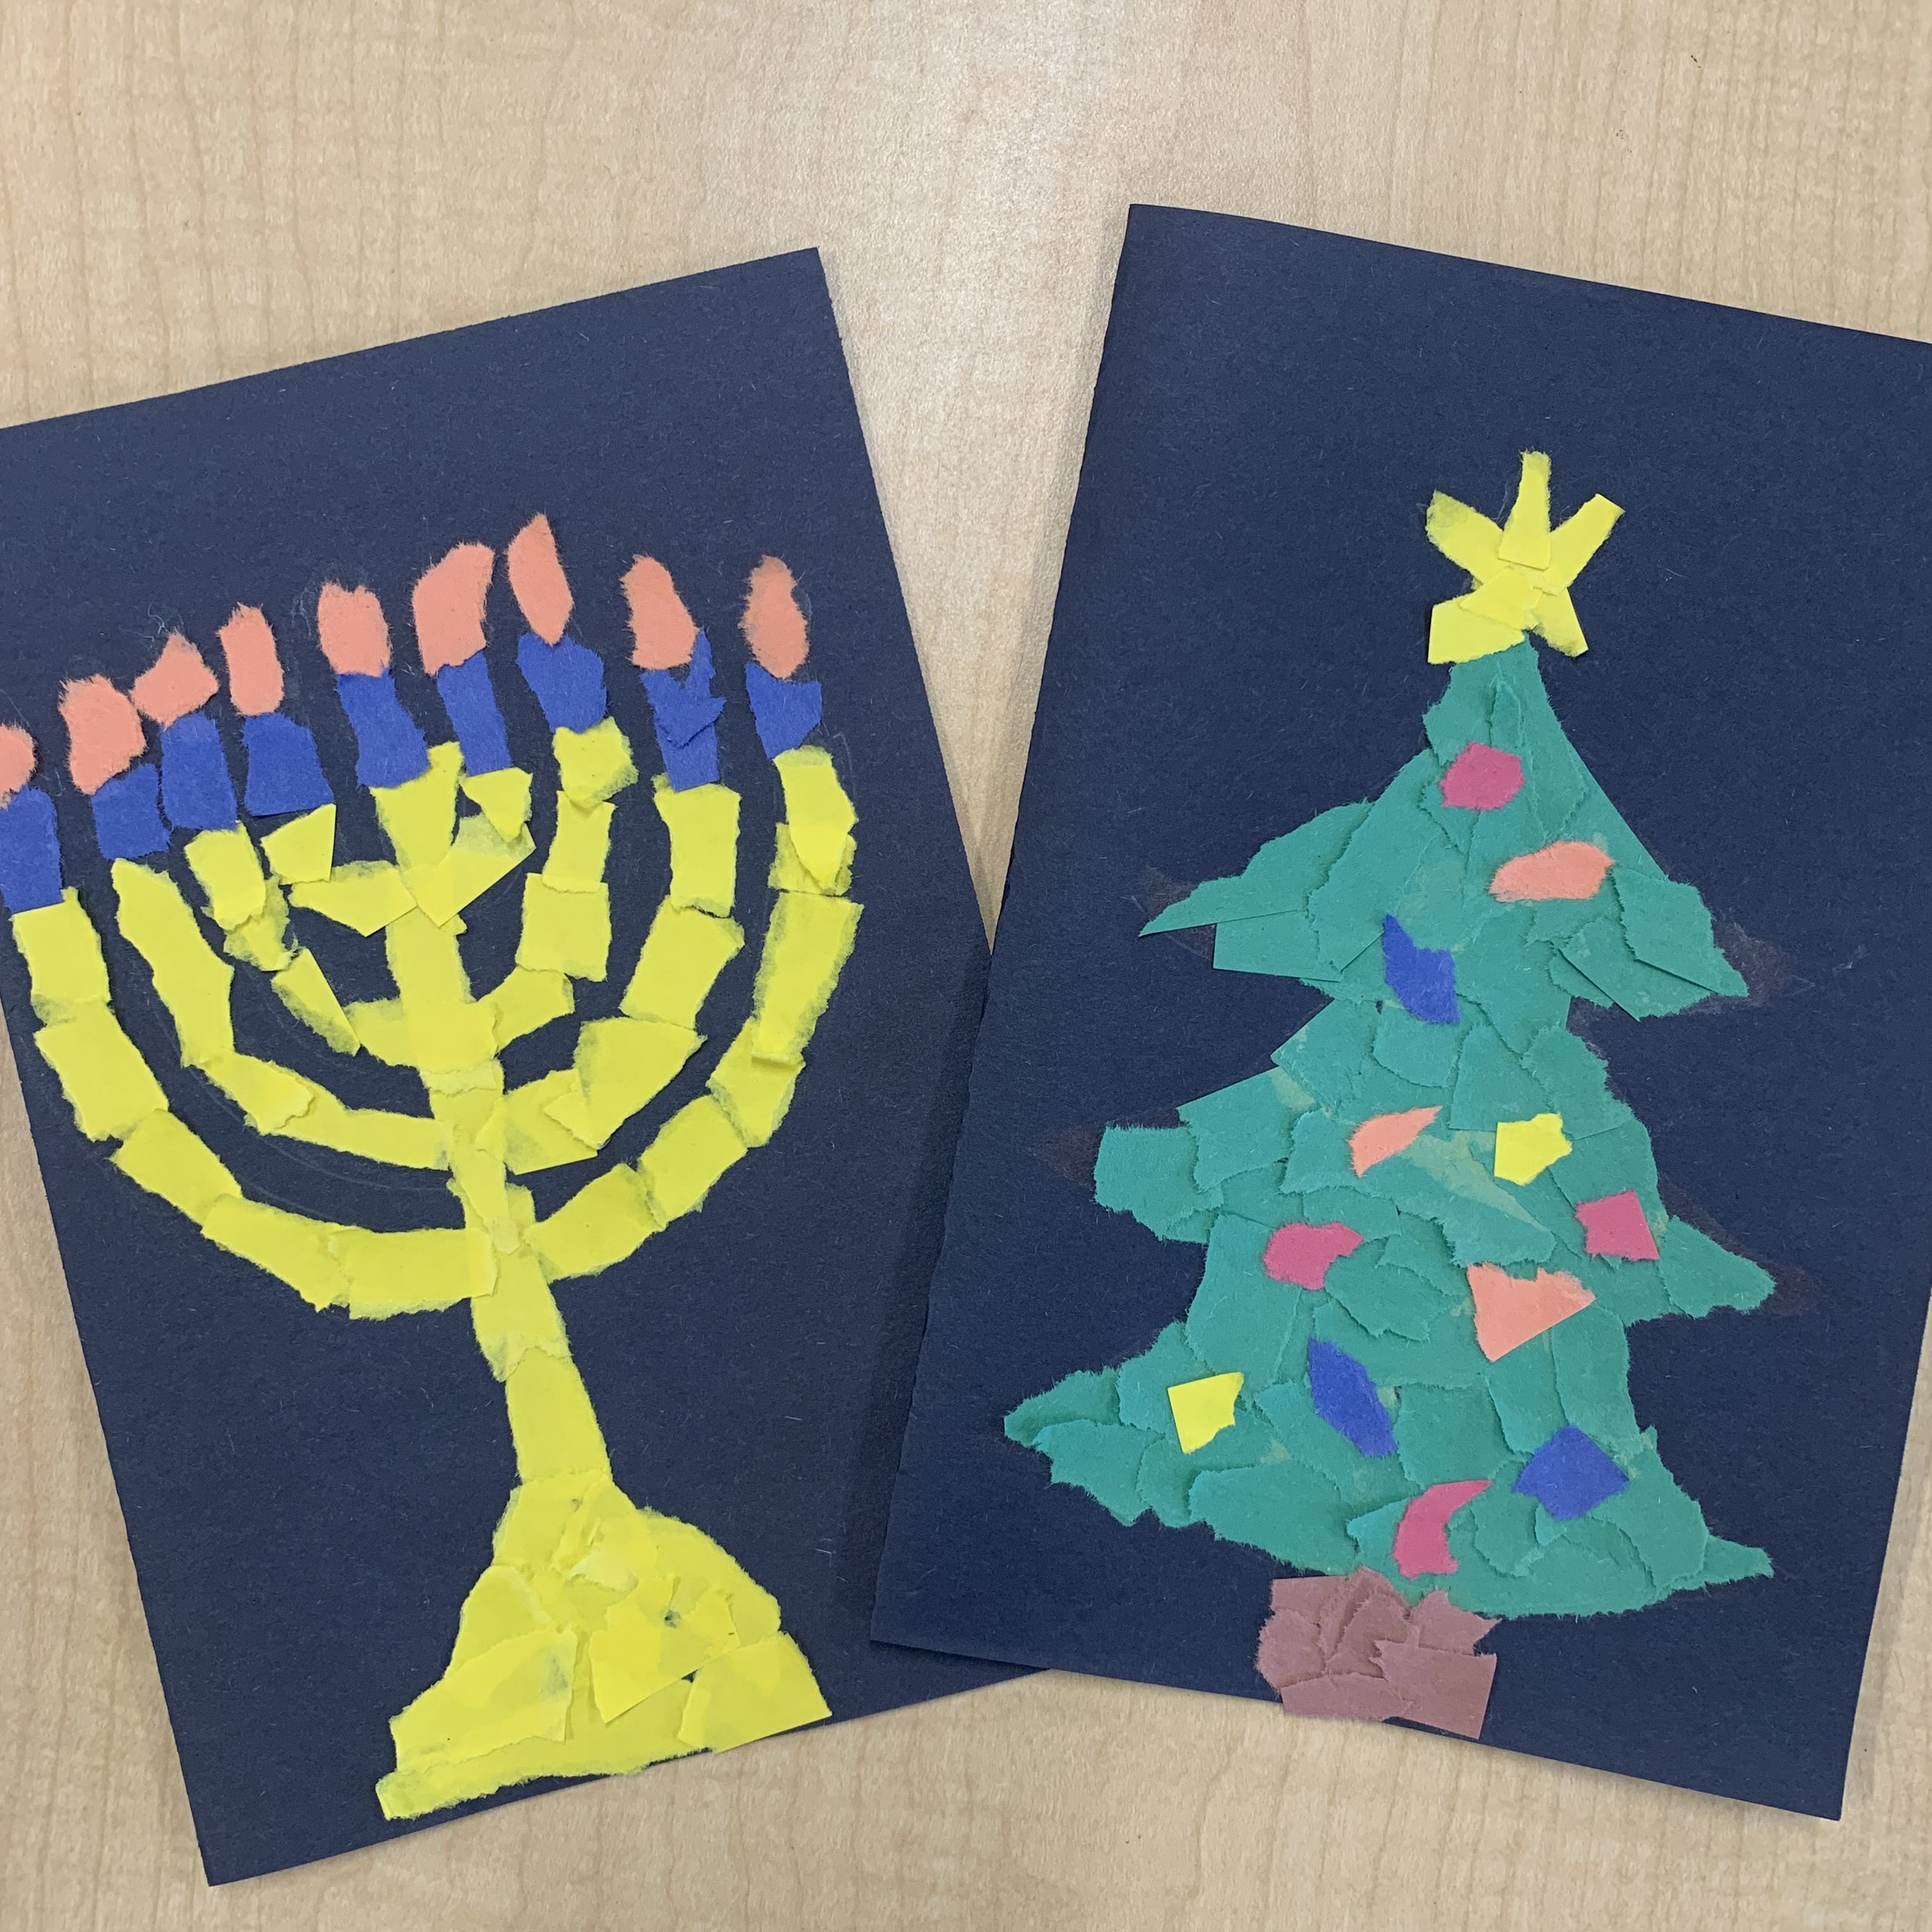
Options include a reindeer, a Christmas tree, a snowman or a menorah so there are options no matter what a student does/doesn’t celebrate.

*DIRECTIONS ARE FOR REINDEER CARD, IF CHOOSING ANOTHER, FOLLOW THE STEPS BUT WITH THE CORRECT SHAPE/COLOURS.
Duration: 30-40 minutes
Materials:
Glue
Water
One paint brush (medium to larger size is best)
Black marker
Pencil
White acrylic paint
Construction paper
2 brown
any colour for card
optionally use red for nose and any colour for scarf
Optional - sparkly paper for nose and scarf
Procedure:
Choose any colour construction paper for the card. Fold in half.
Sketch out a reindeer head, ears, antlers and neck on your card. No need to make it dark, it’s just a guide.
Rip up brown paper into small pieces and glue them down inside the guide lines on the card. Using another colour brown, do the same for the antlers and inside ears.
Draw black eyes using a marker.
Use construction paper or sparkly paper for the nose and scarf.
Put down newspaper or a table cloth to protect a table while you add the snow. You can also go outside to do this part.
Mix white acrylic paint with a bit of water to thin in out. Using a paintbrush, splatter the paint over the cards to create the snow.