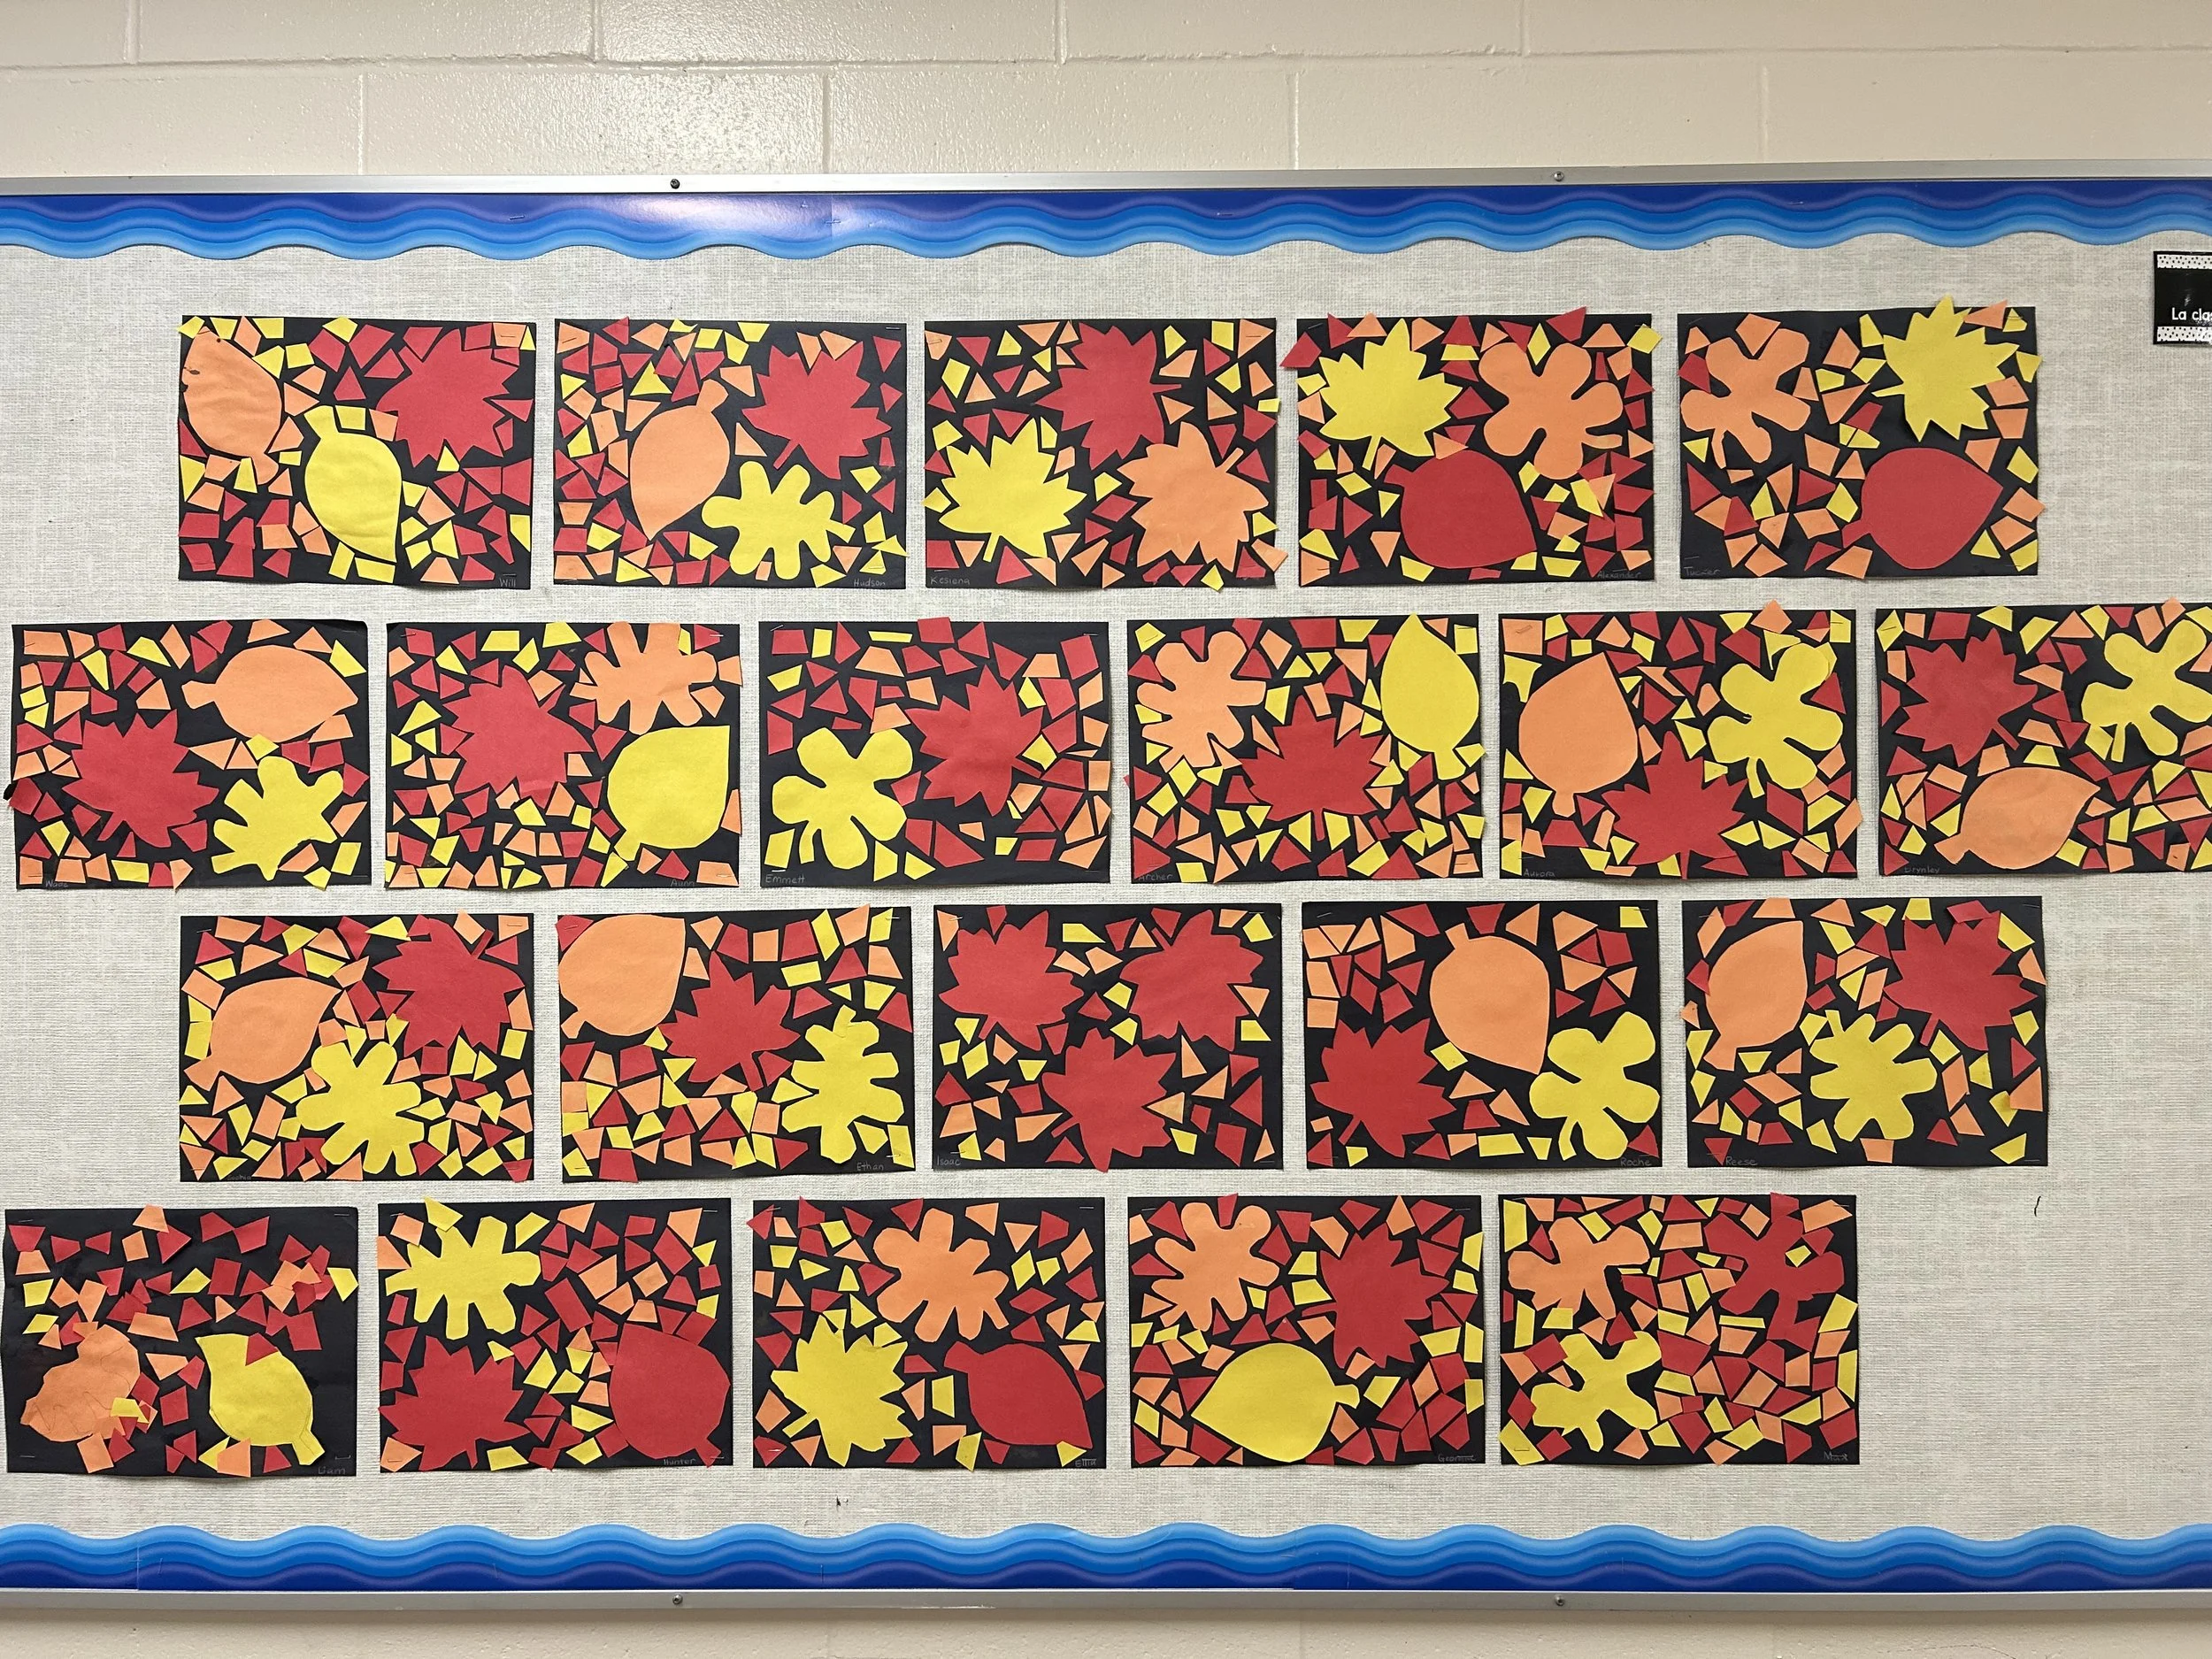
Mosaic Leaf Fall Art Project
Fall colours and a mosaic, what a beautiful combination! This project comes from The Craft Train. Find the original post here.
Time required: 45-60 minutes
Materials:
Construction paper (red, orange, yellow, black)
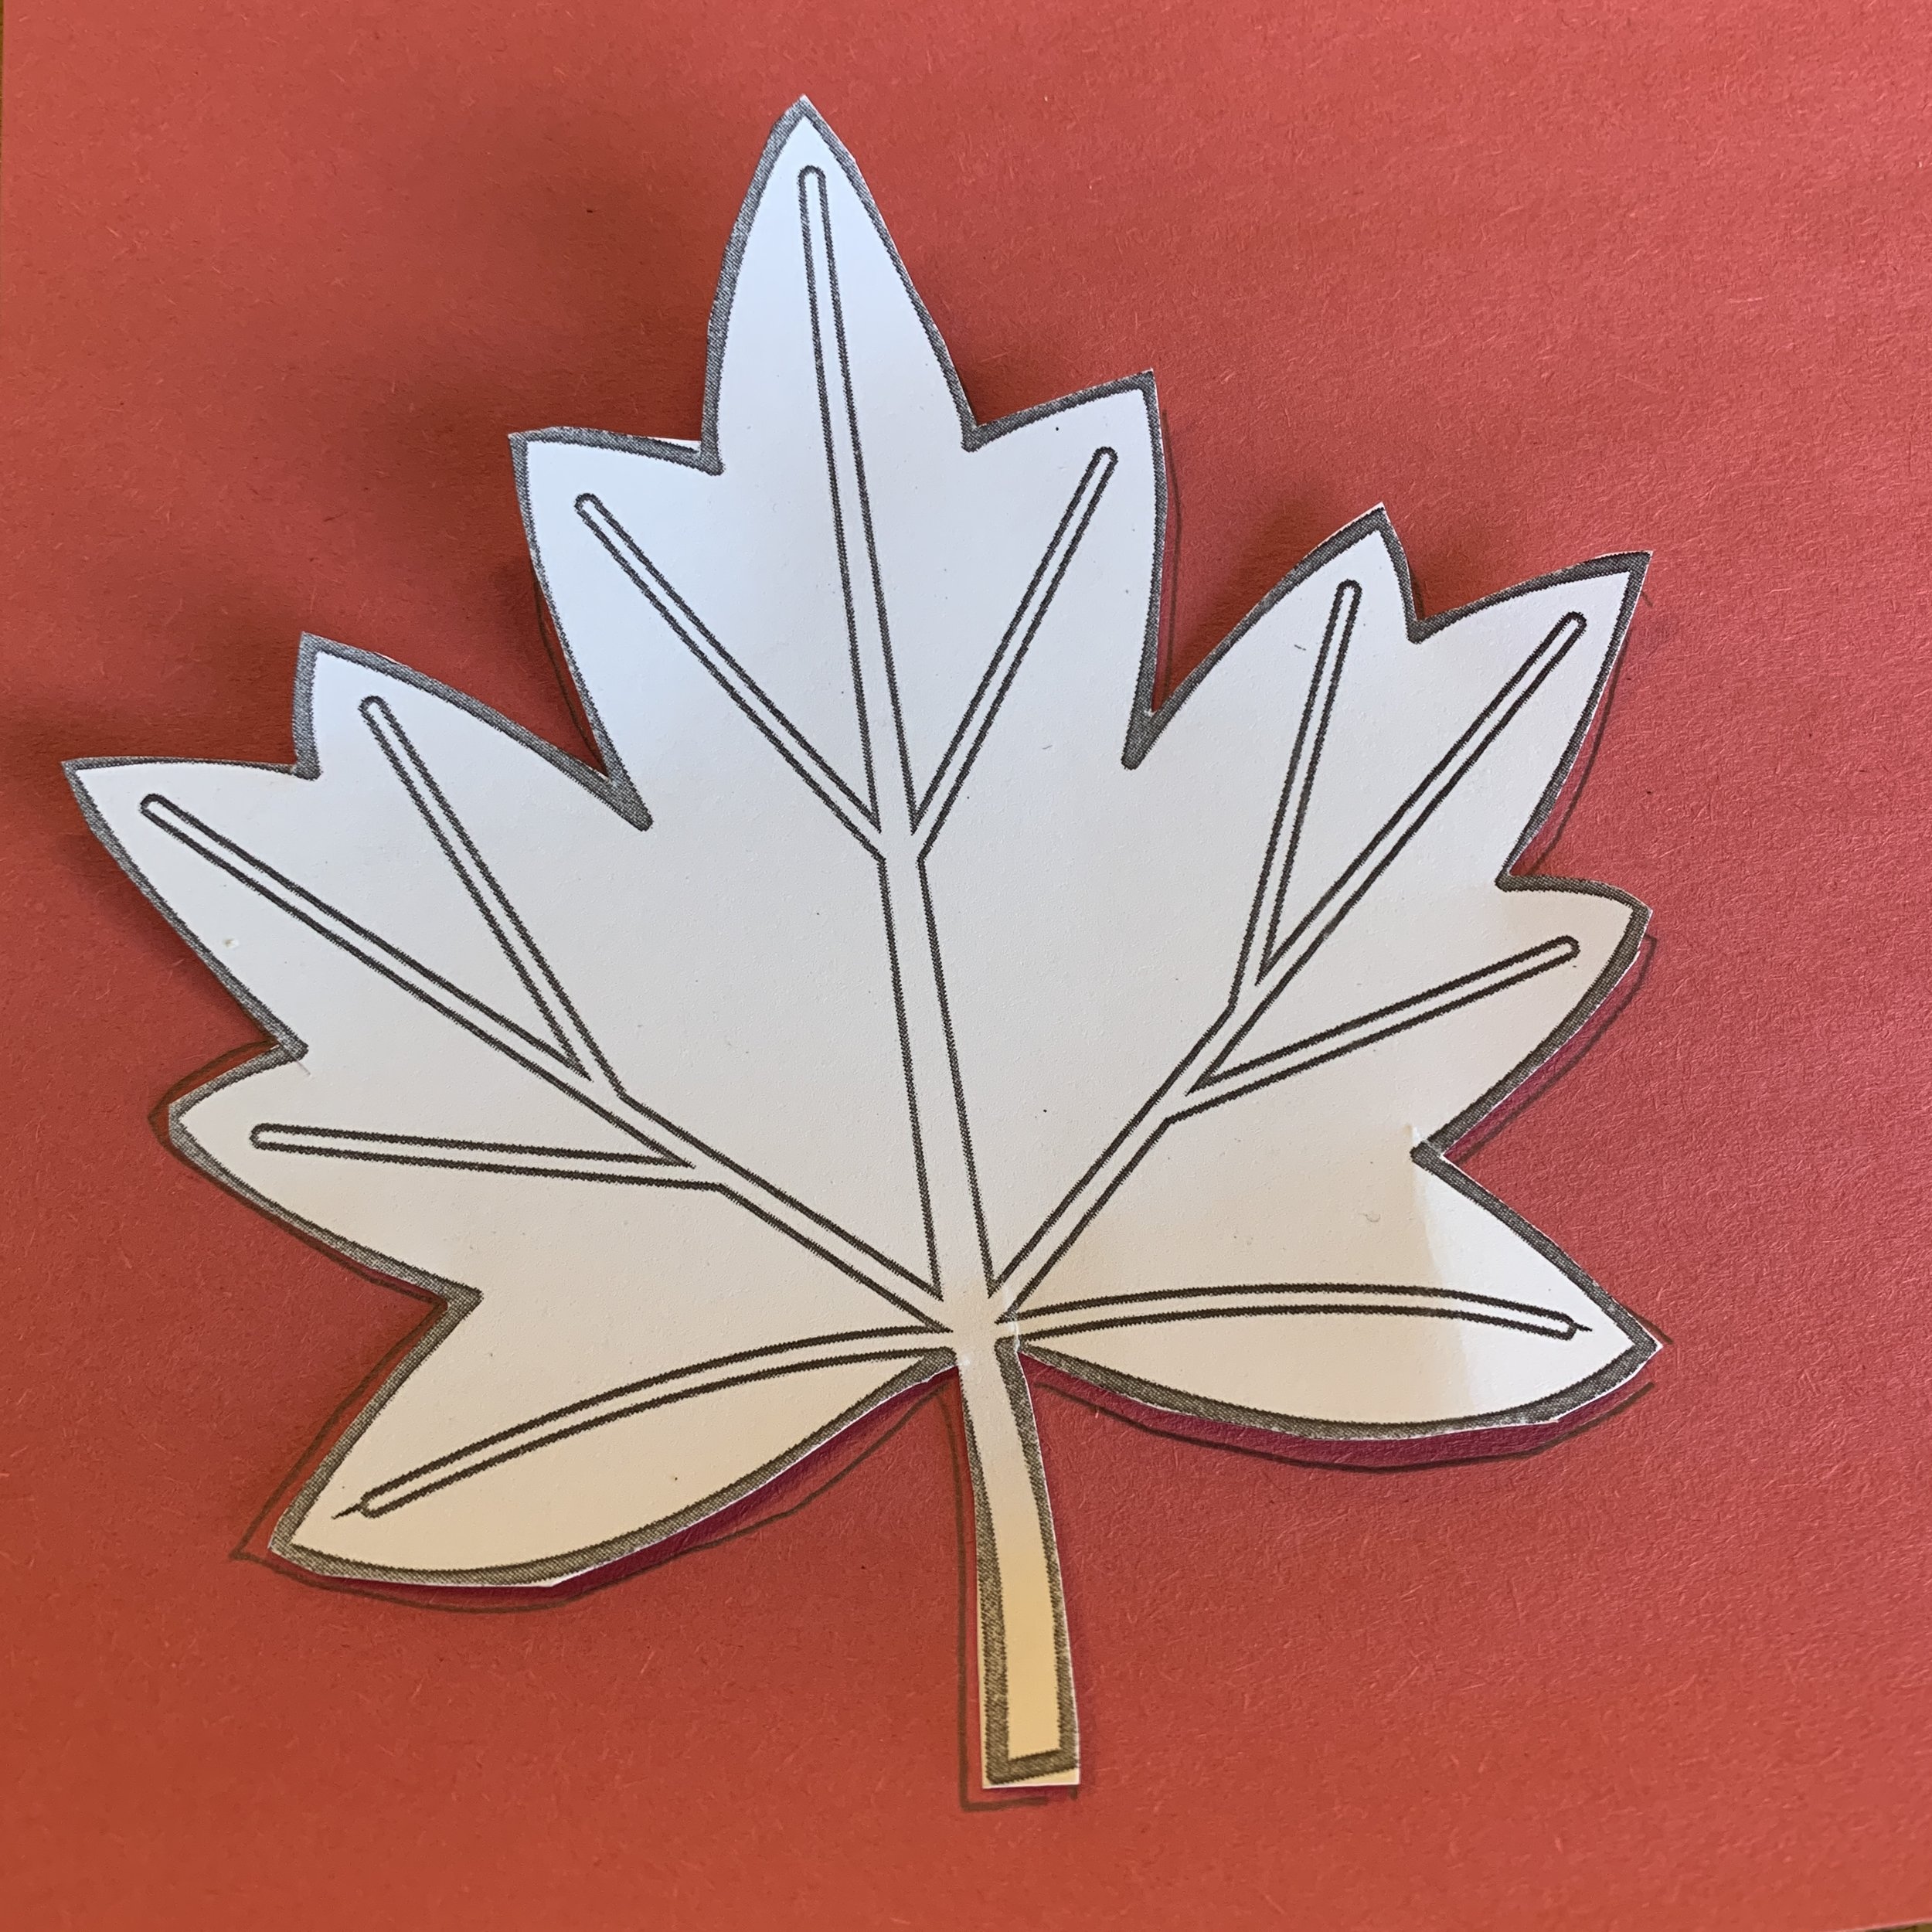
Leaf tracers (optional)
Glue stick
Scissors
Pencil
Teacher prep: If you choose to have leaf tracers, you’ll want to prepare those ahead of time. I just printed different leaf shapes on card stock.
Steps:
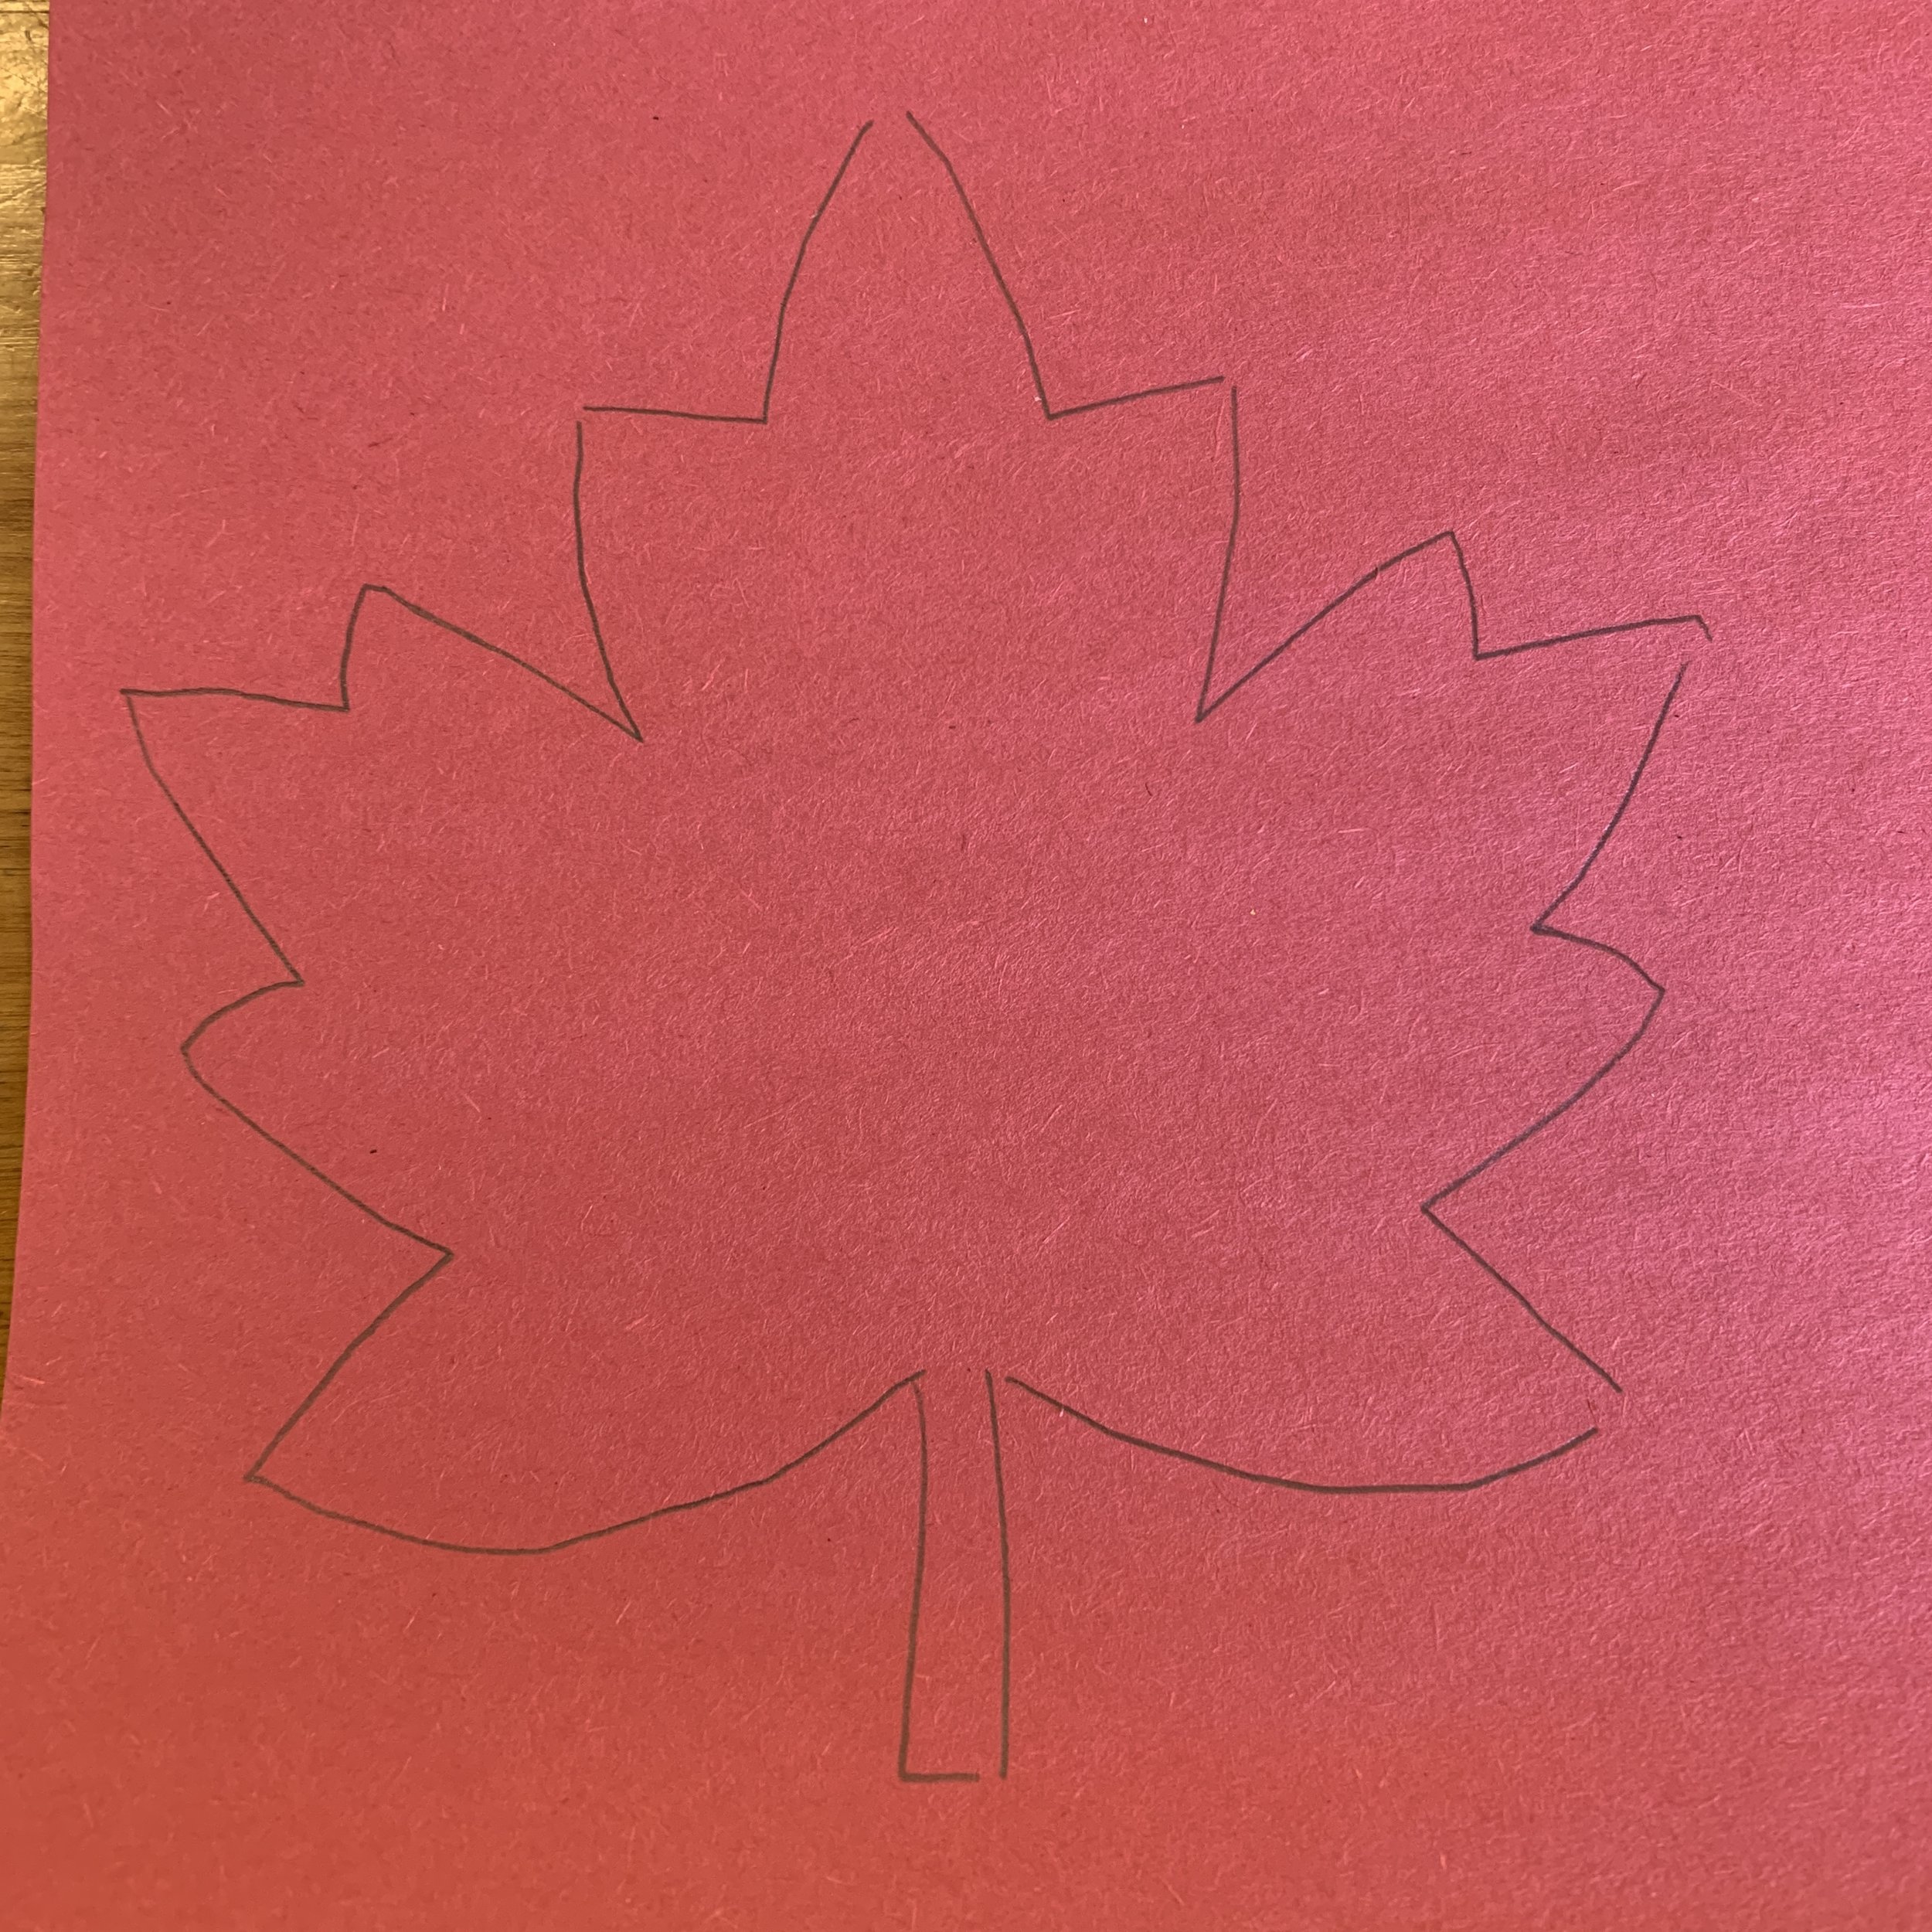
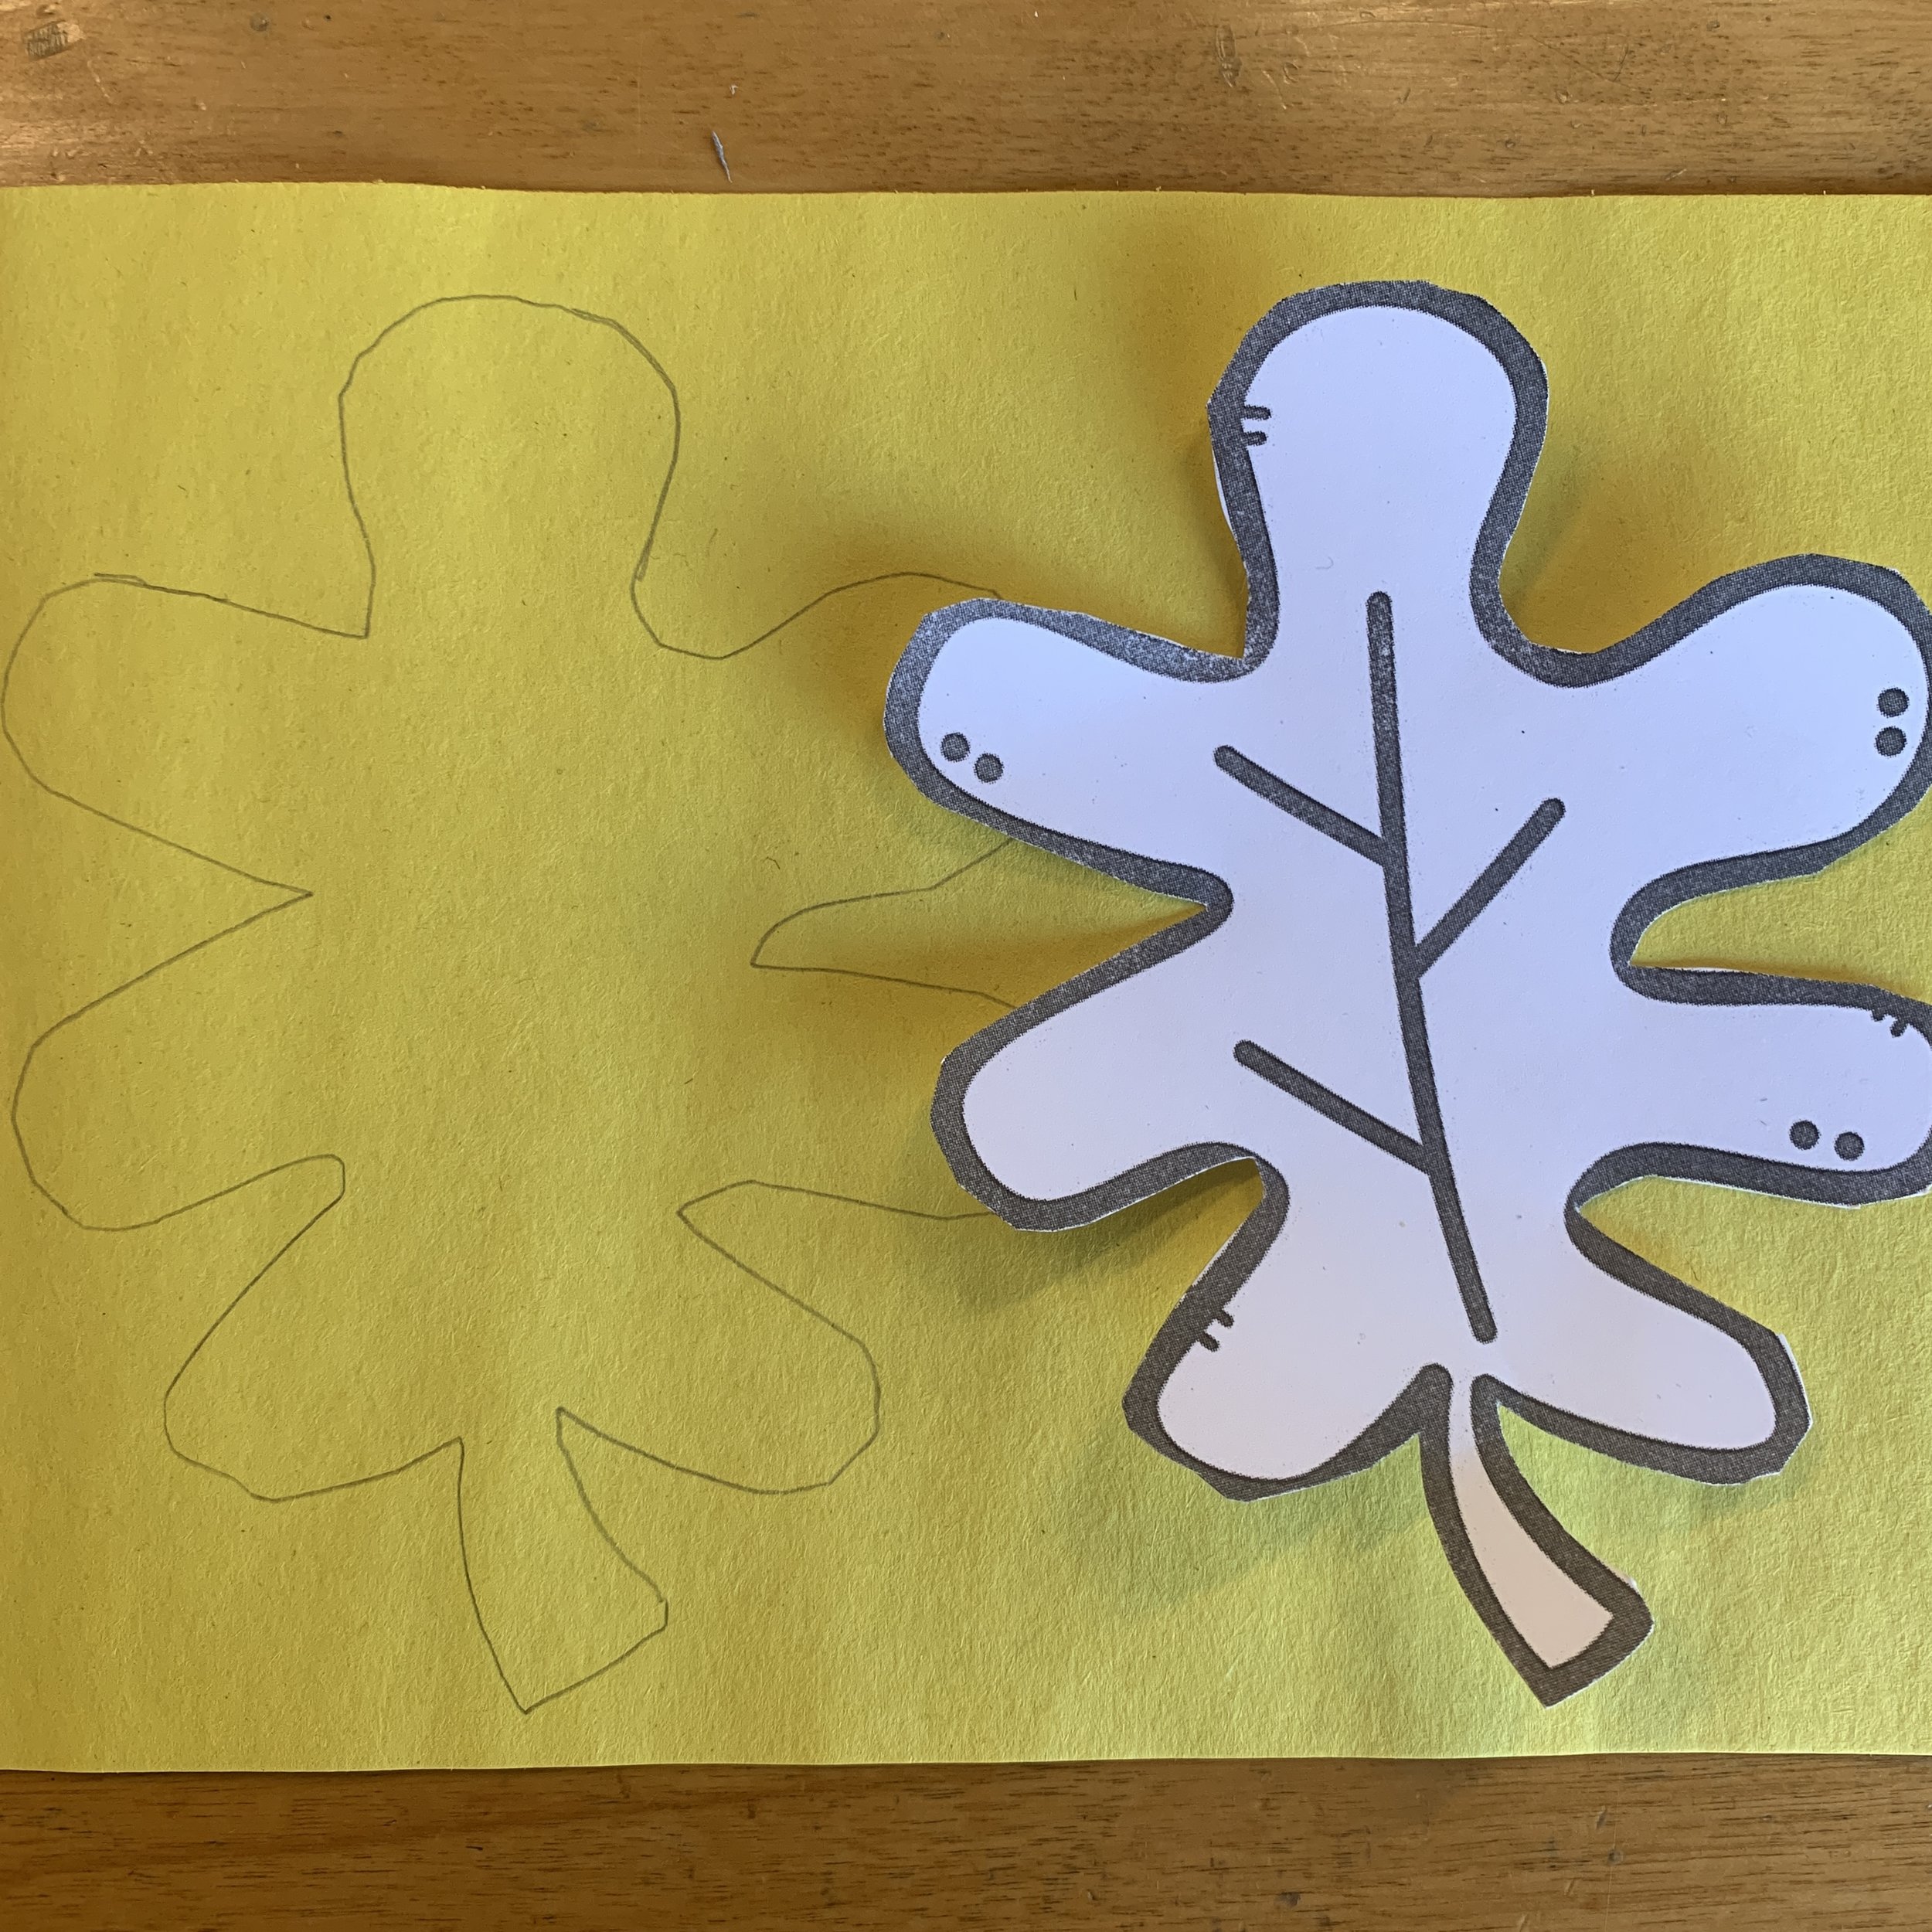
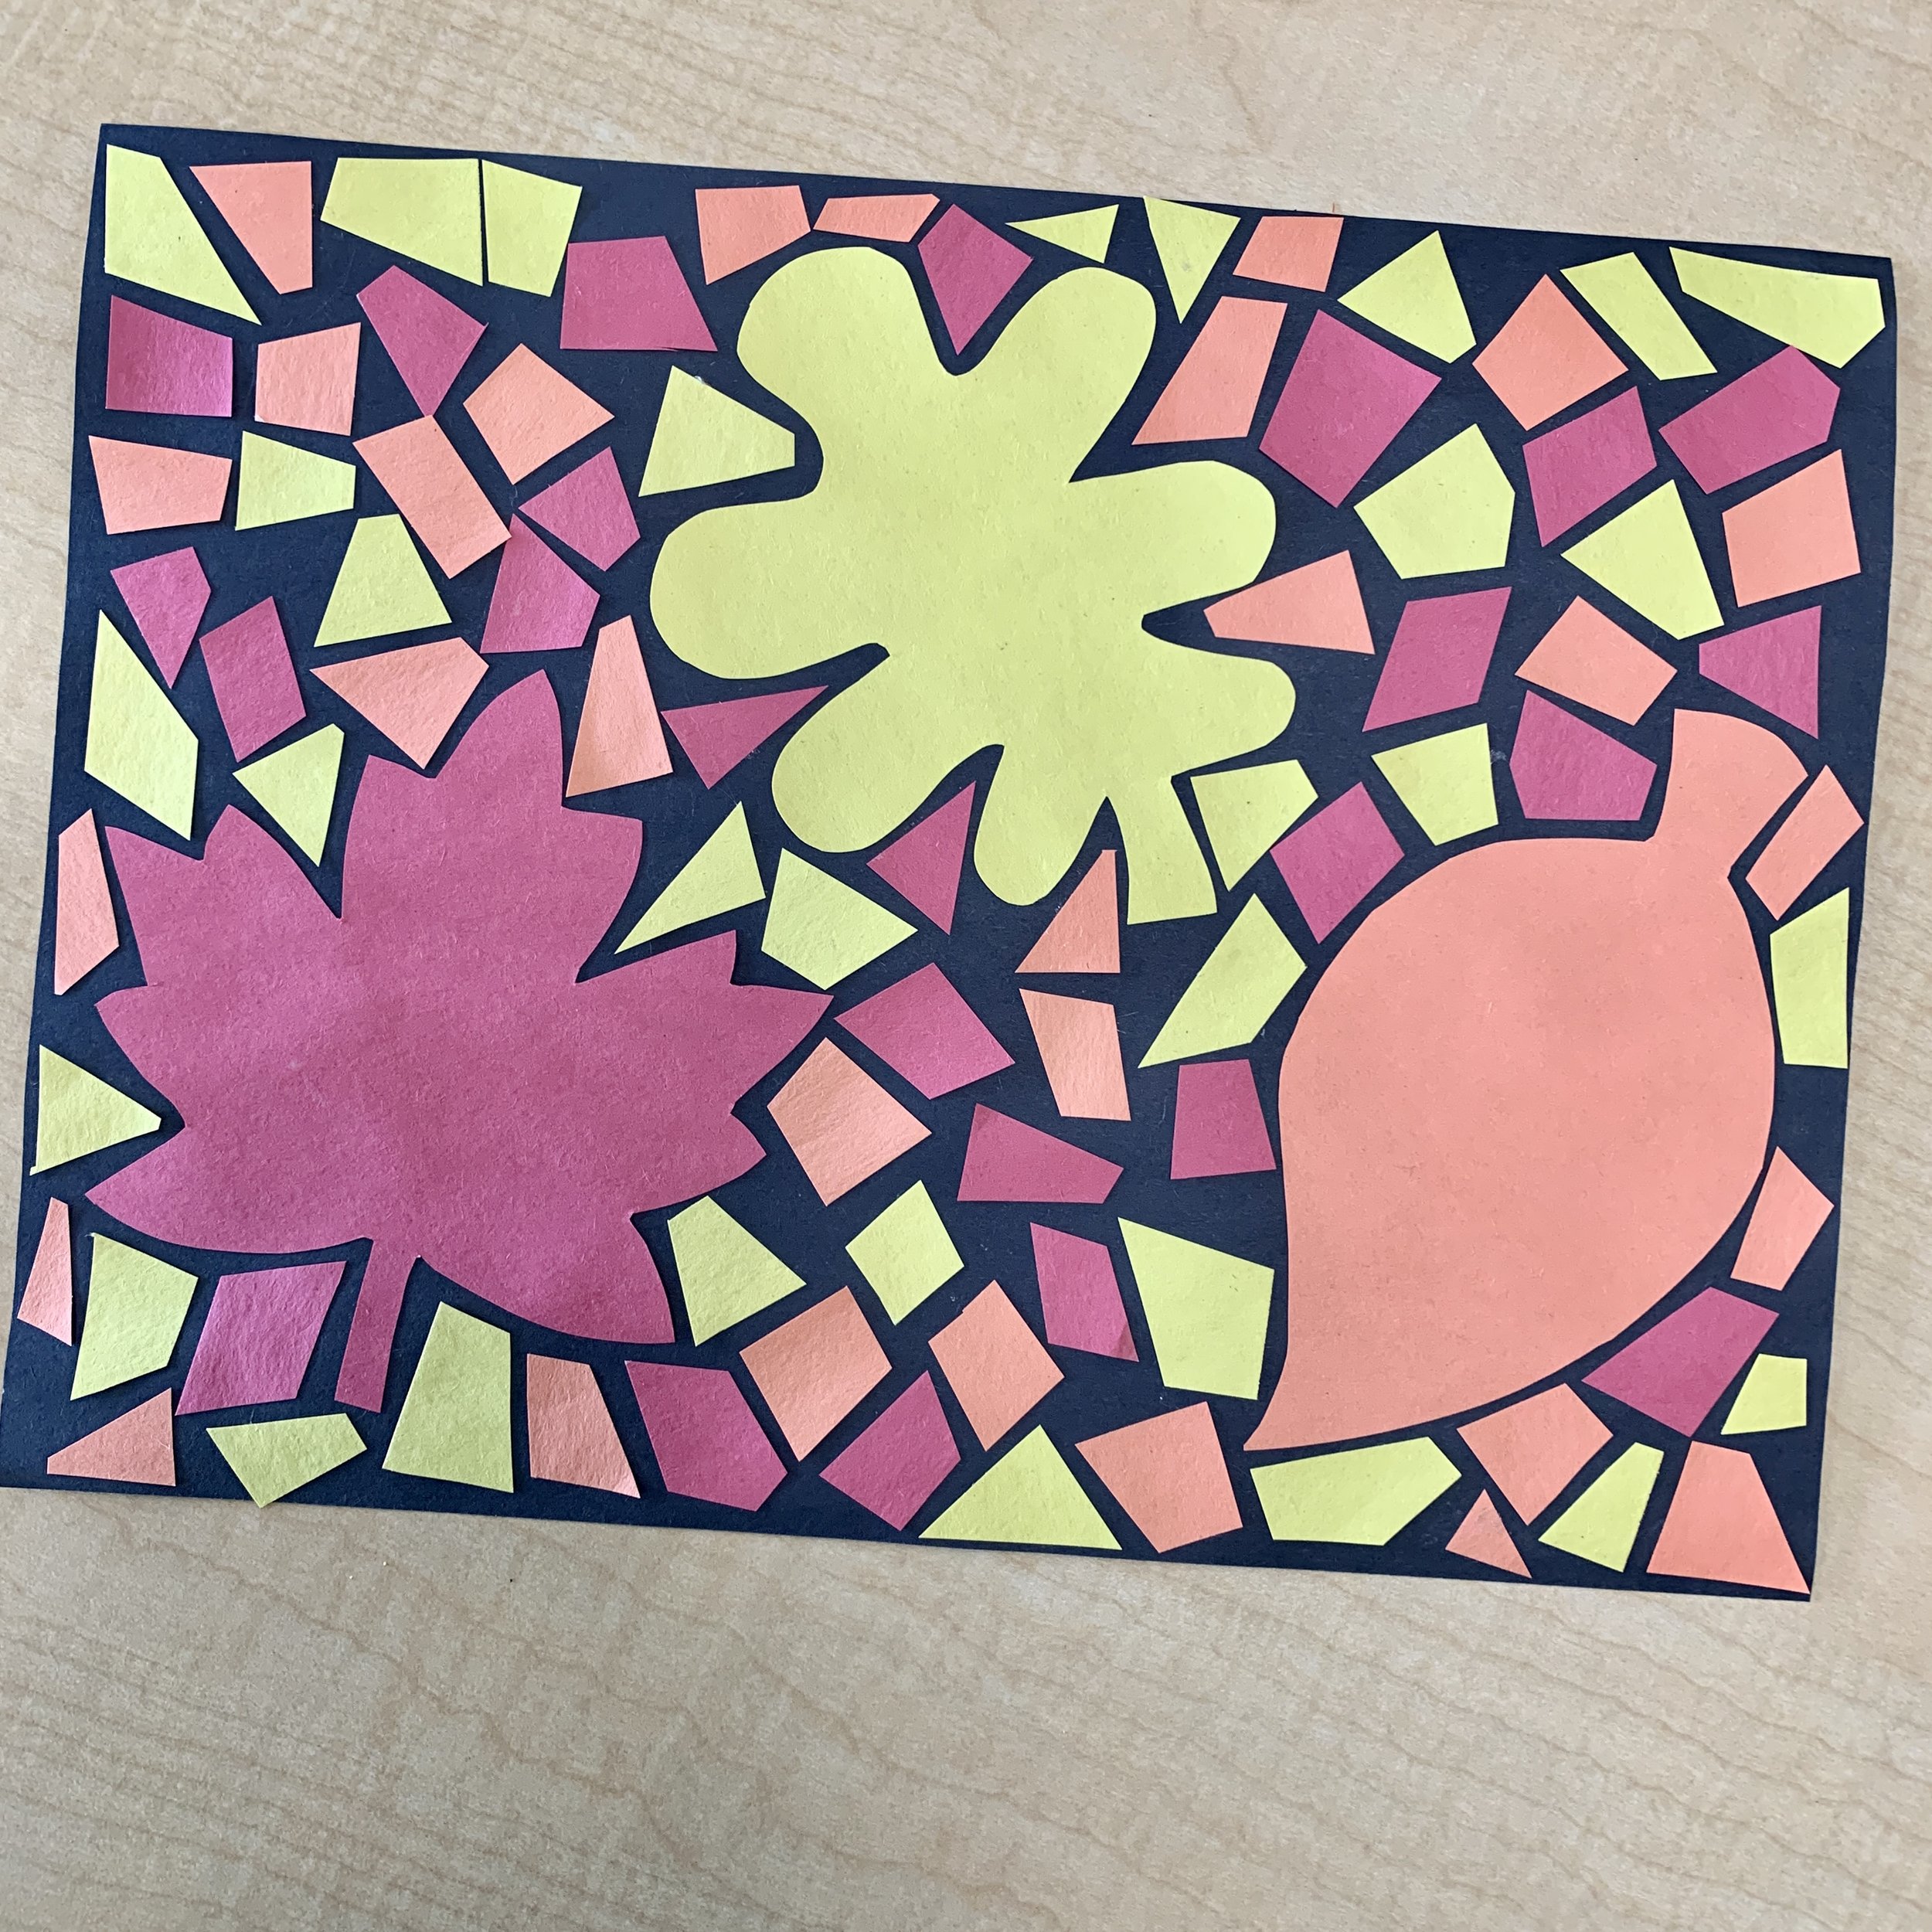
Trace and cut out the leaf shapes. I made tracers in different shapes but you can do freehand too. Depending on the size of your tracers/freehand leaves, you’ll want 2-3 total.
Glue the leaves onto the black background. Remind students to put glue on the side with the pencil lines.
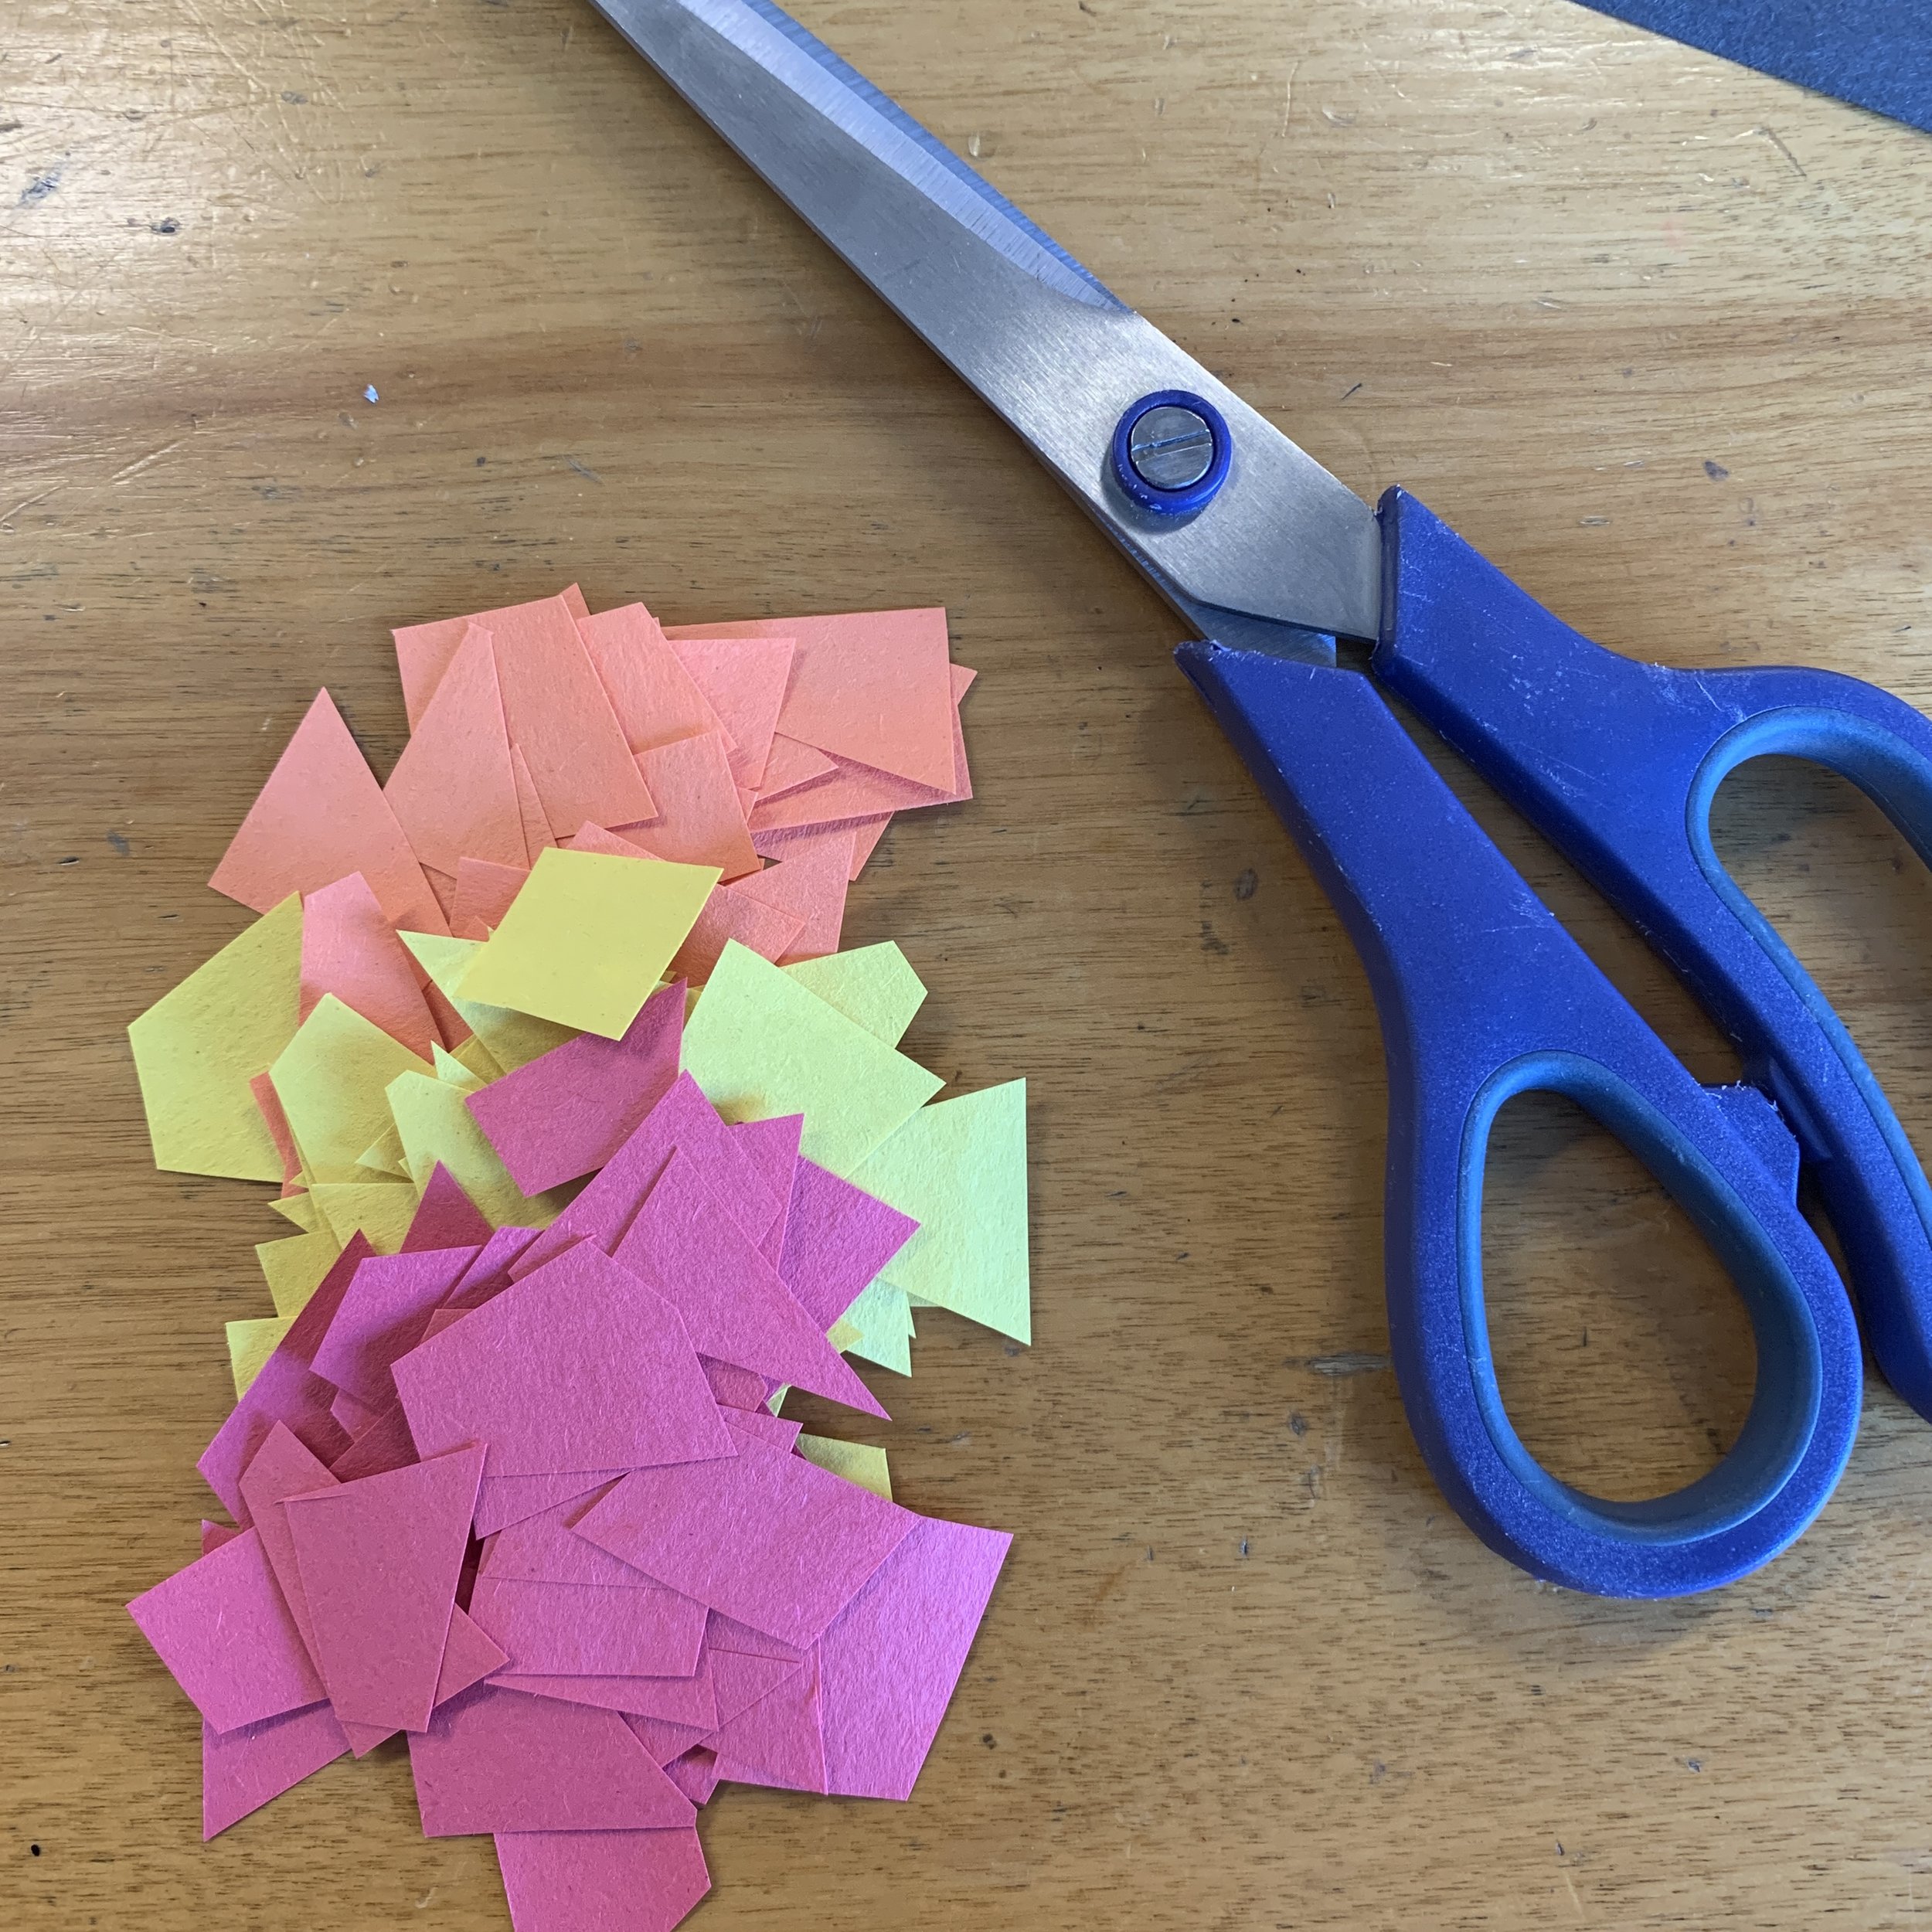
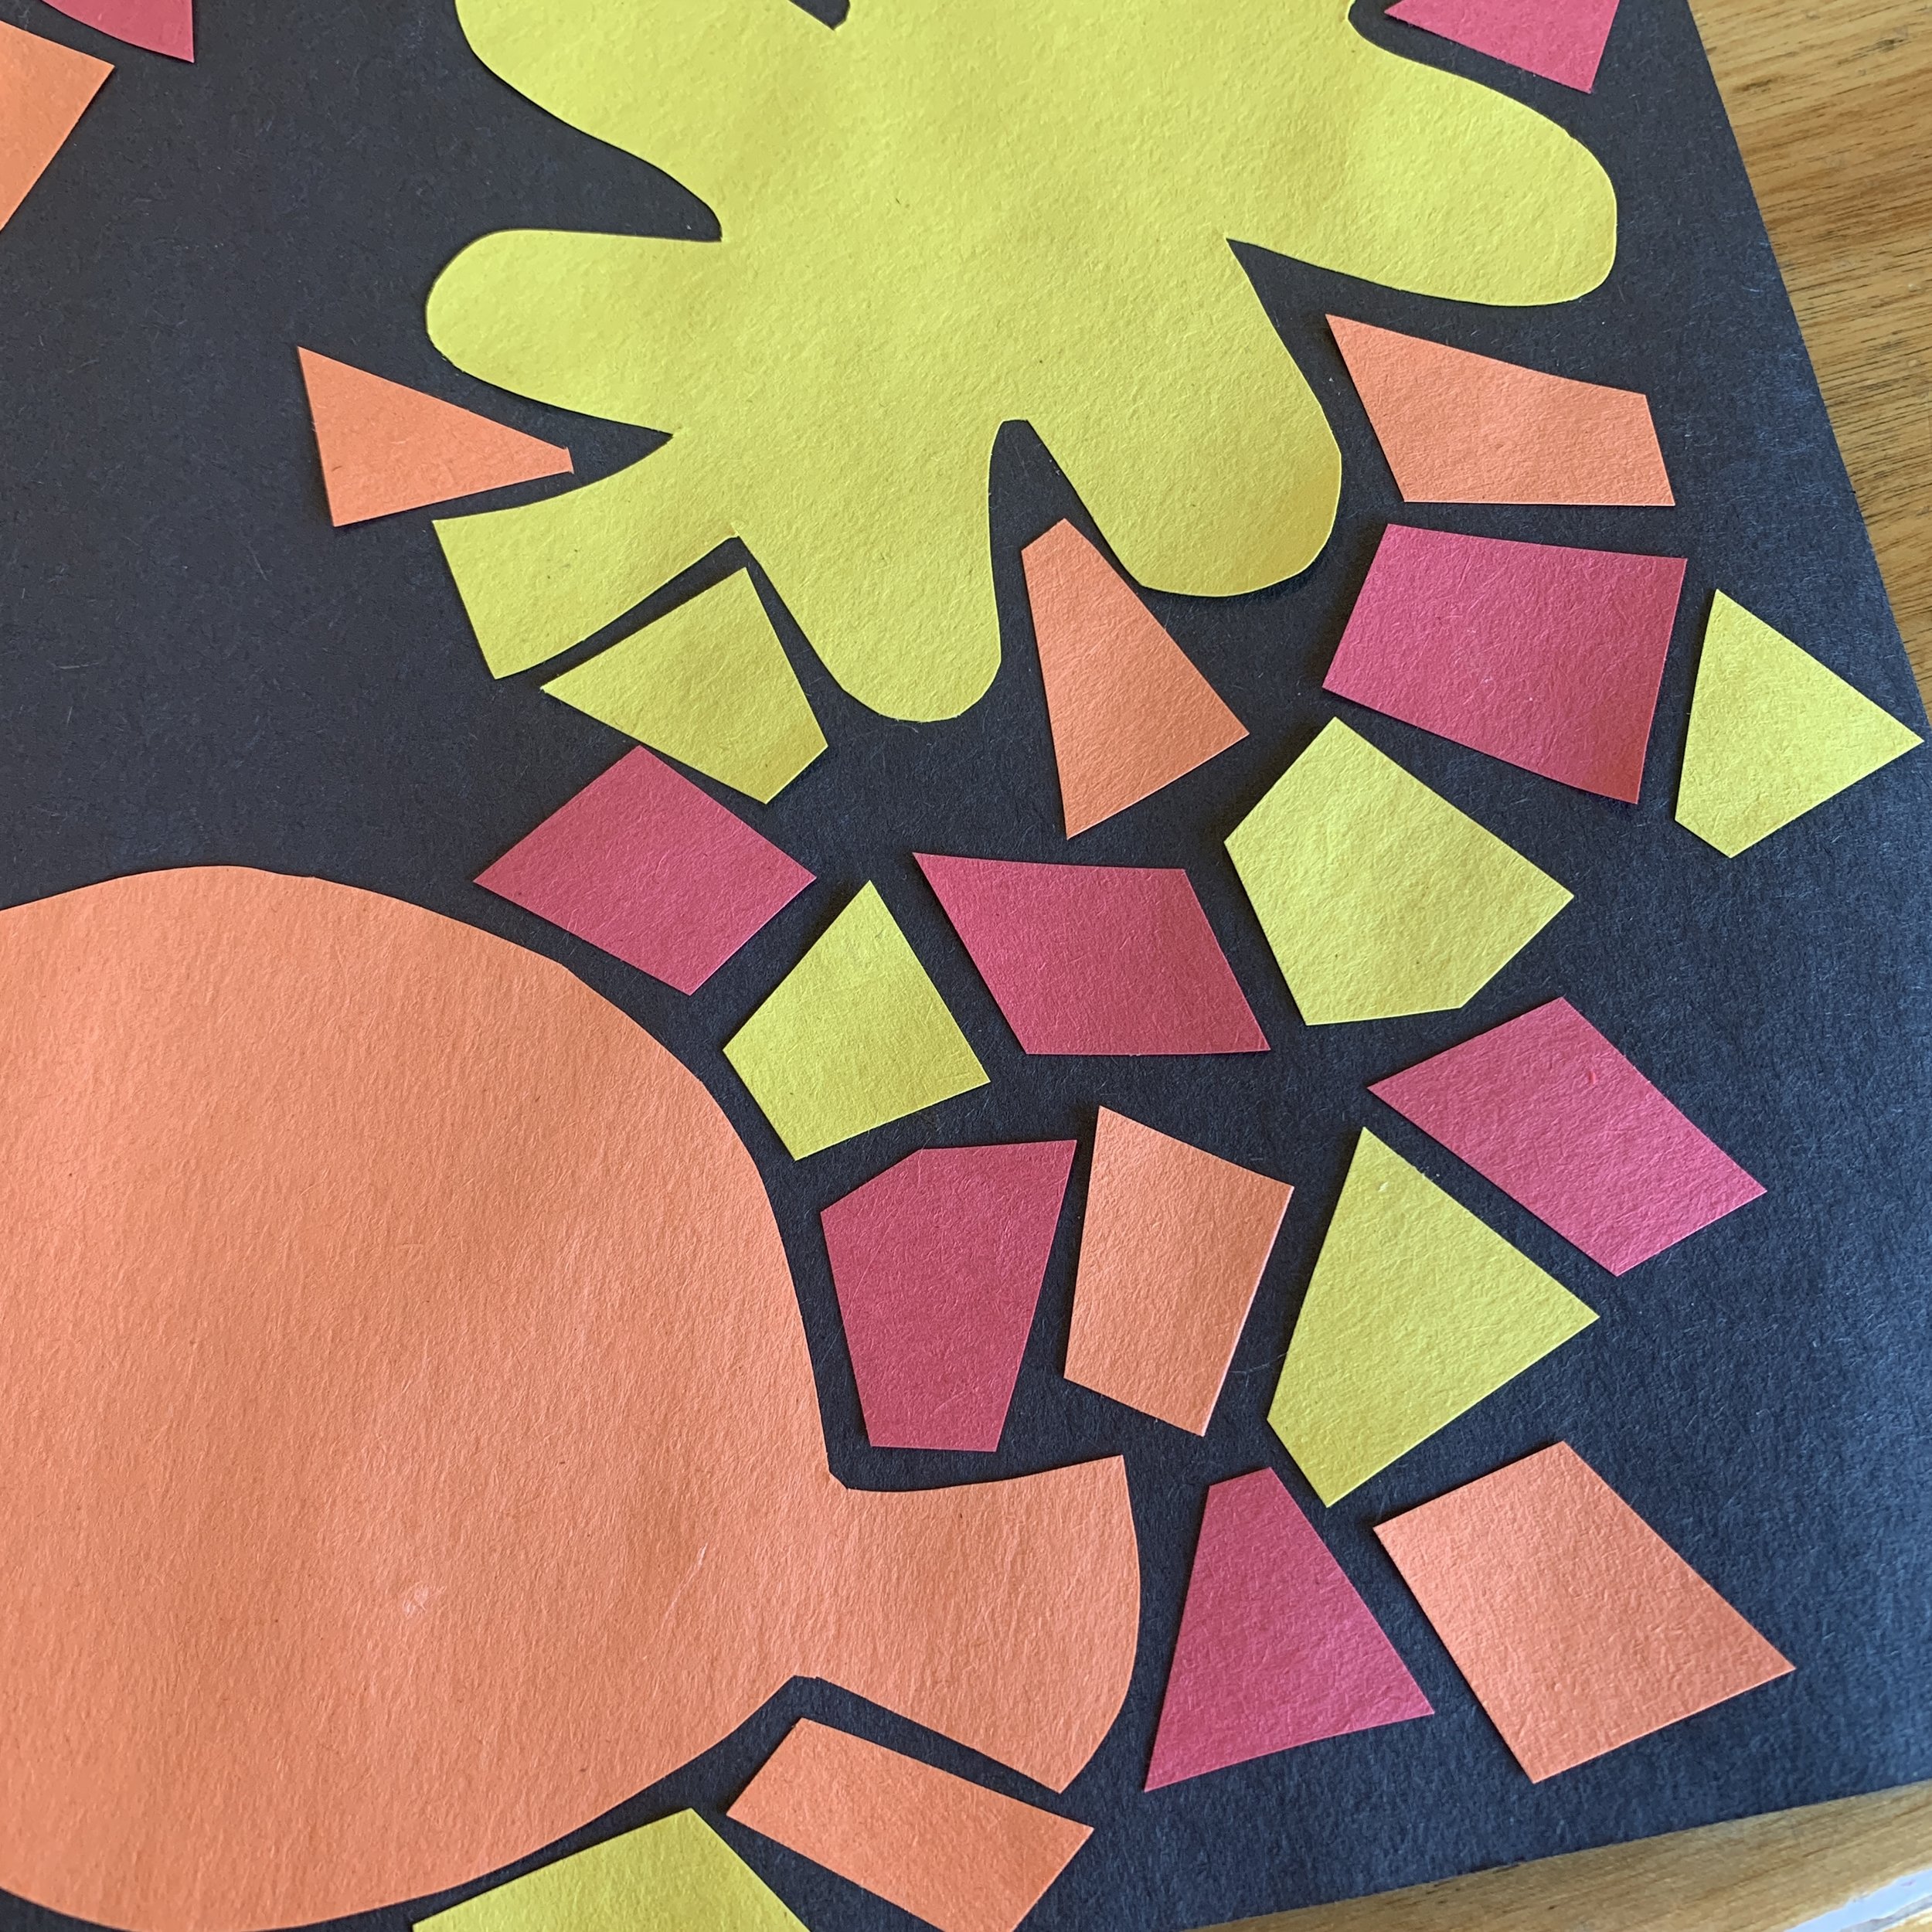
Chop up pieces of red, orange and yellow construction paper into tiles.
Glue your tiles around the leaves. You may need to cut some to size to fit into small areas, but generally just glue them wherever you want.
TIP: Construction paper can be easily dyed by glue. Be careful to only get the glue where it should be. I would suggest putting glue on the small piece, rather than making a large swipe on the background and then putting the pieces down. It’s not the end of the world, but it can make it look messier than intended once it dries. If you use glue sponges in your class, this would be a great time to use them!