

Lunar New Year Painted Lion or Dragon Collaborative Art Project
This is a collaborative art project that makes a stunning display. The best part is that while it looks amazing, it is really one of the most simple projects I’ve done.

Timeline: This project will take two art blocks, and you’ll probably want them on different days. On day one you will paint the papers (20-30 min). Then on day two, you will cut apart the papers (15-20 min).
Materials (Day 1)
White paper (regular printer paper is just fine)
I did two pieces per student
Large paint brushes
Paint palette or plate
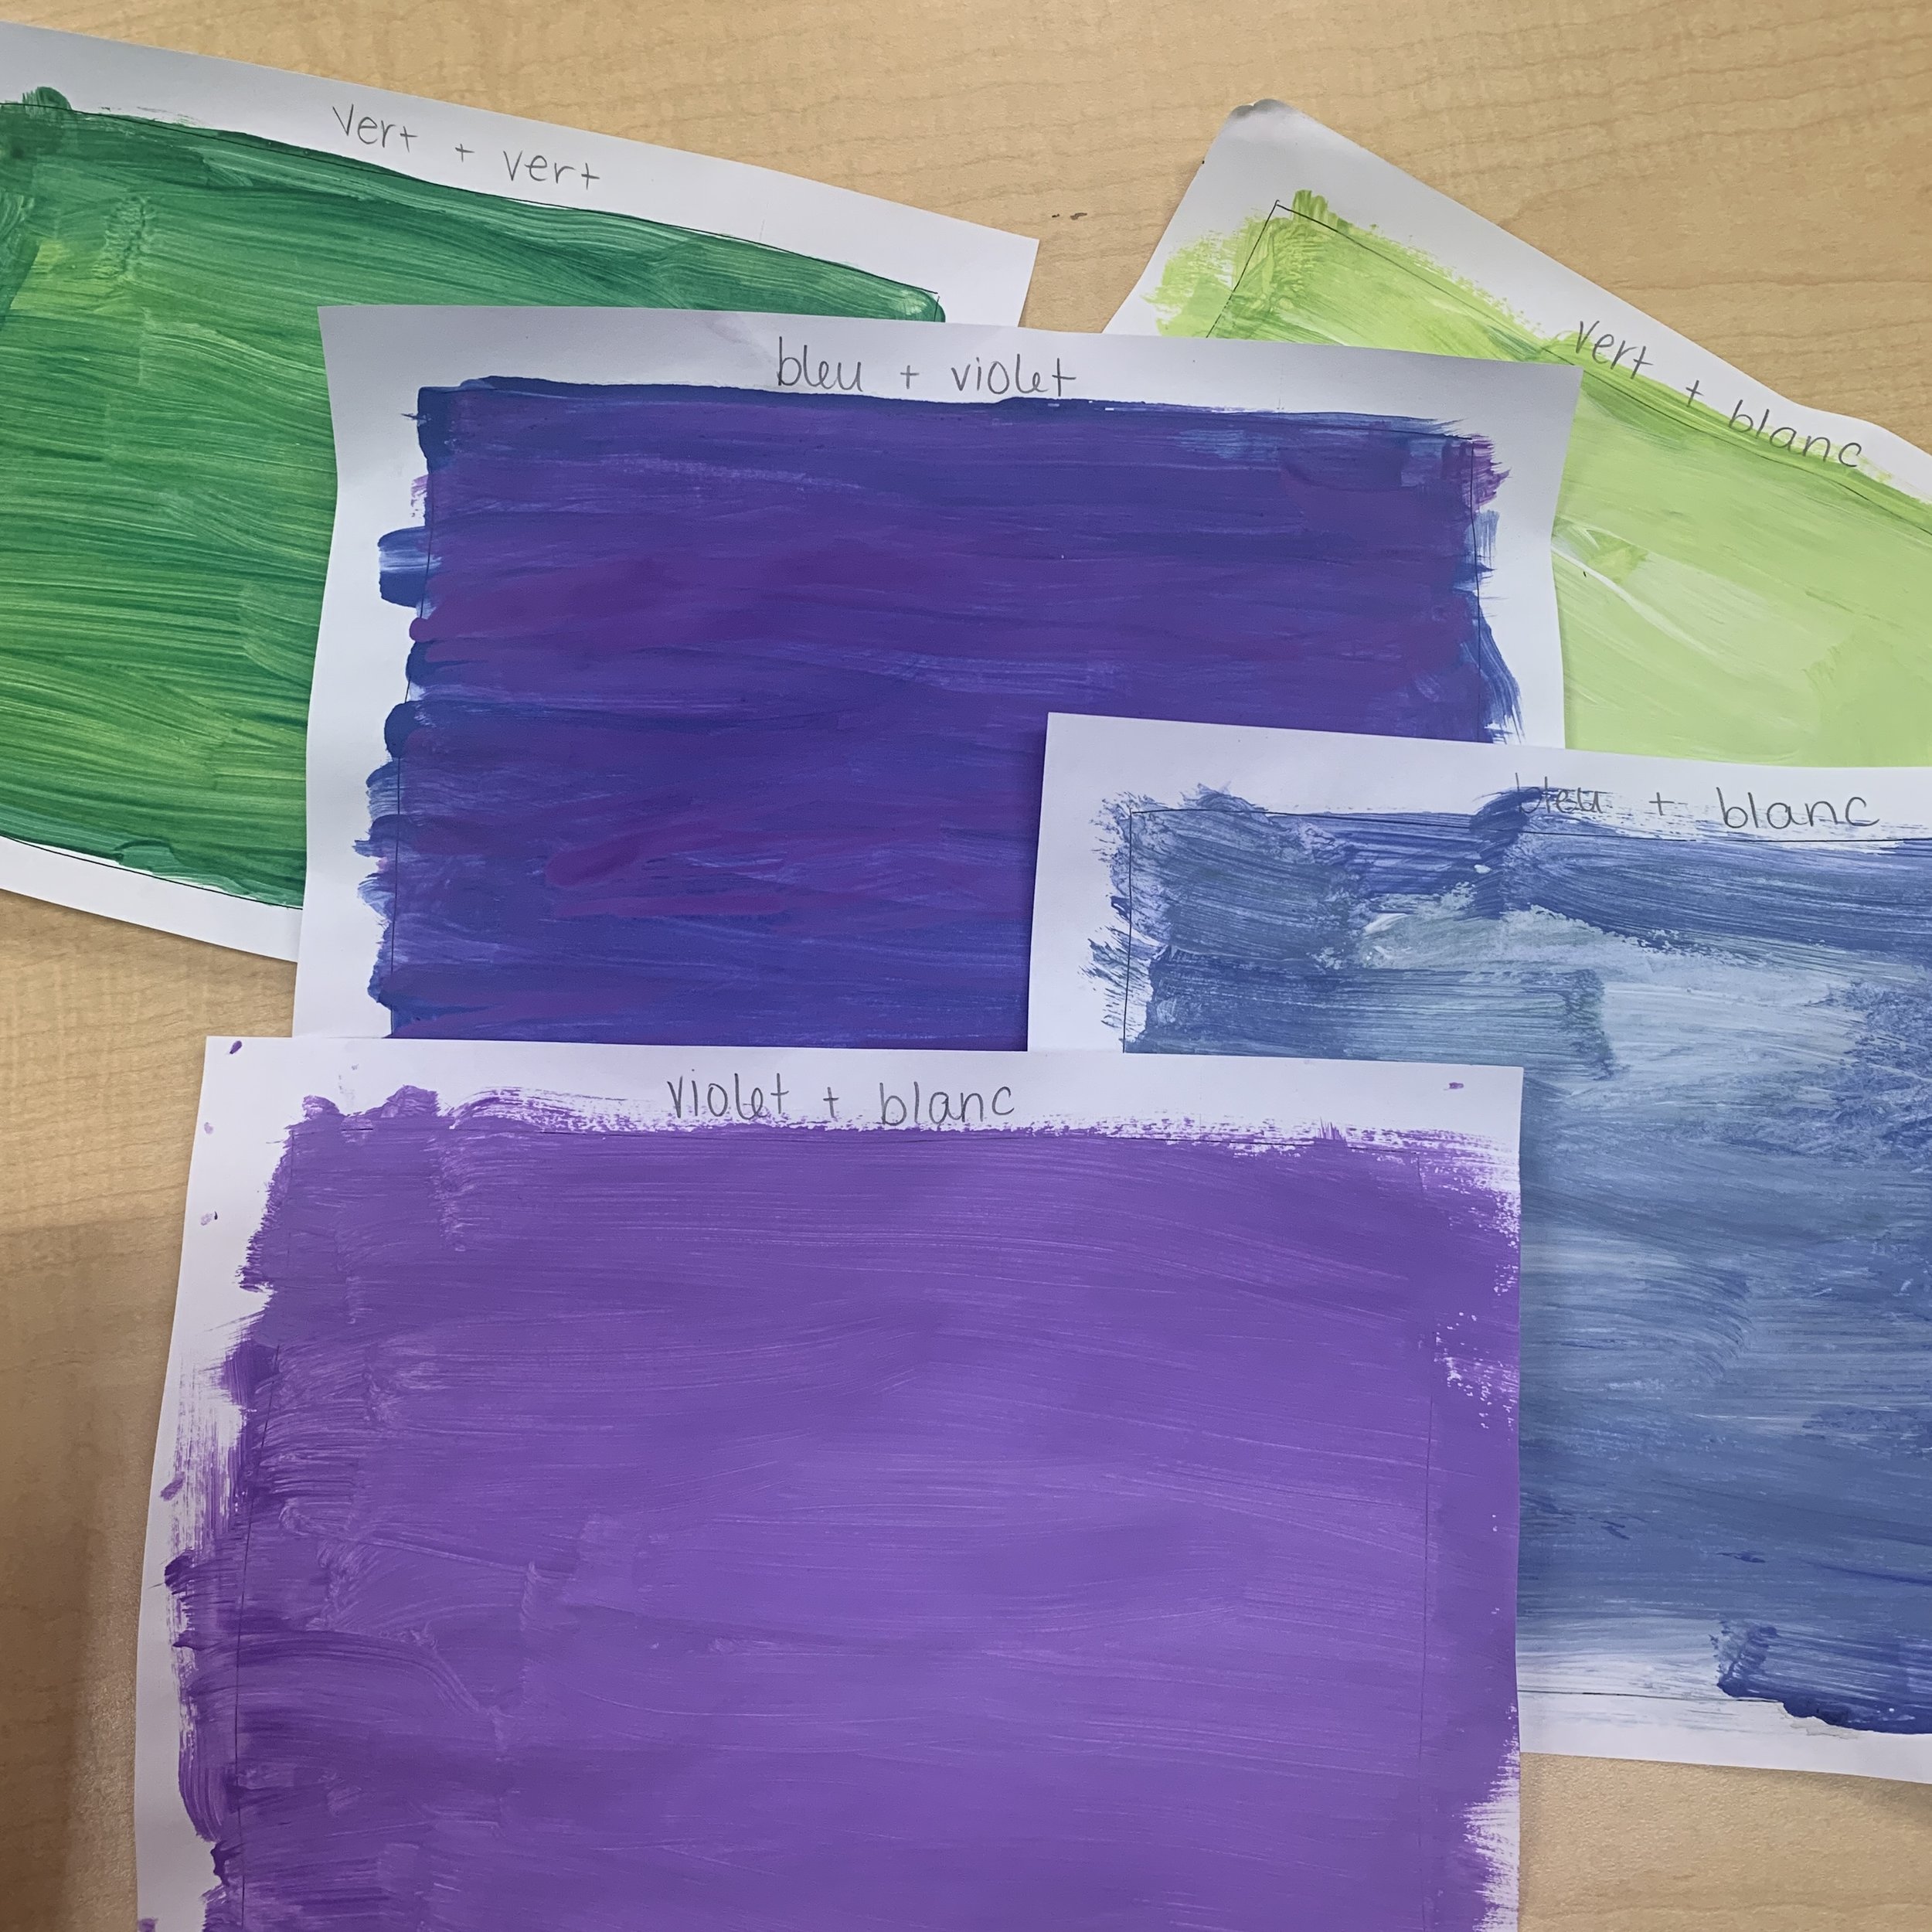
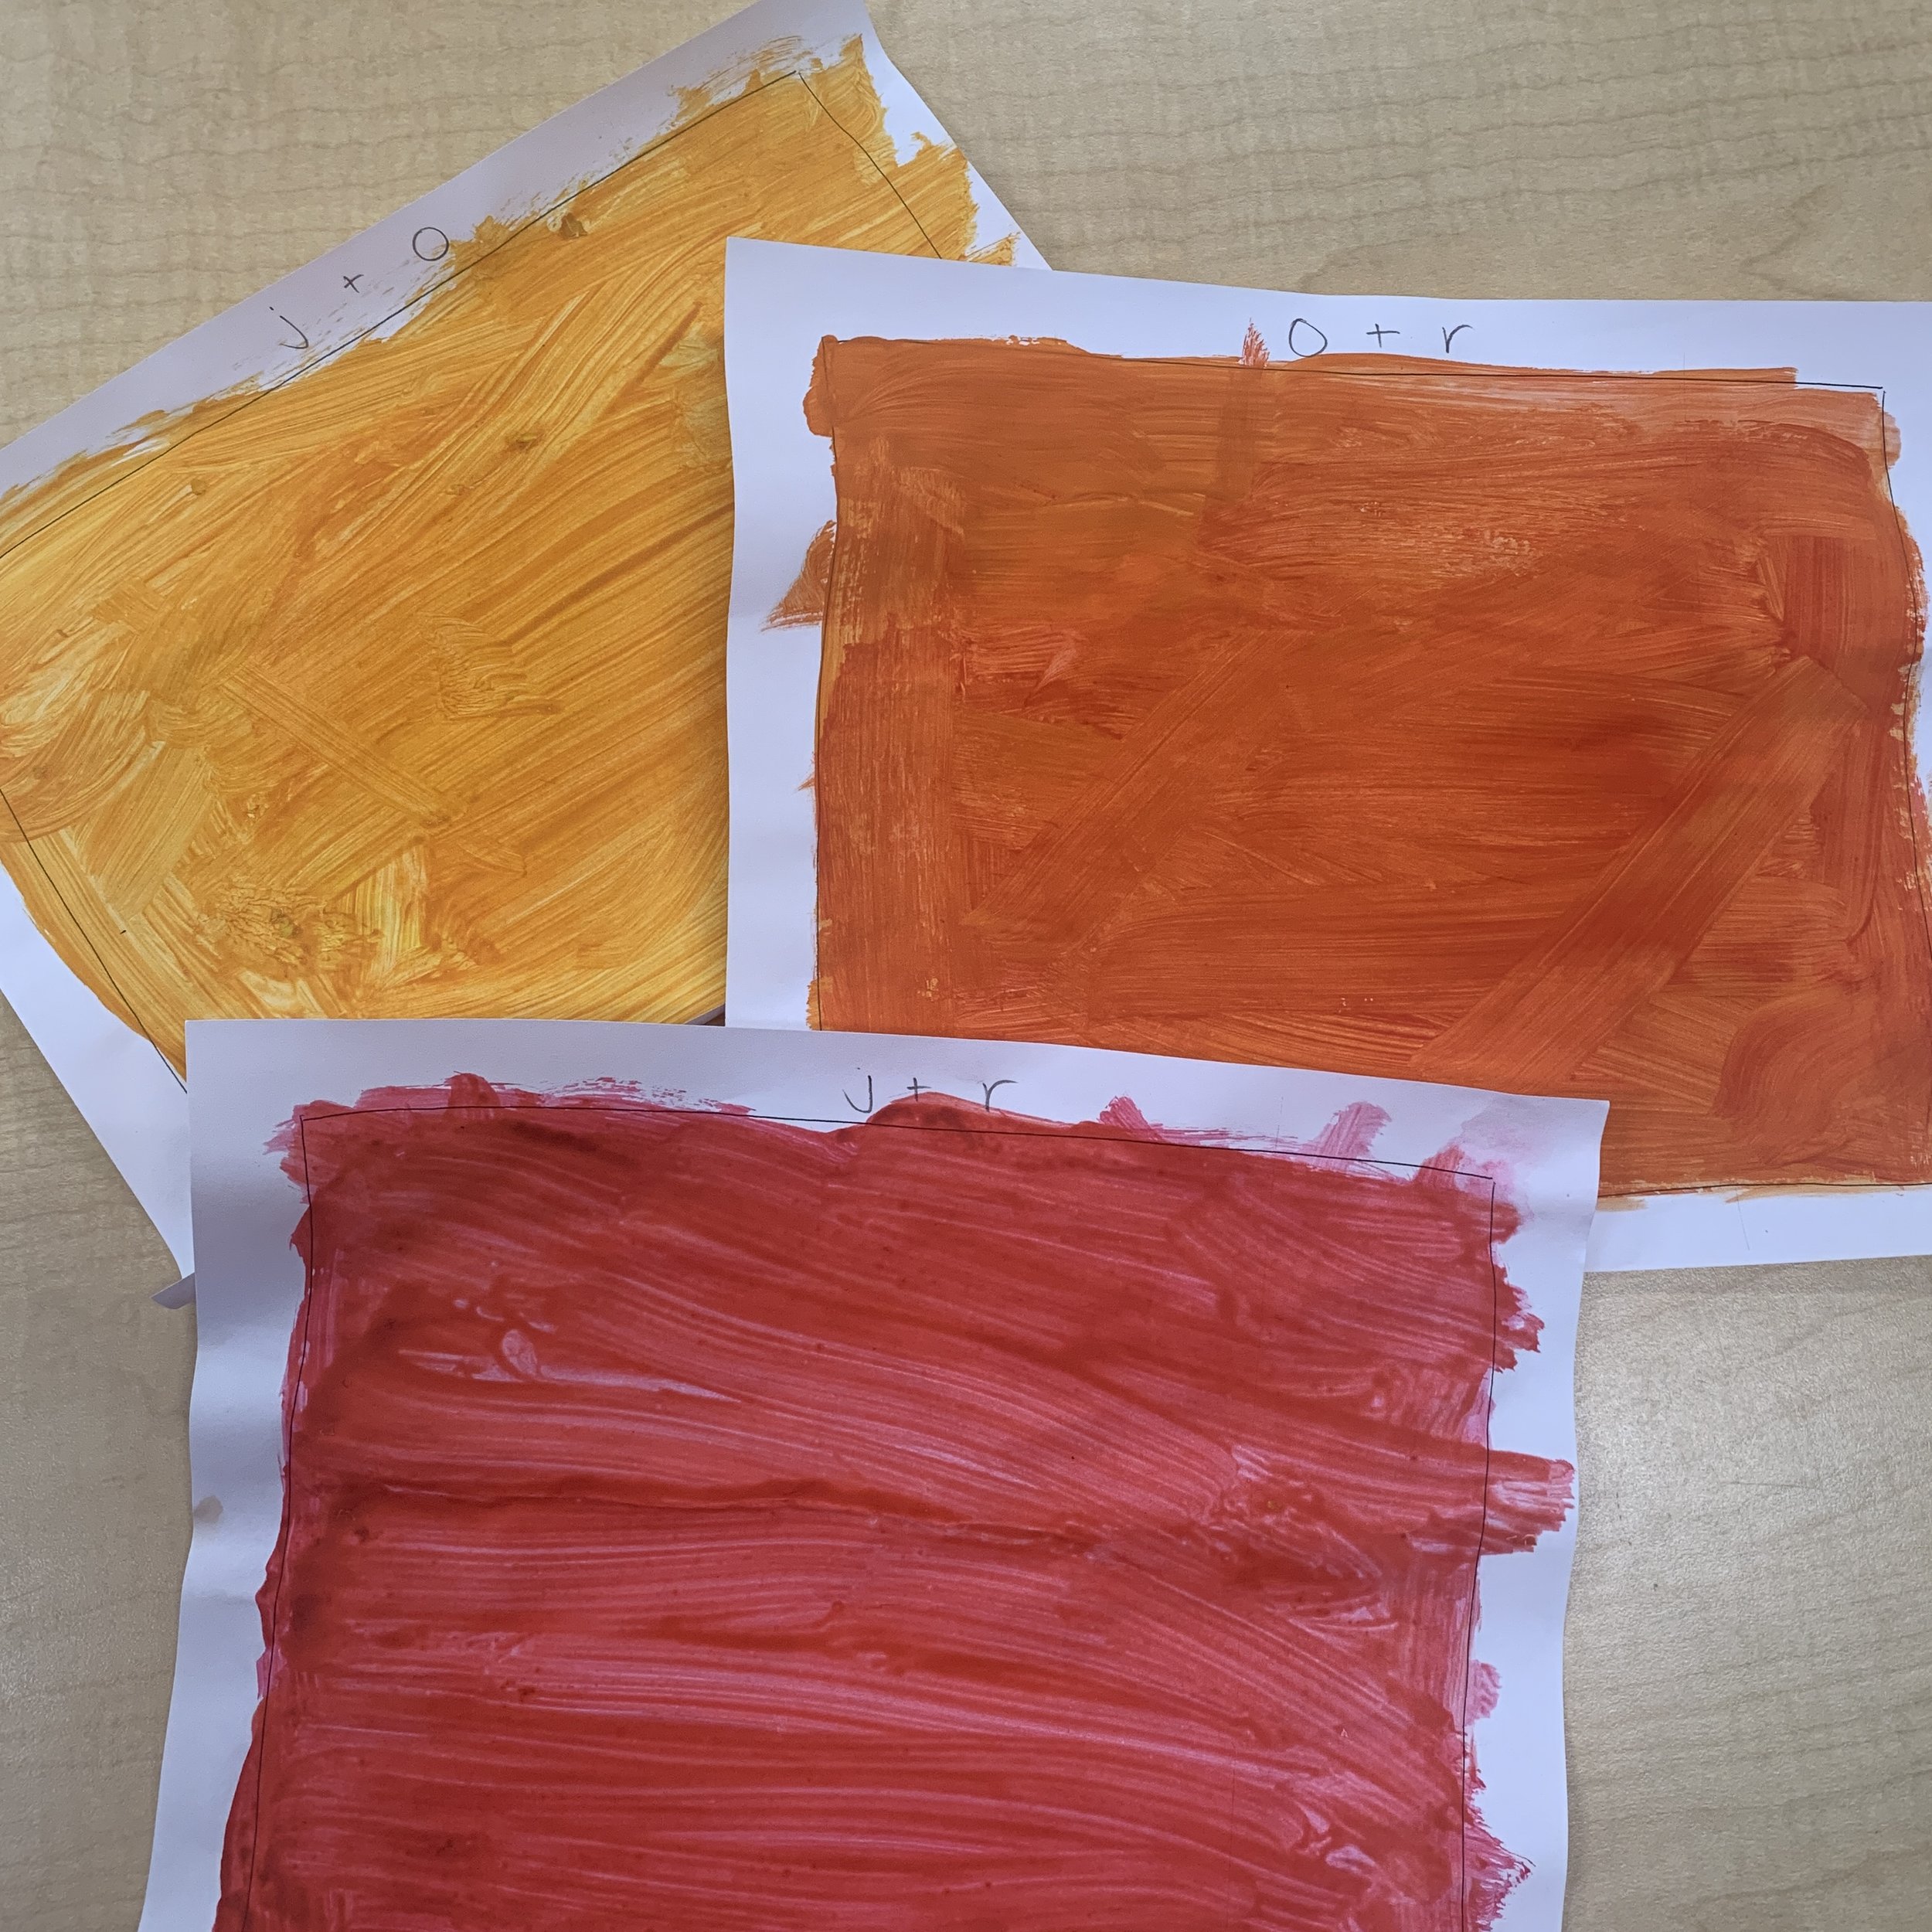
Liquid tempera paint in a variety of colours (red, orange, yellow, green, blue, purple)
Materials (Day 2)
Painted papers from day 1
Scissors
Pencil

Teacher prep before day 1:
I found a lion dance face on Google, printed it out and coloured it. We went with a cool colour and a warm colour so I made two. You can make a lion or a dragon face.
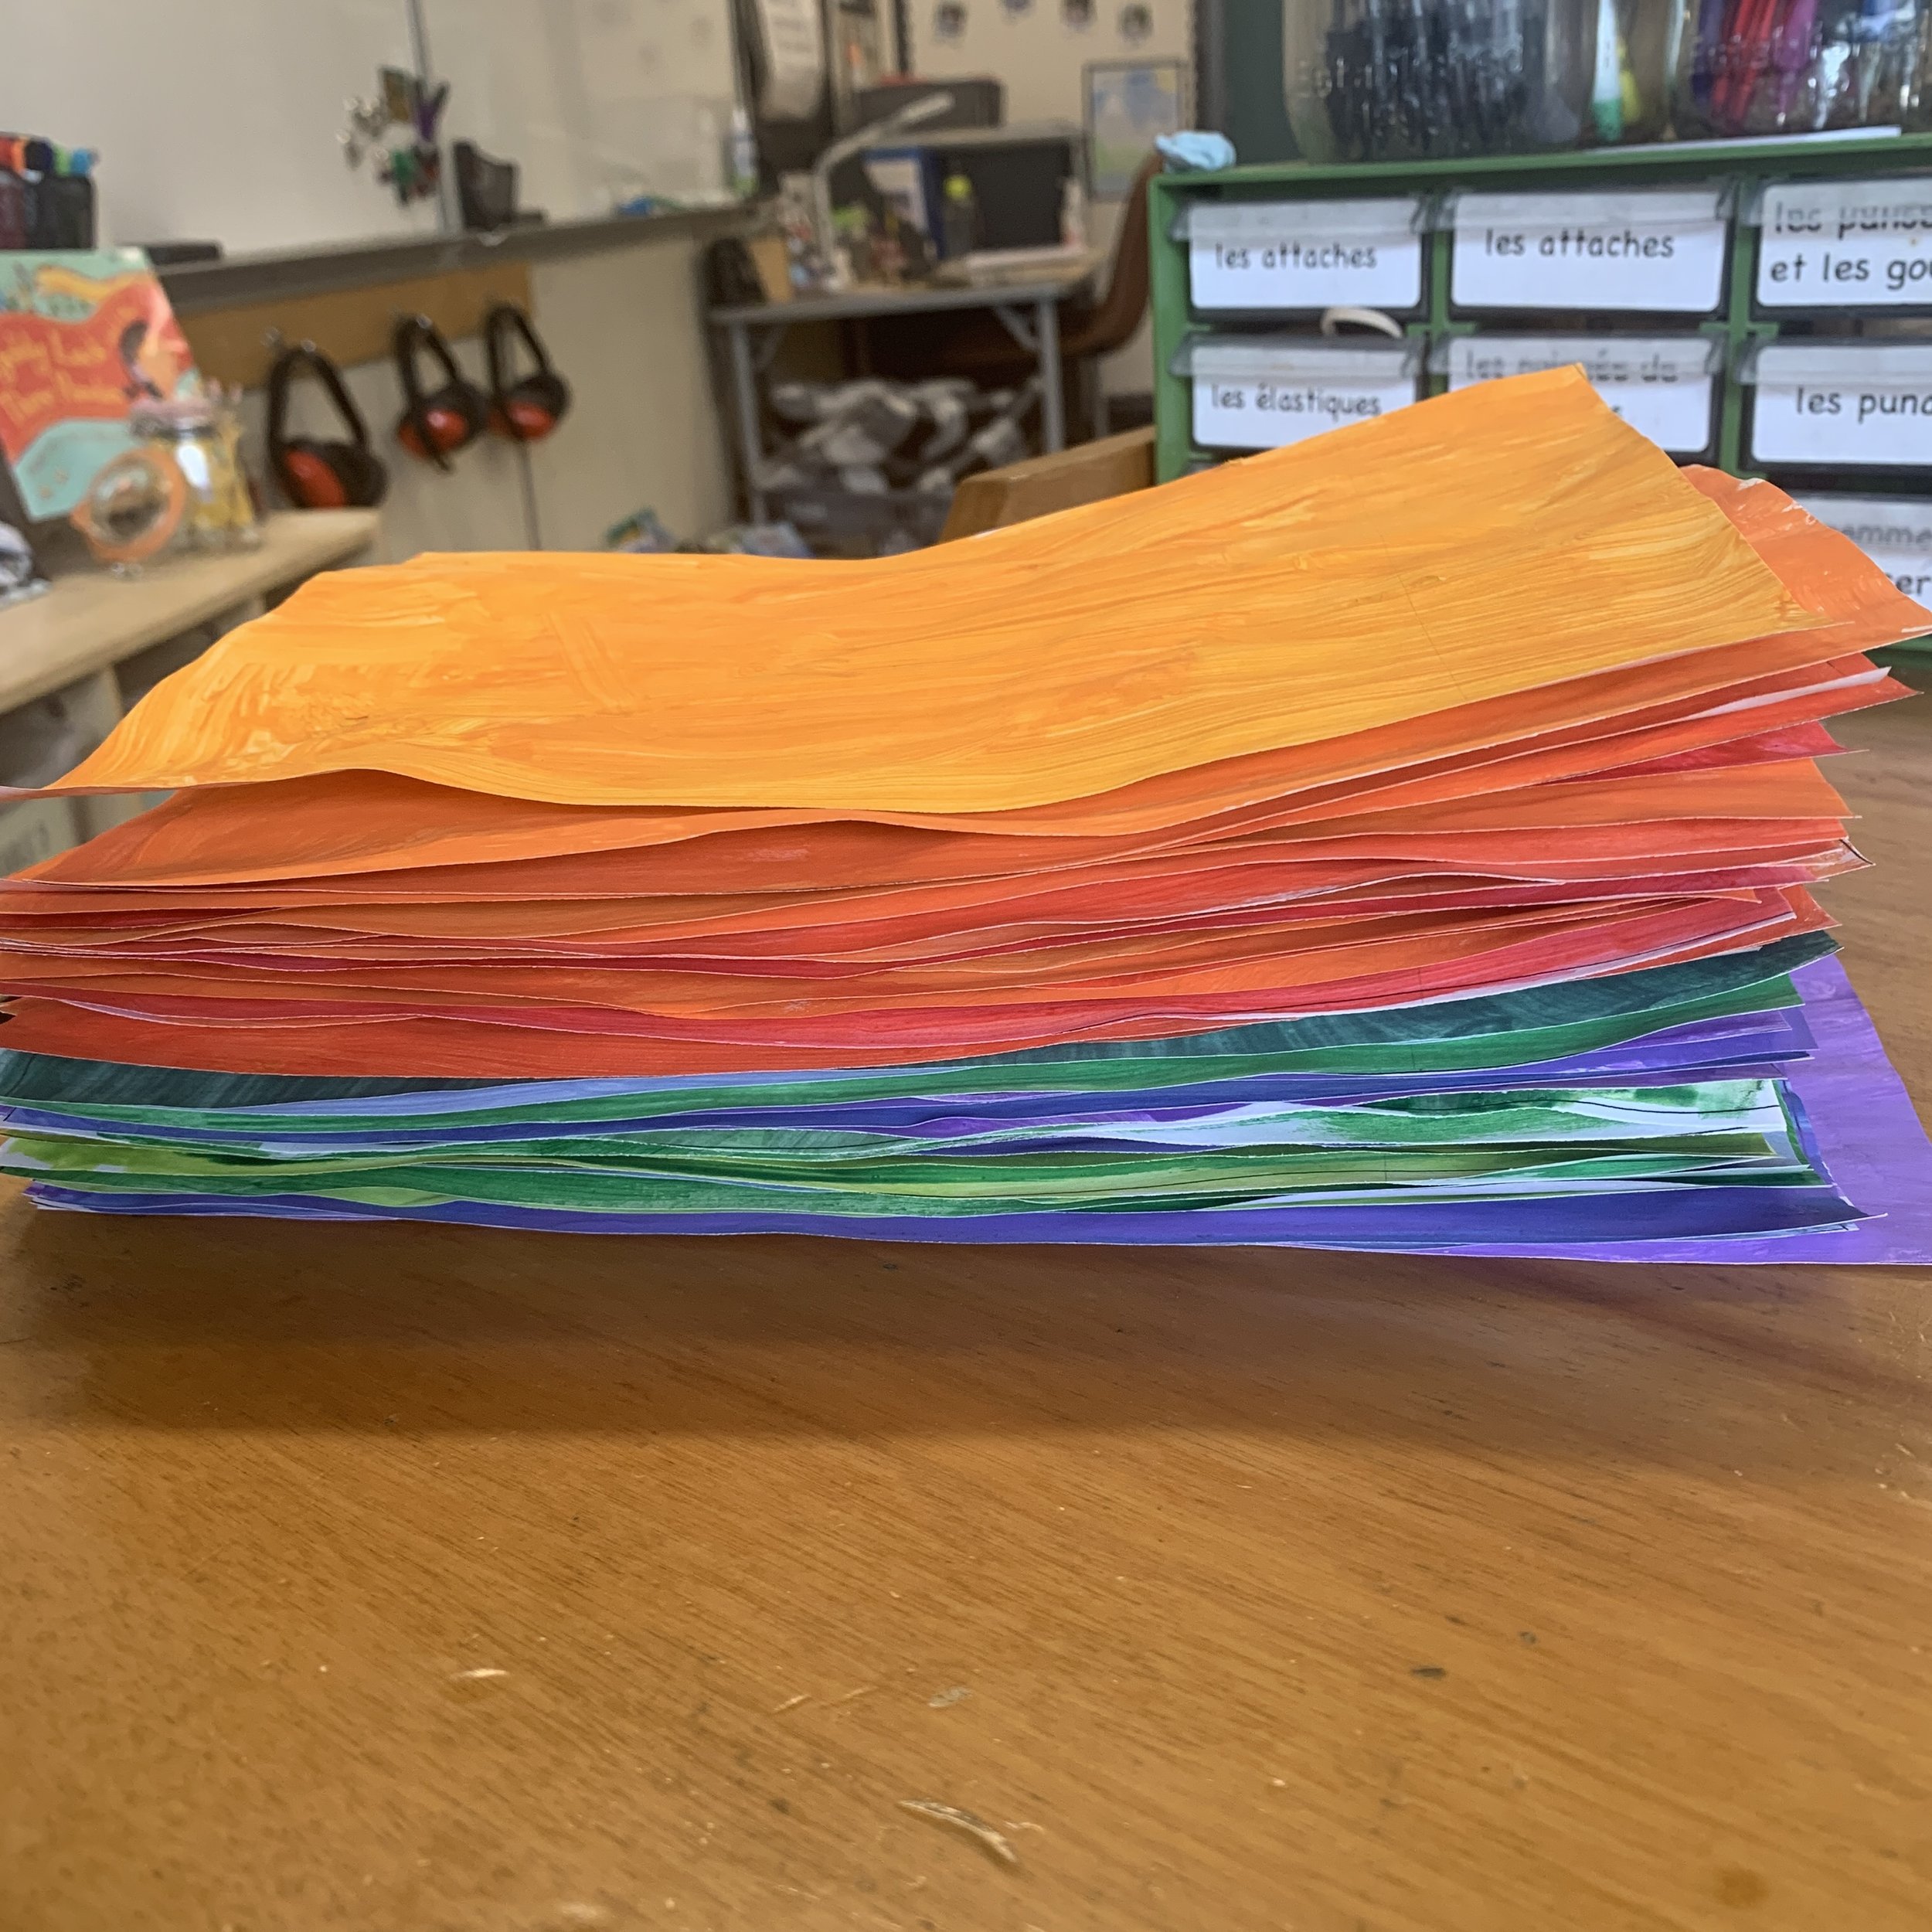
In an effort not to make the tables a total disaster and to allow an edge to hold onto, I printed a large rectangle onto white paper. This gave them a guide so that they only painted to the line, not to the edge of the paper. This also helped them to carry their painted sheet to the drying rack.
To ensure that you have enough variety in the colours, I wrote on each piece which colours I wanted them to mix (blue + purple, yellow + orange). Obviously you don’t need to do this step but it does ensure that you have even distribution.
In class procedure day 1:

Pour paint onto palettes or plates and divide them among students.
Students will mix the paint on their sheet to cover the entire area. I recommend painting in one direction, rather than swirls or back and forth motions. Use a large paintbrush for this, there’s a lot of area to cover.
Once the entire area is covered, leave it to dry.
Before leaving for the day, take the papers off the drying rack or counter. They’ll probably be curled, so flatten as best you can, then put them under something heavy to get weighed down overnight.
Teacher prep before day 2:
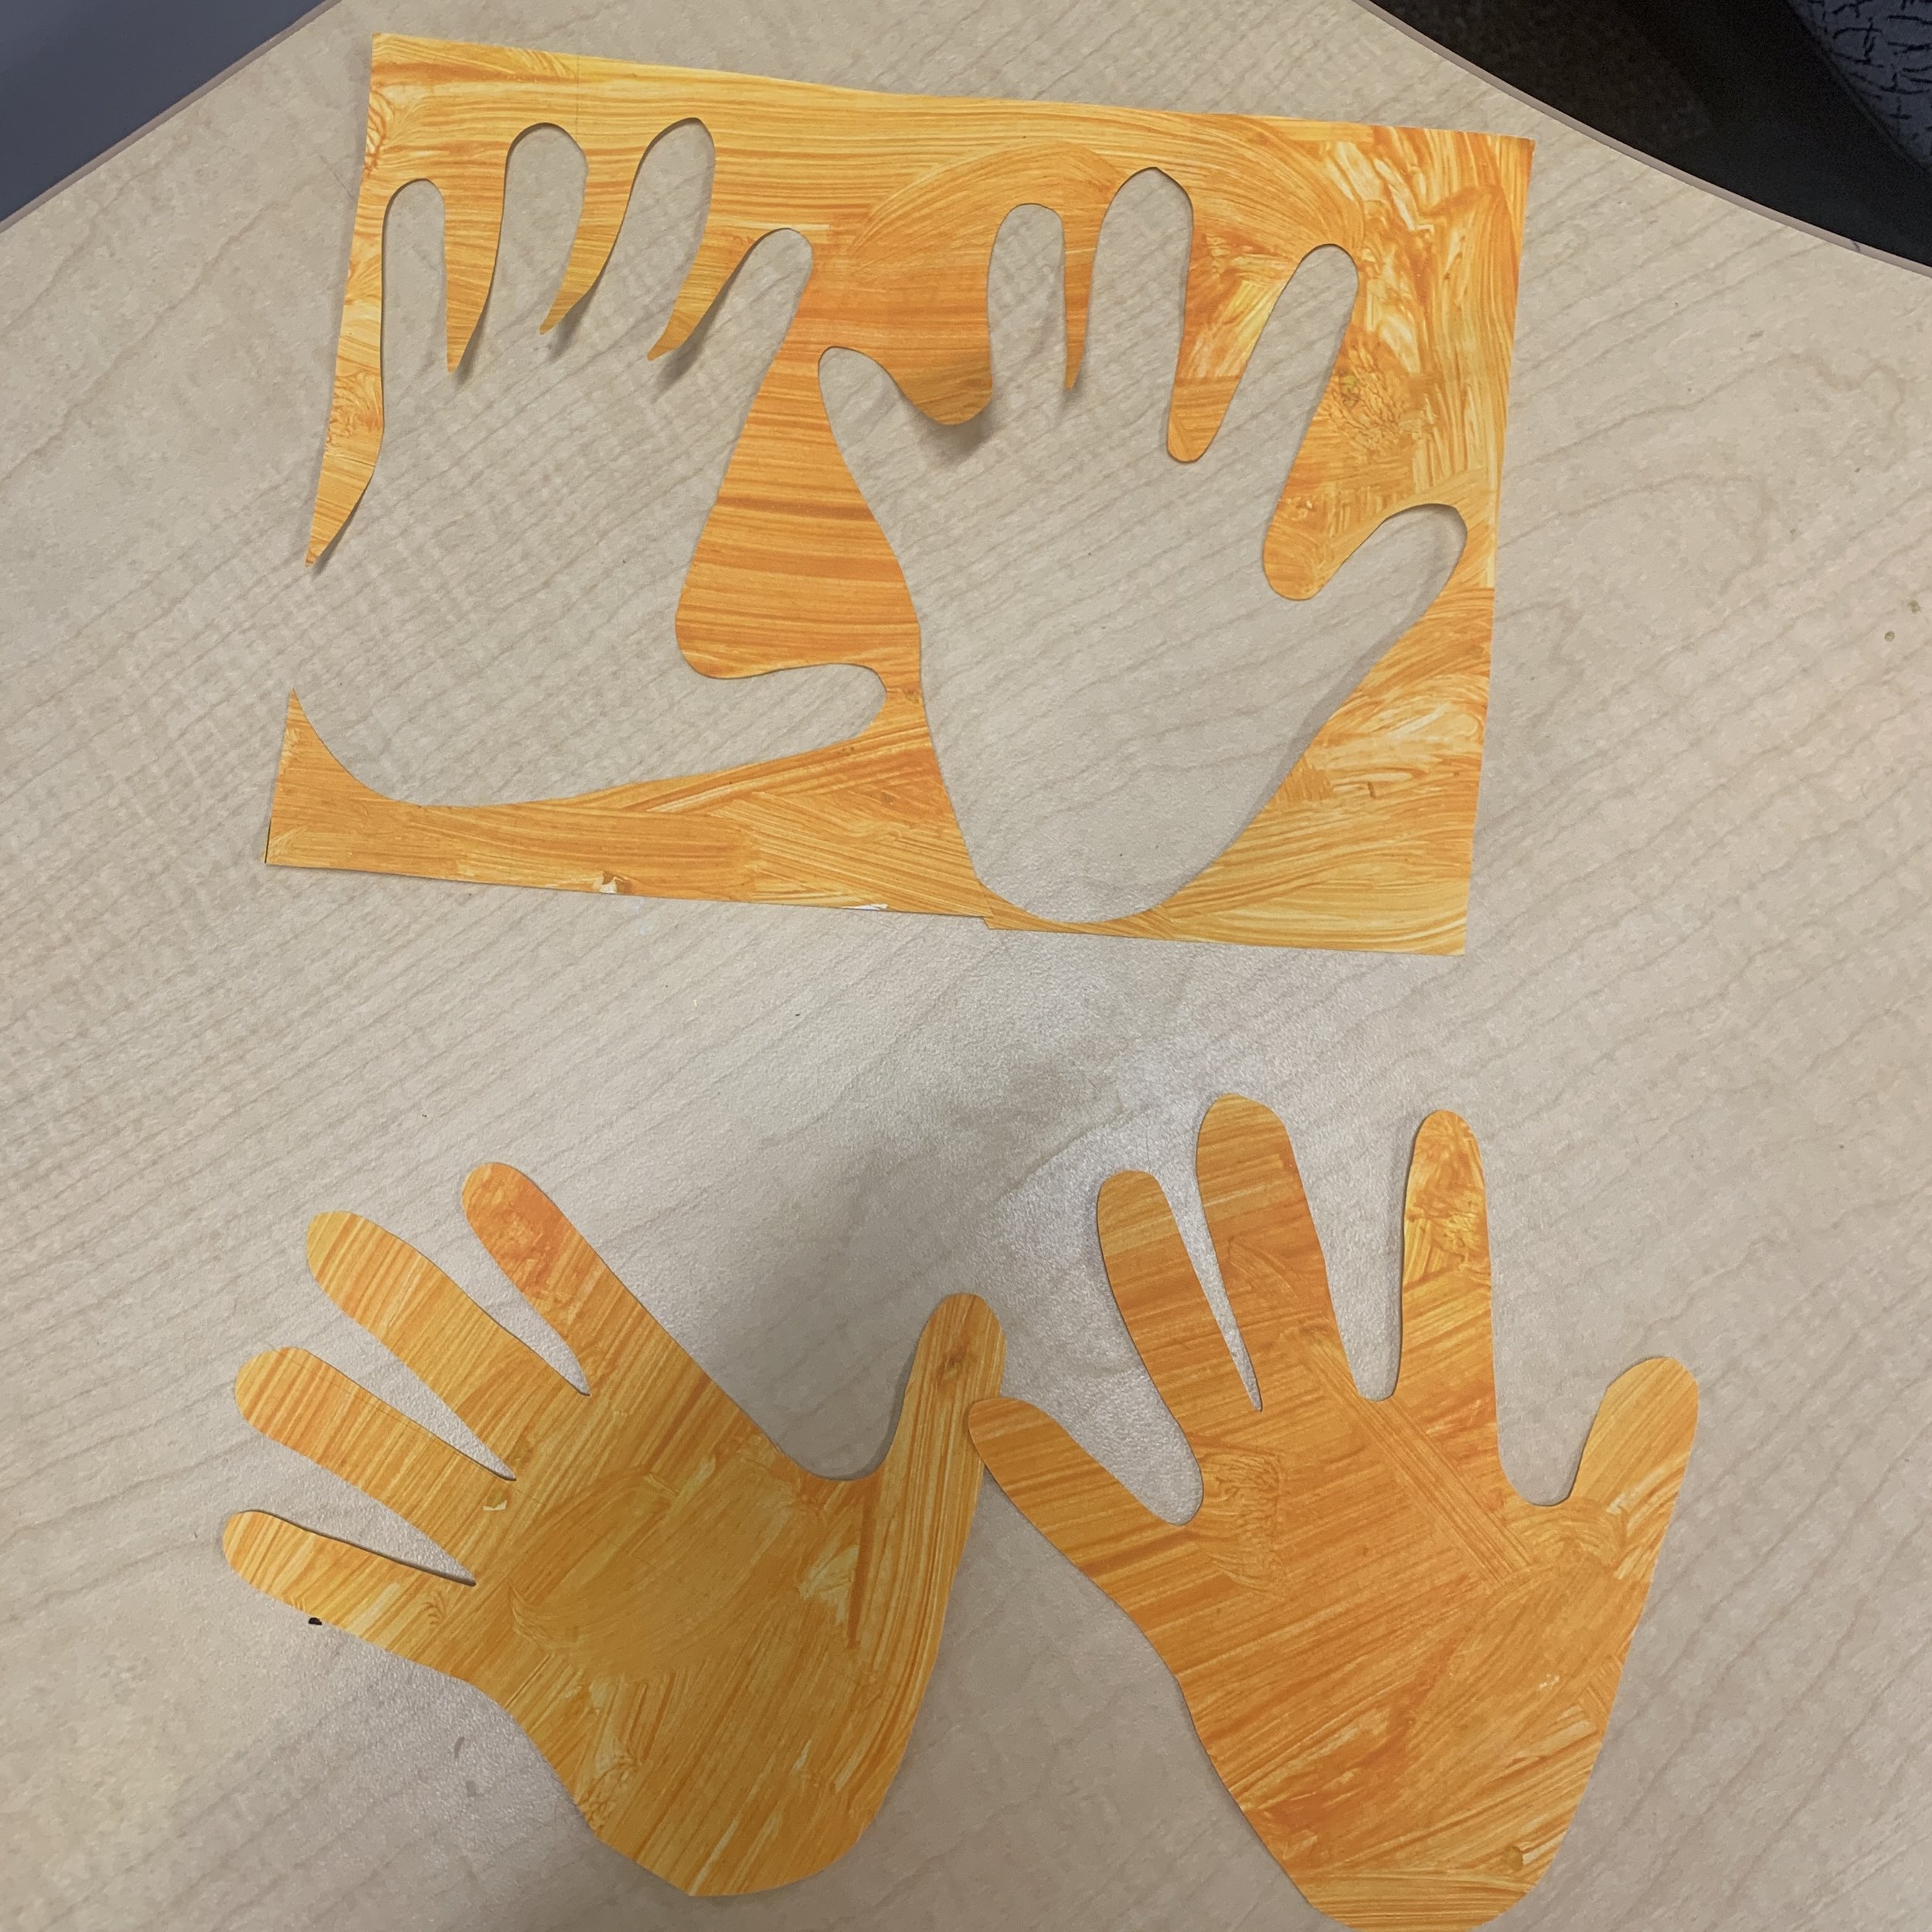
Since we left that bit of white around the edge, I cut this off so that when we go to cut the hands, we don’t accidentally end up cutting parts that are white instead of the painted part. It’s quick to do with a big paper cutter.
In class procedure day two:
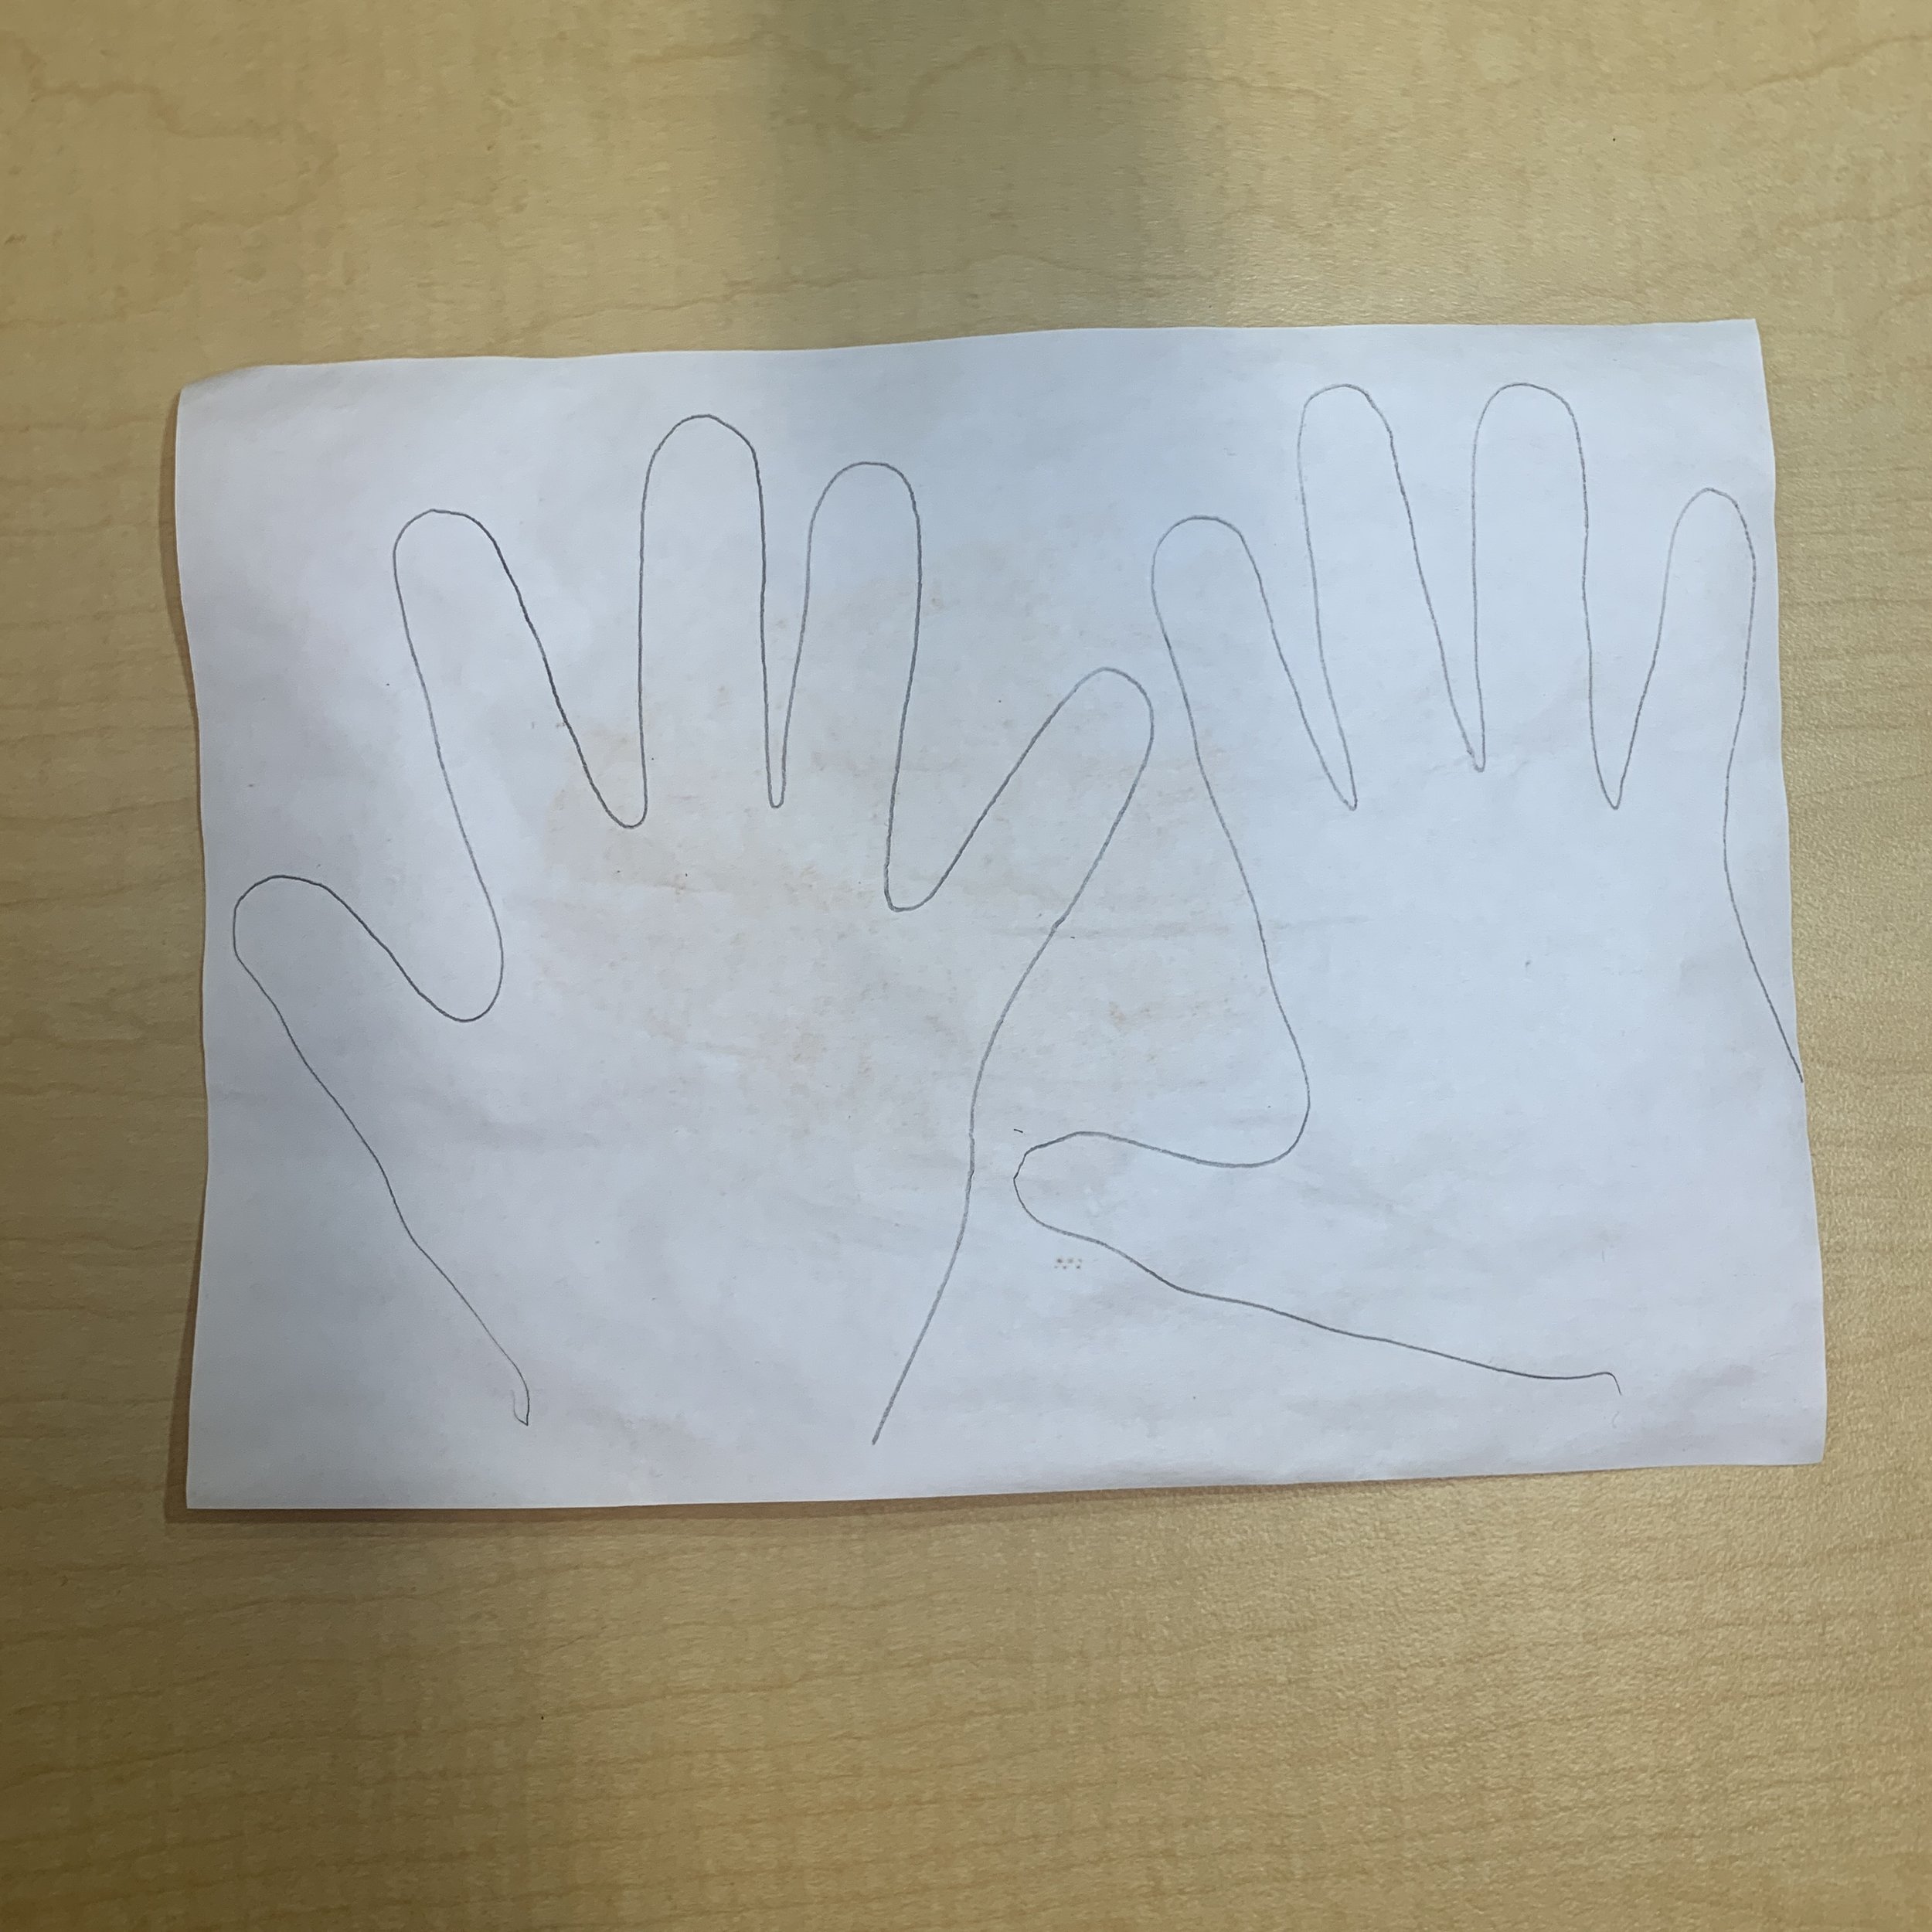
Pass out the painted papers and have students trace their hands on their paper. They may need some help with this from you or a friend. It doesn’t matter which hand they use.
Cut out the hands and sort them into warm and cool (if you are making two dragons)
Dragon/lion assembly:
Once all the hands are cut, you can start assembling them on your board. I just went for it but if you really want to ensure you follow a certain shape, you could use a piece of yarn to create the shape and then add the hands on top.
Start with the tail end and work your way towards the head.
Add the head.
