Eric Carle Spring Garden Art Project

Even if you’re not in the education world, you know who Eric Carle is. A beloved author who made his mark in children’s literature with his timeless stories and unique art. From timeless classics like The Very Hungry Caterpillar and The Tiny Seed, his stories have inspired young readers.
His art features a collage style approach using painted papers so it’s a fun way to collaborate as a class to create beautiful artwork.
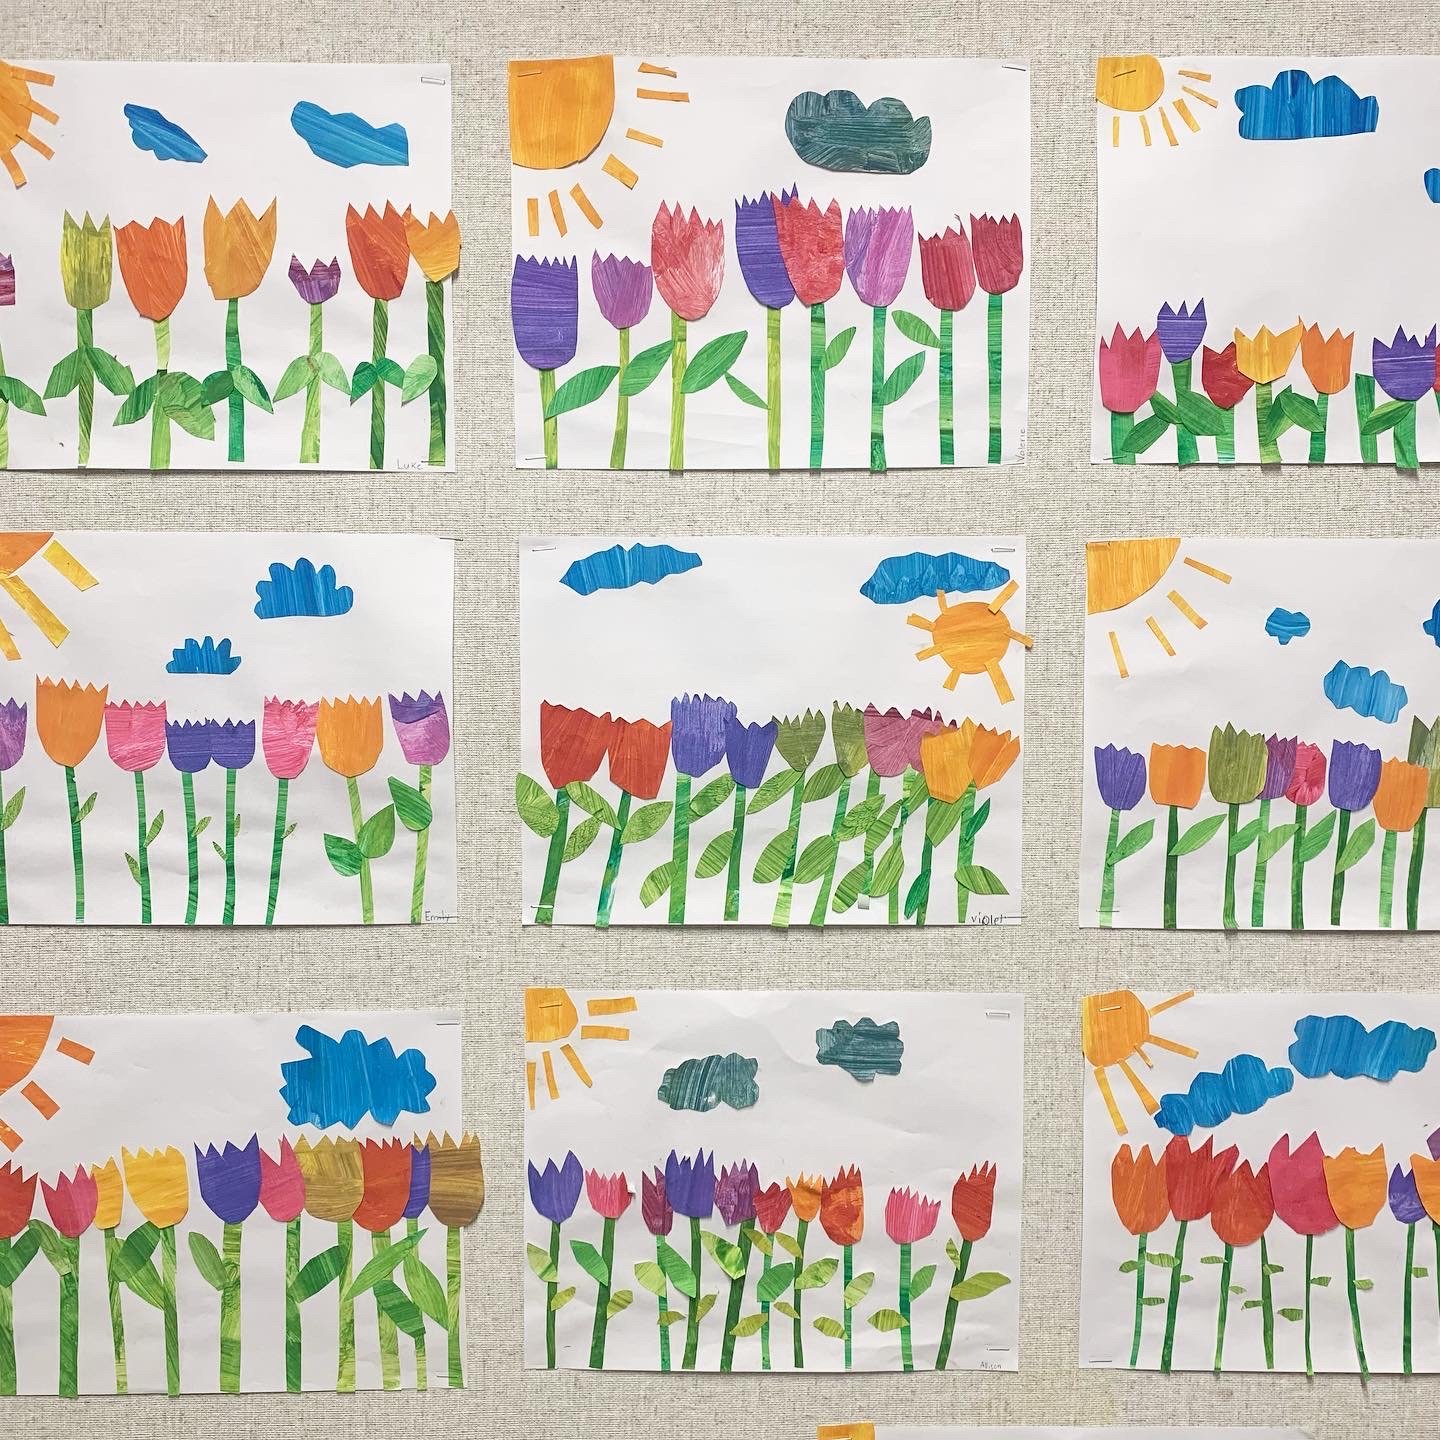
In this project, we will work together to created painted papers that will be cut up and assembled to create a spring garden scene.
Timeline: This project will take at least two art blocks, and you’ll probably want them on different days. On day one you will paint the papers (~40 min). Then on day two, you will cut apart the papers and create the garden scene (60+ min).
Materials (Day 1)
White paper (regular printer paper is just fine)
Large paint brushes
Paint palette or plate
Liquid tempera paint in a variety of colours (red, orange, yellow, green, blue, purple)
Materials (Day 2)
Painted papers from day 1 (cut into chunks/strips - teacher to prep this ahead of time)
Scissors
Glue
Pencil
White paper (for background)
Teacher prep for day 1
In an effort not to make the tables a total disaster and to allow an edge to hold onto, I printed a large rectangle onto white paper. This gave them a guide so that they only painted to the line, not to the edge of the paper. This also helped them to carry their painted sheet to the drying rack.
On each sheet I wrote the colours I wanted them to paint, like “red + orange”, “purple + blue”, “green and yellow” etc so that I would ensure we had enough of each colour. Alternatively, you could assign tables or groups to do certain colours. To save you the headache of everyone wanting to paint the same colour, decide how you want to share the colours. Remember, it doesn’t matter what each student paints because we’re making the paper for all of us. Everyone will get all the colours, even if they don’t paint all the colours.
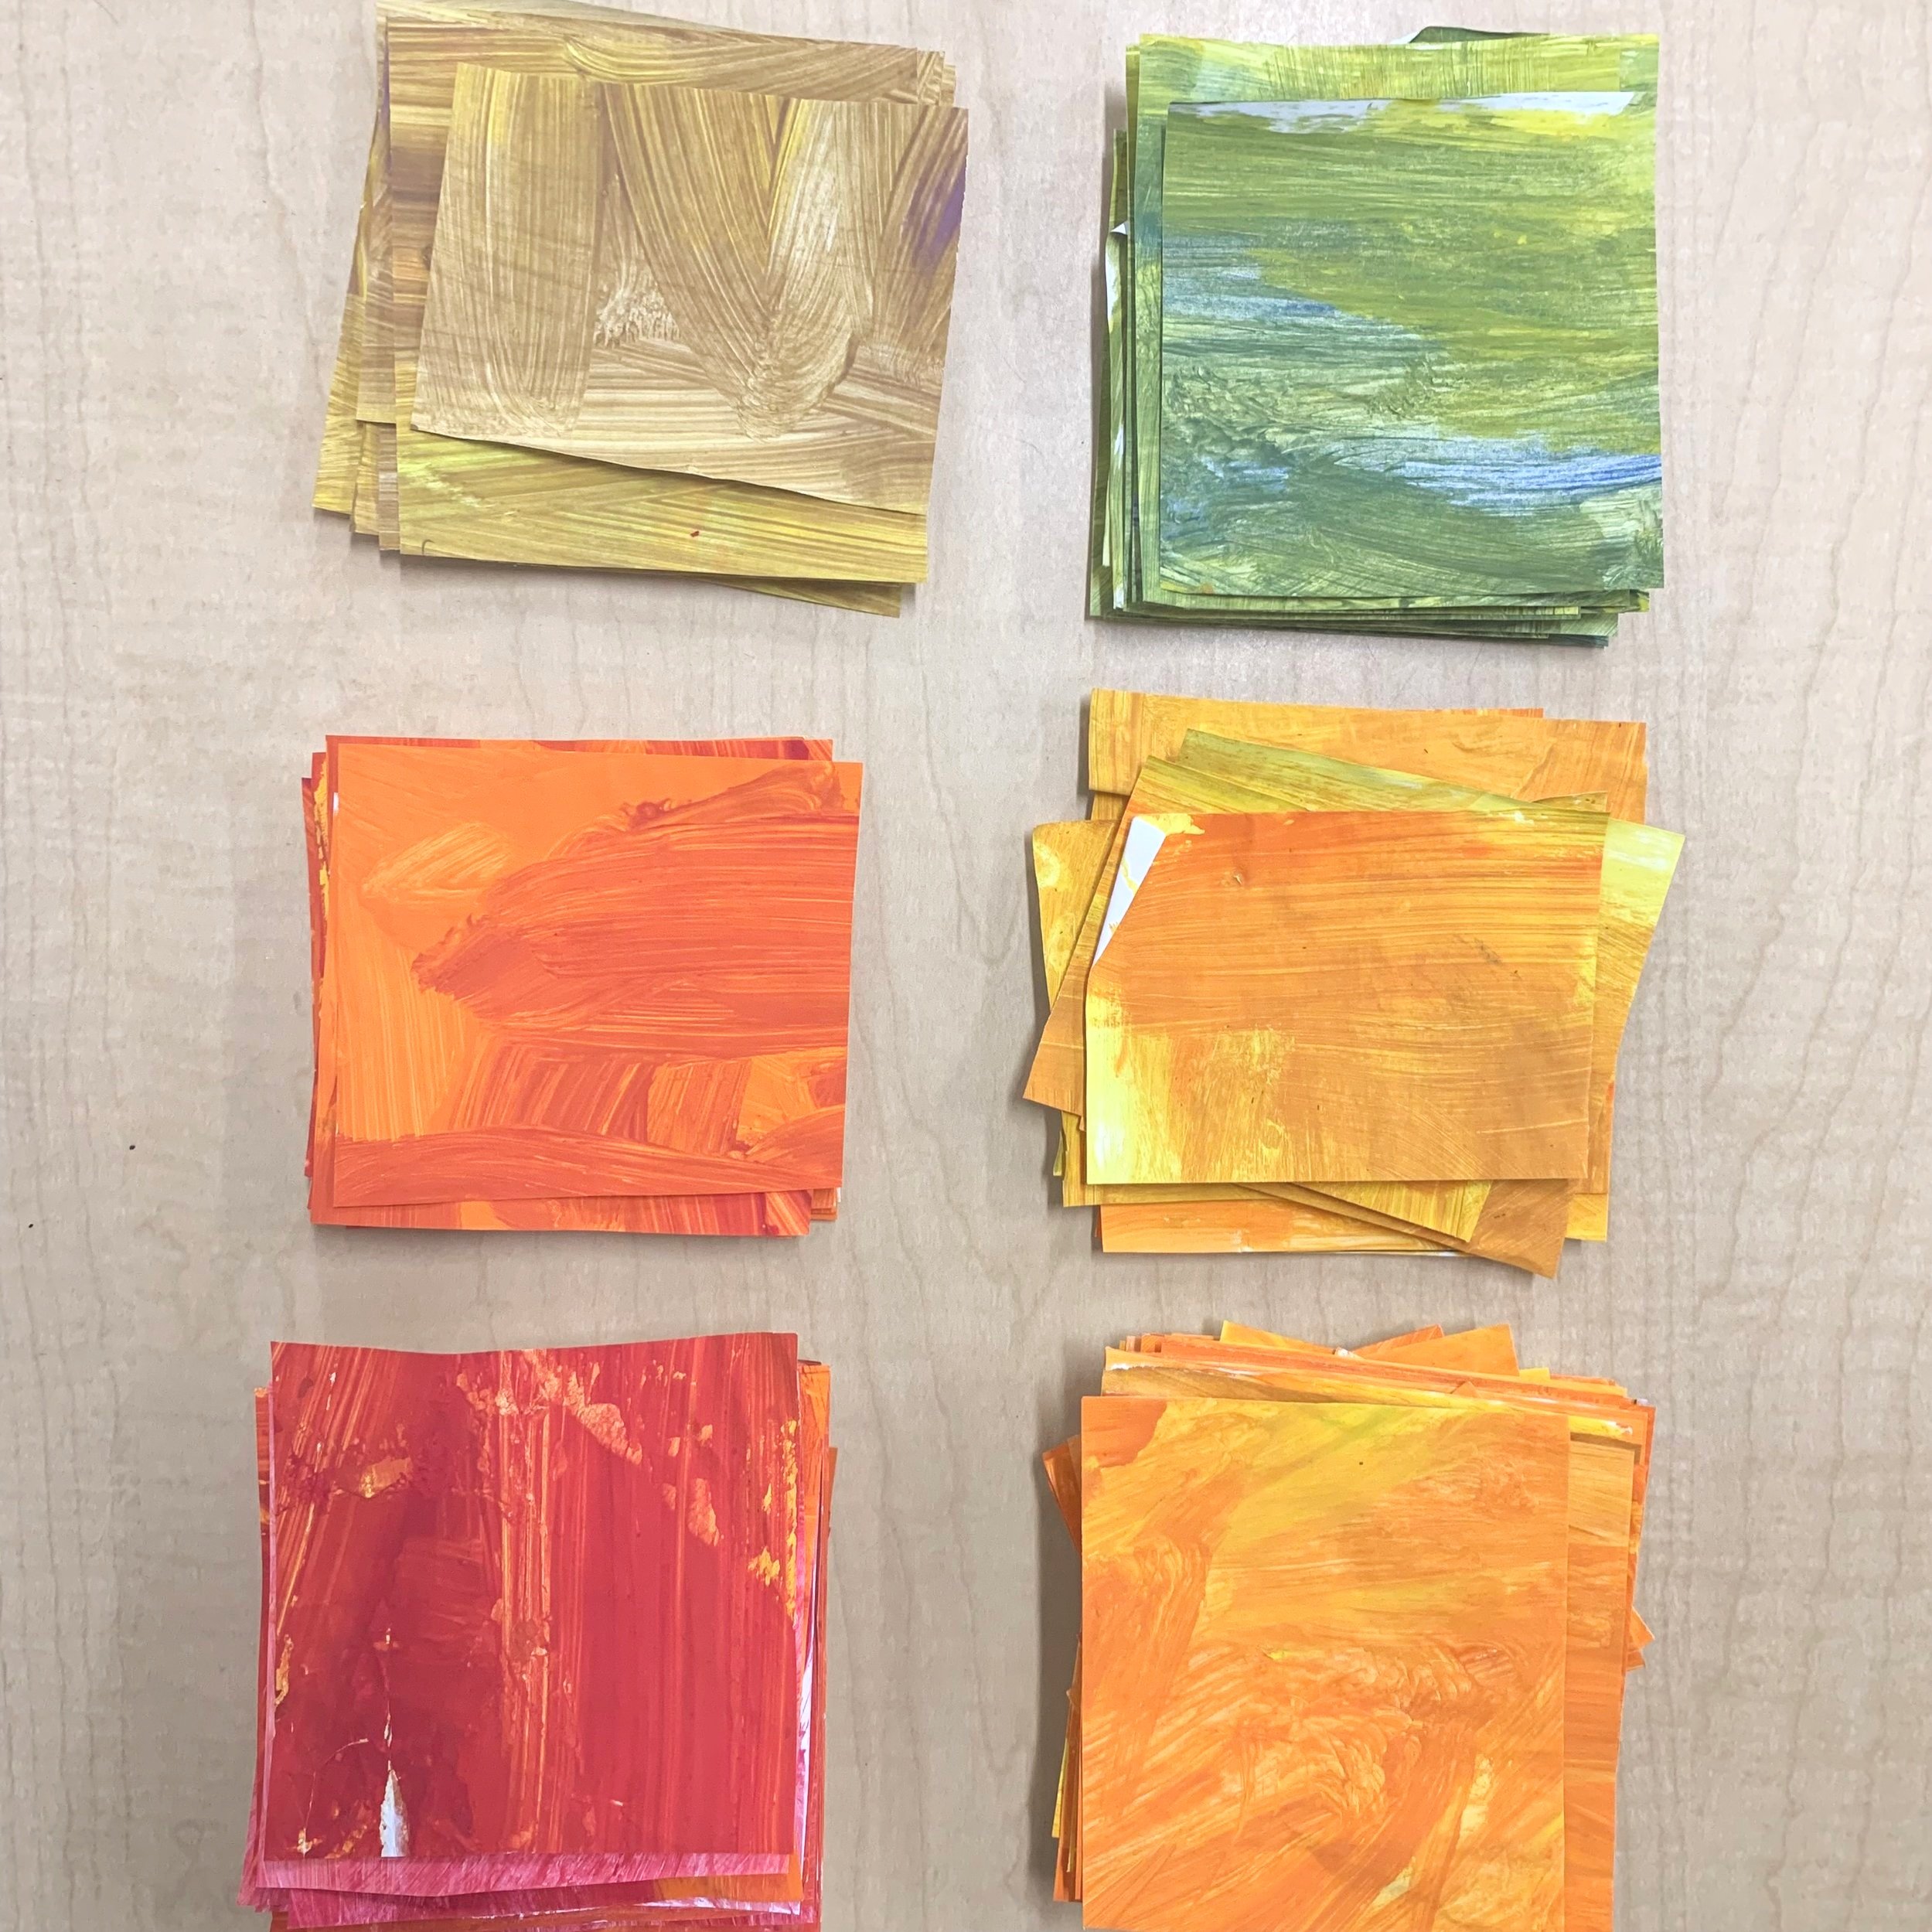
Colours I had them paint:
red + orange
orange + yellow
yellow + green
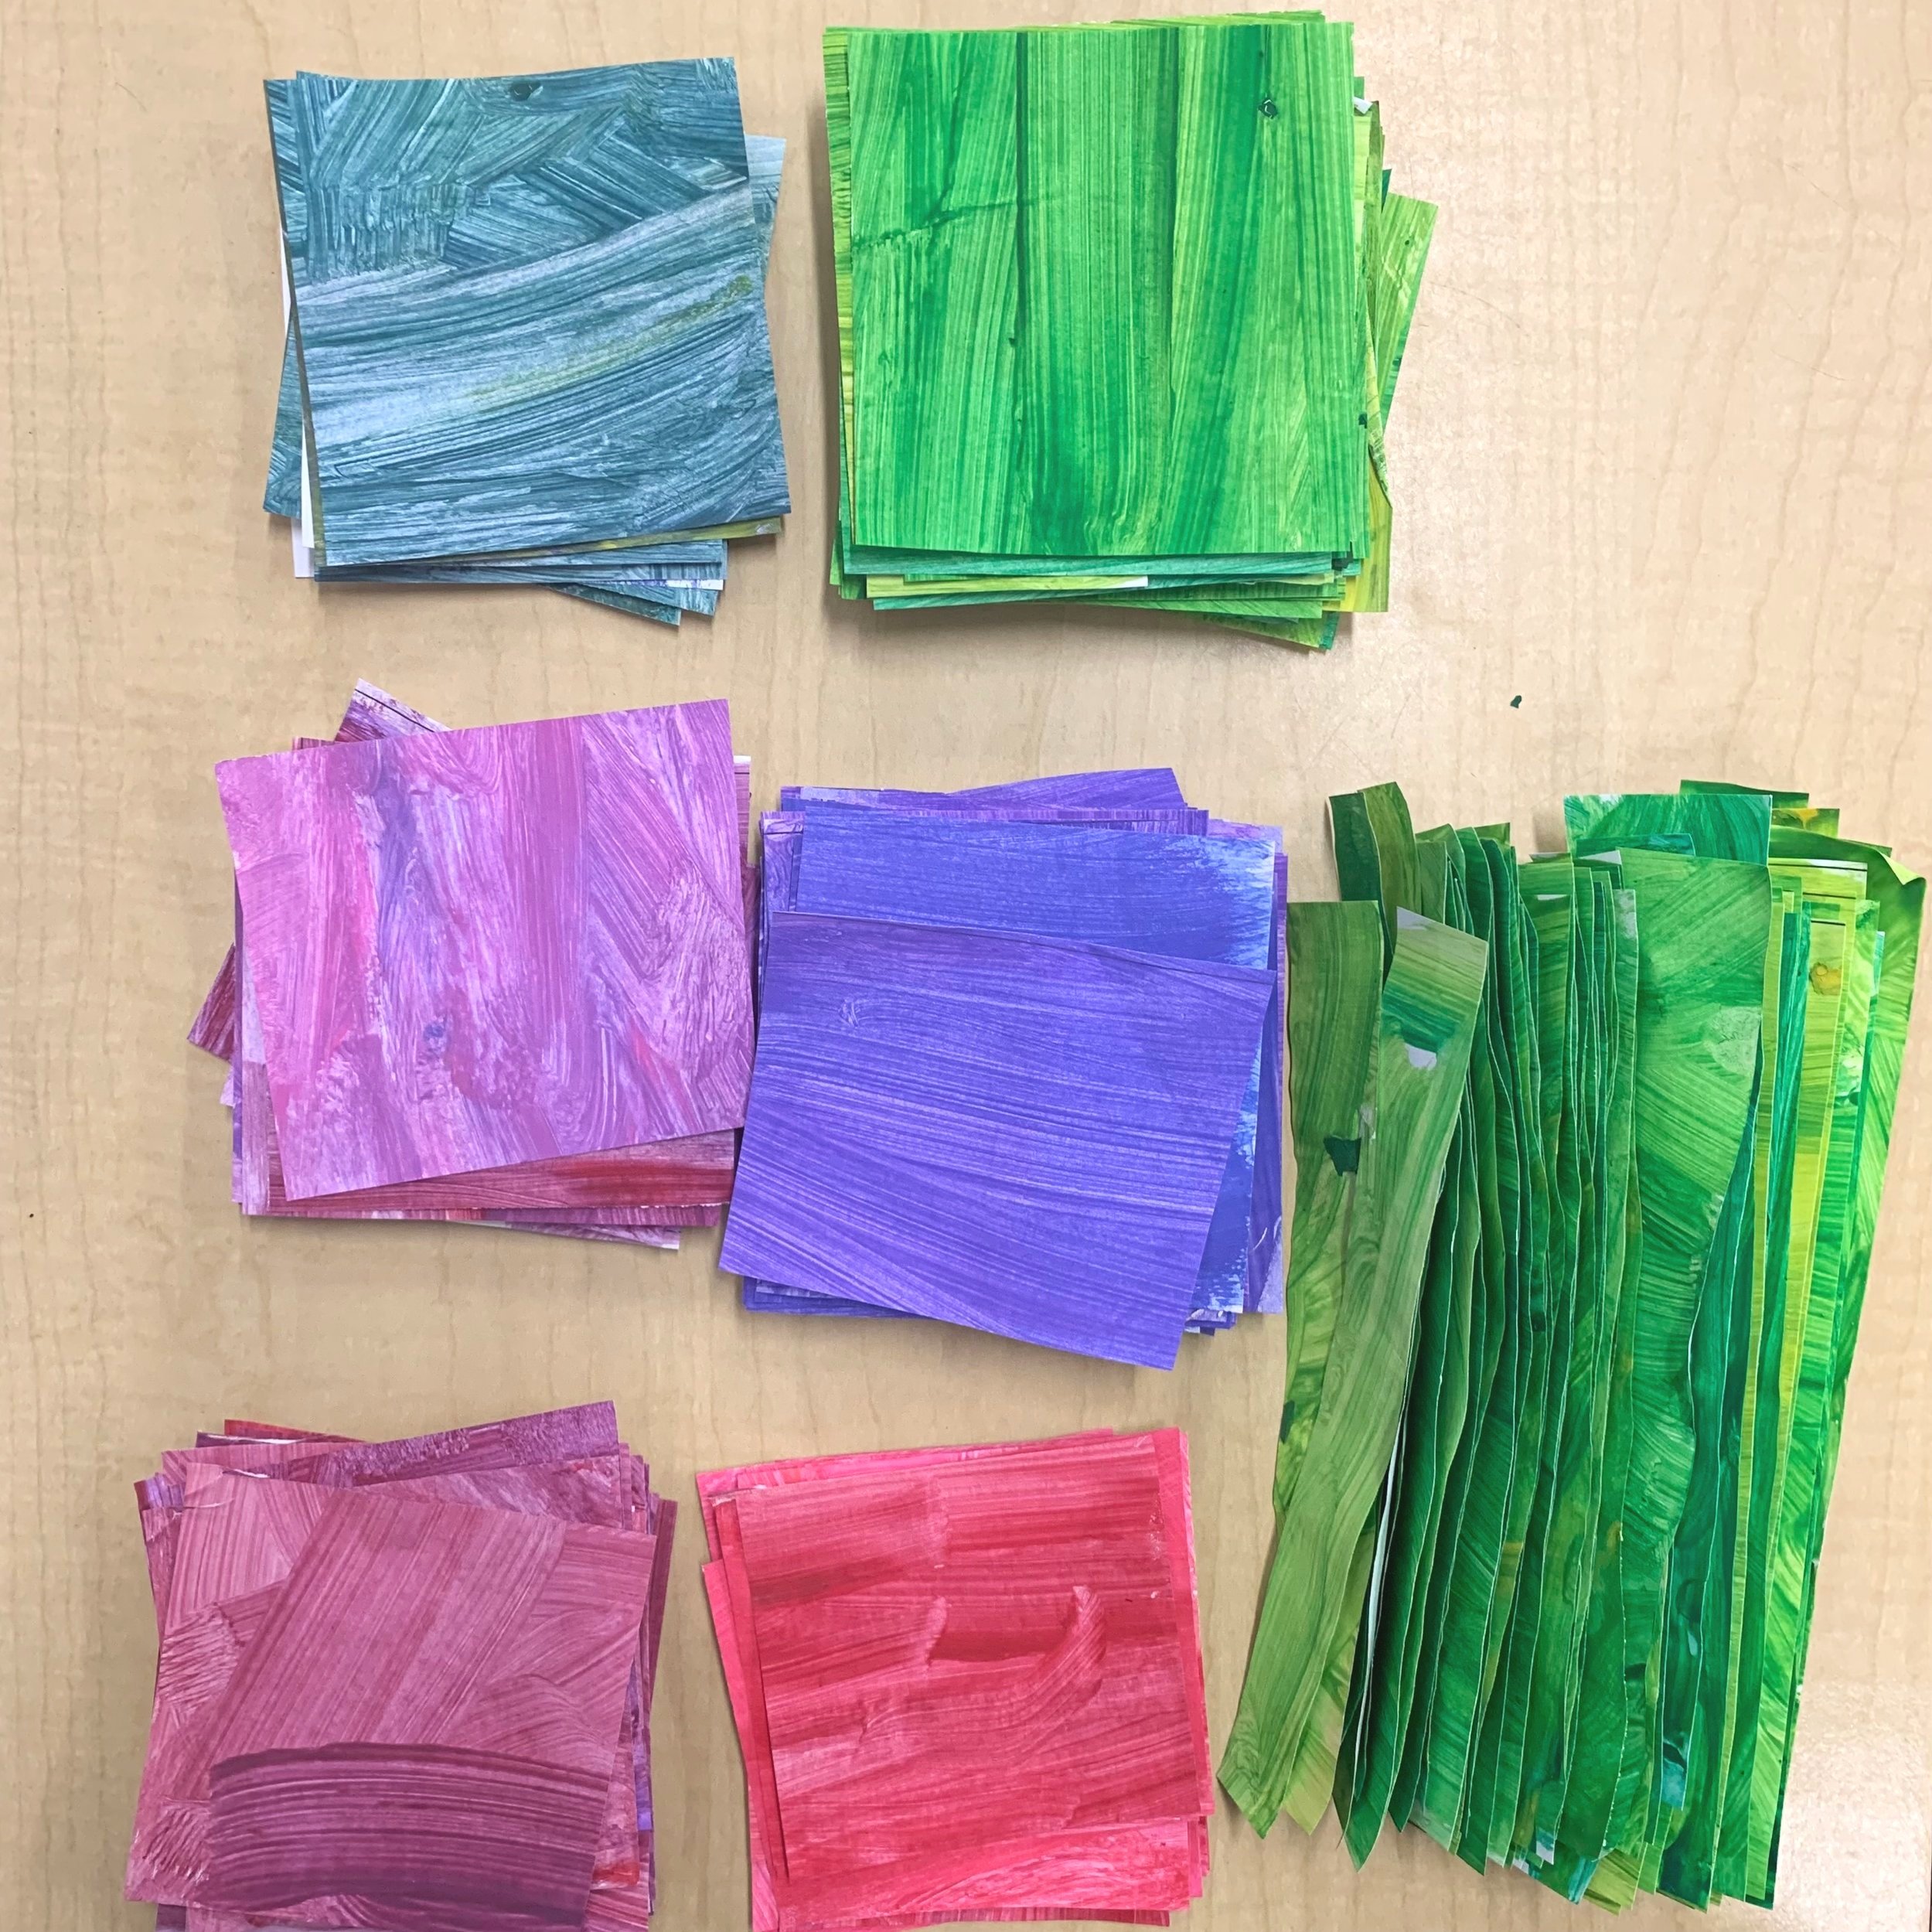
green (we had two colours, a dark and a light)
we need lots of green for all the stems and leaves
blue (a dark and light blue go great or blue and white - will be used for clouds)
blue + purple
red + purple
red + pink
In class procedure day 1
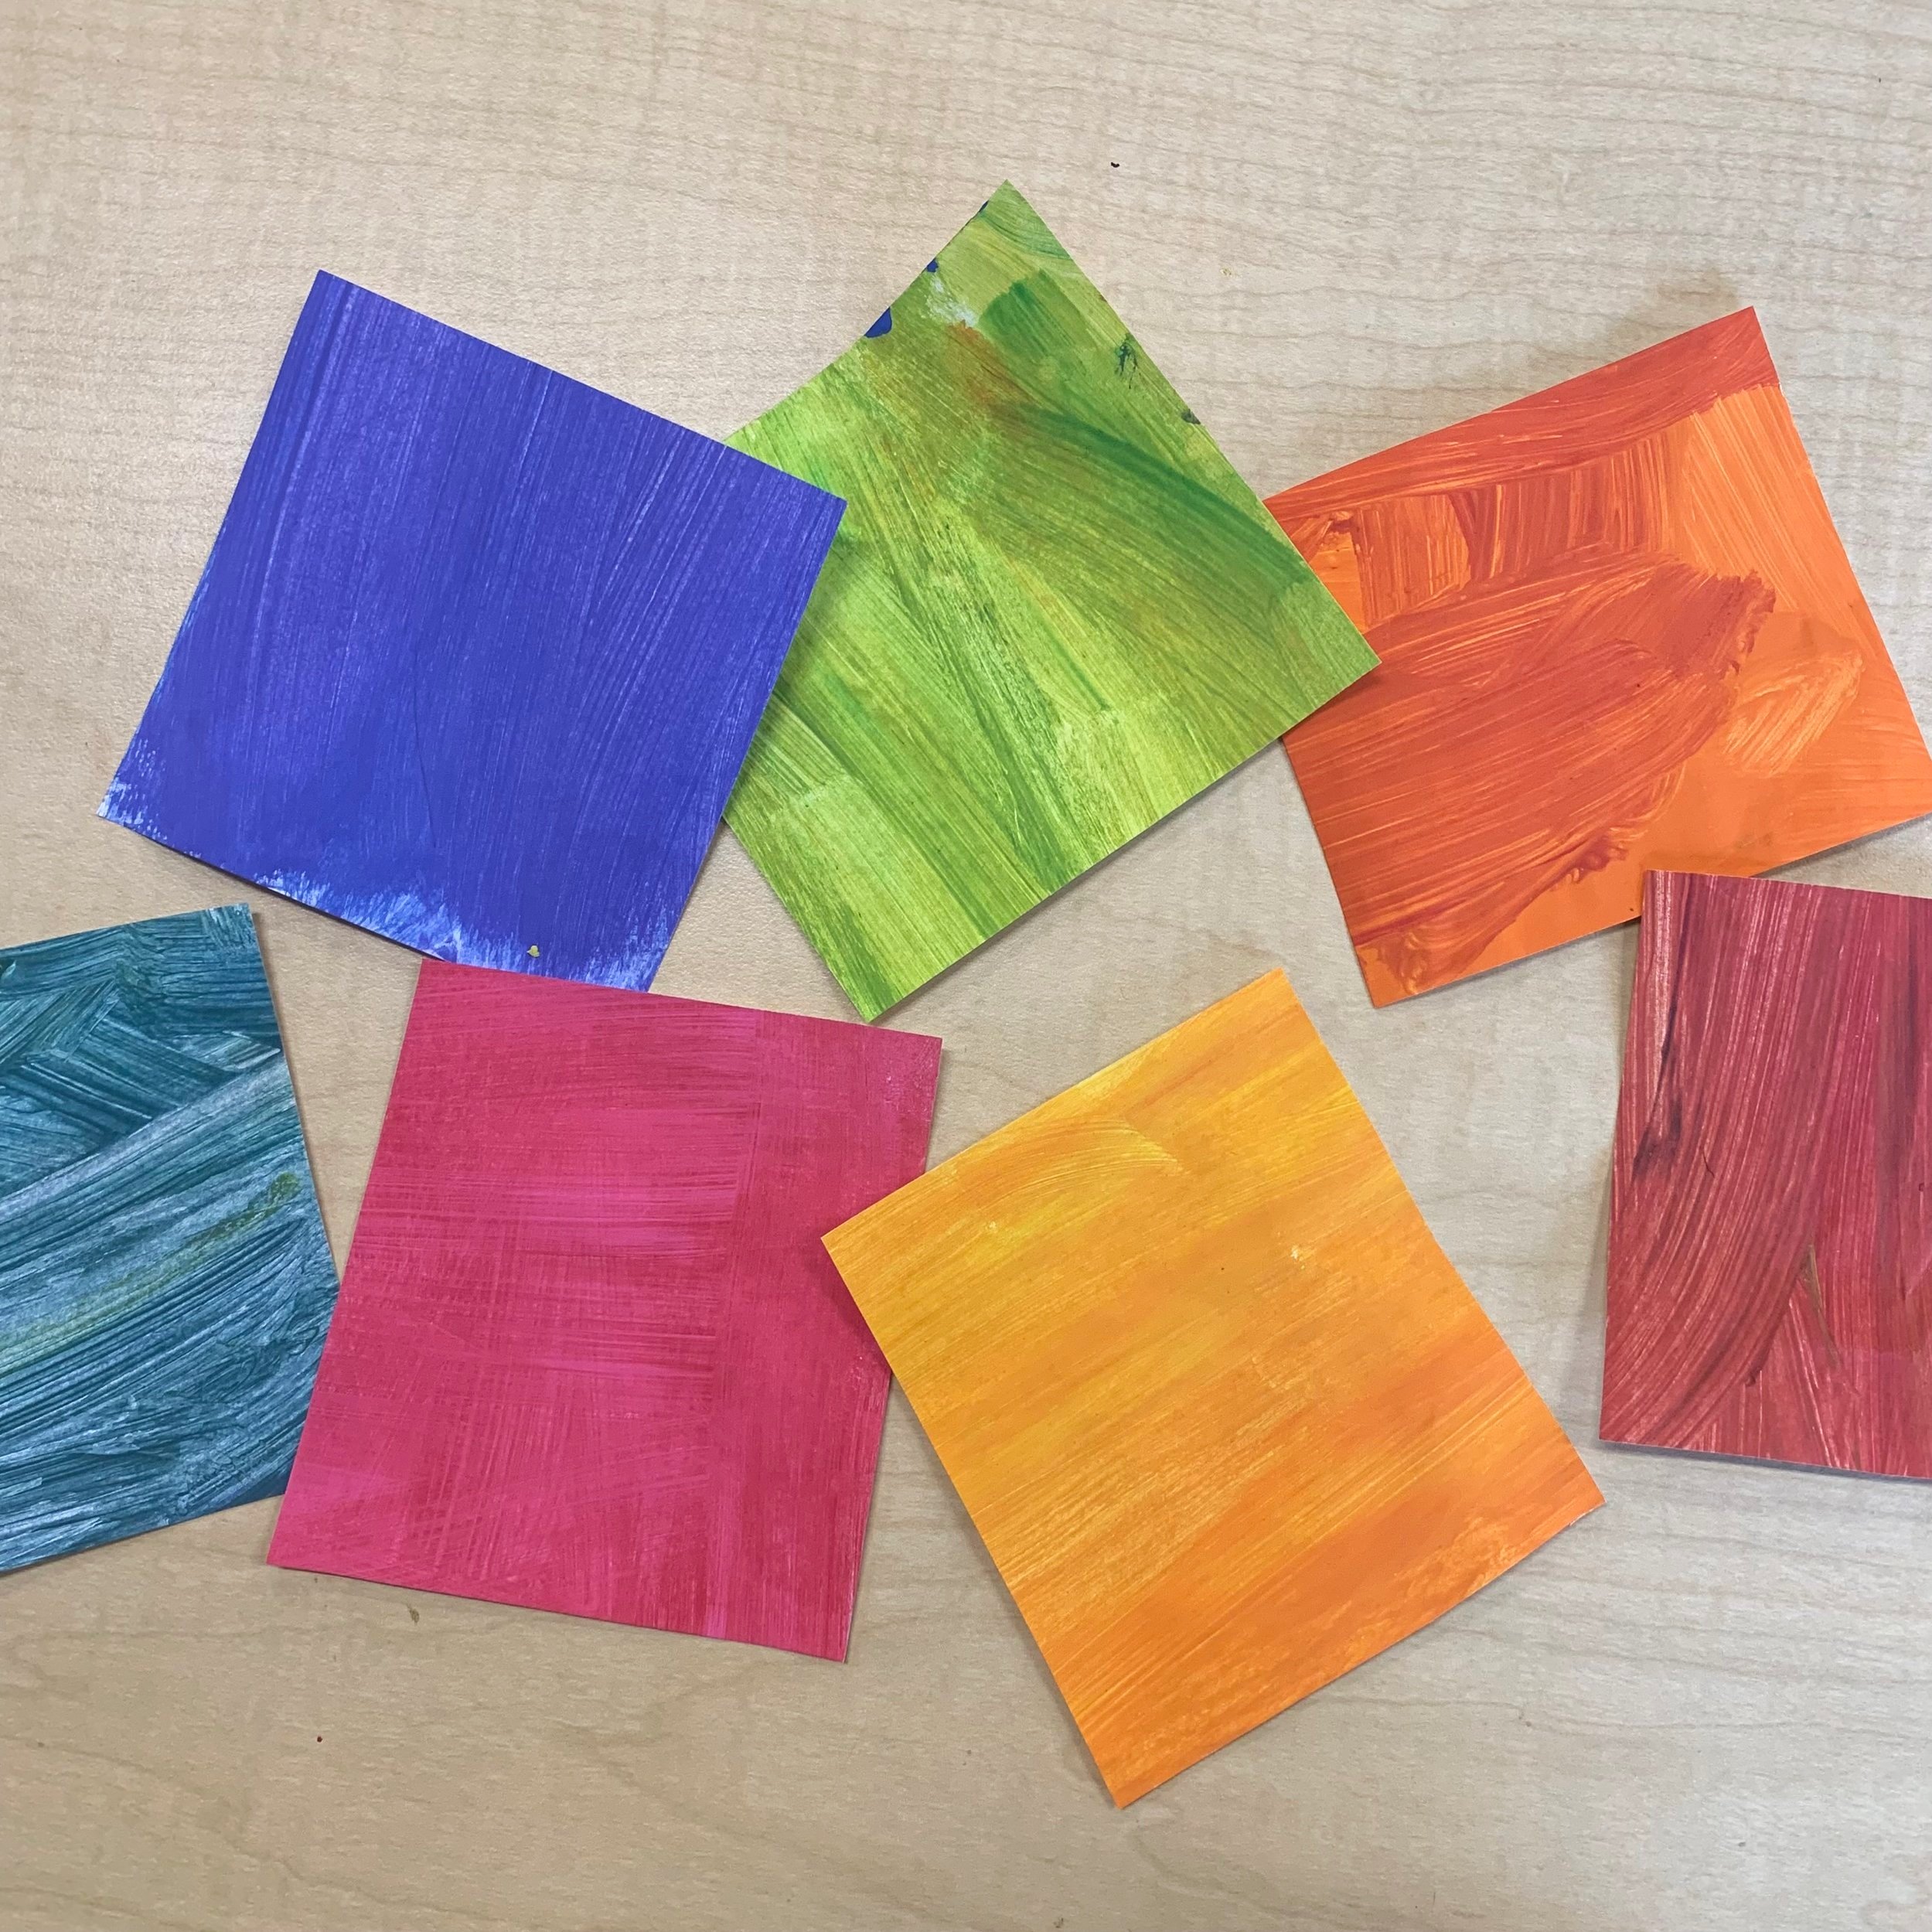
Pour paint onto palettes or plates and divide them among students.
Students will mix the paint on their sheet to cover the entire area. I recommend painting in one direction, rather than swirls or back and forth motions.
Once the entire area is covered, leave it to dry.
Each painted sheet will give 6 square blocks of colour to use for flowers, sun or cloud so think about how many elements each student will need to decide how much of each colour to paint.
**For example: If you have 22 students, you’d need to paint at least 4 pages per colour, or 5 so that you’d get 30 squares just in case of mistakes. (4x6 = 24 squares, or 5x6= 30 squares).
**They will need a little more green than any other colour so paint a handful more green pages
Before leaving for the day, take the papers off the drying rack or counter. They’ll probably be curled, so flatten as best you can, then put them under something heavy to get weighed down overnight.

Teacher prep day 2
Take the weighed down papers and cut off the white excess around the edges. I did this so that no student would accidentally have a half white, half red flower.
Once the edges are trimmed, cut the remaining sheet into 6 sections.
Organize the painted paper sections by colour to make it easier for students to choose the colours they need.
In class procedure day 2
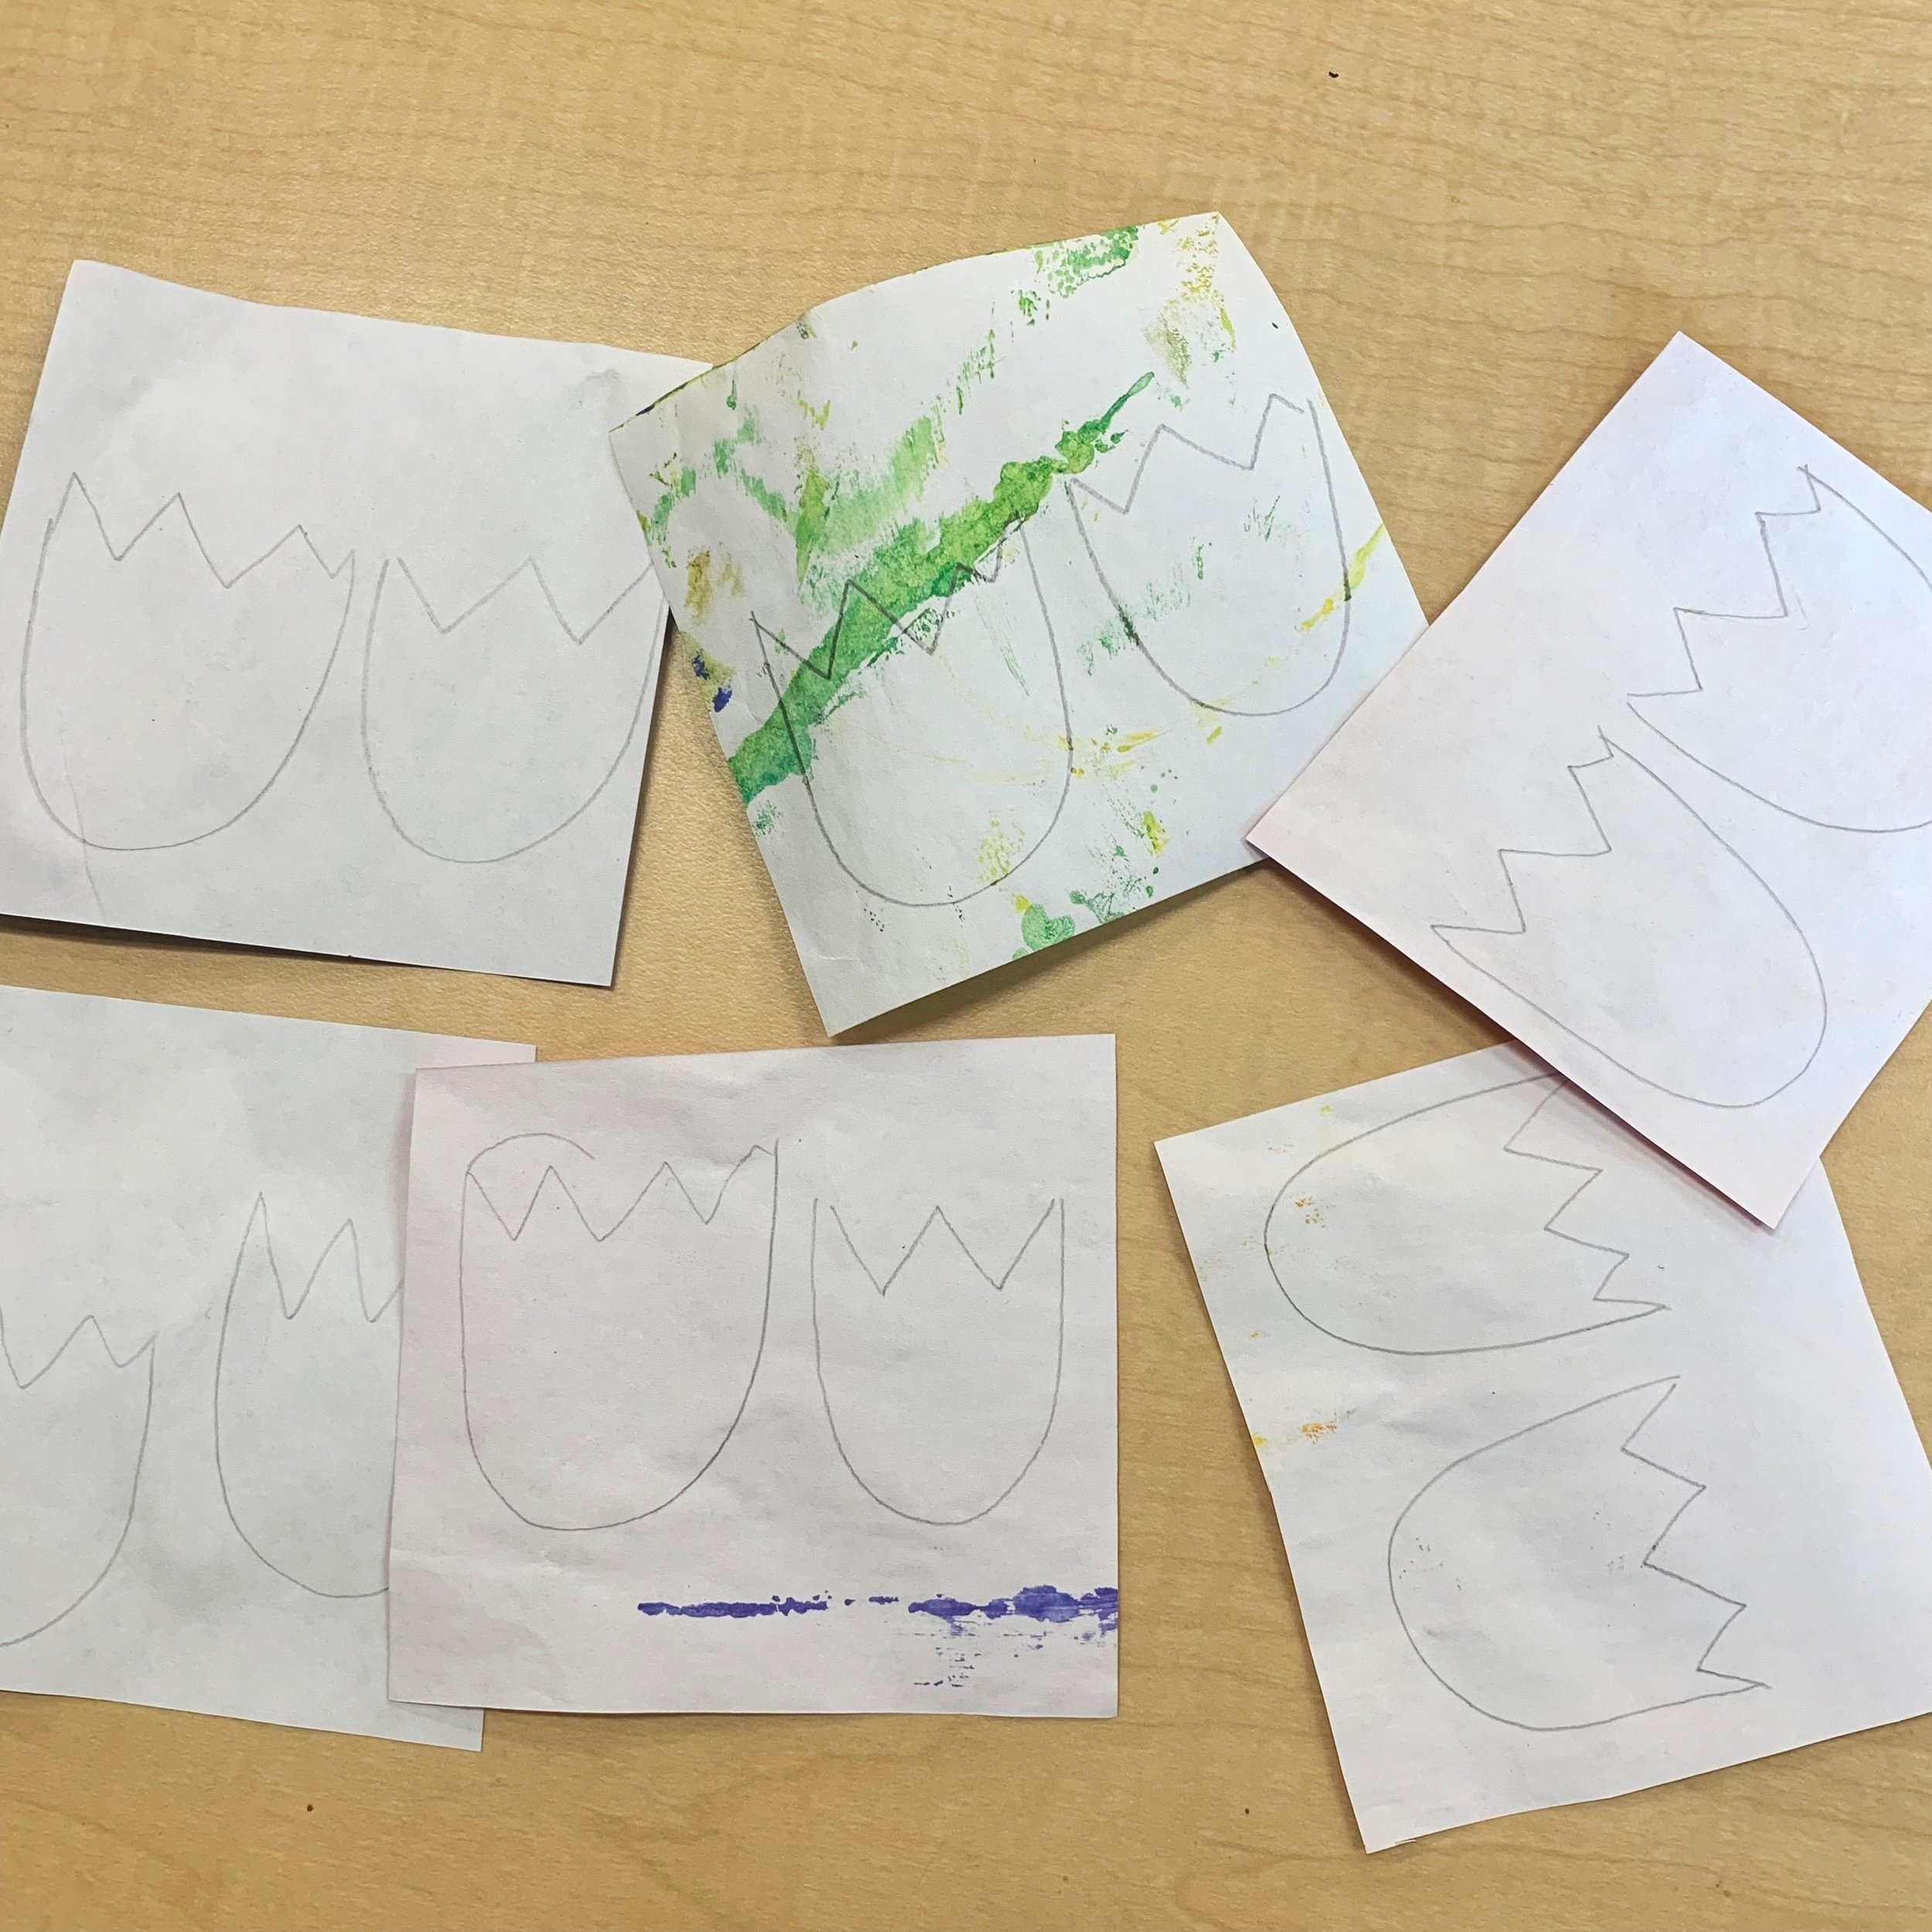
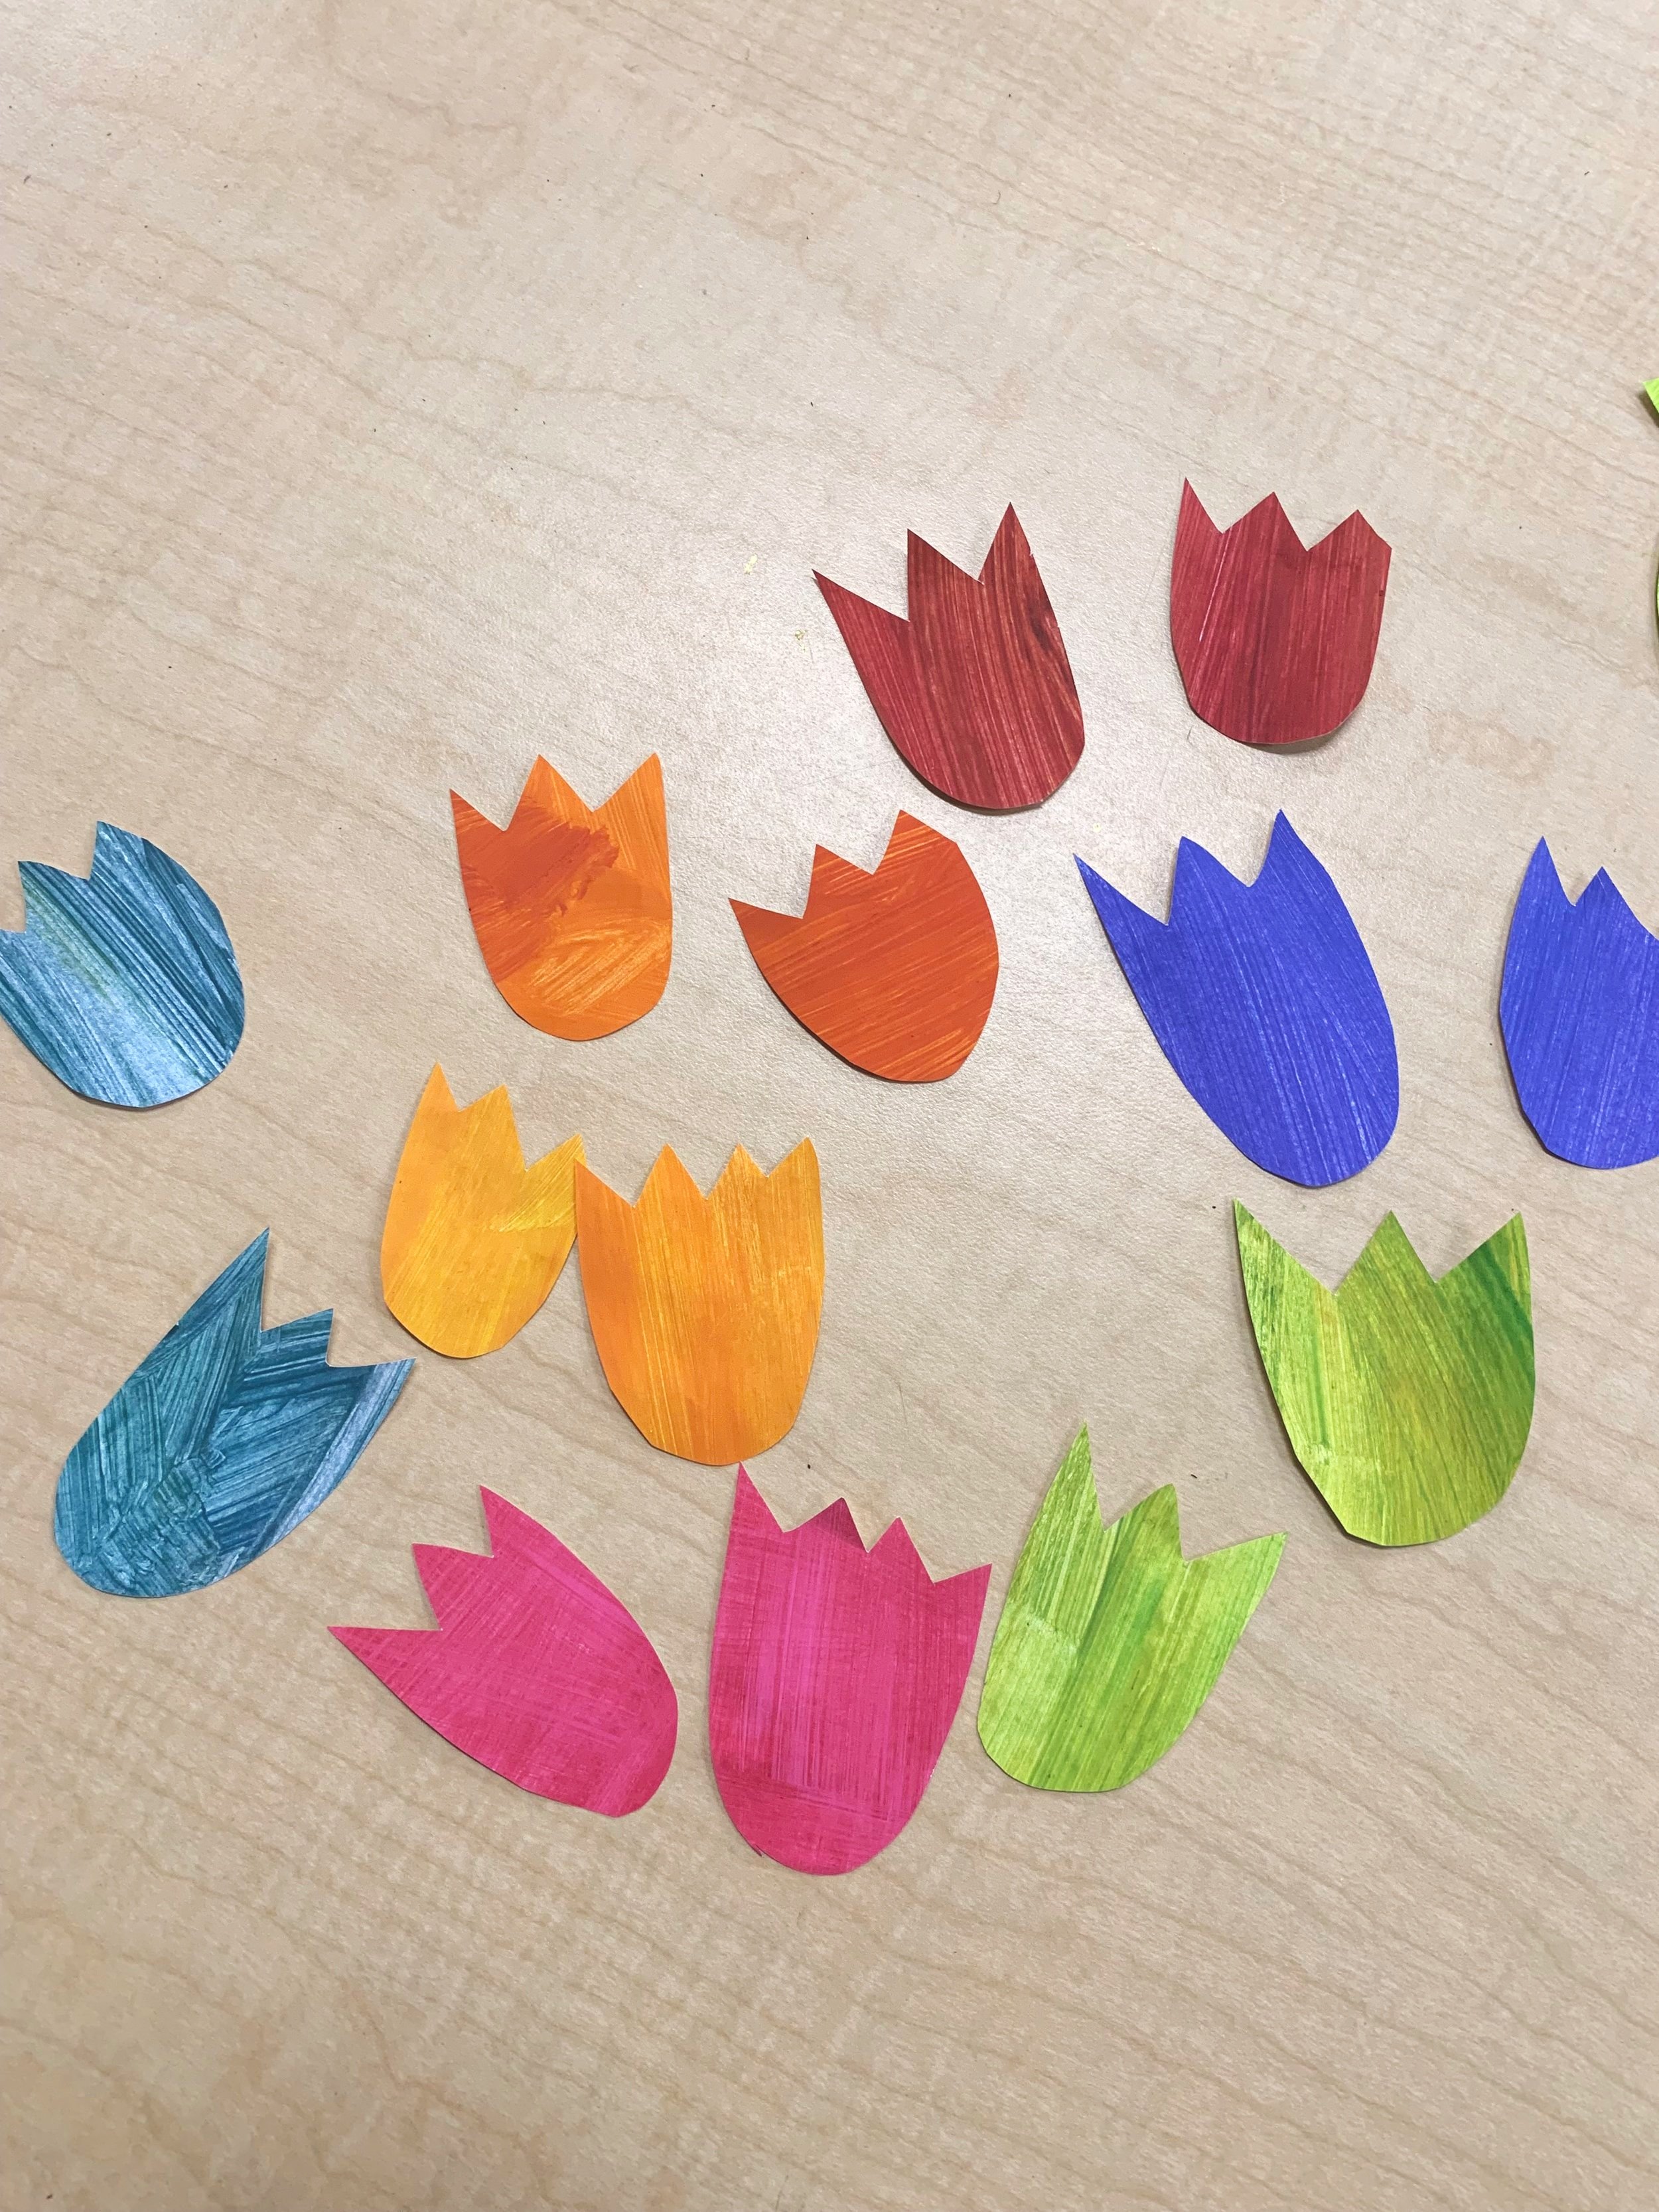
Choose 5-6 colours for the tulips and take one of each painted paper.
On the BACK of each paper chunk, draw two tulip shapes with a pencil. Cut out the tulips and set aside.
On a blue paper chunk, draw 1-2 clouds and cut out, set aside.
On a yellow/orange paper chunk, draw a sun and cut out small strips for the sun rays.
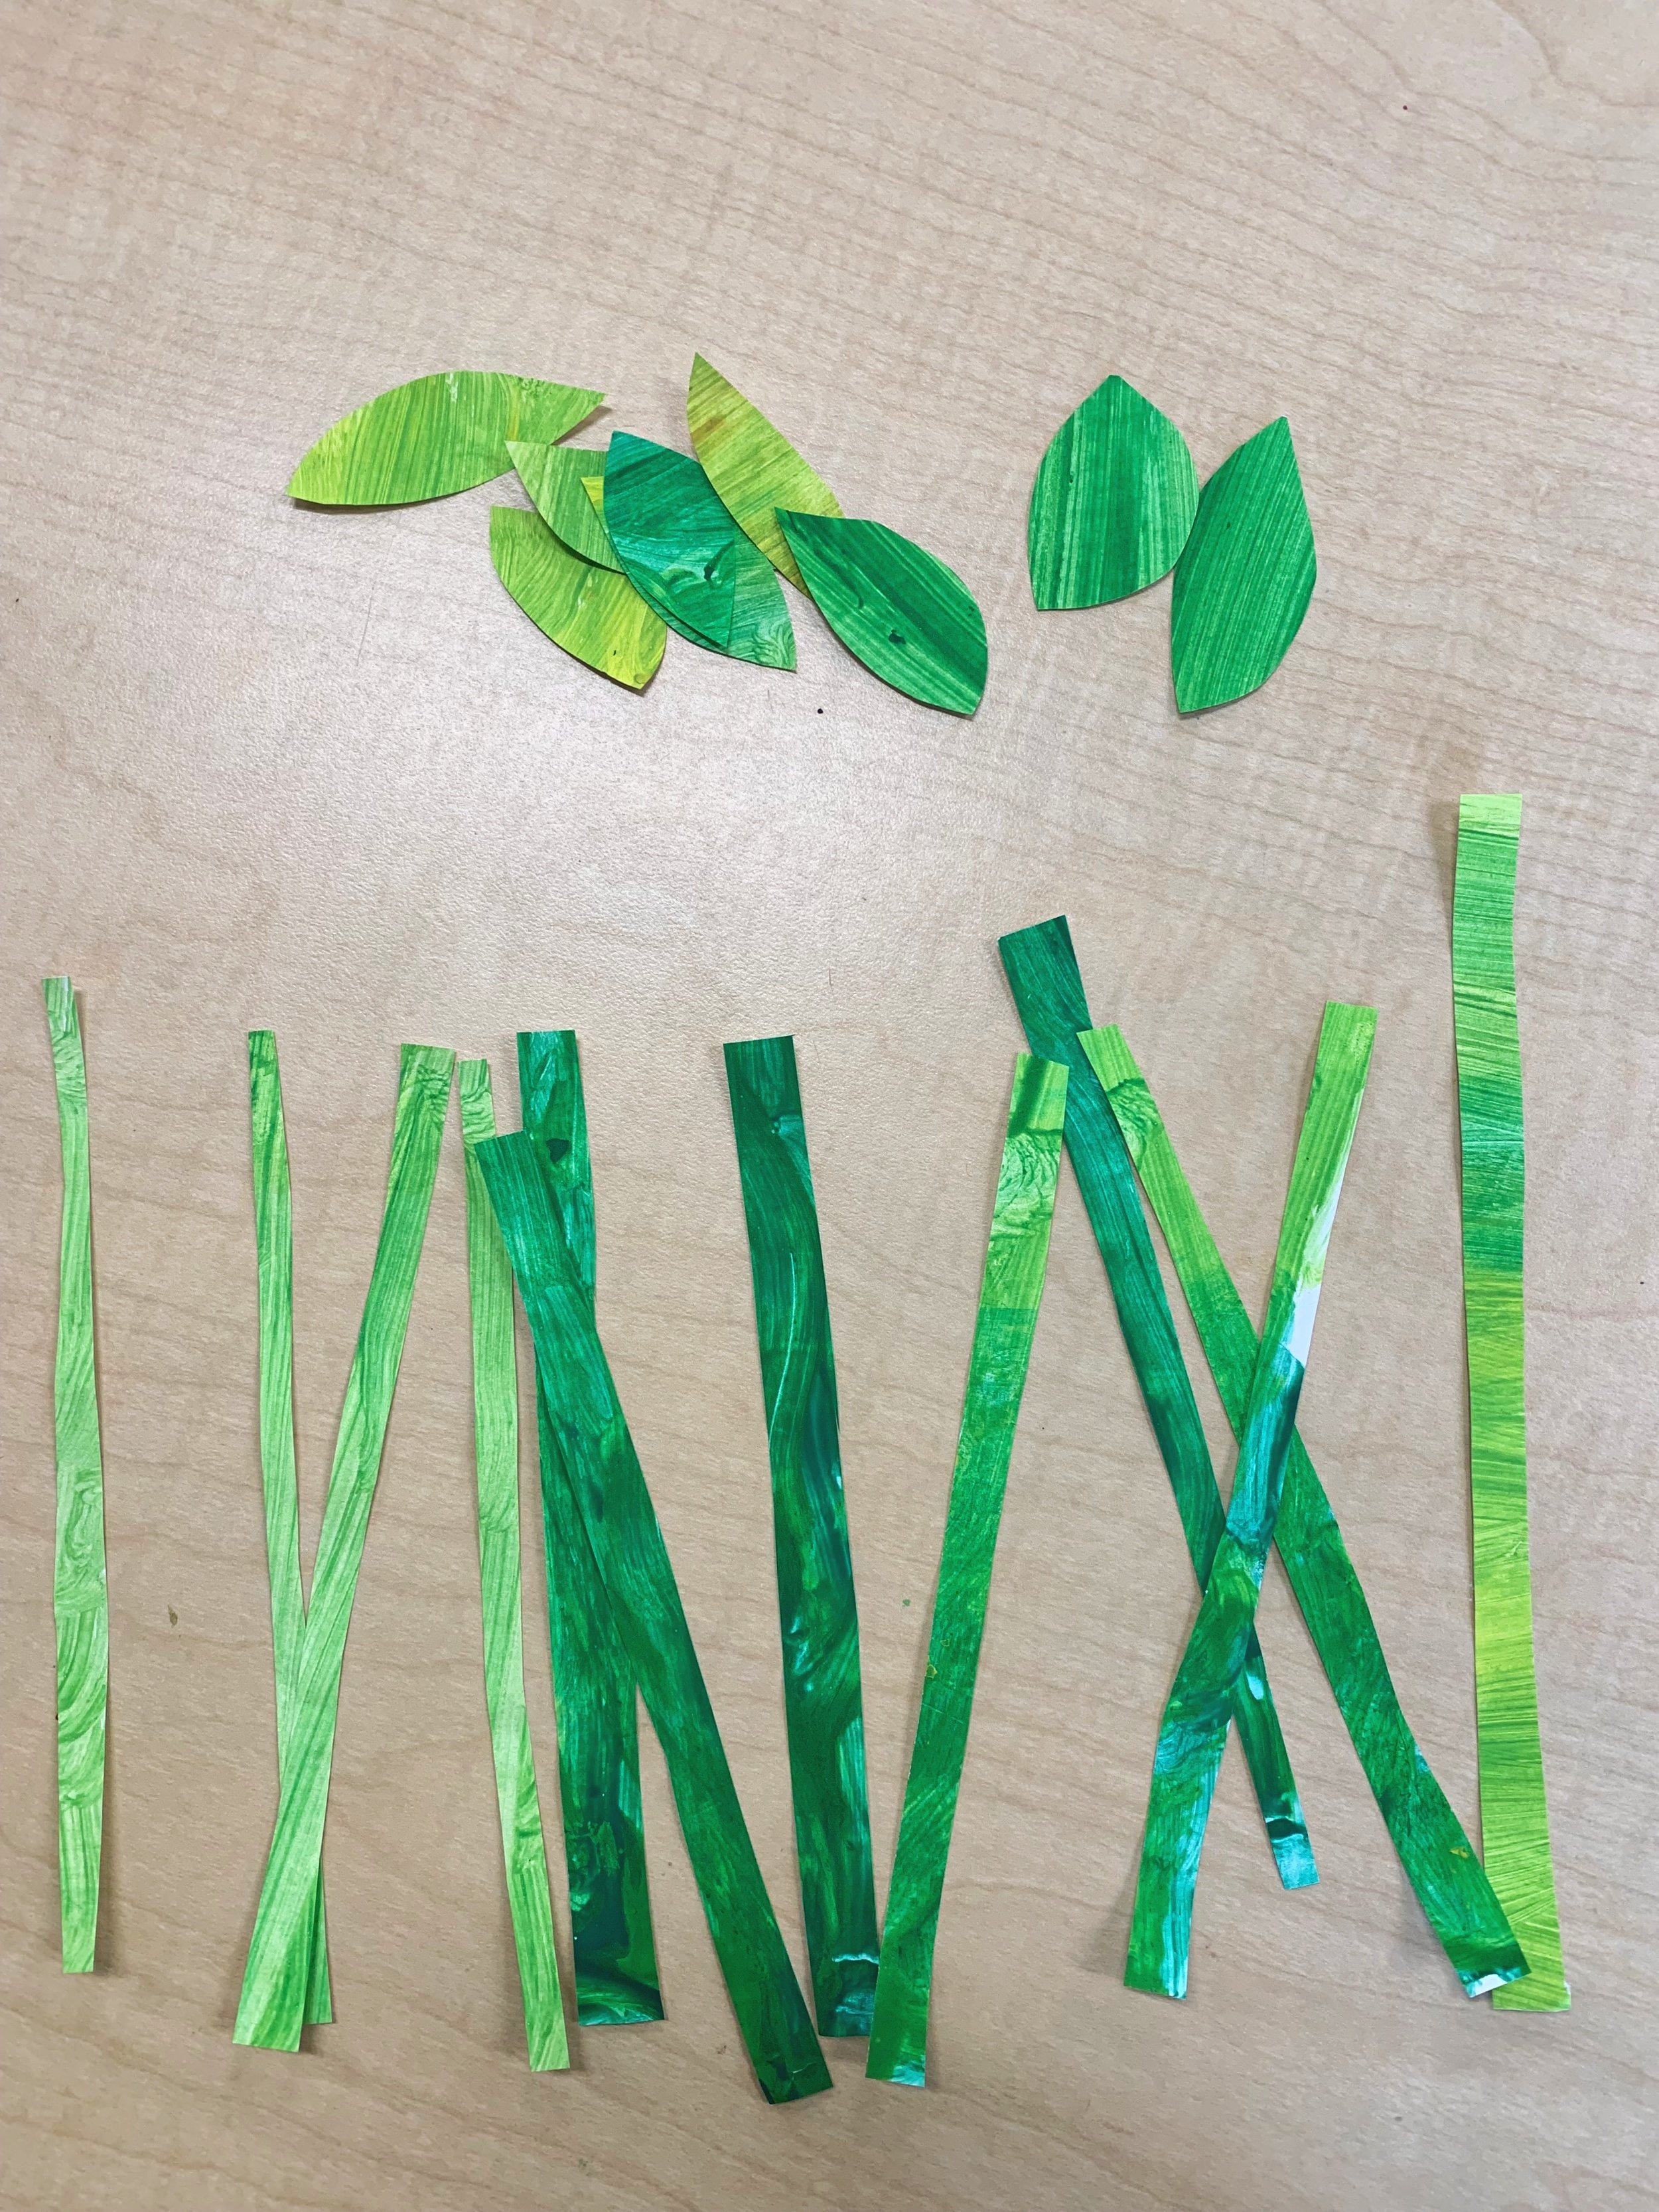
On green paper chunks, cut thin strips for stems and cut some leaves.
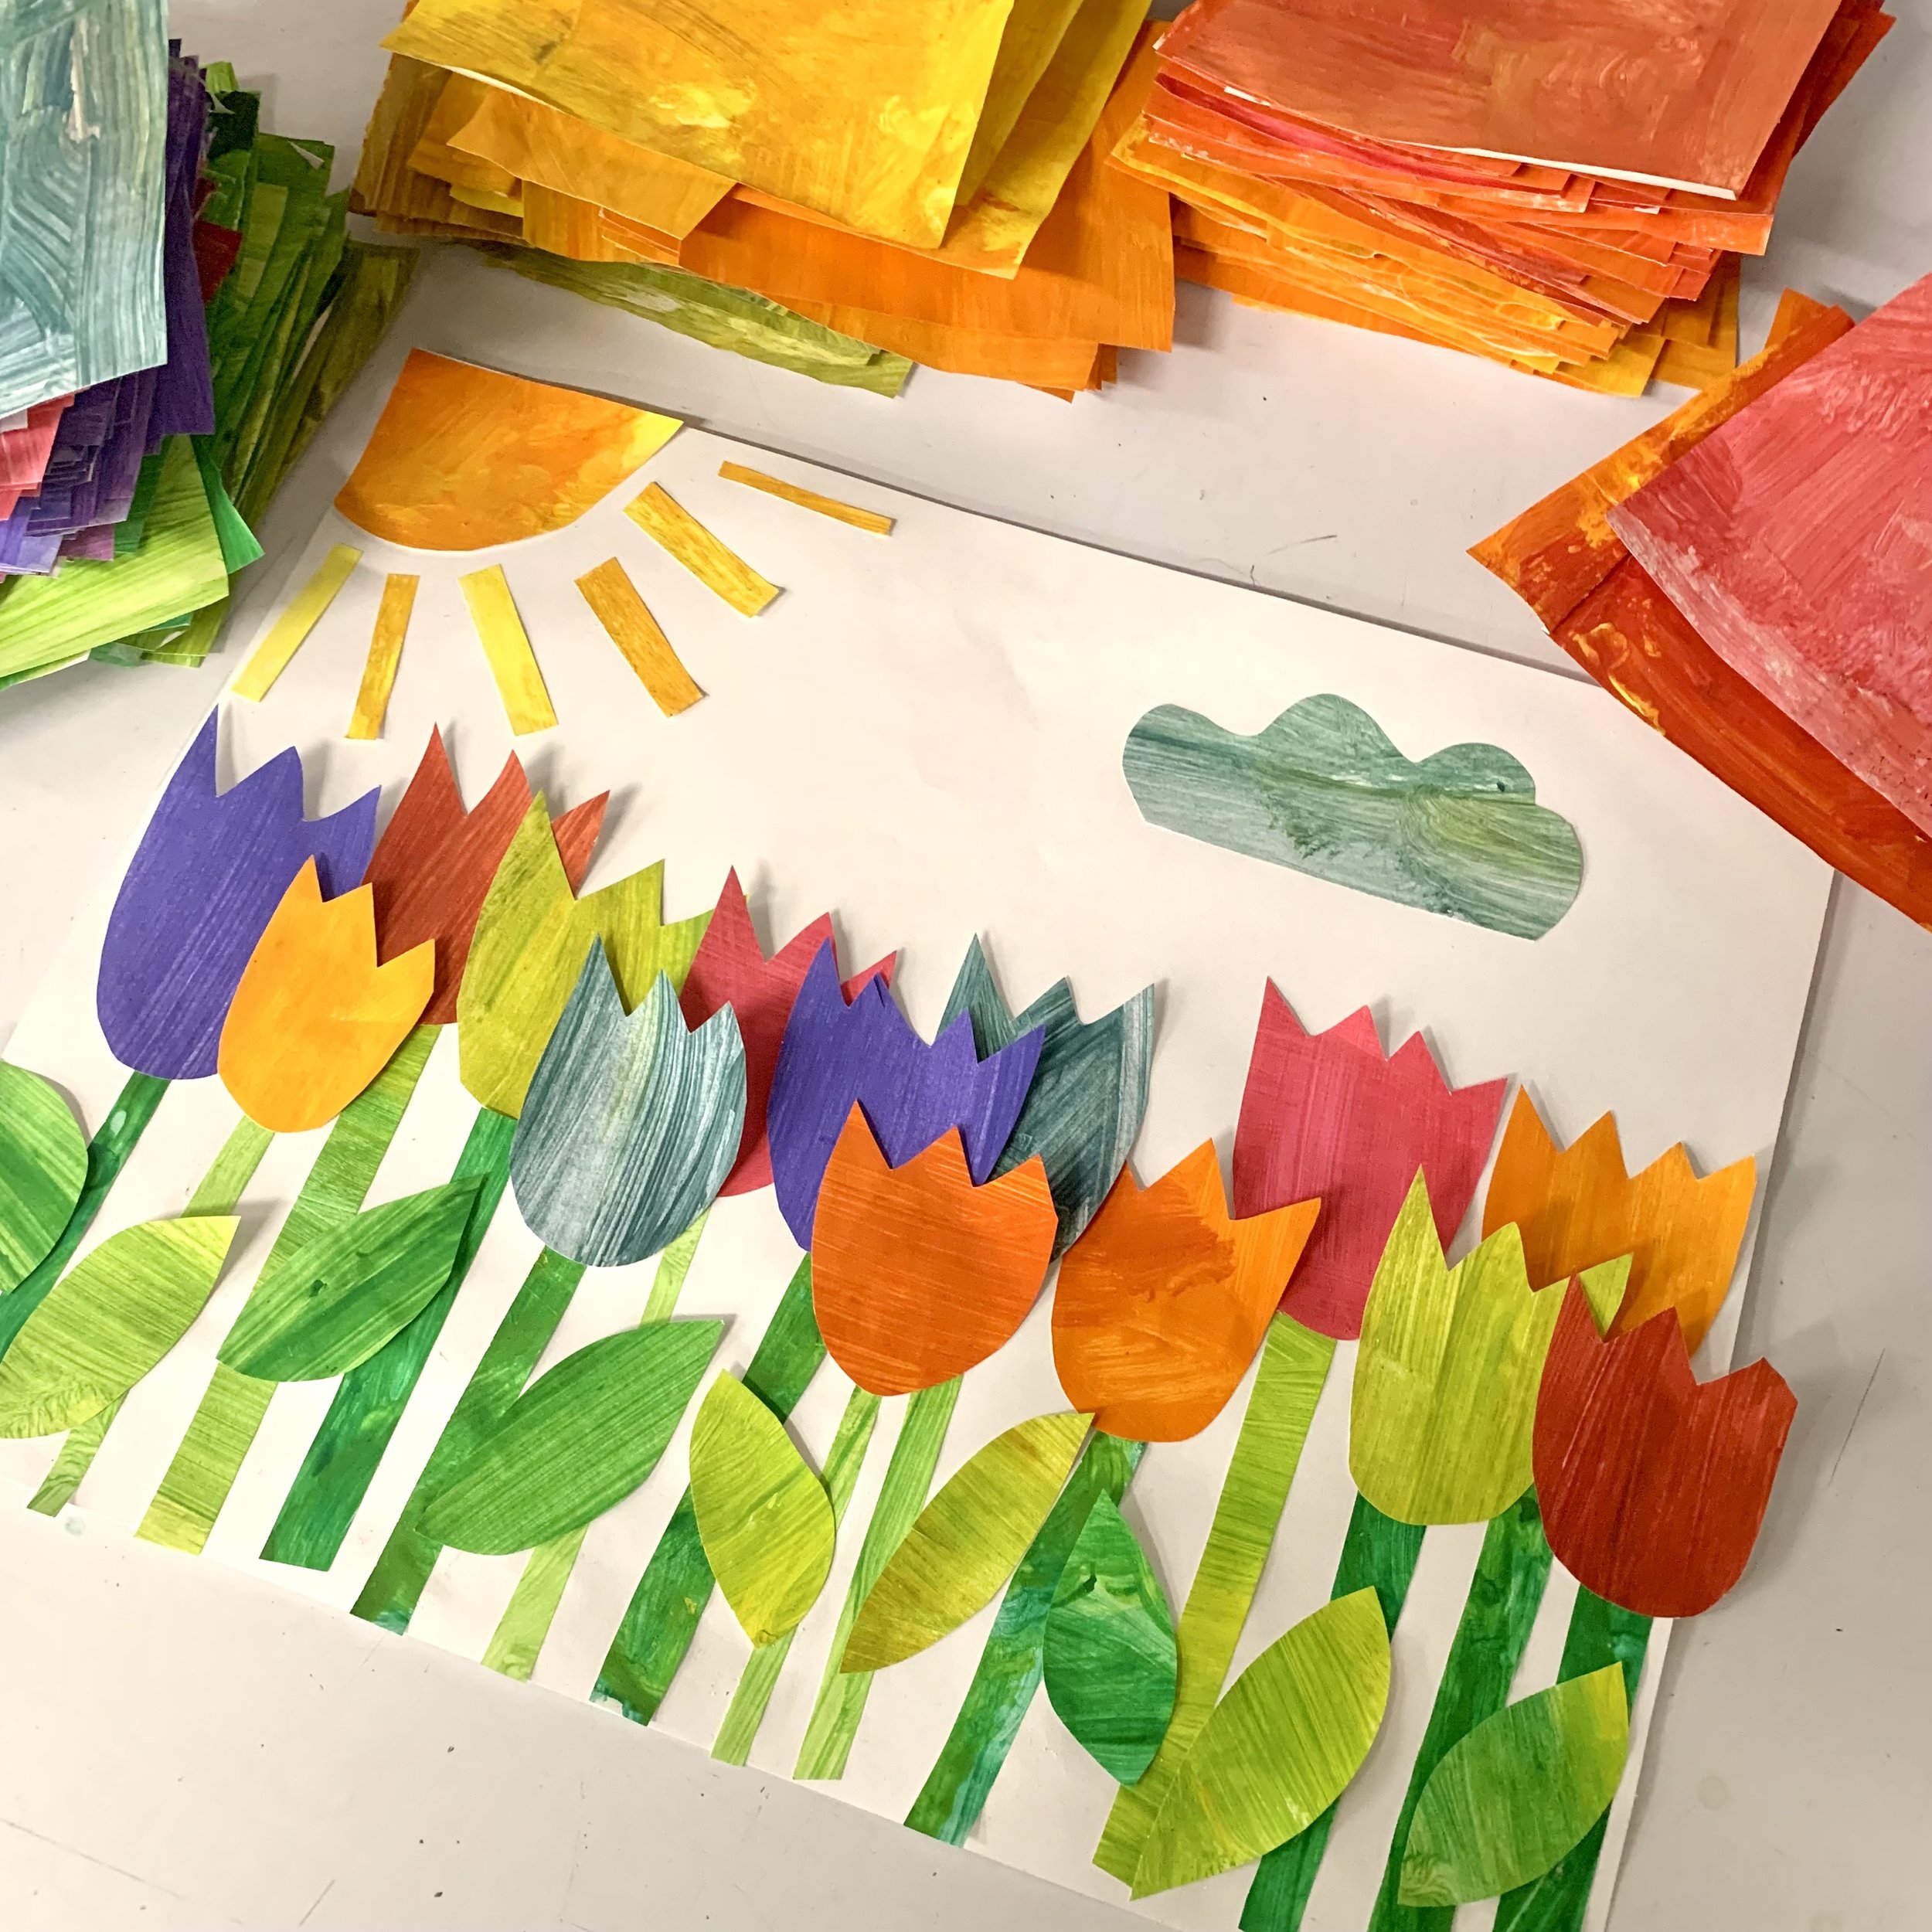
Once all painted paper has been cut into shapes, glue it down onto a white paper background.
Start with the stems, then leaves, then tulips so that you don’t have to tuck the stem under after
Once the garden is done, add the sky elements.